Posted by Mindy Eggen
on January 24, 2023

Welcome friends! This is Mindy and today I wanted to share how you can get more from your stencils. I'll be using the new Stripe Stencil for my card project today.
The first thing I like to do with stencils that have fine lines like this one is spray the back of it with Pixie Spray which is a low tack adhesive spray. This will help hold those fine lines in place.

Next, I'm going to take the stencil and turn it so it is a triangle on the front my card. I'm starting with Deluxe White cardstock measuring 4 1/4" x 5 1/2" so that way I can trim it down later.
I'll mask off the edges with post it tape or masking tape so I don't get ink on those areas.
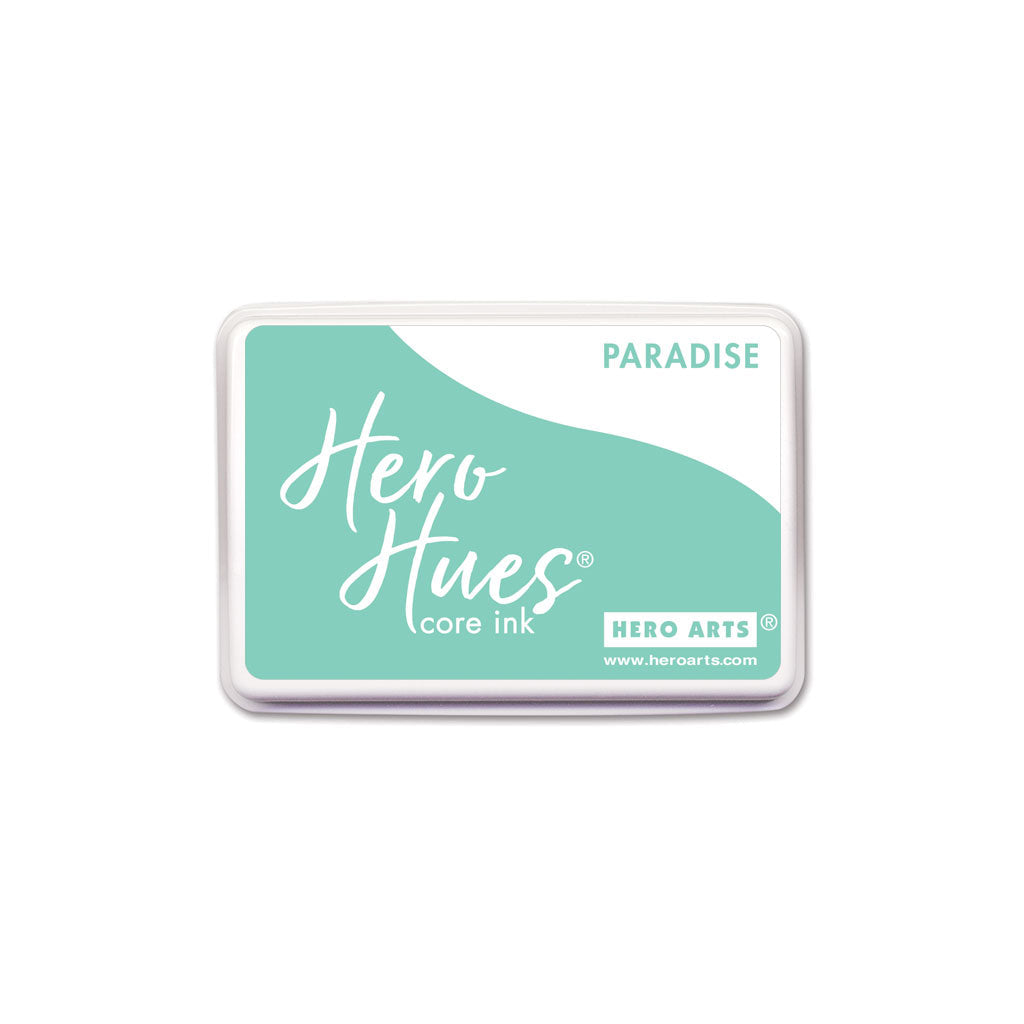
If you look at my card, the triangle I'm referring to is the design in the center of my card. I'm going to ink blend one portion with Orchid ink and the second portion with Paradise ink using blending brushes.
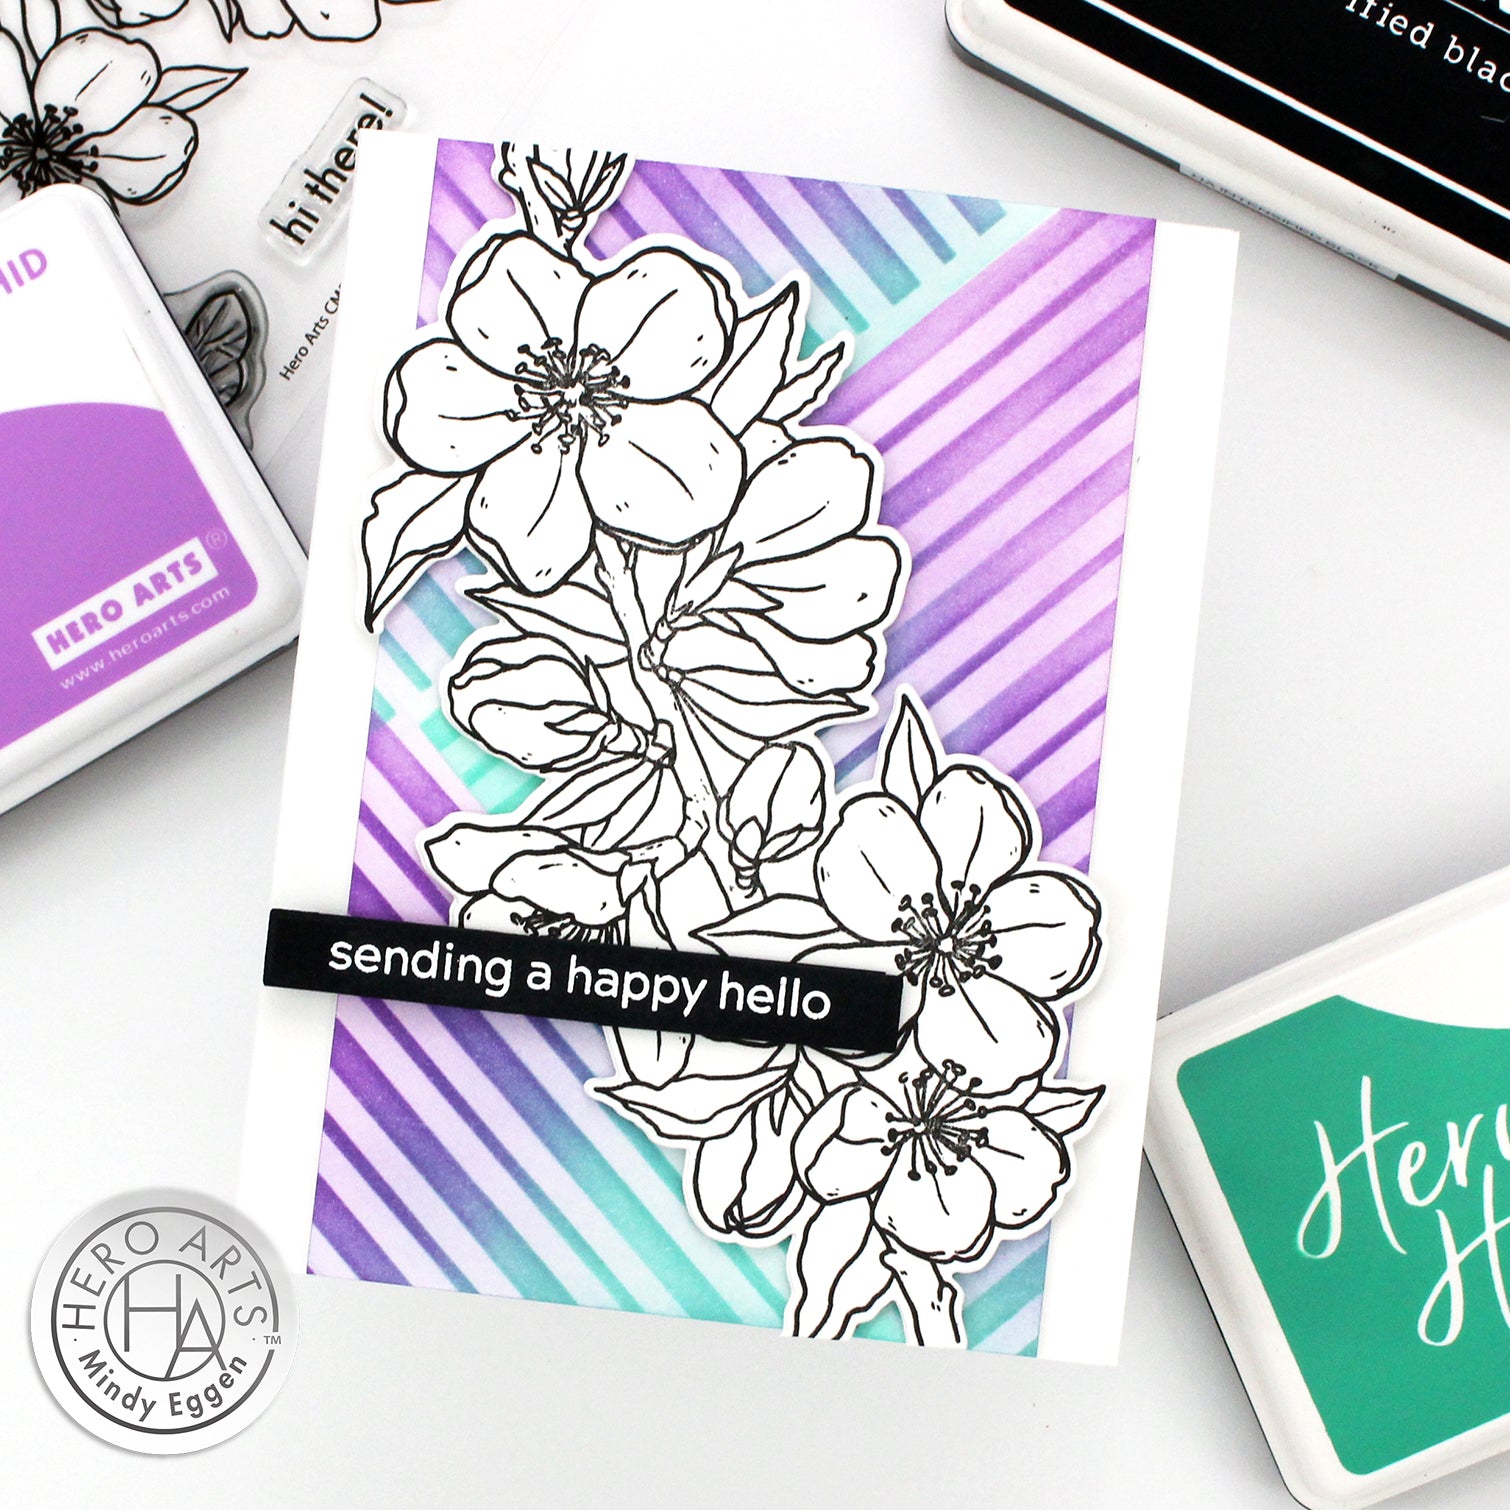
I'll remove the stencil and turn it to fill one of the open corners of the card front, making sure the direction of the lines is different than what I just did. I'll mask off the edges and ink blend those same colors.

I'll repeat the previous step in the last open area of my card front. Then, I'm going to remove the stencil and go back over those areas using the left over ink on my brushes to tone down those white areas.

I'll trim this panel down so it measures 3 1/2" x 5 1/2" and trim another white panel down to this same size to layer behind it and add a smidge of dimension. I can then add this to an A2 white card front using Precision Glue.
There is so much going on on the front of the card, I'm going to keep the image and sentiment simple. I stamped the large floral image from Sweet As Honey in Intensified Black ink. Then I used the coordinating die to cut it out and add it to my panel with foam tape.

I added a pop of Black by stamping a sentiment from the Message Strips Stamp & Cut XL in Unicorn Pigment Ink onto Pitch Black cardstock. Then I heat embossed with White Detail embossing powder. I used the coordinating die to trim this out into a thin strip and add to the front of my card. I think any sentiment that can be cut into a thin strip would work here like Loving Sentiment Strips or Let's Celebrate stamp sets.
I love how this came out and such a different look! Hope you enjoyed today's inspiration.

|