


Posted by Michelle Short
on July 11, 2020


Welcome back to the countdown to the release of the July My Monthly Hero Kit! Release day is coming up on Monday, July 13 at 1pm Eastern/10 am Pacific. Now let's dive in and join Michelle who is sharing another beautiful look at the kit!
Hello there, when I saw this kit, I fell in love with the coral reef/sea bed image. I love underwater scenes - the colours, the sea life, the light reflections - I find it all really magical! So I knew I wanted to use the reef layering stamps from the main kit, but wanted to keep the rest of my card pretty clean and simple.
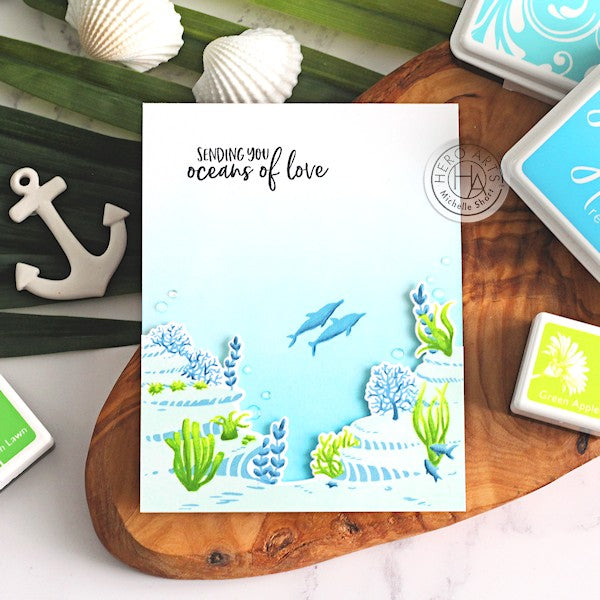
I started off by stamping the layered reef/sea bed image on to Dove White Cardstock. I found it easier to stamp the seeweed/sea plants layer first. For this, I used Green Apple Bold Ink. I stamped this layer using the MISTI and then using Fresh Lawn Mid-Tone Shadow Ink, I added a little to the bottom of the plants. I dabbed off the top to create a smoother image and then stamped it again.
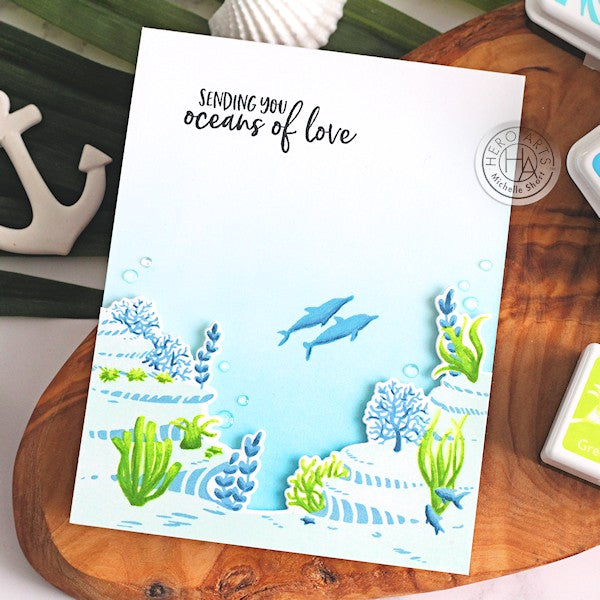
I then stamped the most solid layer (the reef itself) using Soft Pool Shadow Ink. Finally, I stamped the the third layer which stamps the detail on the reef, as well as more sea plants and the fish. For this, I used Pool Mid-Tone Shadow Ink. I then die cut the scene using the coordinating frame cuts in the kit.
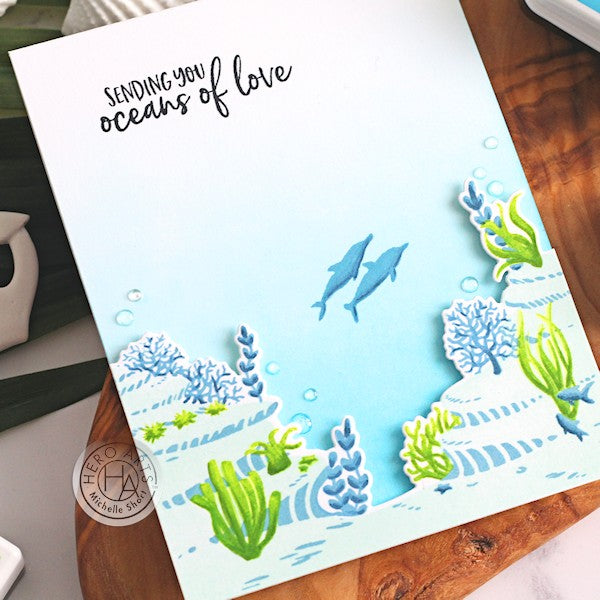
I took a top folding card base and blended Splash Reactive Ink on to the front, concentrating most of the colour towards the bottom of the card. I then stamped the dolphins from the stamp set on top using Pool Mid-Tone Shadow Ink. The sentiment was stamped in the top left hand corner with Intens-ified Black Ink. The reef was adhered on top using foam tape. To finish off, I added detail to the sea plants, fish and dolphins with a little Copic Markers and added Clear Enamel Dots around the reef.
*** Win a kit before you can buy it *** Just leave a comment on this (and every) Countdown to Creativity post. We’ll randomly draw one lucky winner from all the comments left across all countdown posts. The winner will be announced first thing Monday morning, July 13, before the kit launches at 10am Pacific. The more you comment, the more chances to win!
Good luck!























































































251 comments
What a soft, peaceful scene! Beautiful card!
I love the light look that you gave to this underwater scene. Just lovely.
Love this gorgeous scene, looks peaceful and serene!
Pretty colors!
What a beautiful card! I love how peaceful it is, the dabbing of a different green ink really helped soften the look. I can’t wait to see what the rest of the kit is like!