Posted by Yana Smakula
on December 09, 2019

Hello, Hero Arts fans! Welcome back for another episode of the Color Layering video series !

In this video and episode, we are taking a closer look at the Color Layering Nordic Tree stamp set .
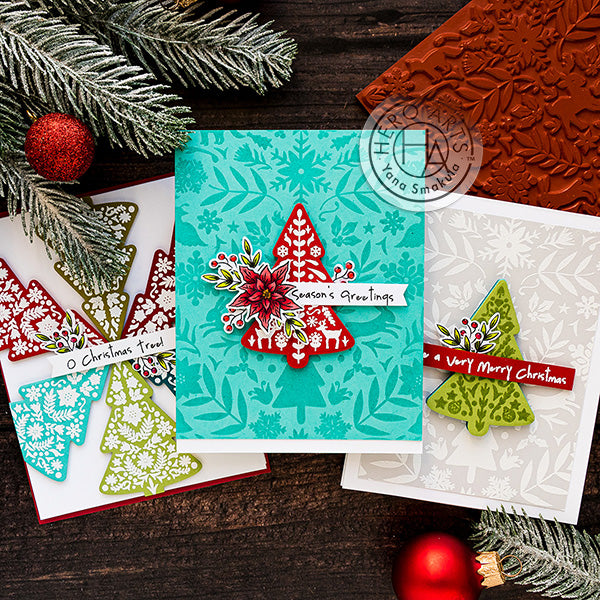
The Color Layering Nordic Tree stamp set features a solid tree shape that can be stamped in any color of ink and provide a base for your Christmas tree. You also have 3 detail layers that can be added on top of the solid layer or used alone for beautiful results. Of course, you have several sentiment options in this set and if you look on the back of the packaging you’ll find a quick layering guide to help you jump start your creativity. A coordinating die is available separately and it will easily cut the Christmas tree out.
Watch the video tutorial below to learn how I made the cards I'm sharing today.
If you’re having a problem viewing this video, please try watching it HERE in HD on YouTube.
I have 3 cards to show you today. I’m actually not going to use the solid layer for my projects today and will replace it with the help of colored cardstock. My idea is to heat emboss the beautiful detail layers in various colors of embossing powder on various colors of cardstock.
For my first card, I treated a piece of
Cherry cardstock
with anti-static powder. This helps to keep embossing nice and neat as it eliminates any grease or oils that might have transferred from my fingers and it also eliminates static and thus helps the embossing powder particles to cling only where they are supposed to cling to. Next, I inked up the stamp using
Hero Arts embossing & watermark ink
and stamped the image on the paper. All of the detail layers in this set look particularly beautiful and this one is no exception.
Next, I added
white detail embossing powder
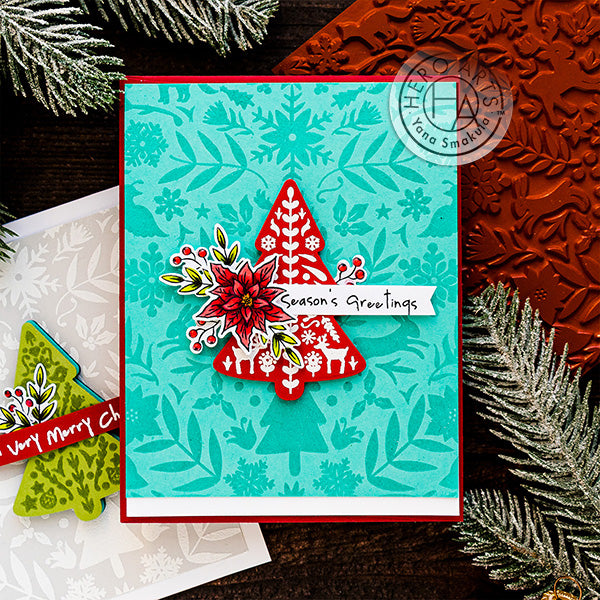
and used my heat tool to set the powder in place and melt it. I love this classic white on red look, it is very festive and oh so fitting for the Holiday season. I used the
coordinating die
and cut the image out in my die cutting machine.
Next, I used the
Decorative Poinsettia Frame Stamp & Cut set
to stamp several images from this set and use as embellishments for my card, for all of my cards today, really. I stamped a poinsettia, as well as several leaves and berry branches. I used
Intense Black ink
for my stamping as I knew I wanted to color these with my Copic markers and this kind of ink works best with Copics.
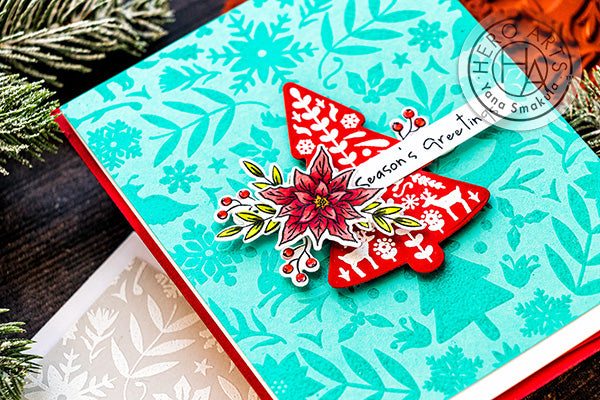
I opted for just a handful of colors for my coloring. I used YG03 and G94 to color the leaves. Next, I went with R39, R27, R24, and R22 to color the poinsettia as well as the berry branches doing very simple coloring with minimal shading and blending. Because this is a Stamp & Cut set it already comes with coordinating dies and so I used mine to cut these images out in my die cutting machine.
Next, I worked on a background for this card. For this, I used a gorgeous
Nordic Holiday Bold Prints background
. I used my
MISTI stamping tool
and heat embossed this background in
clear embossing powder
on
Paradise cardstock
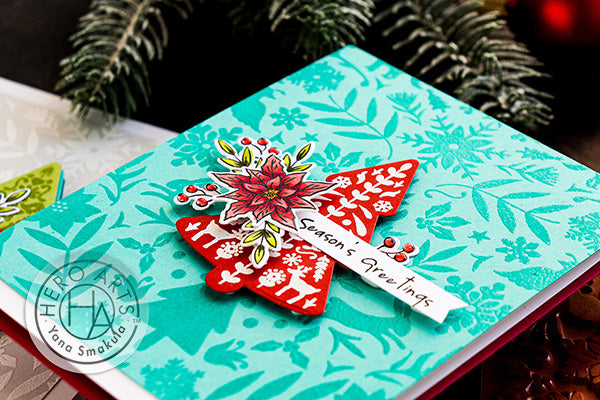
. Using clear embossing powder gave me a fabulous tone on tone look, perfect for background and not too distracting from the focal point of this card. With all of the parts and pieces ready I assembled my card. I made an A2 white top folding card base using
Hero Arts Dove White cardstock
, I trimmed the background panel to 4 1/4 x 5 1/4” and adhered directly to the card, next, I used foam adhesive and foam mounted the tree, added a simple Season's Greetings sentiment stamped in black and of course I added the poinsettia, leaves, and berries. I used
Lacquer Pen
to coat the berries with to help them appear glossy and dimensional.
For my next card, I explored using other colors of cardstock to heat emboss colorful trees. I used a different detail layer this time and heat embossed the tree in white embossing powder on the following colors of cardstock:
Kiwi
- the light green,
Pesto
- the dark green,
Cherry
- the light red,
Cranberry
- the dark red,
Paradise
- the light blue and
Adriatic
- the dark blue. I cut them all out using a coordinating die and my idea was to place them in a circle on a background radiating from the center.
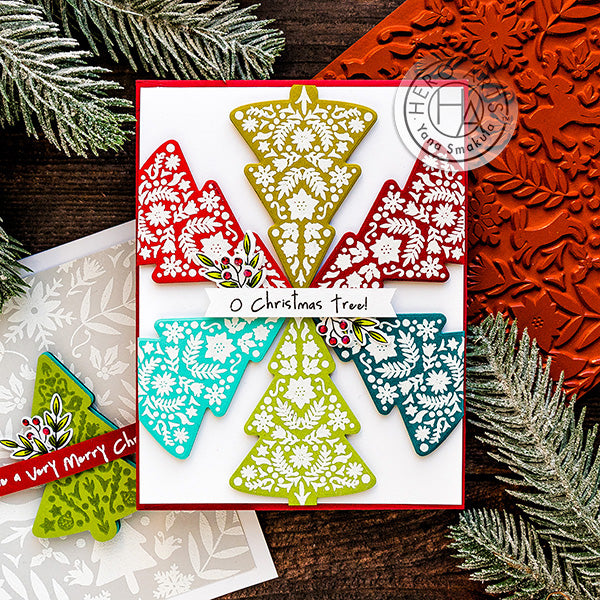
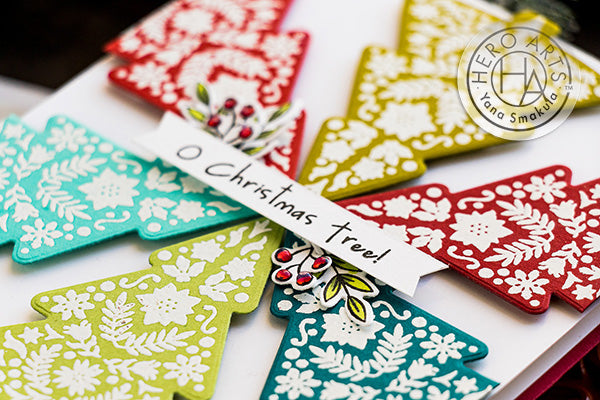
Next, I added a sentiment, it reads O Christmas Tree stamped in black on a piece of white cardstock and of course, embellished the card using additional leaves and berry branches I colored previously. It is a very simple design, maybe even too simple, but it was easy to make and I love the way it turned out.
For my final card for today I decided to do some layering, but not in the traditional sense. First, I heat embossed the same
Nordic background
on
Pebble cardstock
in
white embossing powder
. I trimmed the panel to 3 3/4 x 5” and using double-sided tape I adhered it to the card.
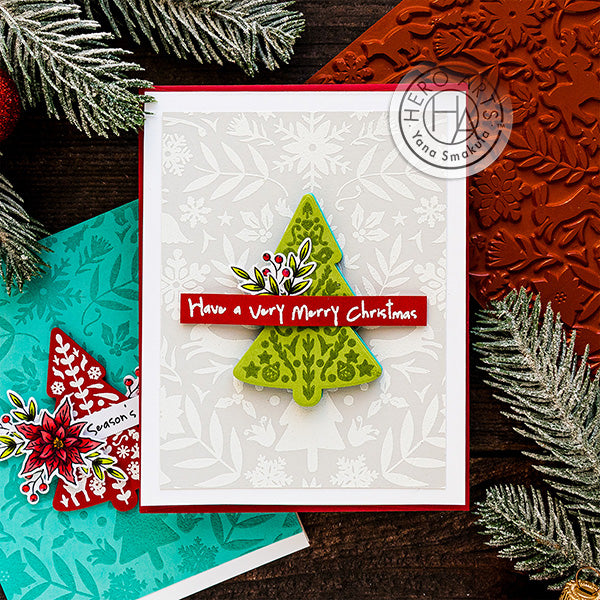
Next, I had already heat embossed 3 Christmas trees using yet another detail layer. This time I embossed them in clear on
Adriatic
,
Paradise
and
Kiwi
cardstock colors. I used foam adhesive and created one dimensional Christmas tree by adhering the layers one on top of the other. This kind of card ended up pretty dimensional so this is something I won’t be posting through the mail but will plan to deliver myself.
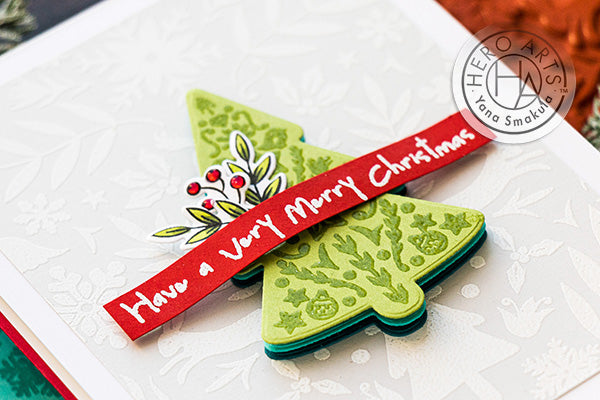
I used glue and adhered the dimensional tree in the center on the panel. Next, I have already heat embossed a sentiment it reads - Have a Very Merry Christmas. My idea was to curve it slightly and adhere over the tree and onto the background. I used foam adhesive and glue to be able to do that. Of course, I added the little die cut leaves and berry branches and that finished this card.
I have a lot more ideas with this beautiful Nordic Tree stamp set and I can’t wait to give them a try. Let me know in the comments below which one is your favorite.
Have fun stamping!

|























































































6 comments
Smashing cards x
Gorgeous cards Yana, my favorite is the first one you made. I love the beautiful tone on tone background and I always fall for bright red with white embossing. Thank you so much fro showing your inspiration and have a great week..
I love all your Nordic tree cards, I just found out on Ancestry that some of my relatives are Nordic.
Yana is so gifted! I enjoyed seeing all these cards!
What beautiful cards! I love how you added all the dimension with your trees. :)