Hello Spellbinders' fans! Thank you so much for joining us this week as we host our first Card Making Challenge! We asked a few of our designers and spellbloggers to share their take on one of our cards kits - December 2016 Card Kit of the Month and we are excited to show you what they all made!
Join us today and during the next few days as we share projects from Tammy Tutterow, Stephanie Low, Sharyn Sowell, Debi Adams and Jennifer Snyder.
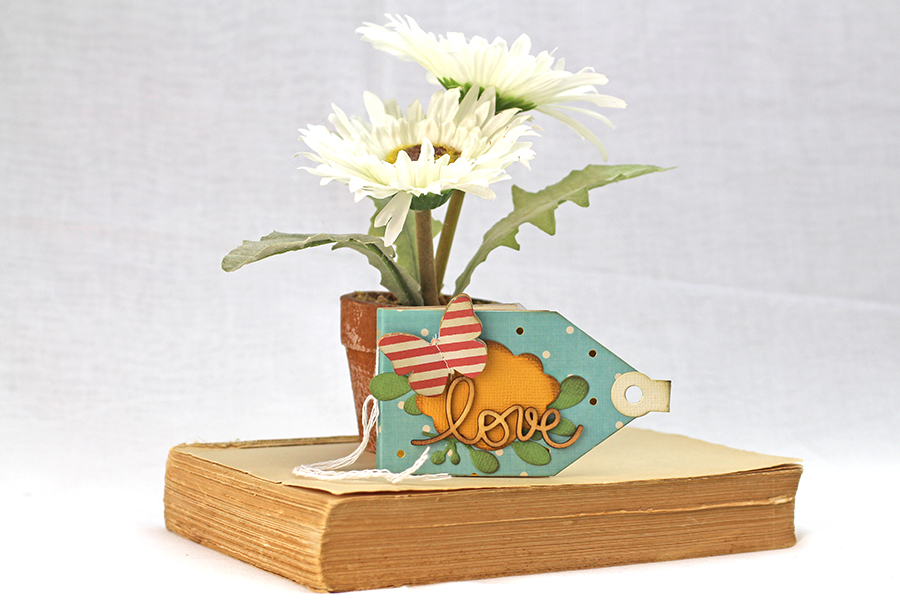
First up we have a lovely mini book from Tammy Tutterow!

I love quick and easy little projects that I can assemble in minutes that make use of scraps and left over embellishments. My
Mini Tag Book Die is perfect for both! It is easy to assemble and is perfect for using up little bits and pieces left over from scraps and kits. I used the Spellbinders
December 2016 Card Kit of the Month along with the Mini Tag Book die to create this cute mini book.
Instructions:

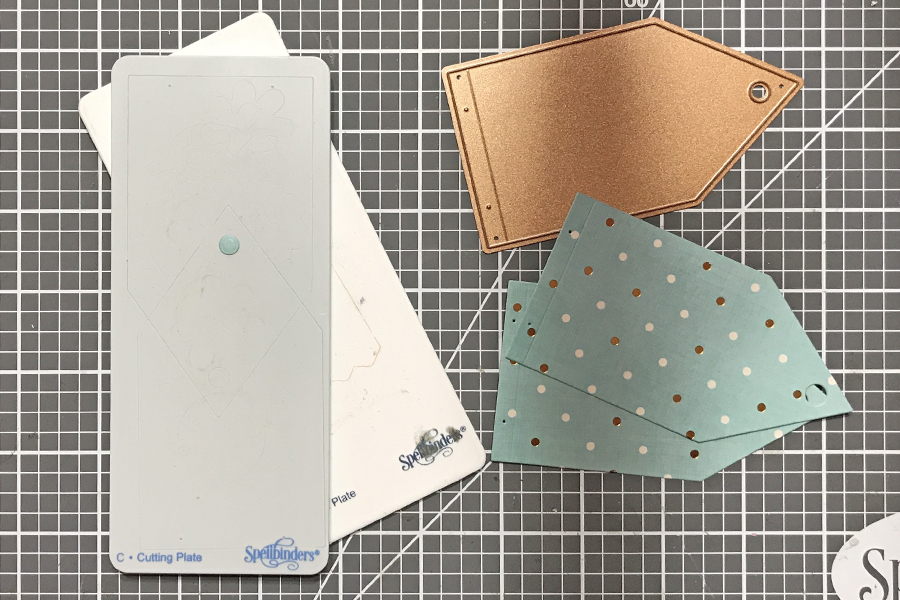
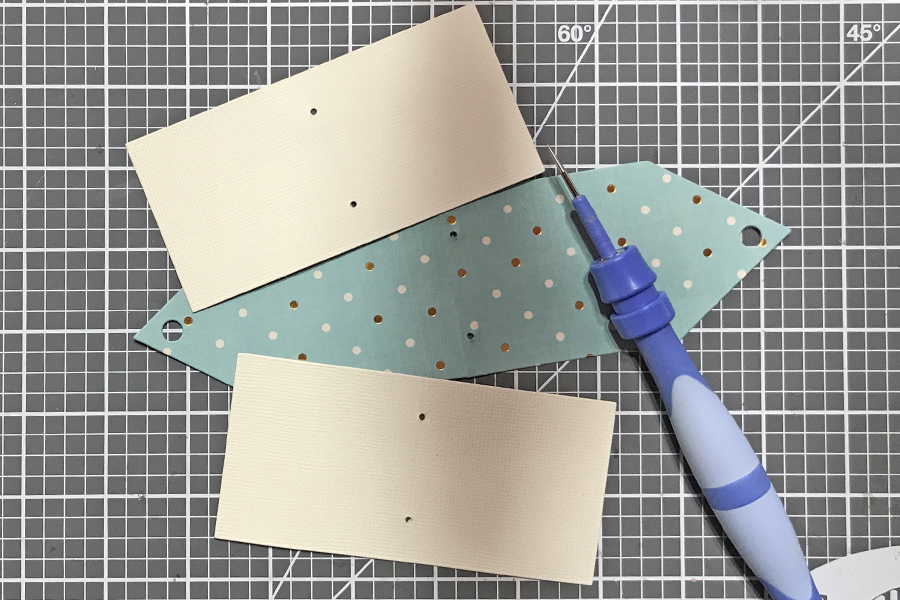
Die cut two cover pieces from pattern paper with the Mini Tag Book die set. Note - All the pieces from the Mini Tag Book die set fit in the
Prizm machine!

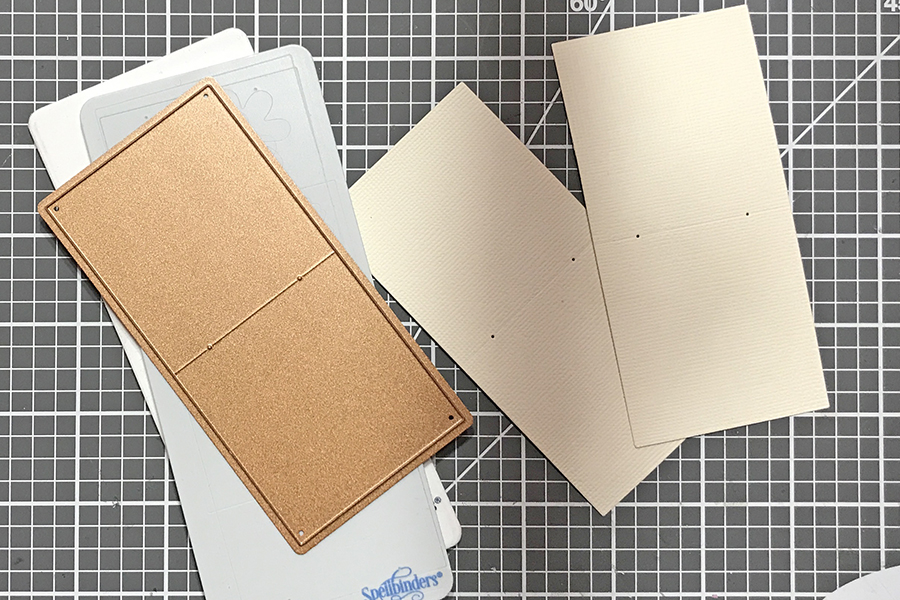
Die cut two pages from cardstock.

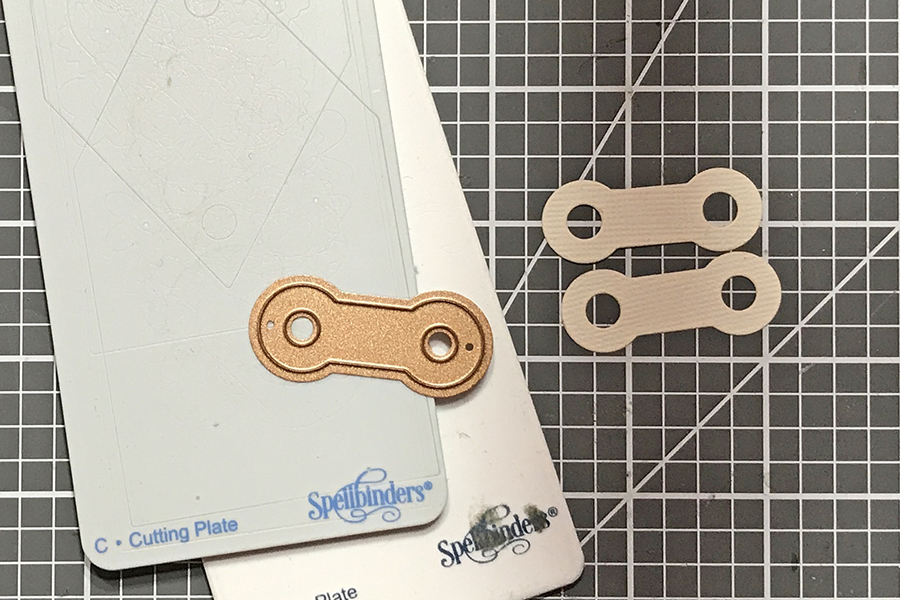
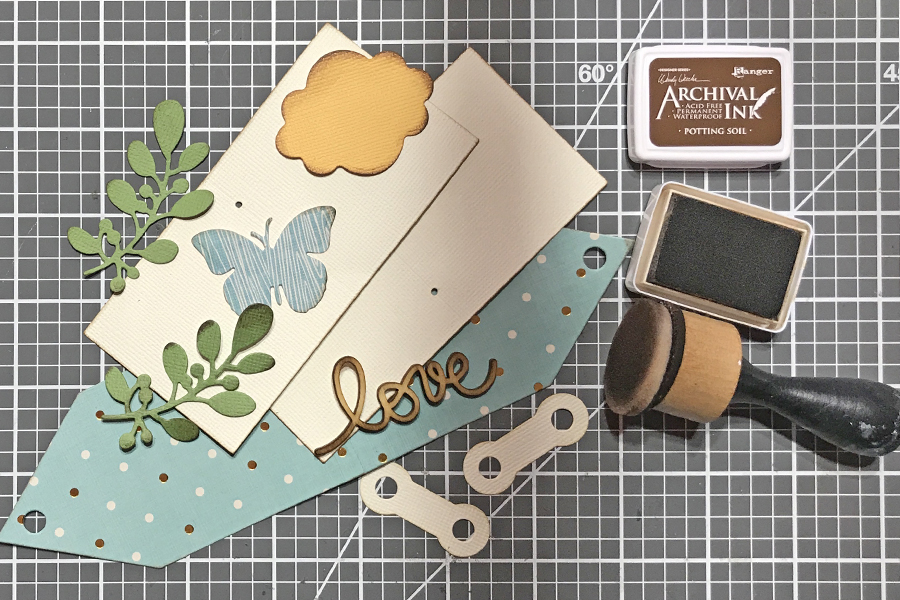
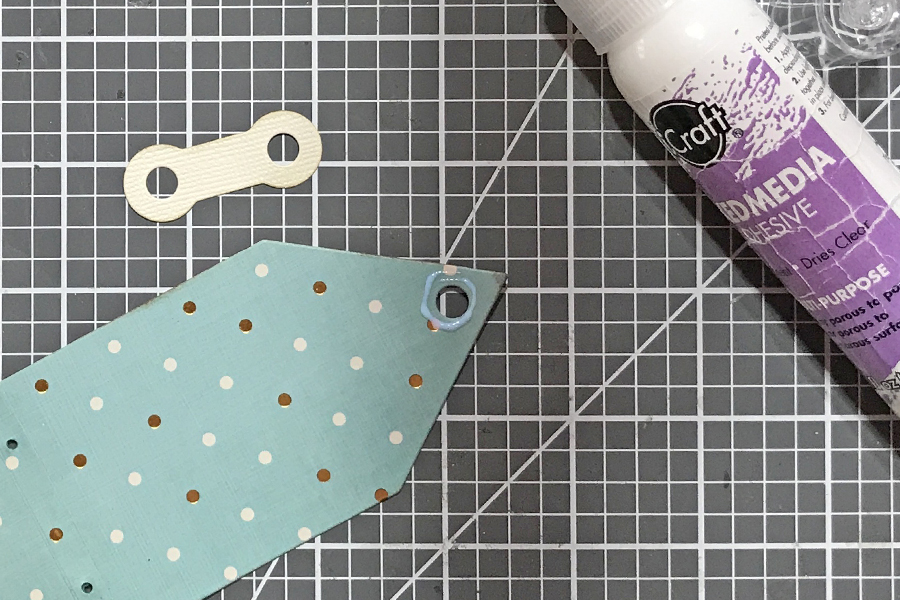
Die cut two reinforcers from cardstock.

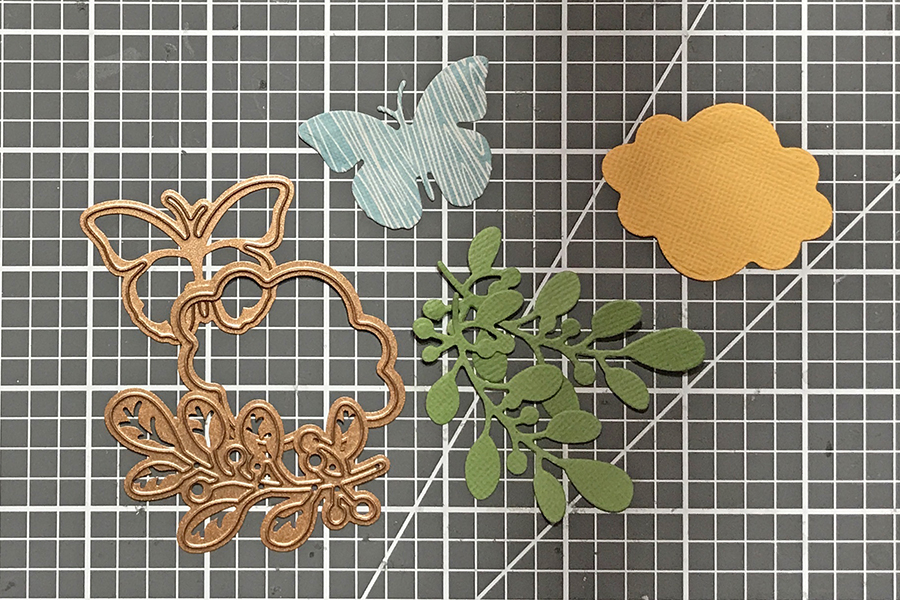
Die cut embellishments from pattern paper and cardstock using dies from the monthly kit.

Brush the edges of each piece with brown ink using an ink blending tool.

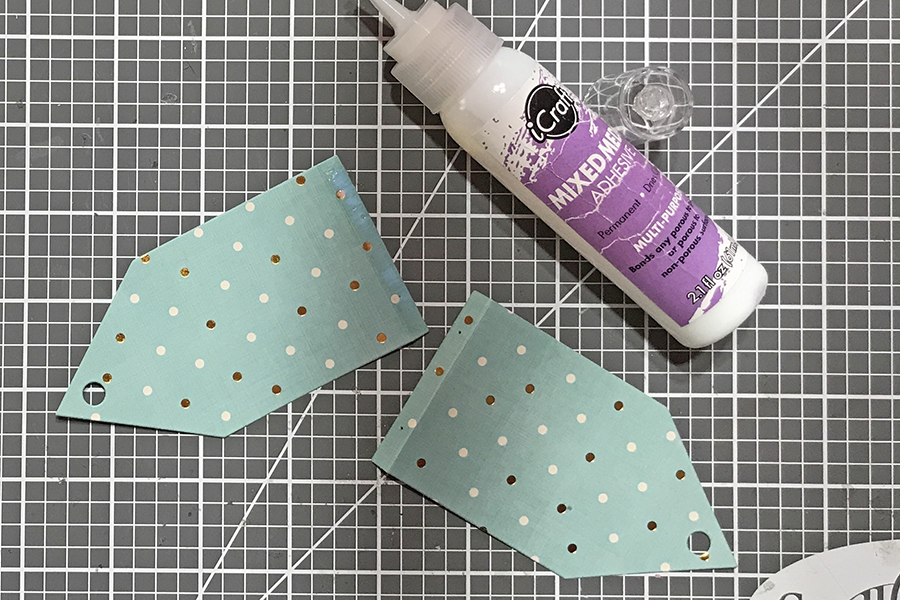
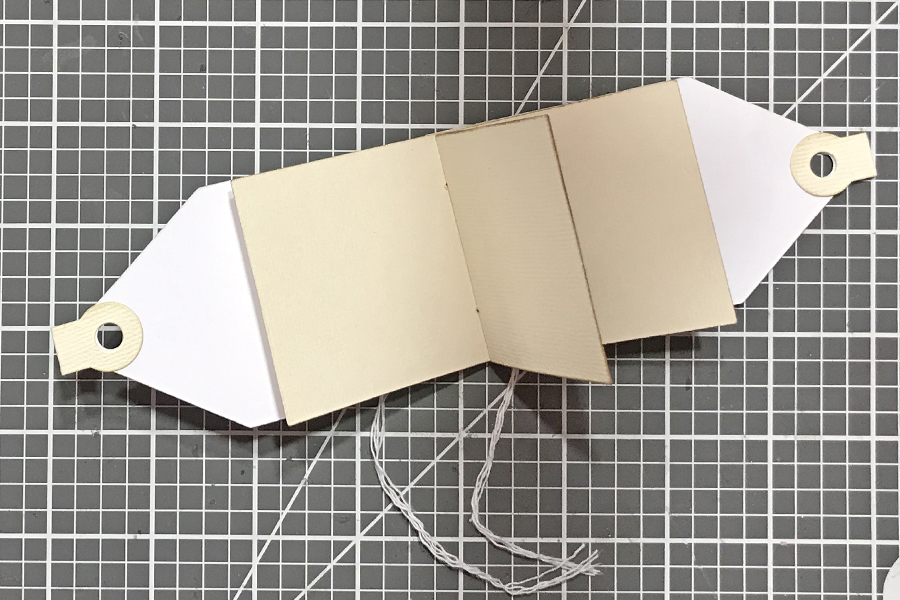
Fold the two cover pieces along the score line. Add a thin line of adhesive to one of the covers in the space between the edge and the fold (the space with the two small holes).

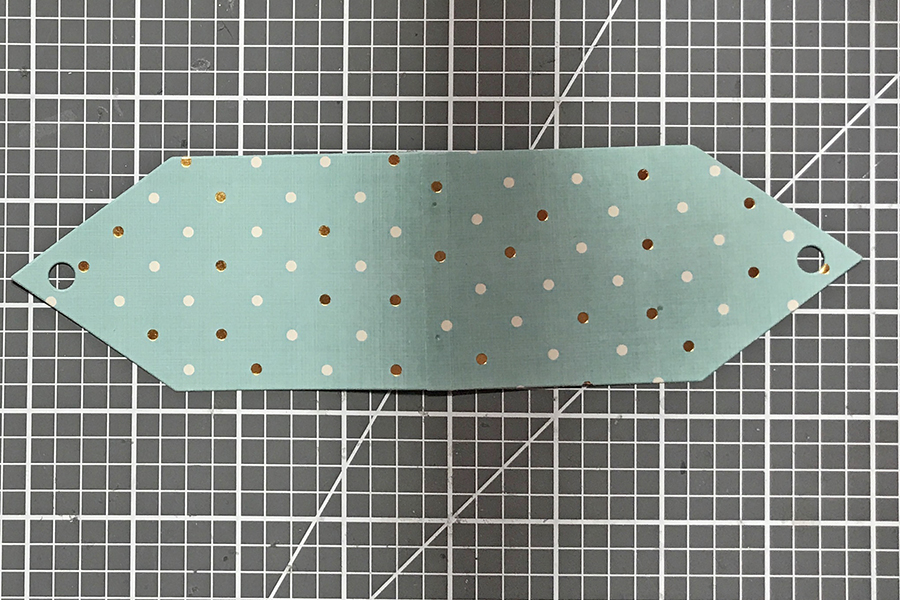
Match the two small pin holes on one cover with the pin holes on the cover with the adhesive. The two overlapped sections create the spine of the book.

Use a Tool ’n One to pierce through the holes in the center of the two pages and the spine of the book.

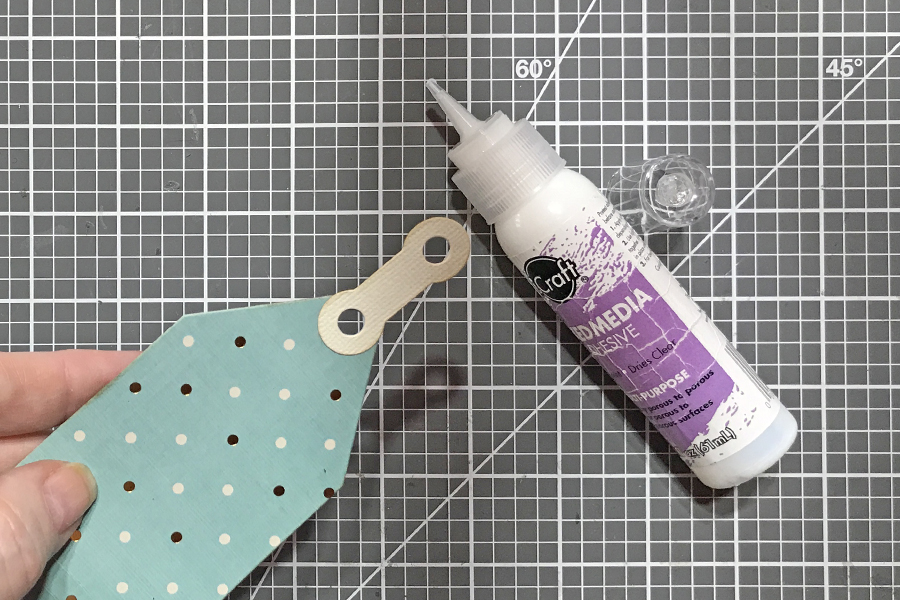
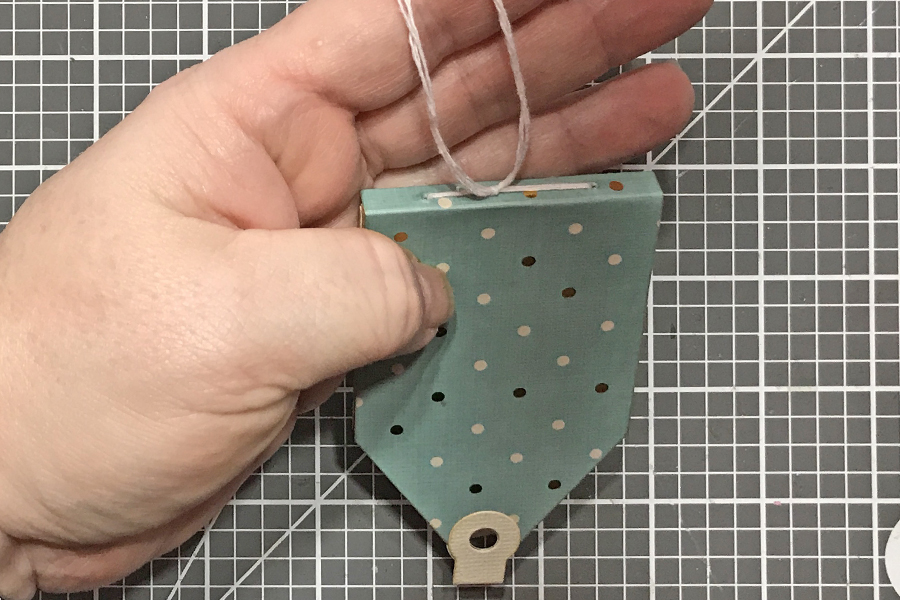
Place a thin line of adhesive around the large hole on the cover.

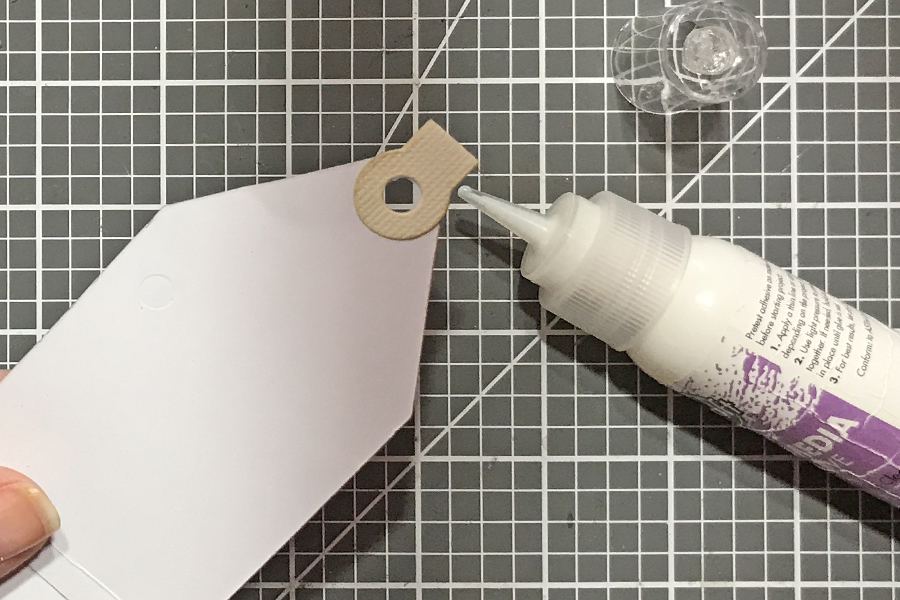
Place one of the reinforcers over the hole.

When the adhesive is set, fold the reinforcer over to the back side of the cover. Adhere in place. Repeat the same process for the other hole on the back cover.

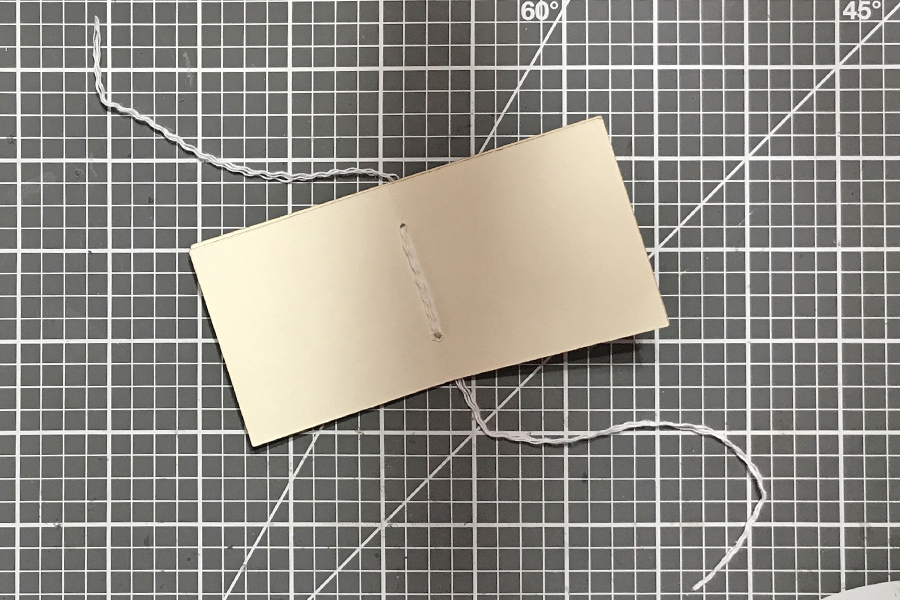
Stack the two pages together. Feed fiber through the two sets of holes.

Feed the ends of the fiber through the holes in the spine on the inside of the book.

Pull the fiber to the outside of the book. Tie it firmly against the spine of the book.

You can embellish the inside with small insta prints, itty bits of ephemera, and favorite tiny quotes!

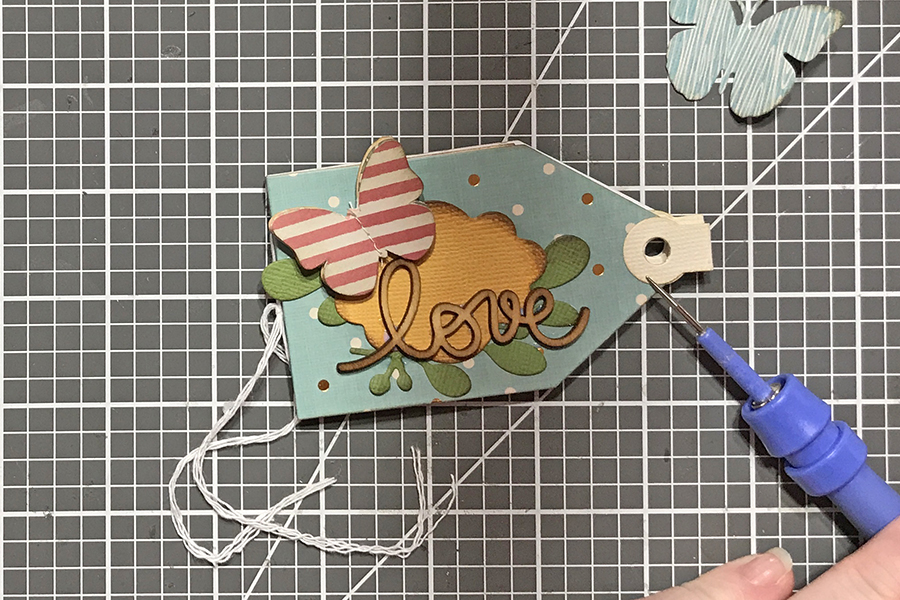
Layer your die cut embellishments and other bits from the kit on the cover.

How cute is that mini book? So cute! And even better, a mini book cut from scraps and assembled in under 30 minutes!
Spellbinders Supplies:
Other supplies: ink; ink blending tool; adhesive.
Tammy



























































































4 comments
This is adorable, Tammy. I love it!
Cathie ♥
Darling little book! I really appreciate seeing different ways to use the kits. Thanks.
Love everything “Tammy”! So sweet and happy.
That´s such a sweet little mini!