

Posted by Anonymous
on June 26, 2019

Looking for a colorful, sunshine-filled card idea to brighten someone's day? Pull out your PanPastels and let's create a sunny embossed background for a simple cardmaking project.
Pick up a little Candy Apple PanPastel with the Sofft wedge sponge. Spread a diagonal stripe of PanPastel across the embossed panel. Use a clean portion of a wedge sponge and spread another stripe with Citrus Cooler, and then again with Lemon Drop.
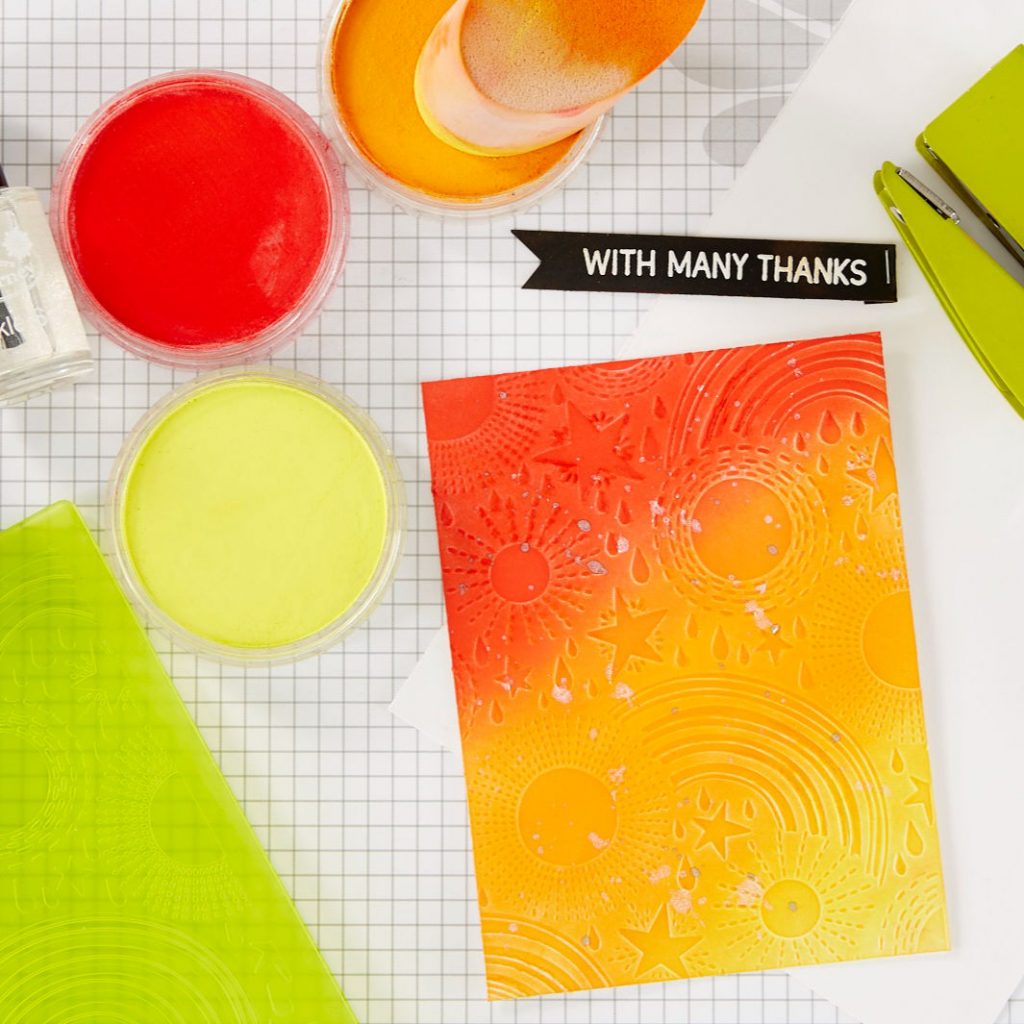
Once you've covered the panel with color, go back and further blend where the colors meet. In the video below, you can watch just how Kim blends the colors together by layering and mixing colors.
To finish this card, Kim added a simple sentiment from the Letterboard Minis stamp set. This stamp set is so much fun to play with because the sentiments can be mixed and matched to create a variety of sentiments.
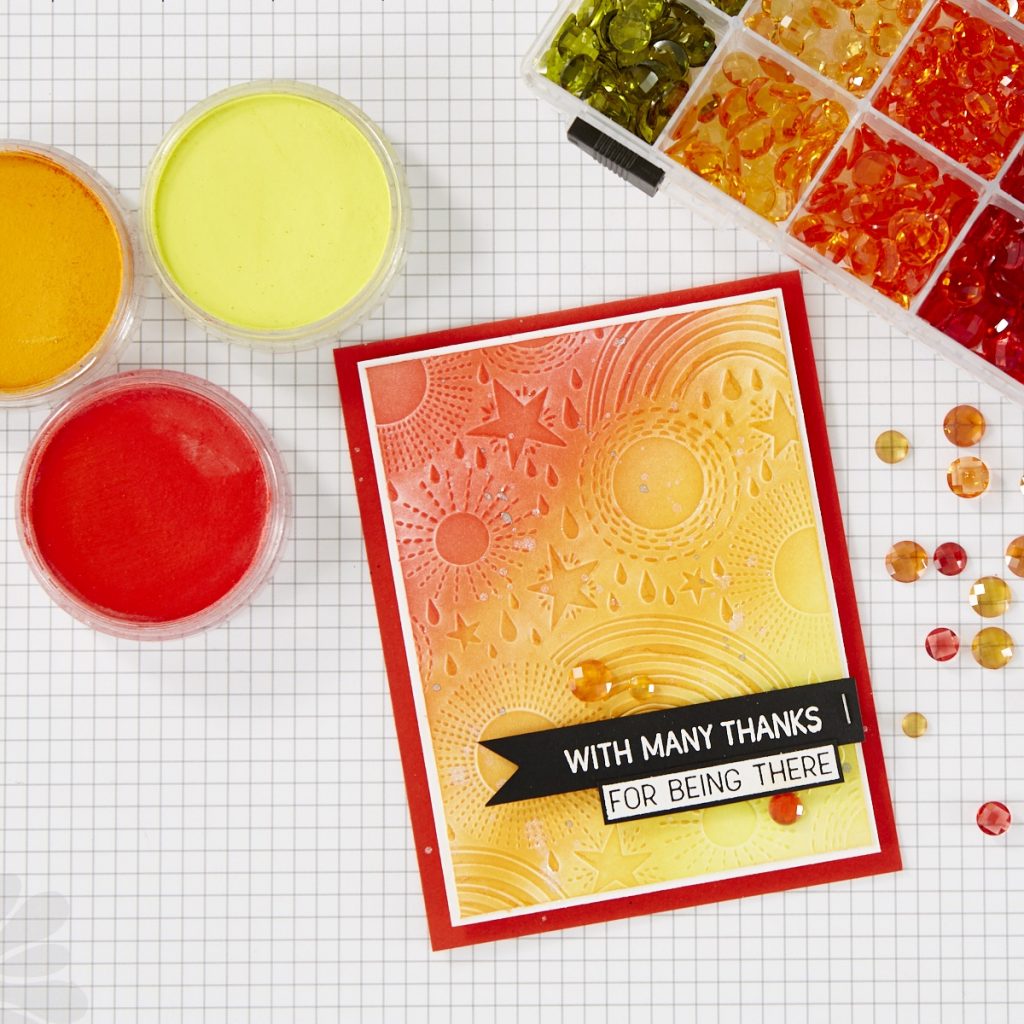
Last little detail - add Rainbow Drops! These sparkly transparent dots are a colorful detail to add to projects for one more pop of color! (To adhere them, use Glue Dots, or Journey Craft Glue - it dries clear!)
Check out Kim's entire T3 video (that's Tools, Tips and Techniques) to watch her make this project, and learn extra tips and tricks along the way. Subscribe to Fun Stampers Journey's YouTube channel so you don't miss any of our videos each week. They're filled with inspiration and techniques that you will LOVE.
Card Supplies: Letterboard Minis Stamp Set | Sunshine and Rainbows Embossing Folder | Party Pop PanPastels | Sofftt Tools |Rainbow Drops |























































































2 comments
The color will set after you let it sit for a bit. If its quite thick, (or you’re feeling impatient) you can spray it. We’ll never admit it, but some of our designers have been known to use hairspray in a pinch. ;)
Do love these but how do these set? Will they rub off? Setting spray?