Die D-Lites Inspiration | Dainty Florals Congratulations Cards with Laurie
on March 01, 2018

Die D-Lites Inspiration | Dainty Florals Congratulations Cards with Laurie

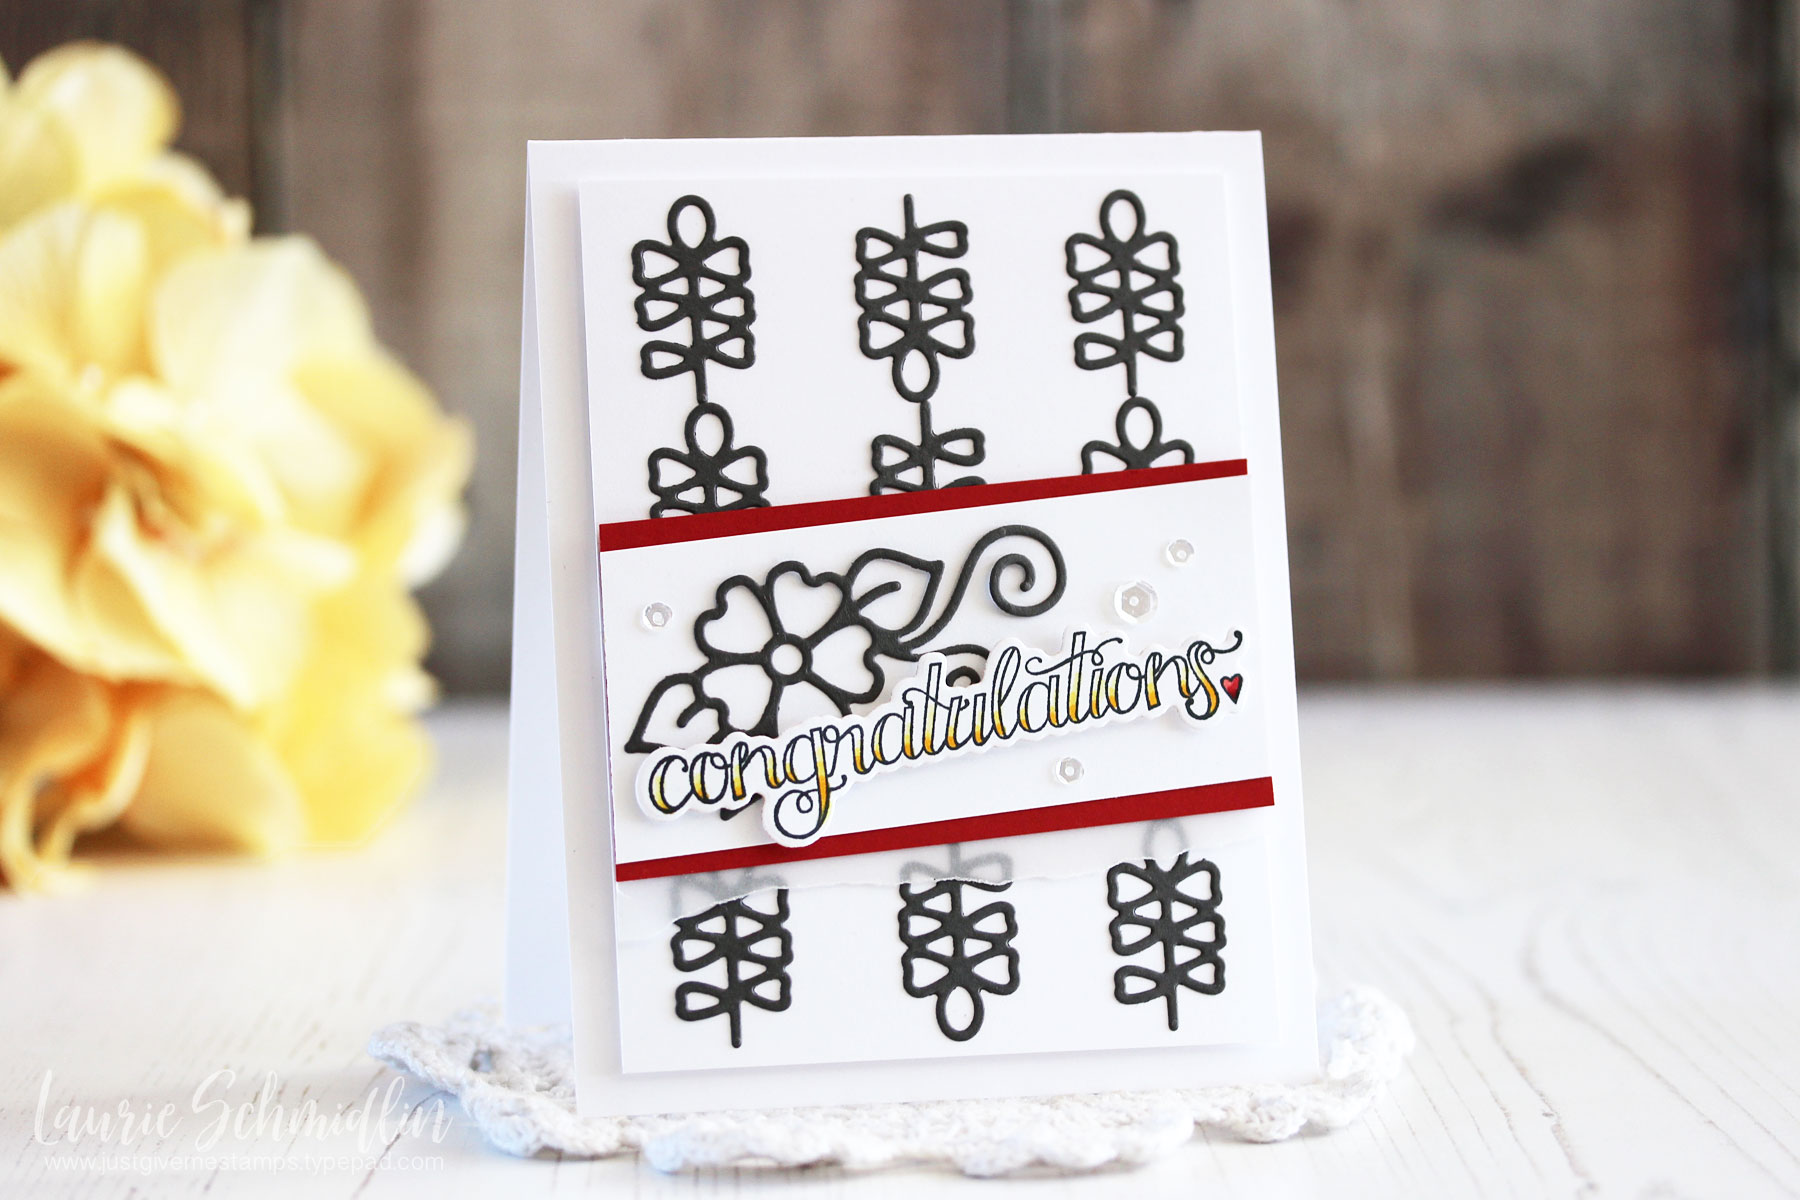
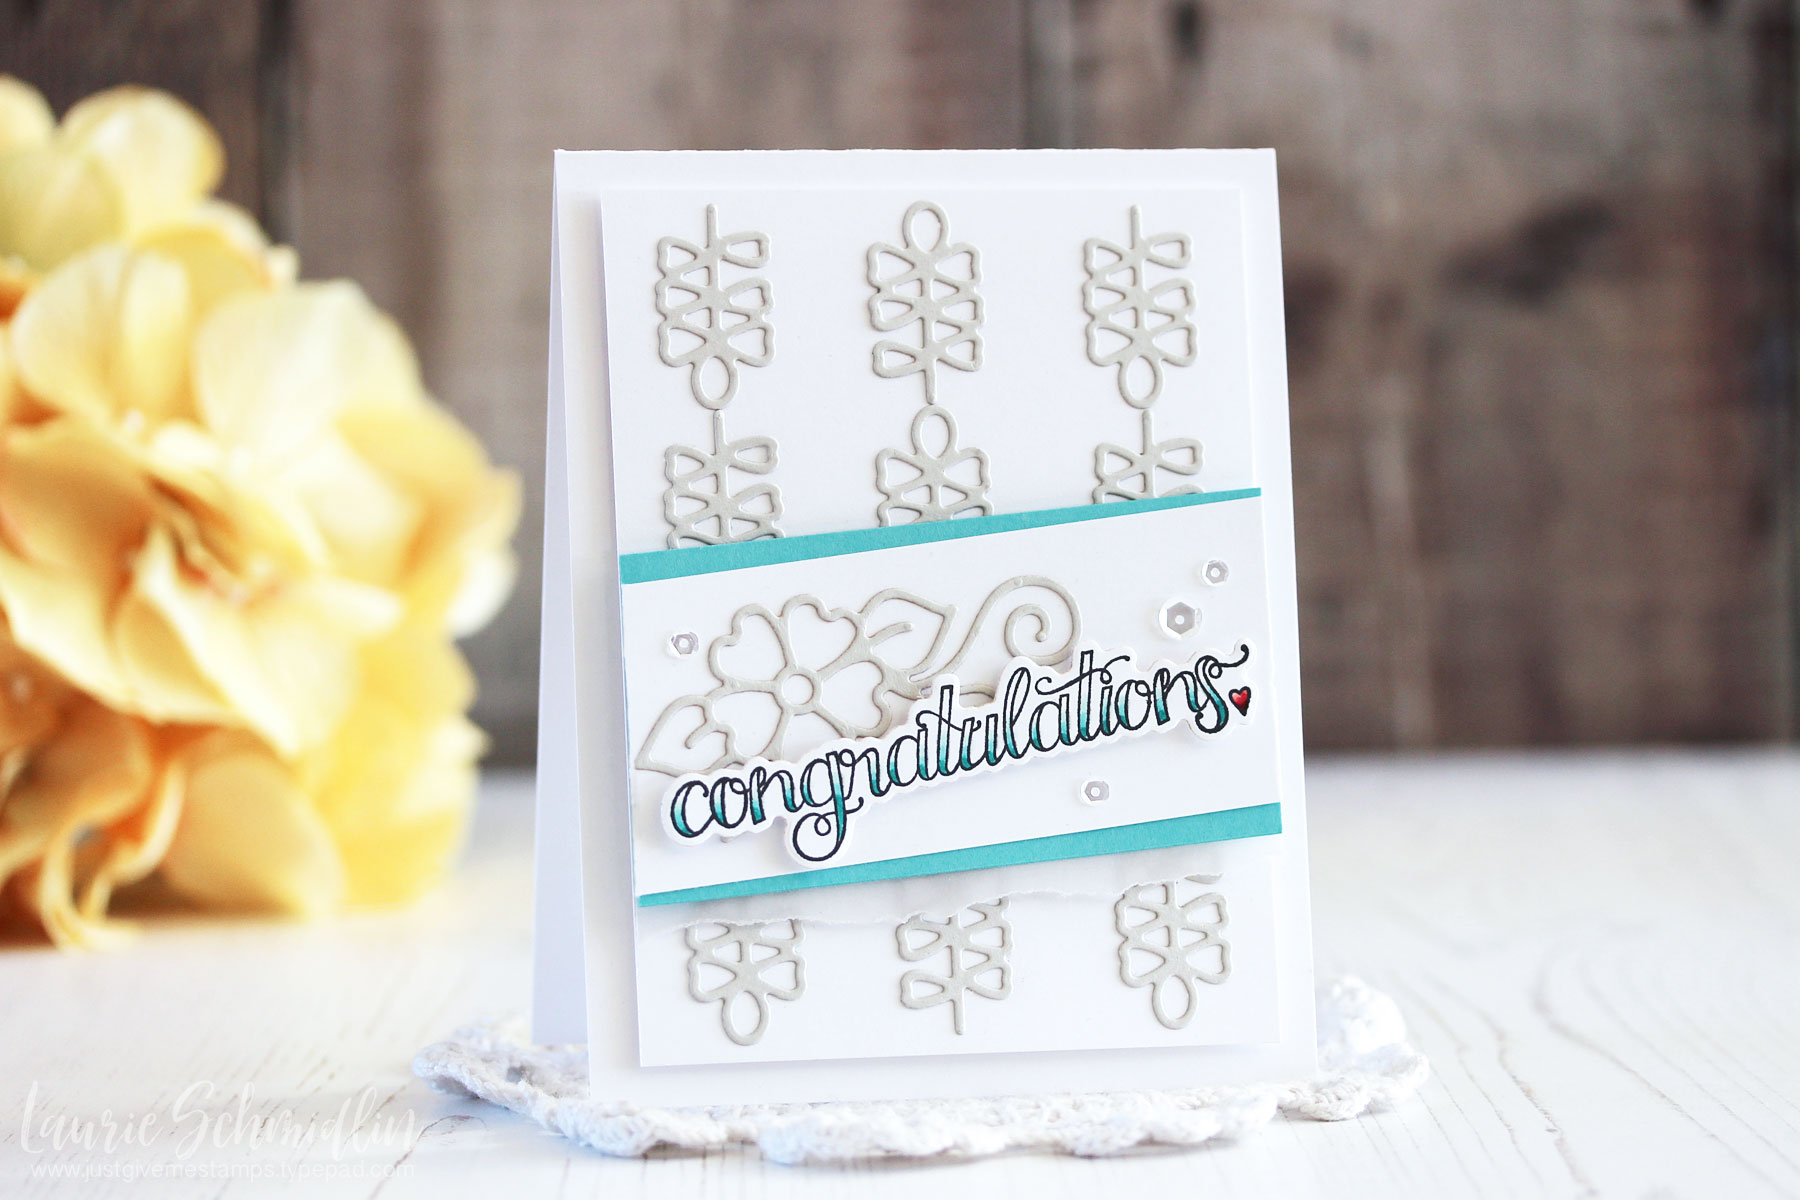
Hi there!  This is Laurie Schmidlin from Just Give Me Stamps and I'm excited to be guest posting here!  I'm always amazed at how much just tweaking the colors of a project can completely alter the look.  Today I will be sharing two cards with you, both the same in design but in different colors.
Die D-Lites Inspiration | Dainty Florals Congratulations Cards with Laurie for Spellbinders using:S2-293 Dainty Florals, SDS-106 Sentiments 1 #spellbinders #diecutting #handmadecard #stamping

For both of my cards, I am using dies from the new February Die D-Lites release.  I chose two dies from the Dainty Florals die set, one for the background and one for the focal image.

Die D-Lites Inspiration | Dainty Florals Congratulations Cards with Laurie for Spellbinders using:S2-293 Dainty Florals, SDS-106 Sentiments 1 #spellbinders #diecutting #handmadecard #stamping

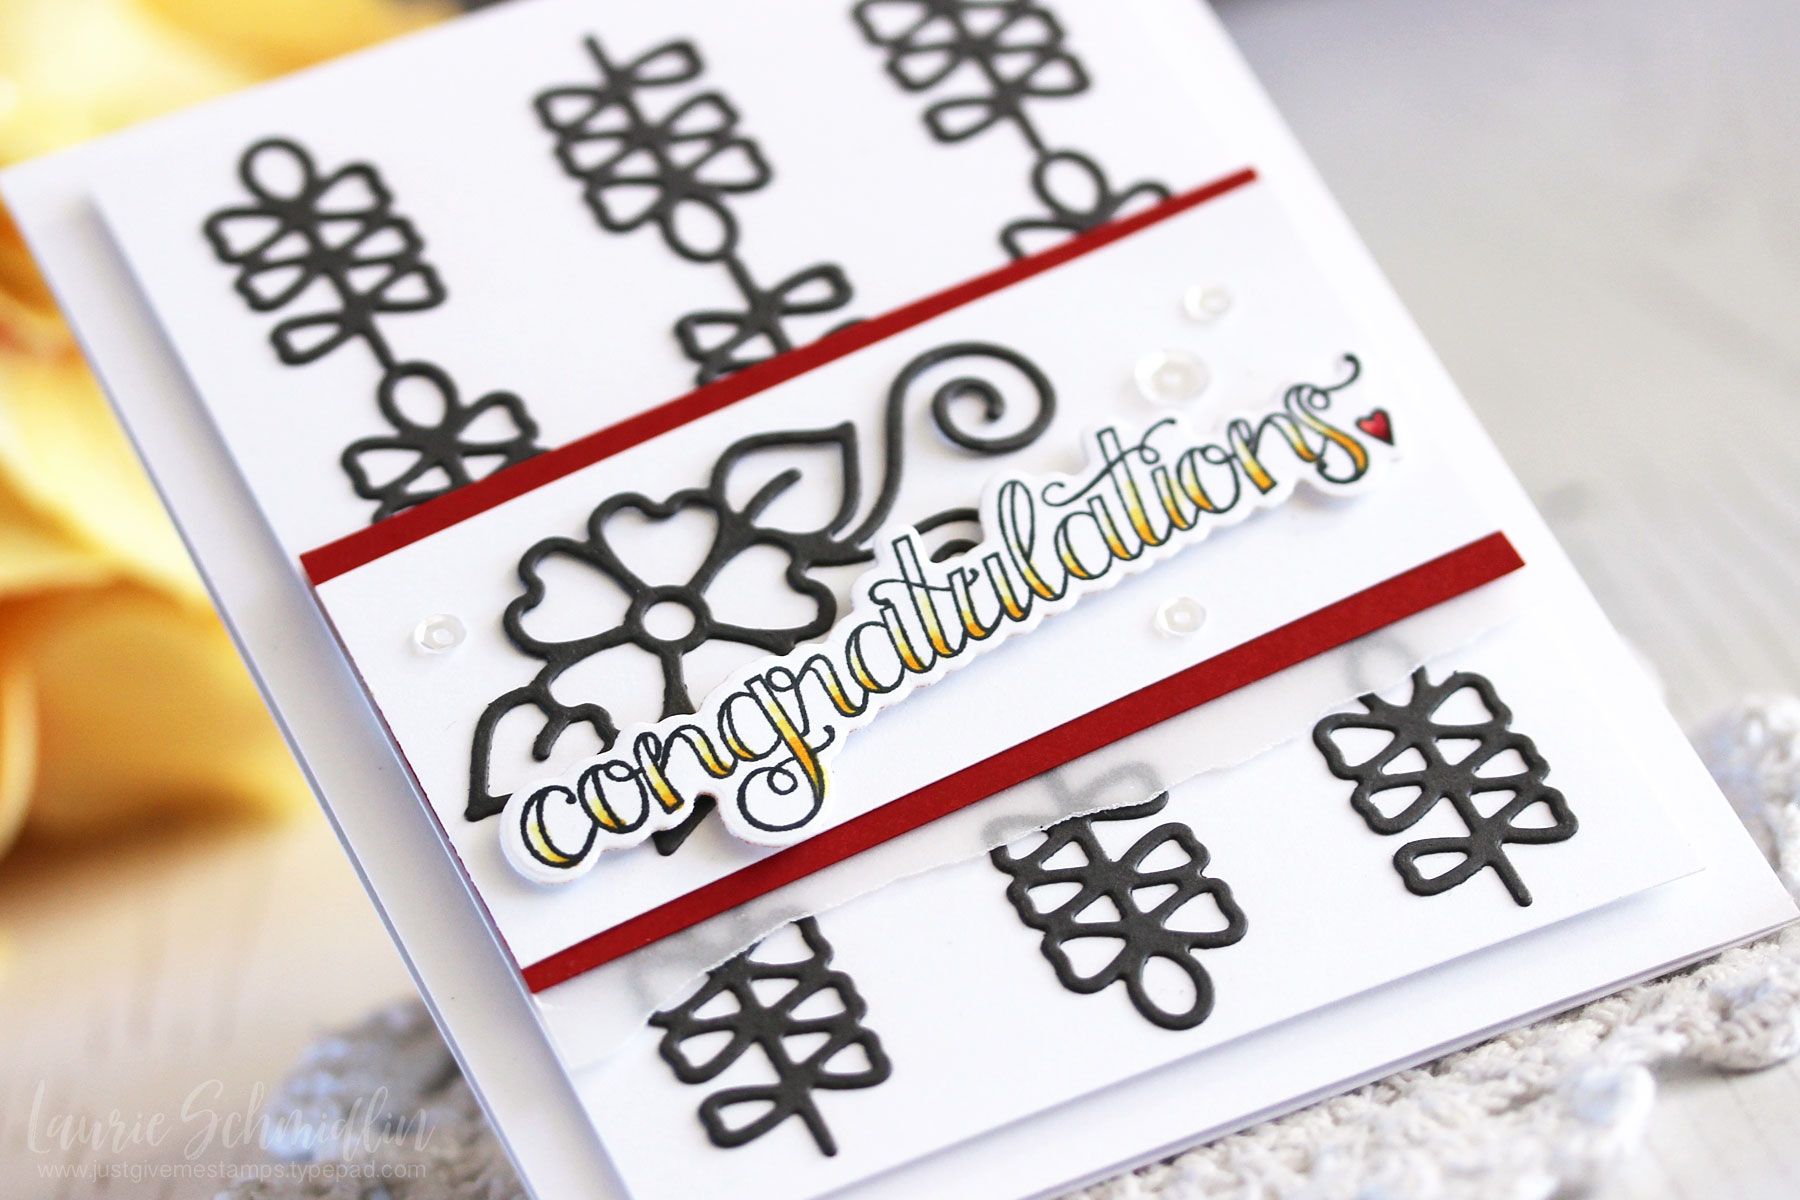
I die cut the the seven petal bloom multiple times out of light gray cardstock and adhered them on the white background layer.  For the focal image, I die cut the cut the five petal flower out of the same light gray cardstock.  The sentiment is from the Happy Grams #4 stamp and die ensemble.  After I stamped the sentiment, I partially colored it in to create an ombre look.

Die D-Lites Inspiration | Dainty Florals Congratulations Cards with Laurie for Spellbinders using:S2-293 Dainty Florals, SDS-106 Sentiments 1 #spellbinders #diecutting #handmadecard #stamping

My next card is the same exact design as the first one.  I swapped out the light colors for bolder ones.  Instead of the light gray for the die cuts, I chose a dark gray.  I used yellow and red as accent colors. On both cards I added some sequins and a bit of torn vellum as accents.

Die D-Lites Inspiration | Dainty Florals Congratulations Cards with Laurie for Spellbinders using:S2-293 Dainty Florals, SDS-106 Sentiments 1 #spellbinders #diecutting #handmadecard #stamping

Spellbinders Supplies:

Other Supplies:

Stamper's Select White Cardstock, Pure Poppy Cardstock, Hawaiian Shores Cardstock, Vellum cardstock (Papertrey Ink); Sequins (Studio Katia), Copic Markers; Foam Adhesive (3M); Connect Liquid Glue (Gina K. Designs) Thank you so much for joining me here today!

Leave a comment

Your email will not be published. Please note, comments need to be approved before they are published.


  • HOW TO USE PRESS PLATES WITH MULTIPLE INKS | CREATE YOUR WAY HOLIDAY, BPR-050, BPI-049, BPI-003

    BP-001

    How to Use Multiple Ink Colors with BetterPress Registration Plates

    Create a colorful Christmas card while learning how to apply multiple ink colors to BetterPress registration plates. In this detailed tutorial, you’ll use the Festive Evergreens Registration Press + Foil Plate & Die Set to press a holiday doorway scene in three colors, combining the built-in registration system with a simple masking technique. The registration template positions the coordinating plates so each layer aligns with...

  • How to Make a Colorful Foiled Butterfly Card with Glimmer II

    BP-351

    How to Make a Colorful Foiled Butterfly Card with Glimmer II

    Combine hot foiling, alcohol-marker coloring, ink blending, and dimensional shaping to create a colorful butterfly card that sparkles from every angle. In this step-by-step tutorial, you’ll learn how to foil detailed butterflies and a floral background with the Glimmer II Hot Foil System, add bold color, and shape the butterfly wings for a realistic raised effect. The Bright Butterflies and Thanks In Bloom Press +...

  • How to Heat Emboss with BetterPress Plates: Snowman Christmas Card

    BP-001

    How to Heat Emboss with BetterPress Plates: Snowman Christmas Card

    BetterPress plates can do more than create letterpress impressions and hot-foiled designs. In this detailed Christmas card tutorial, you’ll learn how to apply clear sticky ink to a BetterPress plate and use white embossing powder to produce a crisp, heat-embossed snowflake background. The tutorial also covers pressing and die cutting a sentiment, assembling three detailed snowmen, and arranging the finished elements on an A2 card....