


Posted by Spellbinders Team
on July 29, 2016

How adorable are these? Best part? You can make them too, and they are a cinch! Literally, these take less than a minute to make!

 When I ran my first piece of leather through this fabulous machine, my jaw dropped. It cut through this rather thick piece of leather like buttah! SO naturally I decided to try pushing the limits and layered two pieces of leather, and again – like butter! (That’s two leather bows with one quick roll through the machine!)
I am so excited to walk you through the steps!
Here’s what you are going to need:
Platinum 6 Die Cutting and Embossing Machine
Spellbinders “Bow-tique” steel rule die
Leather
Hot temp glue gun and sticks
Alligator clips
Step 1: Create your sandwich. From the bottom up you will layer the following. Clear cutting plate, die facing up, leather finished side down, clear cutting plate.
When I ran my first piece of leather through this fabulous machine, my jaw dropped. It cut through this rather thick piece of leather like buttah! SO naturally I decided to try pushing the limits and layered two pieces of leather, and again – like butter! (That’s two leather bows with one quick roll through the machine!)
I am so excited to walk you through the steps!
Here’s what you are going to need:
Platinum 6 Die Cutting and Embossing Machine
Spellbinders “Bow-tique” steel rule die
Leather
Hot temp glue gun and sticks
Alligator clips
Step 1: Create your sandwich. From the bottom up you will layer the following. Clear cutting plate, die facing up, leather finished side down, clear cutting plate.
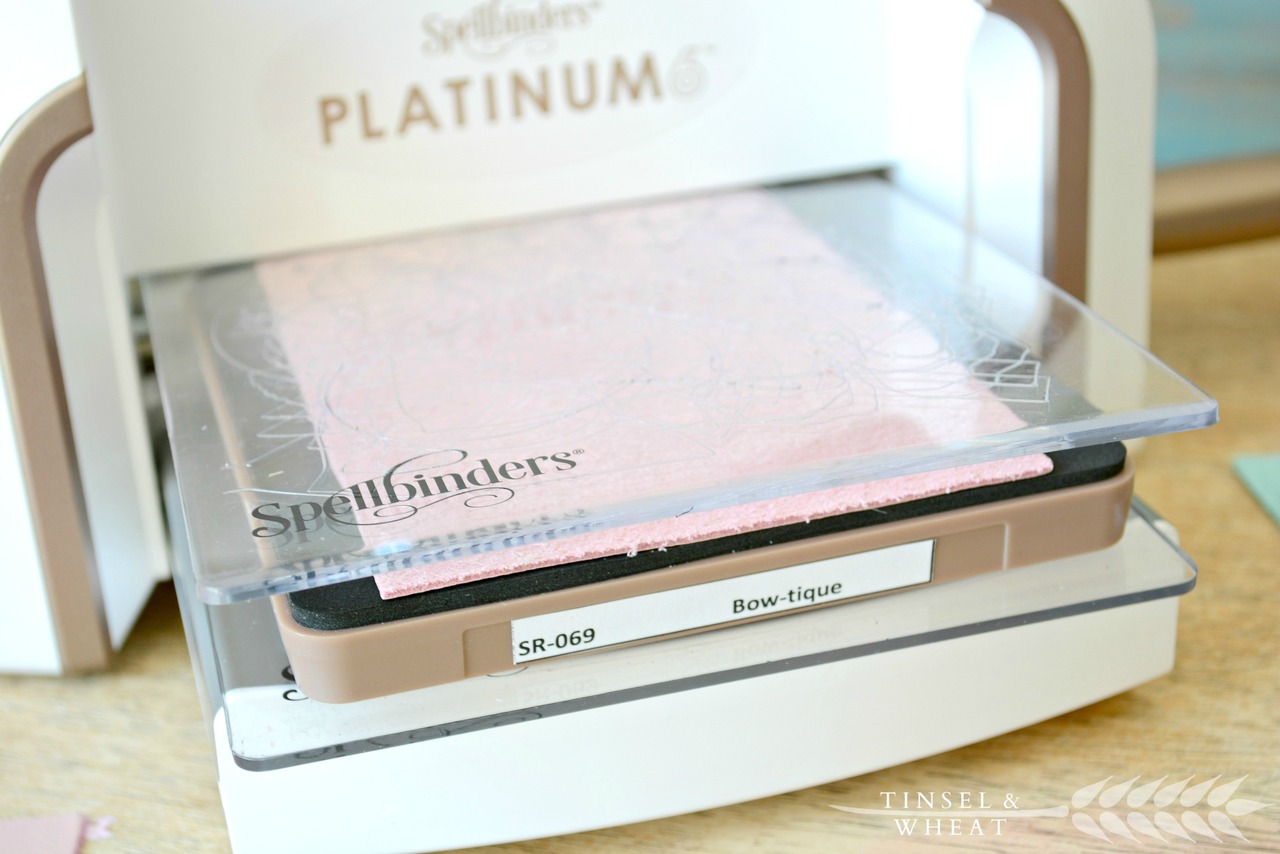 Step 2: Roll it through! Then pick your jaw up off of the table – from the shock – it’s that smooth and EASY! (Here I am doing with my broken hand – hot pink cast and all!)
***You’ll see that my plates are no longer lined up in this picture and it will ruin the cut if you’re not careful, so please learn from my mistake and make sure your plates stay aligned once you’ve begun to roll your stack through your machine***
Step 2: Roll it through! Then pick your jaw up off of the table – from the shock – it’s that smooth and EASY! (Here I am doing with my broken hand – hot pink cast and all!)
***You’ll see that my plates are no longer lined up in this picture and it will ruin the cut if you’re not careful, so please learn from my mistake and make sure your plates stay aligned once you’ve begun to roll your stack through your machine***
 Step 3: Assemble your bow.
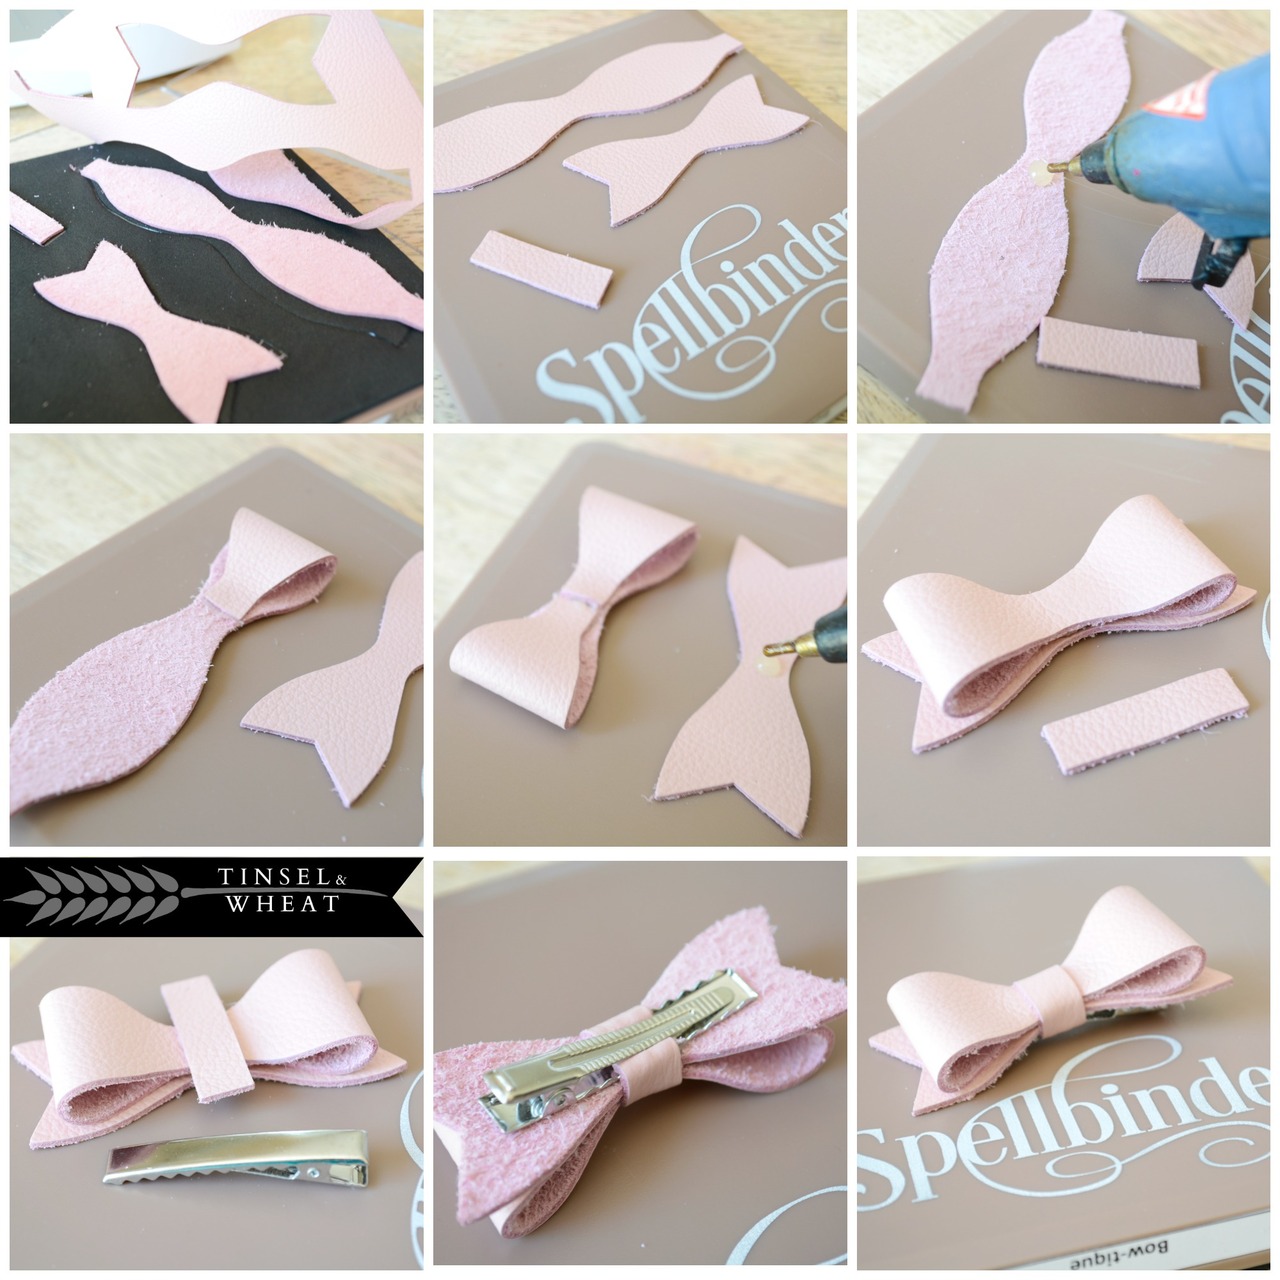 Step 4: Clip them into the nearest head of hair you can find!
Another option is to add these to elastic, to be used as headbands.
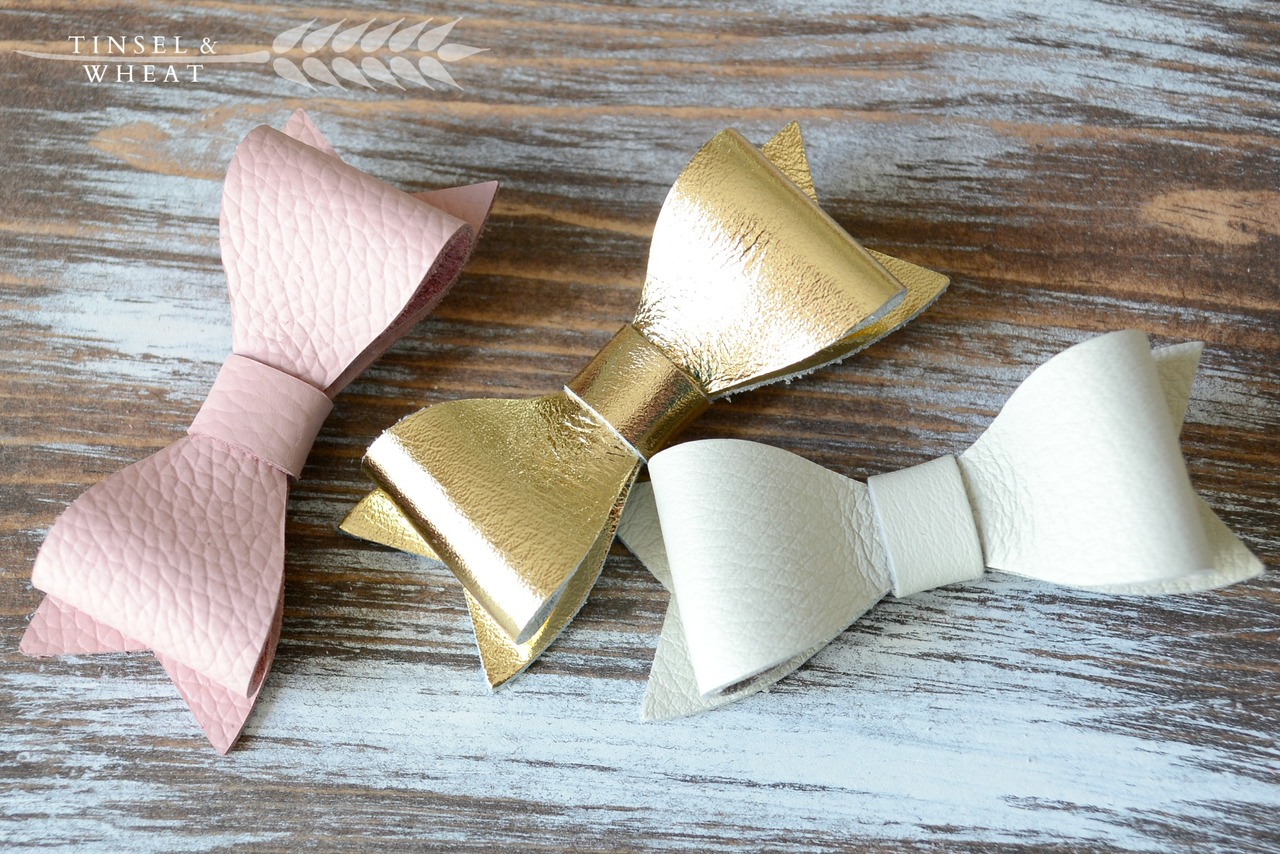
These make the best gifts for girls of all ages AND how cute would one of these be, as a bow tie for boys with a little elastic or bow clip attachment!?
Step 4: Clip them into the nearest head of hair you can find!
Another option is to add these to elastic, to be used as headbands.
These make the best gifts for girls of all ages AND how cute would one of these be, as a bow tie for boys with a little elastic or bow clip attachment!?
 - Miranda from Tinsel & Wheat
 Pre-Order Your Platinum 6™ and get a FREE So Tweet Steel Rule Die ($21.99 Value!)
When I ran my first piece of leather through this fabulous machine, my jaw dropped. It cut through this rather thick piece of leather like buttah! SO naturally I decided to try pushing the limits and layered two pieces of leather, and again – like butter! (That’s two leather bows with one quick roll through the machine!)
I am so excited to walk you through the steps!
Here’s what you are going to need:
Platinum 6 Die Cutting and Embossing Machine
Spellbinders “Bow-tique” steel rule die
Leather
Hot temp glue gun and sticks
Alligator clips
Step 1: Create your sandwich. From the bottom up you will layer the following. Clear cutting plate, die facing up, leather finished side down, clear cutting plate.
Step 2: Roll it through! Then pick your jaw up off of the table – from the shock – it’s that smooth and EASY! (Here I am doing with my broken hand – hot pink cast and all!)
***You’ll see that my plates are no longer lined up in this picture and it will ruin the cut if you’re not careful, so please learn from my mistake and make sure your plates stay aligned once you’ve begun to roll your stack through your machine***
Step 3: Assemble your bow.
Step 4: Clip them into the nearest head of hair you can find!
Another option is to add these to elastic, to be used as headbands.
These make the best gifts for girls of all ages AND how cute would one of these be, as a bow tie for boys with a little elastic or bow clip attachment!?
- Miranda from Tinsel & Wheat
Pre-Order Your Platinum 6™ and get a FREE So Tweet Steel Rule Die ($21.99 Value!)























































































1 comment
Hello!! I am venturing out and starting to make these adorable bows! Where did you purchase your leather? I’m looking everywhere and can not find the metallic colors I want. (Like the gold) Thanks for replying!
Morgan