Elegant 3D Vignettes Inspiration | Birthday Card with Melissa
on March 11, 2018

Elegant 3D Vignettes Inspiration | Birthday Card with Melissa

Hello!  Melissa Phillips here and I’m so happy to join you again using more of the beautiful 3D Vignettes Dies from Becca Feeken. I had a lot of fun creating this birthday card using these fabulous, layered dies.
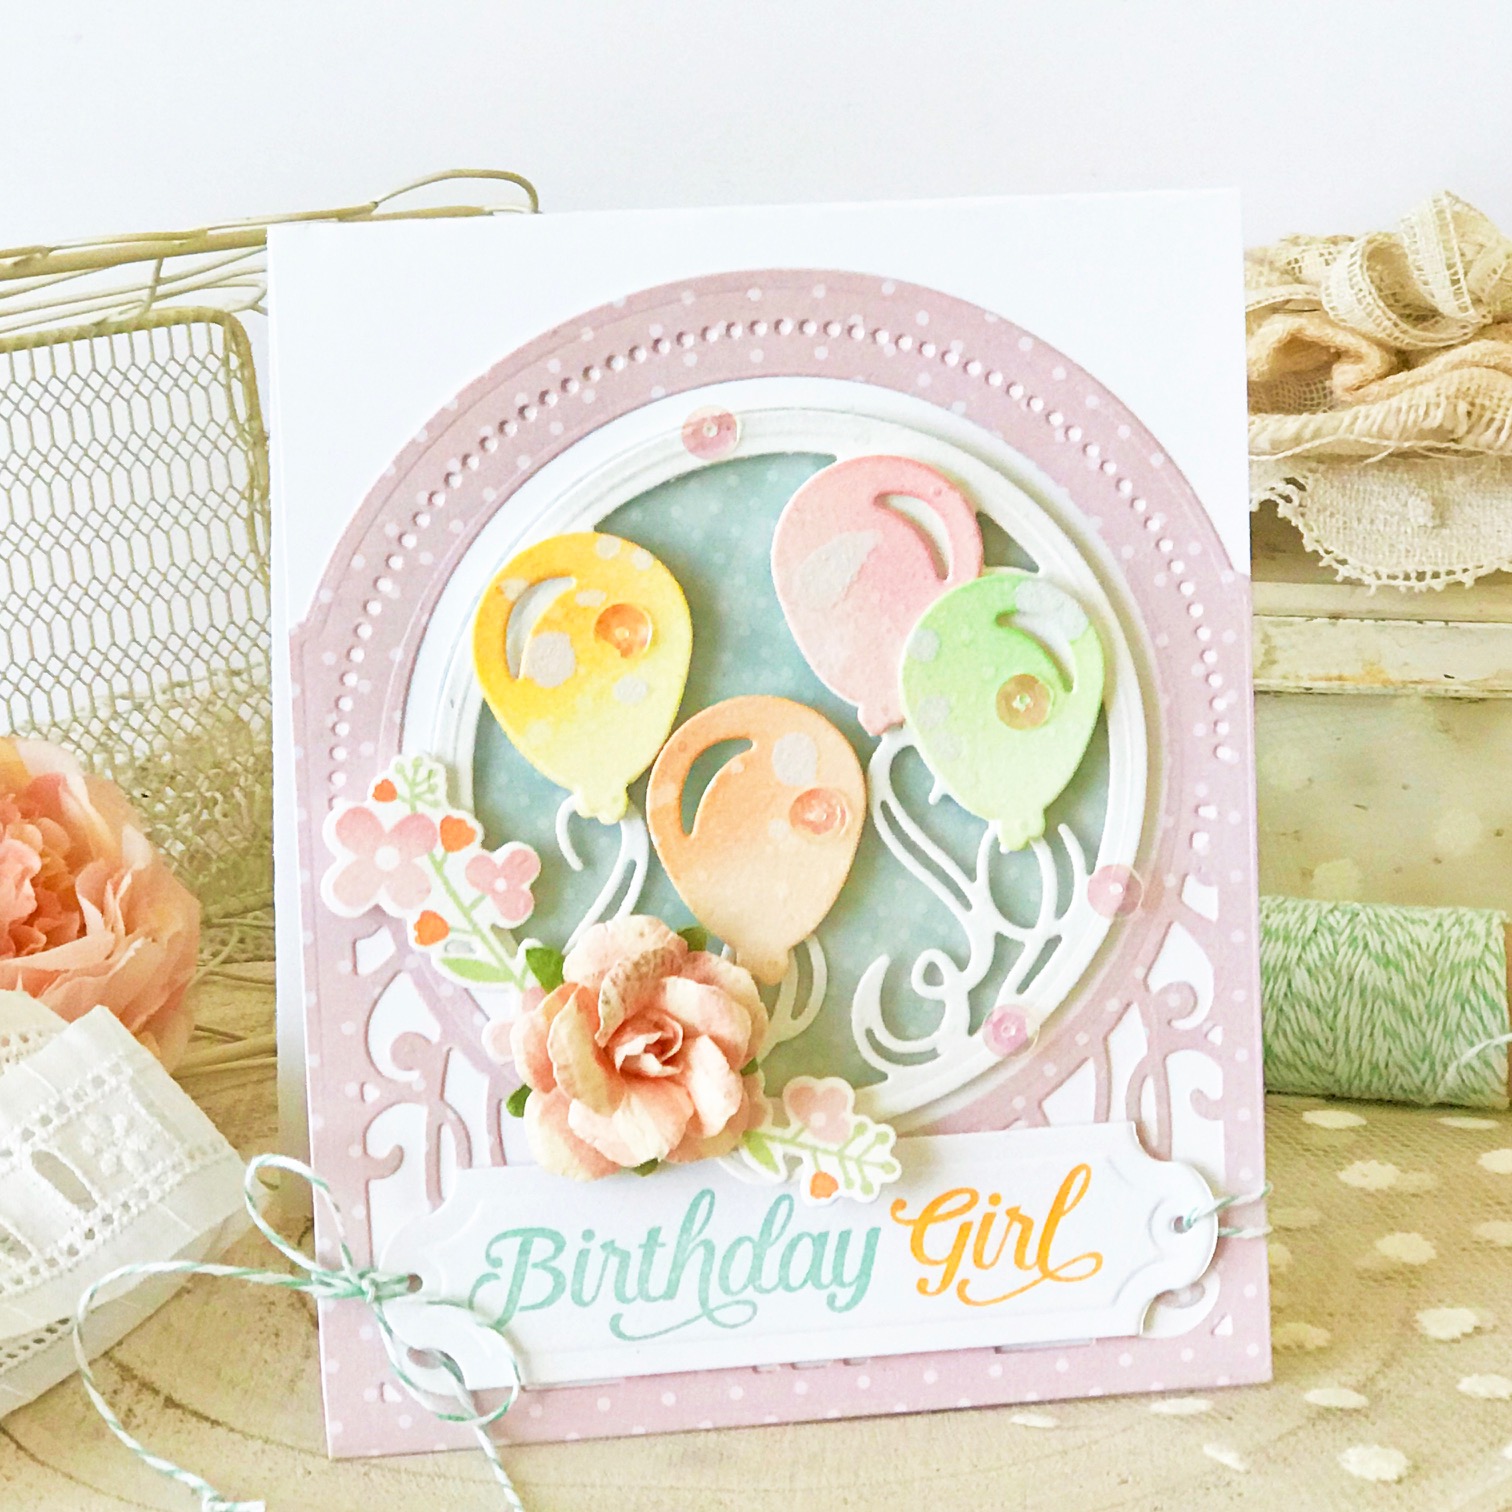
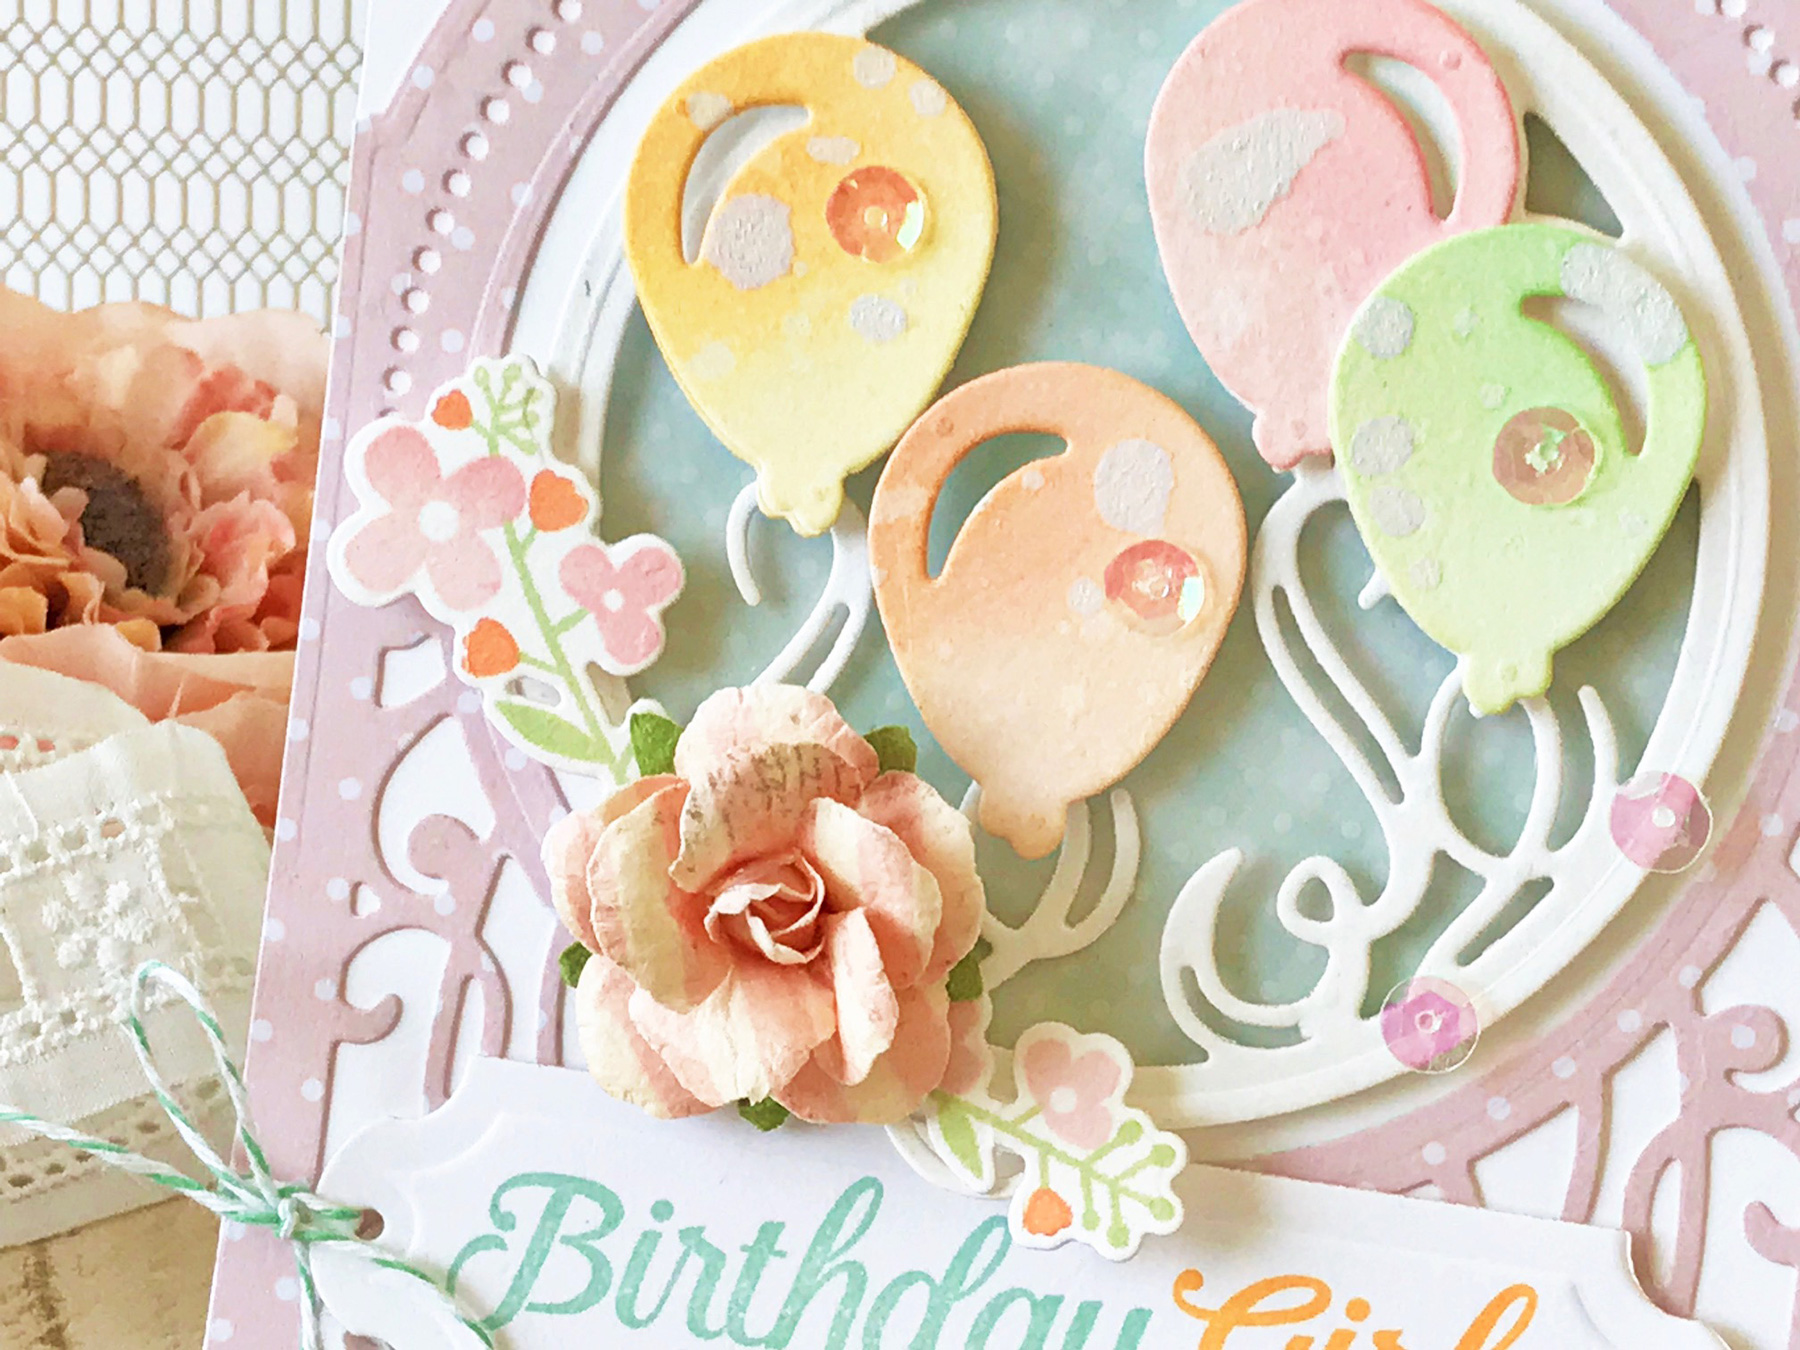
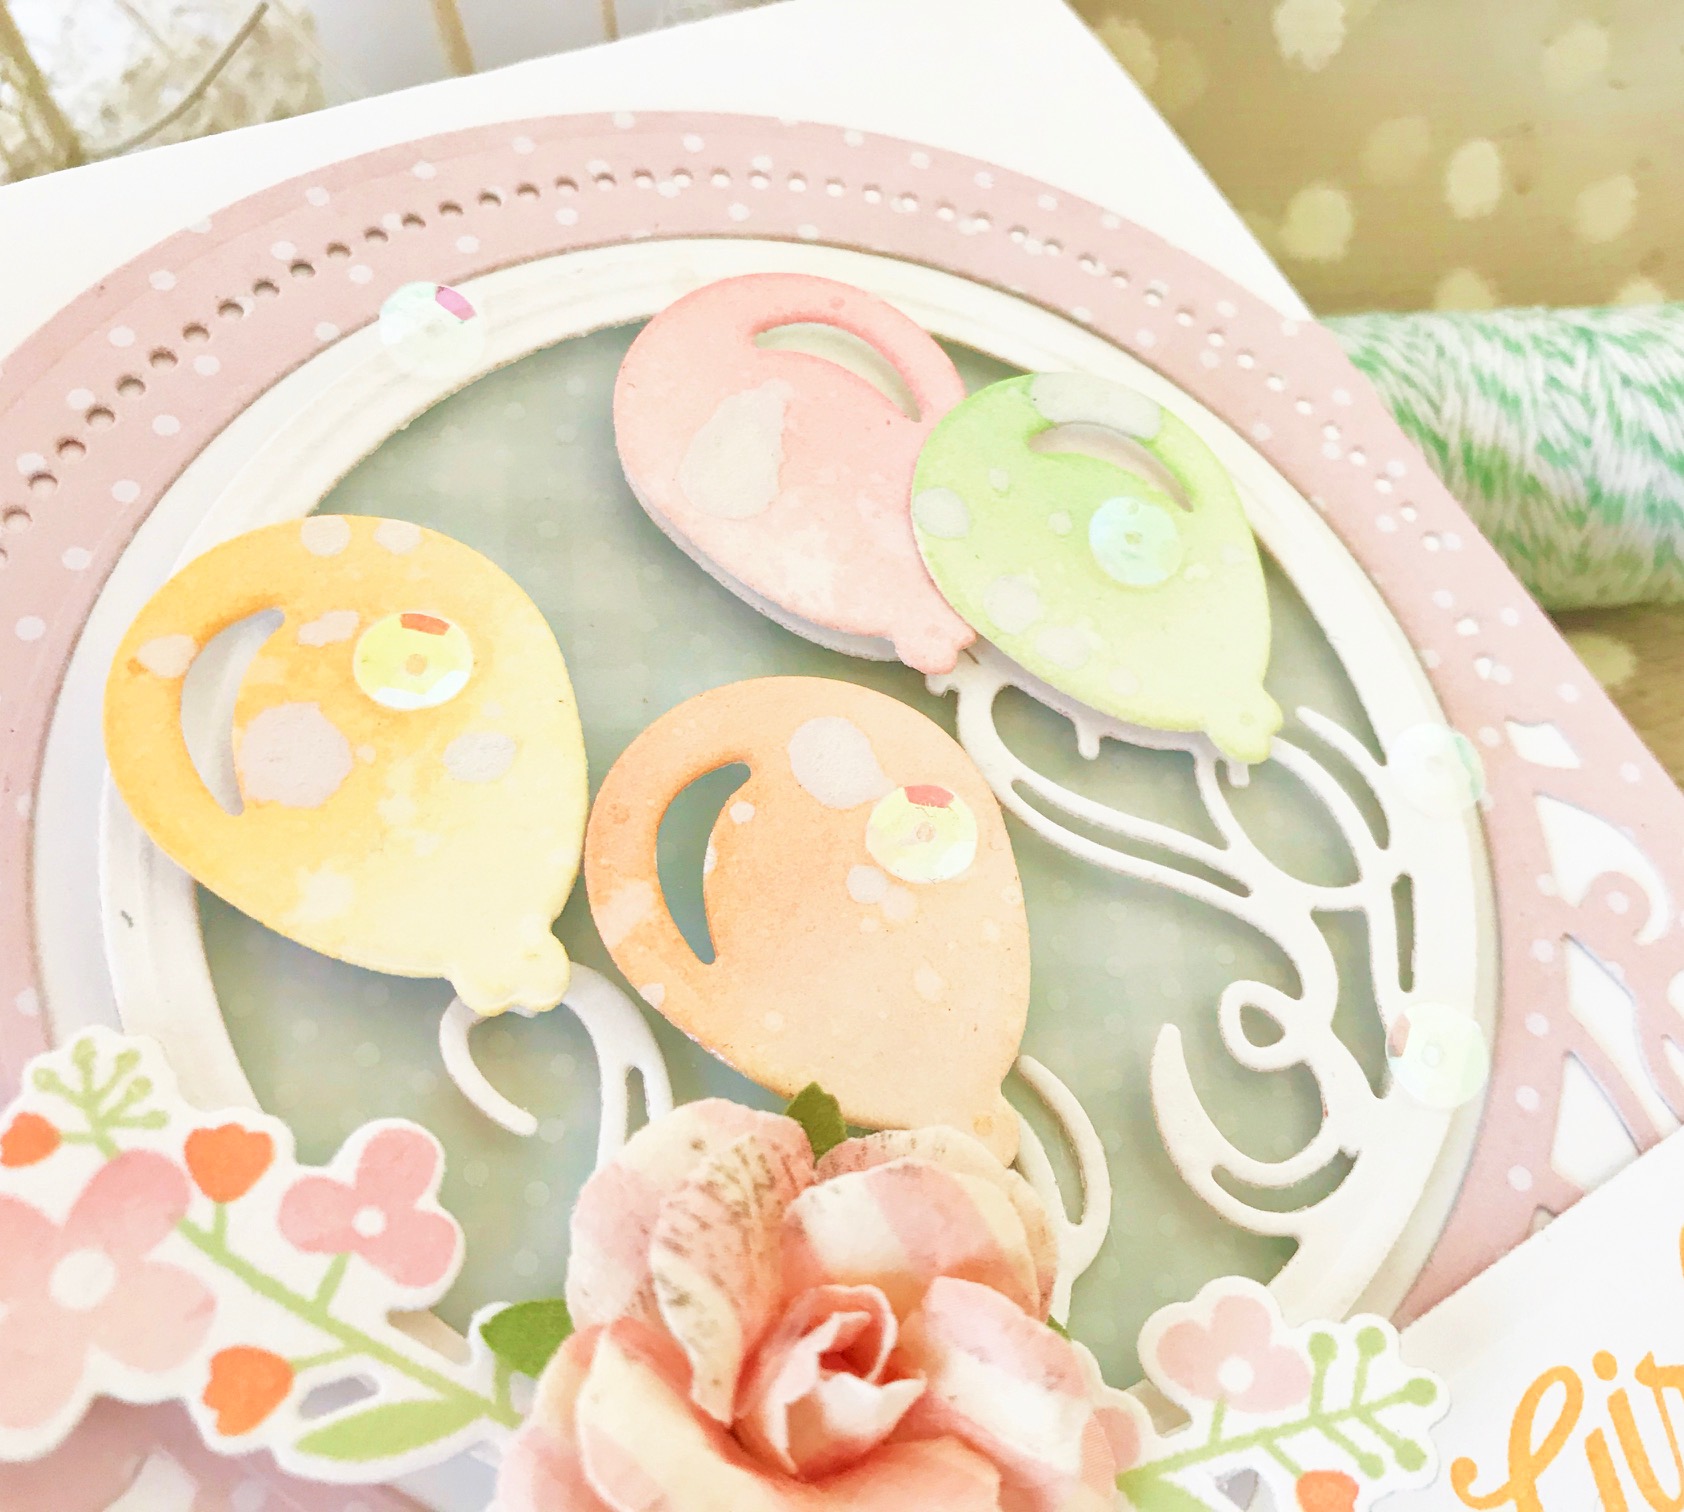
Elegant 3D Vignettes Collection by Becca Feeken - Inspiration | Birthday Card with Melissa for Spellbinders using SDS-116 Oh Happy Day, S6-136 Grand Dome 3D Card, S5-345 Layered Happy Birthday #cardmaking #birthdaycard #handmadecard #diecutting

Birthday cards are among my most favorite cards to create, and I just knew the tiny balloons in the Layered Happy Birthday Etched 3D Vignettes Dies would create something special.

Elegant 3D Vignettes Collection by Becca Feeken - Inspiration | Birthday Card with Melissa for Spellbinders using SDS-116 Oh Happy Day, S6-136 Grand Dome 3D Card, S5-345 Layered Happy Birthday #cardmaking #birthdaycard #handmadecard #diecutting

I die cut my balloons and layered circle from watercolor cardstock.  I blended ink using a foam applicator over each balloon in pastel colors.  I then added a bit of water to create a soft, ethereal look.  Once the balloons were dry, I adhered them over my die cut circle using dimensional adhesive, embellishing with sequins.

Elegant 3D Vignettes Collection by Becca Feeken - Inspiration | Birthday Card with Melissa for Spellbinders using SDS-116 Oh Happy Day, S6-136 Grand Dome 3D Card, S5-345 Layered Happy Birthday #cardmaking #birthdaycard #handmadecard #diecutting

I then layered my focal point over pattered paper cut using the beautiful Grand Dome 3D Vignettes Etched Dies.  I added my sentiment using stamps and a die cut banner from the Oh Happy Day Elegant 3D Vignettes collection.

Spellbinders Supplies:

Other supplies:

Patterned paper: My Favorite Things and Prima; Cardstock:  Bazzill Basics; Vellum:  Papertrey Ink; Flower Stamps and Ink:  Papertrey Ink; Paper Flower:  Prima;  Twine:  Martha Stewart Crafts; Adhesive:  Beacon and Tombow The multiple layers created using these dies create such memorable and special cards…you’ll love creating with them! Thank you for visiting! Melissa

Leave a comment

Your email will not be published. Please note, comments need to be approved before they are published.


  • HOW TO USE PRESS PLATES WITH MULTIPLE INKS | CREATE YOUR WAY HOLIDAY, BPR-050, BPI-049, BPI-003

    BP-001

    How to Use Multiple Ink Colors with BetterPress Registration Plates

    Create a colorful Christmas card while learning how to apply multiple ink colors to BetterPress registration plates. In this detailed tutorial, you’ll use the Festive Evergreens Registration Press + Foil Plate & Die Set to press a holiday doorway scene in three colors, combining the built-in registration system with a simple masking technique. The registration template positions the coordinating plates so each layer aligns with...

  • How to Make a Colorful Foiled Butterfly Card with Glimmer II

    BP-351

    How to Make a Colorful Foiled Butterfly Card with Glimmer II

    Combine hot foiling, alcohol-marker coloring, ink blending, and dimensional shaping to create a colorful butterfly card that sparkles from every angle. In this step-by-step tutorial, you’ll learn how to foil detailed butterflies and a floral background with the Glimmer II Hot Foil System, add bold color, and shape the butterfly wings for a realistic raised effect. The Bright Butterflies and Thanks In Bloom Press +...


  • How to Heat Emboss with BetterPress Plates: Snowman Christmas Card

    BP-001

    How to Heat Emboss with BetterPress Plates: Snowman Christmas Card

    BetterPress plates can do more than create letterpress impressions and hot-foiled designs. In this detailed Christmas card tutorial, you’ll learn how to apply clear sticky ink to a BetterPress plate and use white embossing powder to produce a crisp, heat-embossed snowflake background. The tutorial also covers pressing and die cutting a sentiment, assembling three detailed snowmen, and arranging the finished elements on an A2 card....