Glimmer Hot Foil Inspiration | Foiled Cards with Brenda
on February 20, 2019

Glimmer Hot Foil Inspiration | Foiled Cards with Brenda

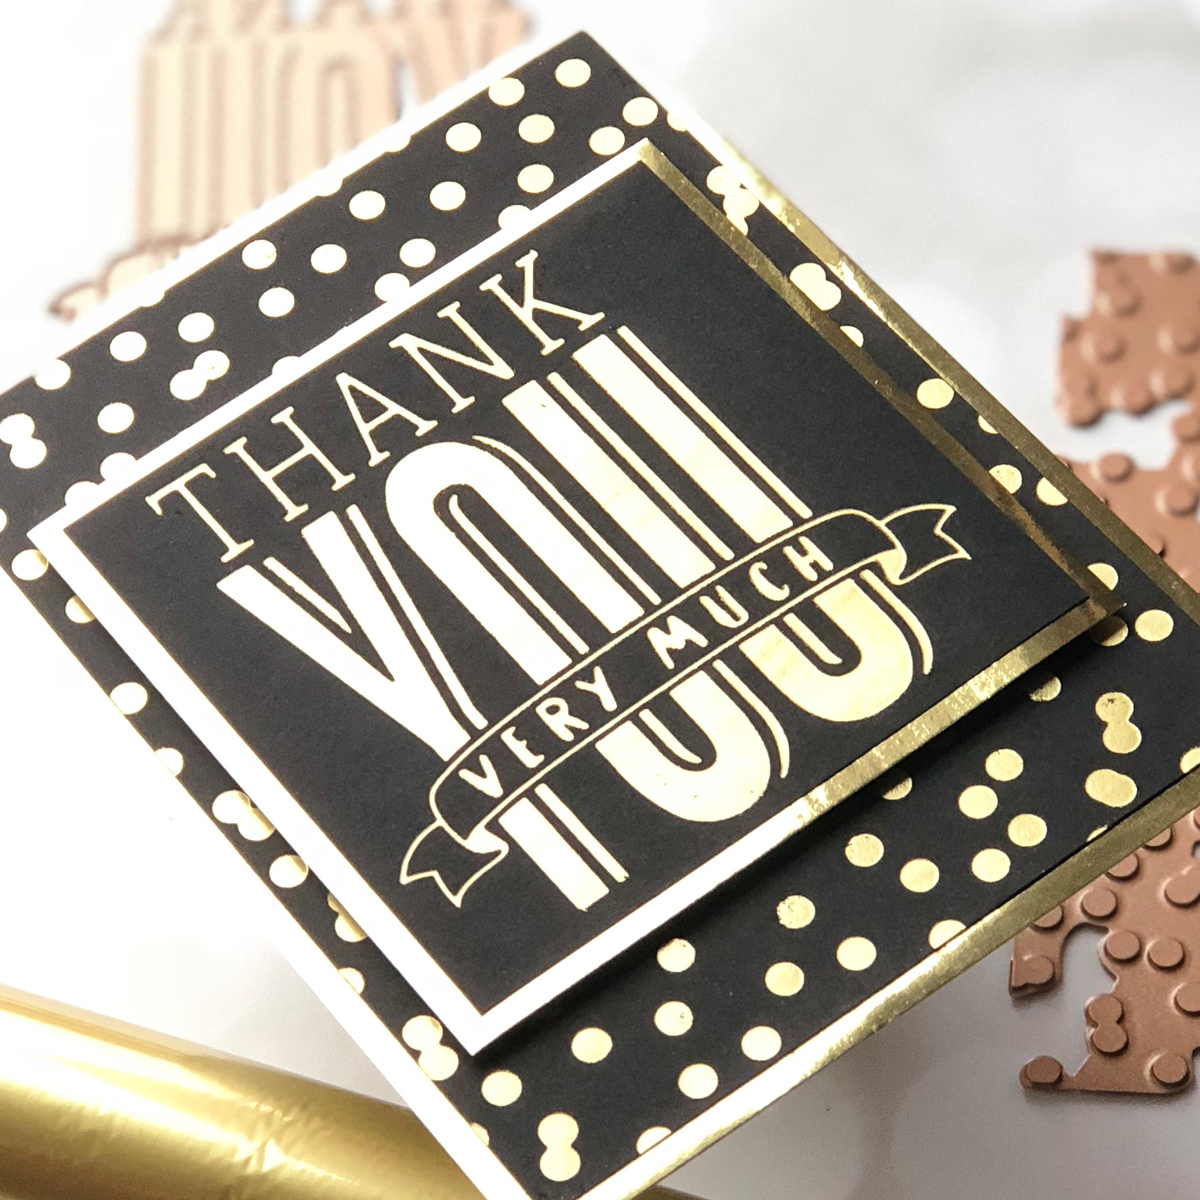
Hello everyone!! This is Brenda, from MyPaperCut Creations. I am absolutely thrilled to be guest posting for Spellbinders today!! I have three cards to share that showcase the festive Glimmer Plates January 2019 Release!! I am really getting the hang of using the Glimmer Hot Foil System!! The foil is such a nice touch on handmade cards! A couple of weeks ago, I needed a thank you card. Sounds pretty simple, right? Except I needed one for a guy. I had plenty of thank you cards in my stash, but they were all feminine. I couldn’t send a floral card to this man. So I decided to make my first card a little more masculine. However, I think it could be used for anyone.

Spellbinders Glimmer Hot Foil Inspiration | Foiled Cards with Brenda. Masculine Foiled Thank You Card

The black cardstock with the Matte Gold Foil is so striking and classy.

Spellbinders Glimmer Hot Foil Inspiration | Foiled Cards with Brenda. Masculine Foiled Thank You Card

I started by hot foiling the Thank You Very Much Glimmer Hot Foil Plate and the Scattered Dot Pattern Glimmer Hot Foil Plate onto black cardstock using Matte Gold Foil. Both of the panels were trimmed and matted with gold metallic cardstock. The smaller square with the sentiment was popped up using fun foam for added dimension.

Spellbinders Glimmer Hot Foil Inspiration | Foiled Cards with Brenda. Masculine Foiled Thank You Card

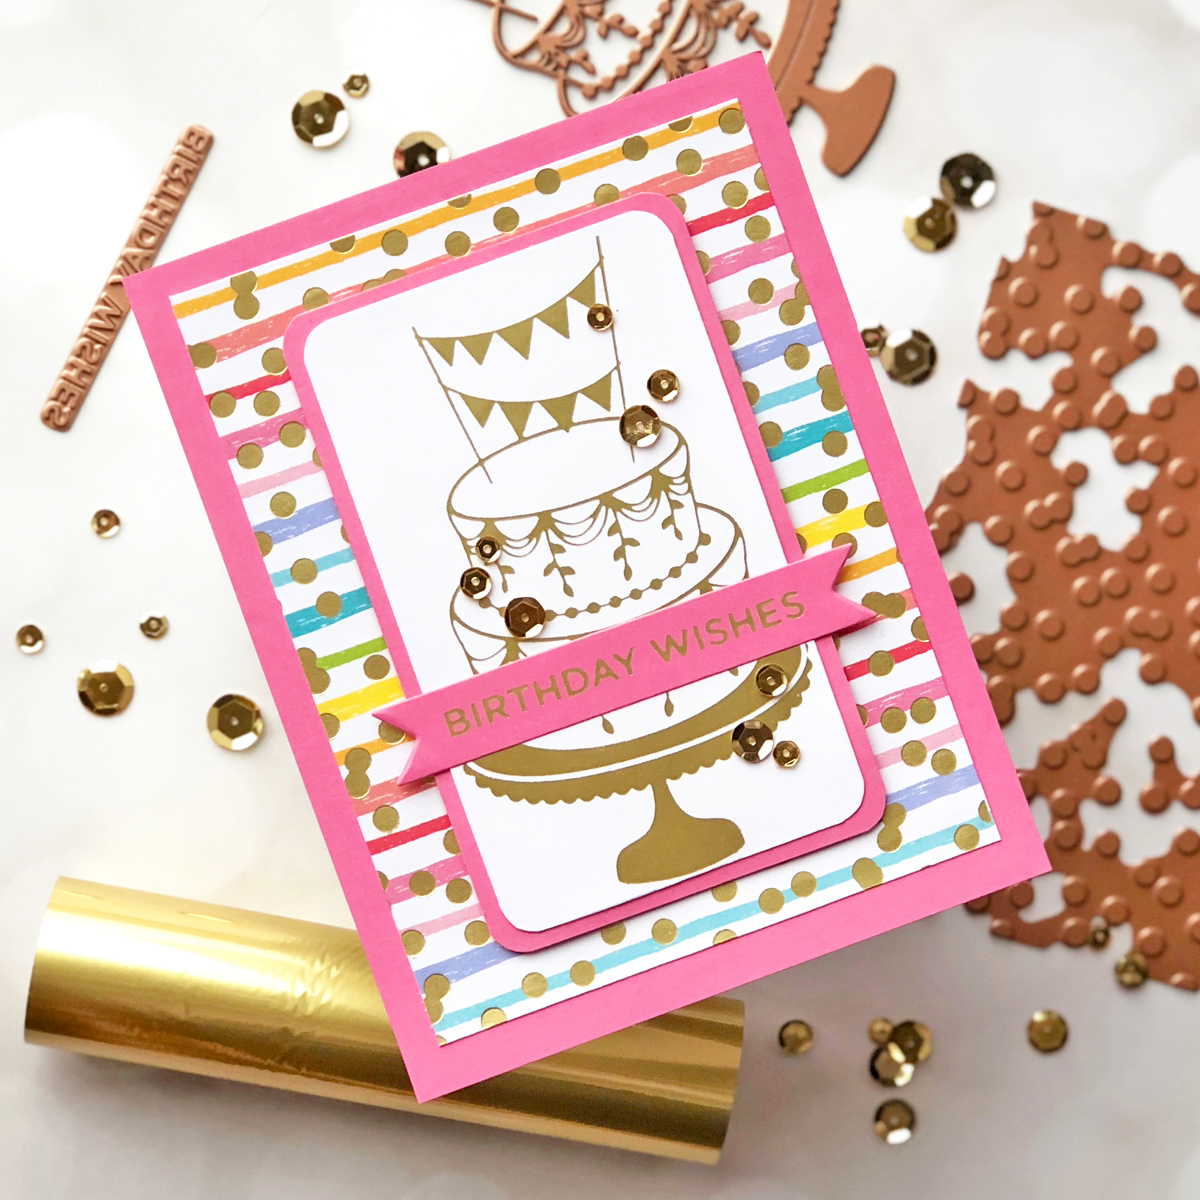
My second card uses the Scattered Dot Pattern Hot Foil Plate again, but his time I paired it with the Tiered Cake Glimmer Hot Foil Plate for a festive birthday card.

Spellbinders Glimmer Hot Foil Inspiration | Foiled Cards with Brenda. Feminine Birthday Wishes Foiled Card

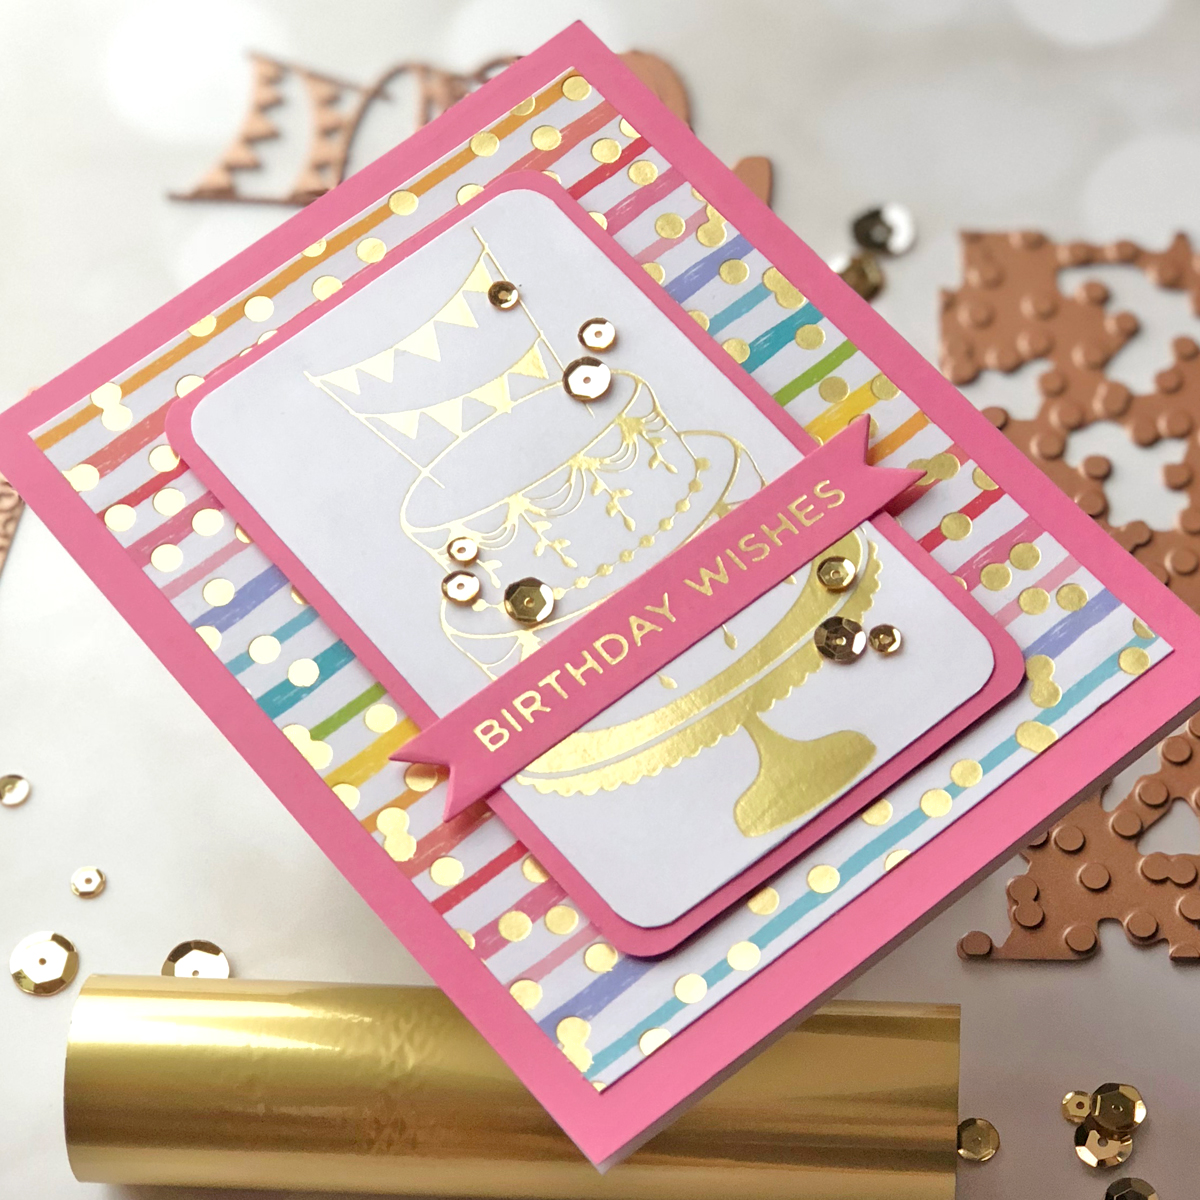
I foiled the sentiment from the Everyday Sentiments II Glimmer Hot Foil Plates onto pink cardstock, the Tiered Cake Glimmer Hot Foil Plate onto white cardstock and the Scattered Dot Pattern Glimmer Hot Foil Plate onto patterned paper, all using Matte Gold Foil. The patterned paper was trimmed and matted with pink cardstock. I trimmed around the cake and rounded the corners, then matted it with the same pink cardstock. It was popped up with foam adhesive. After die-cutting the sentiment, it was adhered across the cake. A sprinkling of gold sequins finish off the card.

Spellbinders Glimmer Hot Foil Inspiration | Foiled Cards with Brenda. Feminine Birthday Wishes Foiled Card

I love the combination of the stripes and polka dots!!

Spellbinders Glimmer Hot Foil Inspiration | Foiled Cards with Brenda. Feminine Birthday Wishes Foiled Card

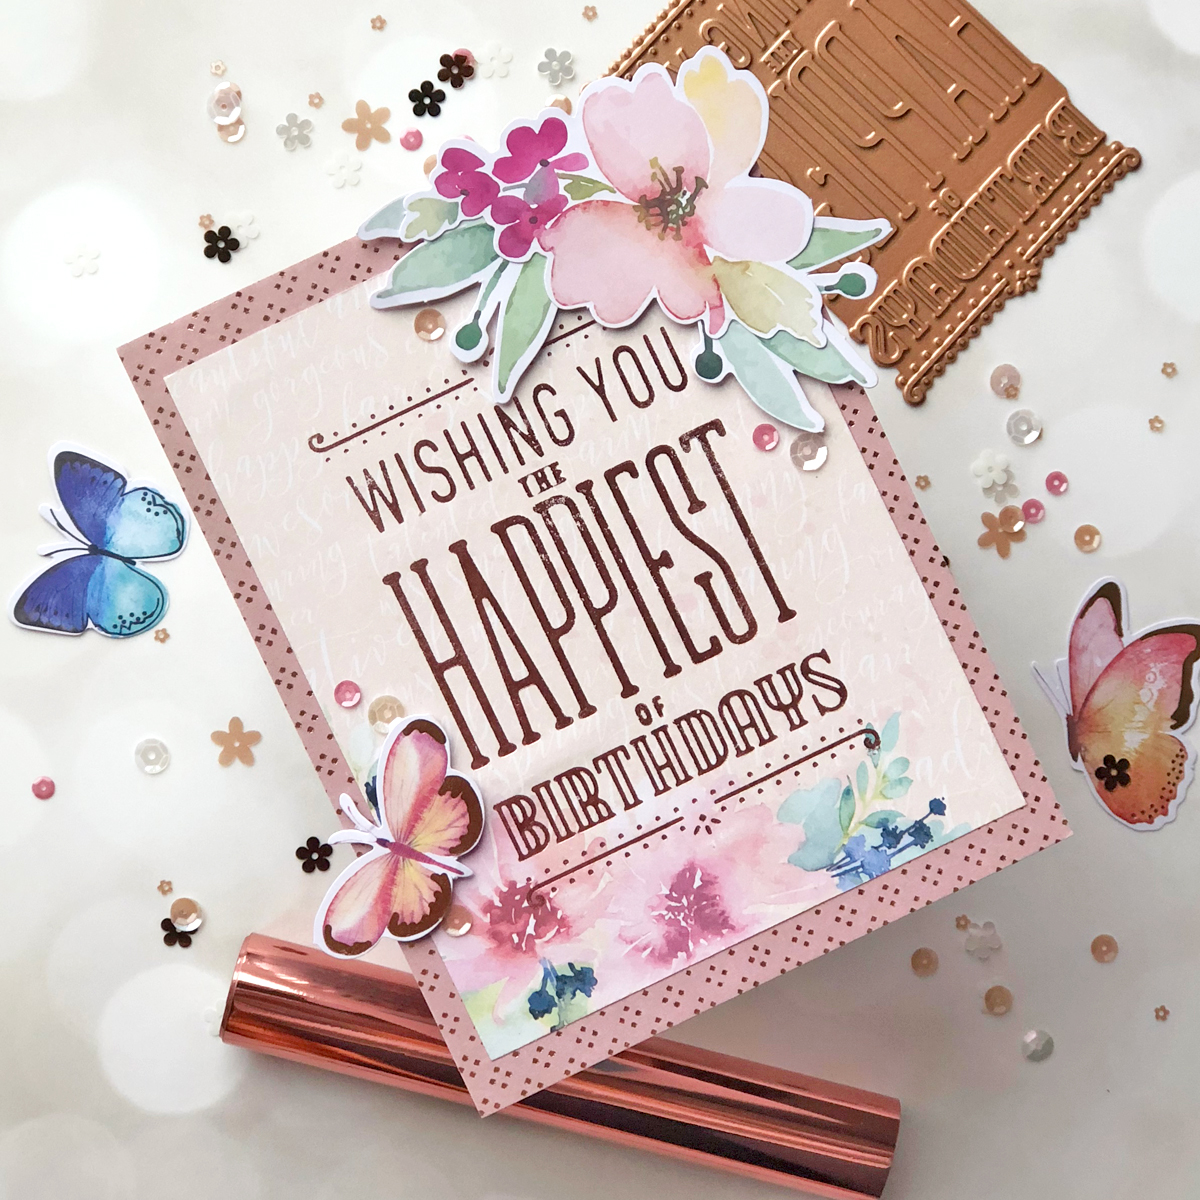
My final card uses the Happiest Birthday Glimmer Hot Foil Plates with patterned paper and pre-printed die-cuts.

Spellbinders Glimmer Hot Foil Inspiration | Foiled Cards with Brenda. Feminine Birthday Foiled Card

For this one, I used Rose Gold Foil. I chose a couple of sheets of patterned paper from the Spellbinders Watercolor Paper Pad and foiled the Happiest Birthday Glimmer Foil Plate on the floral paper. After trimming the floral paper and adhering it to the dotted paper, I attached a few Watercolor Die-cut Shapes with foam adhesive. I added a few sequins and called it done.

Spellbinders Glimmer Hot Foil Inspiration | Foiled Cards with Brenda. Feminine Birthday Foiled Card

I love how the rose gold in the patterned paper and die-cuts match the foiled sentiment.

Spellbinders Glimmer Hot Foil Inspiration | Foiled Cards with Brenda. Feminine Birthday Foiled Card

Spellbinders Supplies:

Other supplies:

Neenah 110# white cardstock, black cardstock, pink cardstock, Ranger Multi Medium, gold metallic cardstock, liquid adhesive, fun foam, foam adhesive, The Ton’s Gold Medallion Couture Mix. Thanks so much for spending some time with me today!! I absolutely loved working with these Spellbinders products!! I would love for you to visit my blog at www.mypapercutcreations.com. Have a great day!!!

Leave a comment

Your email will not be published. Please note, comments need to be approved before they are published.

3 comments

tli74,

Love those cards

Varada Sharma,

Just so beautiful !!

Pennie,

Adorable!


  • HOW TO USE PRESS PLATES WITH MULTIPLE INKS | CREATE YOUR WAY HOLIDAY, BPR-050, BPI-049, BPI-003

    BP-001

    How to Use Multiple Ink Colors with BetterPress Registration Plates

    Create a colorful Christmas card while learning how to apply multiple ink colors to BetterPress registration plates. In this detailed tutorial, you’ll use the Festive Evergreens Registration Press + Foil Plate & Die Set to press a holiday doorway scene in three colors, combining the built-in registration system with a simple masking technique. The registration template positions the coordinating plates so each layer aligns with...

  • How to Make a Colorful Foiled Butterfly Card with Glimmer II

    BP-351

    How to Make a Colorful Foiled Butterfly Card with Glimmer II

    Combine hot foiling, alcohol-marker coloring, ink blending, and dimensional shaping to create a colorful butterfly card that sparkles from every angle. In this step-by-step tutorial, you’ll learn how to foil detailed butterflies and a floral background with the Glimmer II Hot Foil System, add bold color, and shape the butterfly wings for a realistic raised effect. The Bright Butterflies and Thanks In Bloom Press +...

  • How to Heat Emboss with BetterPress Plates: Snowman Christmas Card

    BP-001

    How to Heat Emboss with BetterPress Plates: Snowman Christmas Card

    BetterPress plates can do more than create letterpress impressions and hot-foiled designs. In this detailed Christmas card tutorial, you’ll learn how to apply clear sticky ink to a BetterPress plate and use white embossing powder to produce a crisp, heat-embossed snowflake background. The tutorial also covers pressing and die cutting a sentiment, assembling three detailed snowmen, and arranging the finished elements on an A2 card....