Glimmer Hot Foil Inspiration | Hot Foil Card Trio with Janette Kausen
on February 19, 2019

Glimmer Hot Foil Inspiration | Hot Foil Card Trio with Janette Kausen

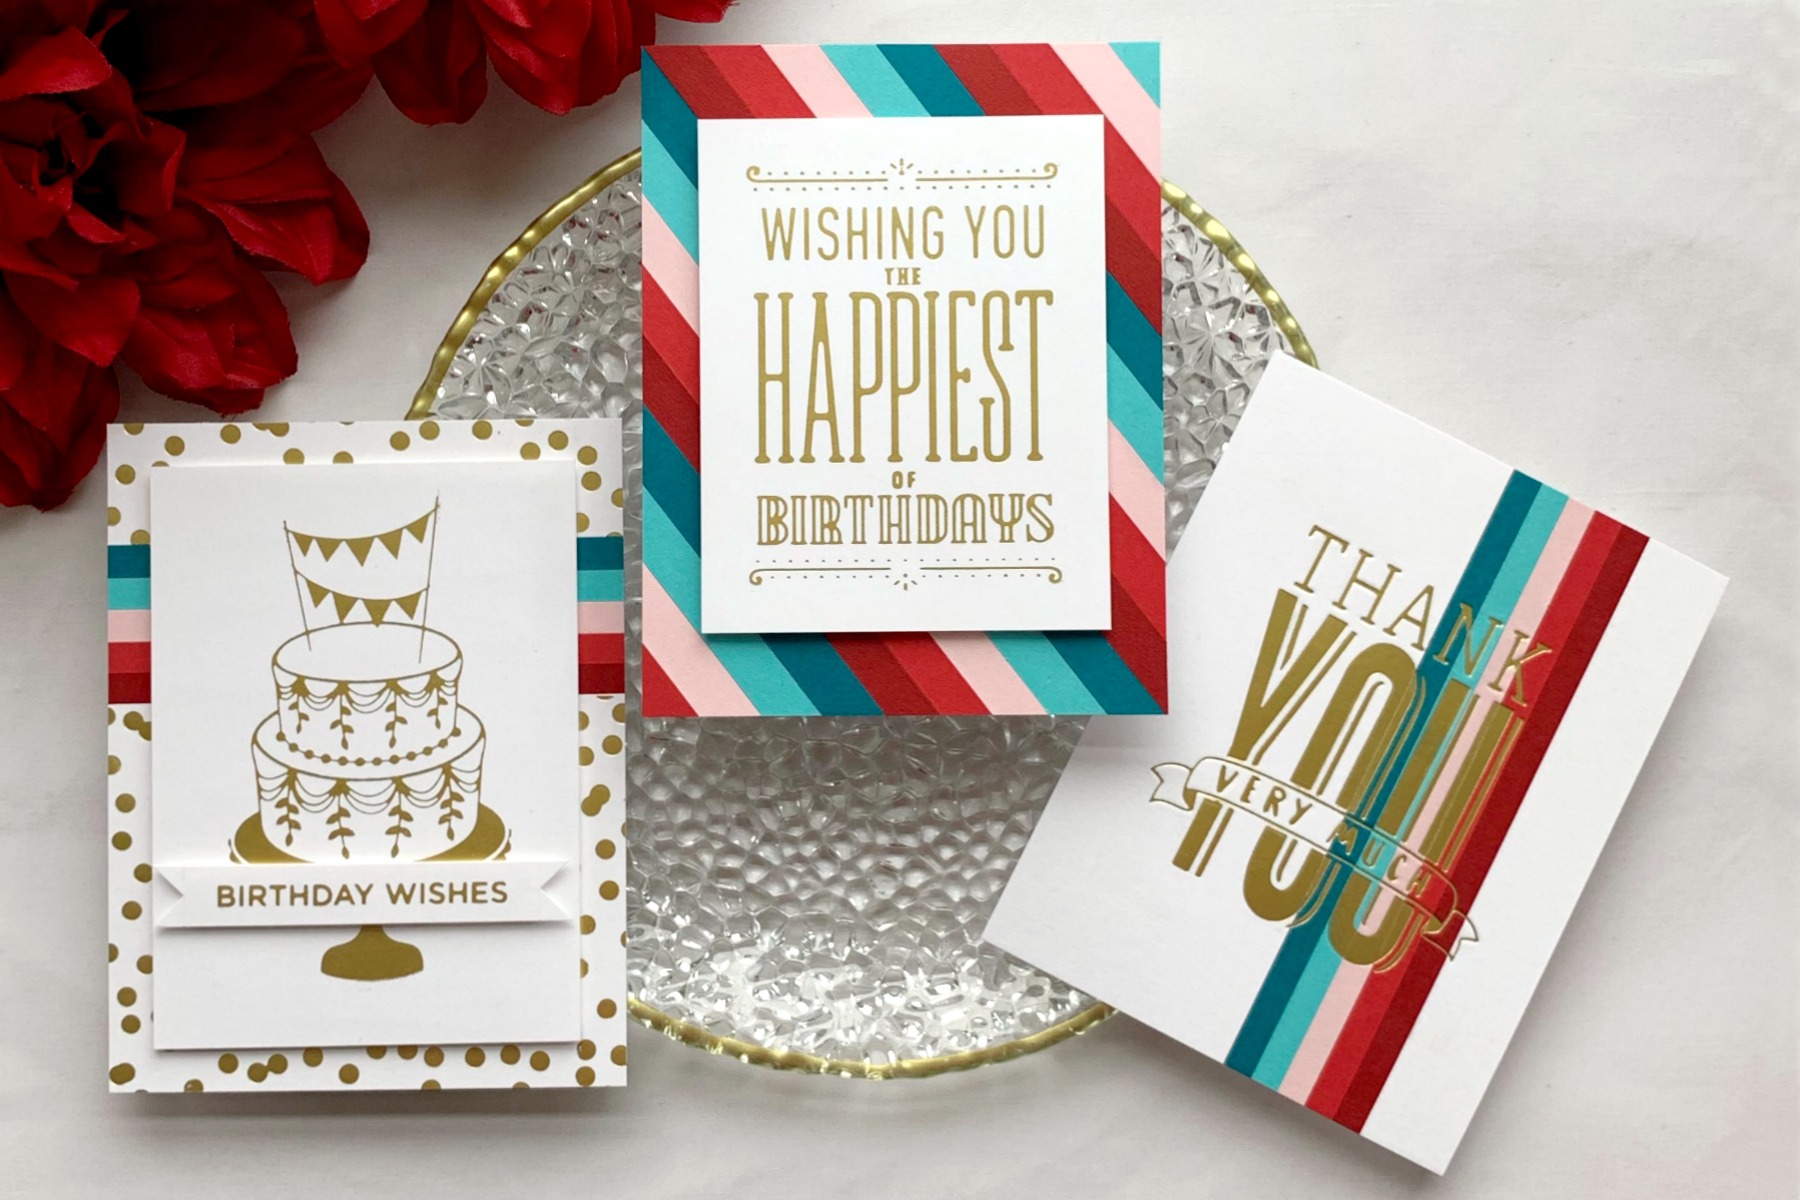
Hello and welcome! Janette Kausen here guesting once again for Spellbinders! I am excited to be here and thrilled to share my newest projects with you! I’ve created three cards with a similar technique and feel, each with Glimmer Hot Foil as a focal point.
Spellbinders Glimmer Hot Foil Inspiration | Hot Foil Card Trio with Janette Kausen

Keeping ideas simple is a great way to complete several cards without having to reinvent the wheel with each go. When a design works and you love it, keep it going with slight modifications to keep it fresh. When you’ve completed a set, you’ve got several cards ready to go for your stash or to gift!

Spellbinders Glimmer Hot Foil Inspiration | Hot Foil Card Trio with Janette Kausen

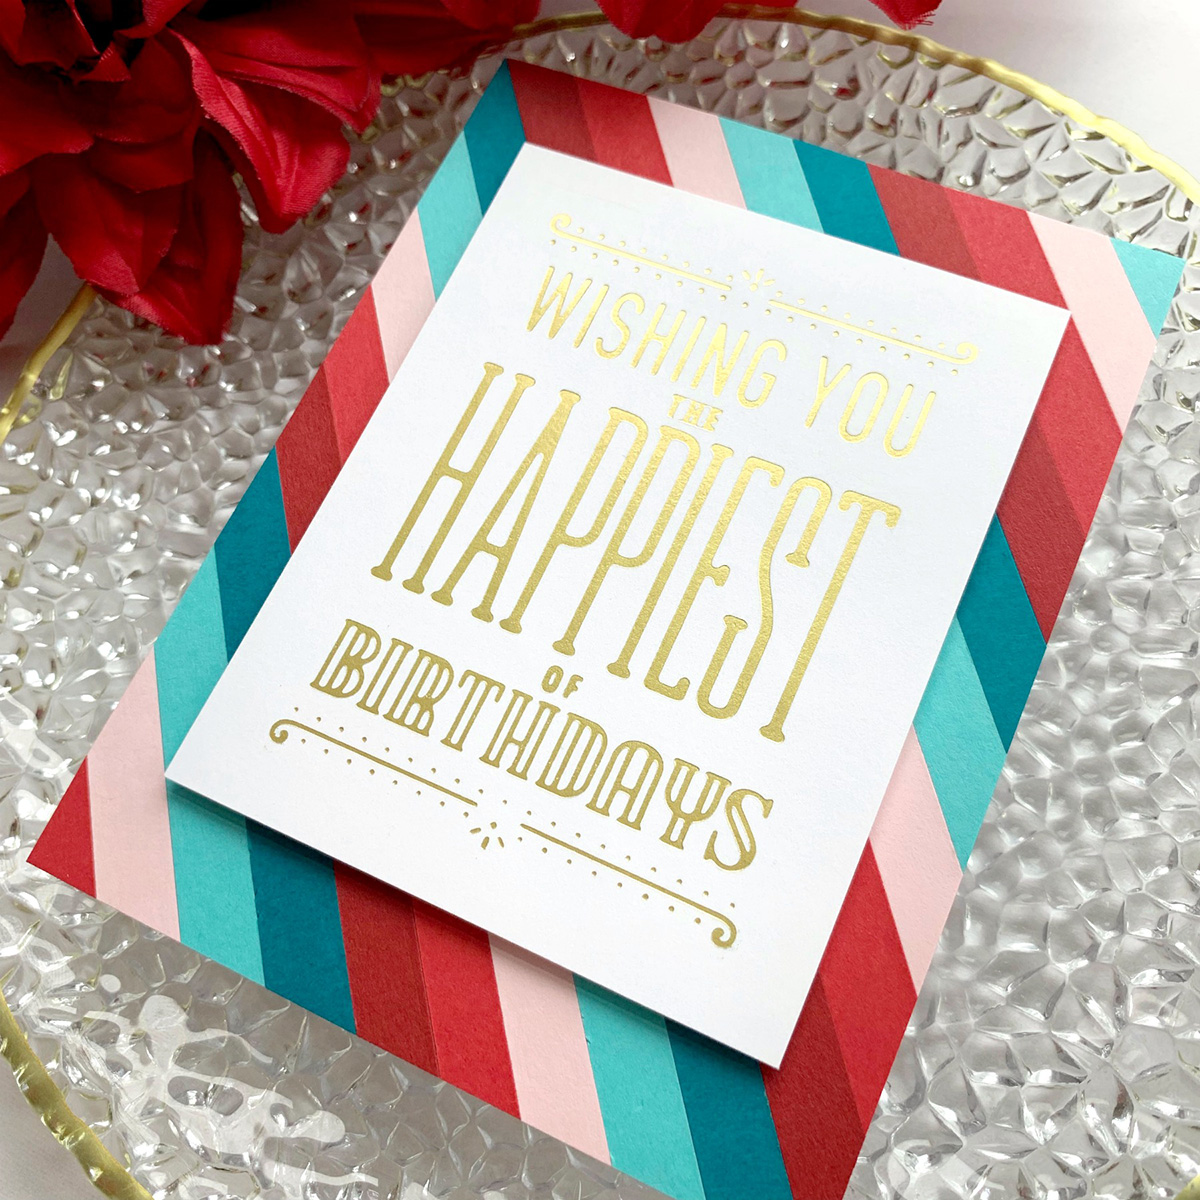
I began creating this A2 trio with a bright bold background to really make the foiled sentiment pop. Cut cardstock into 3/8 inch strips. Apply a paper backed dry tape adhesive to cardstock. Leaving release paper in place, trim to 4 ¼” x 5 ½”. (Note: a similar colored cardstock will hide any possible gaps between the paper strips.)

Spellbinders Glimmer Hot Foil Inspiration | Hot Foil Card Trio with Janette Kausen

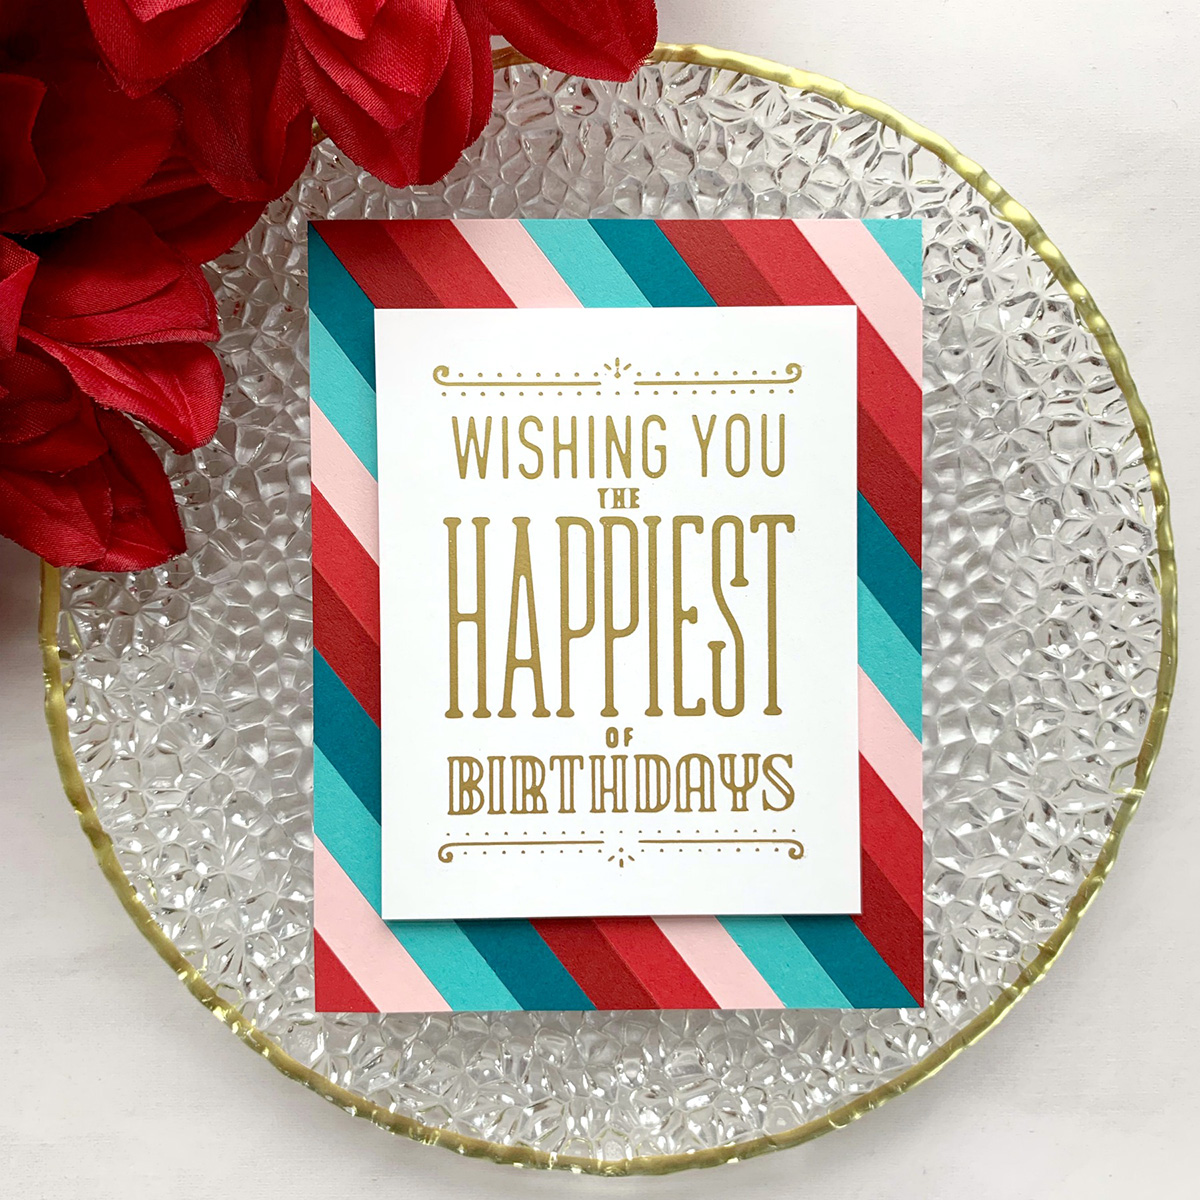
Remove release paper and adhere bright strips diagonally corner to corner, butting them together, building out. When complete, flip panel to back and trim along cardstock backing panel. Glimmer Hot Foil Happiest Birthday in Matte Gold, trim and adhere in place with dimensional adhesive.

Spellbinders Glimmer Hot Foil Inspiration | Hot Foil Card Trio with Janette Kausen

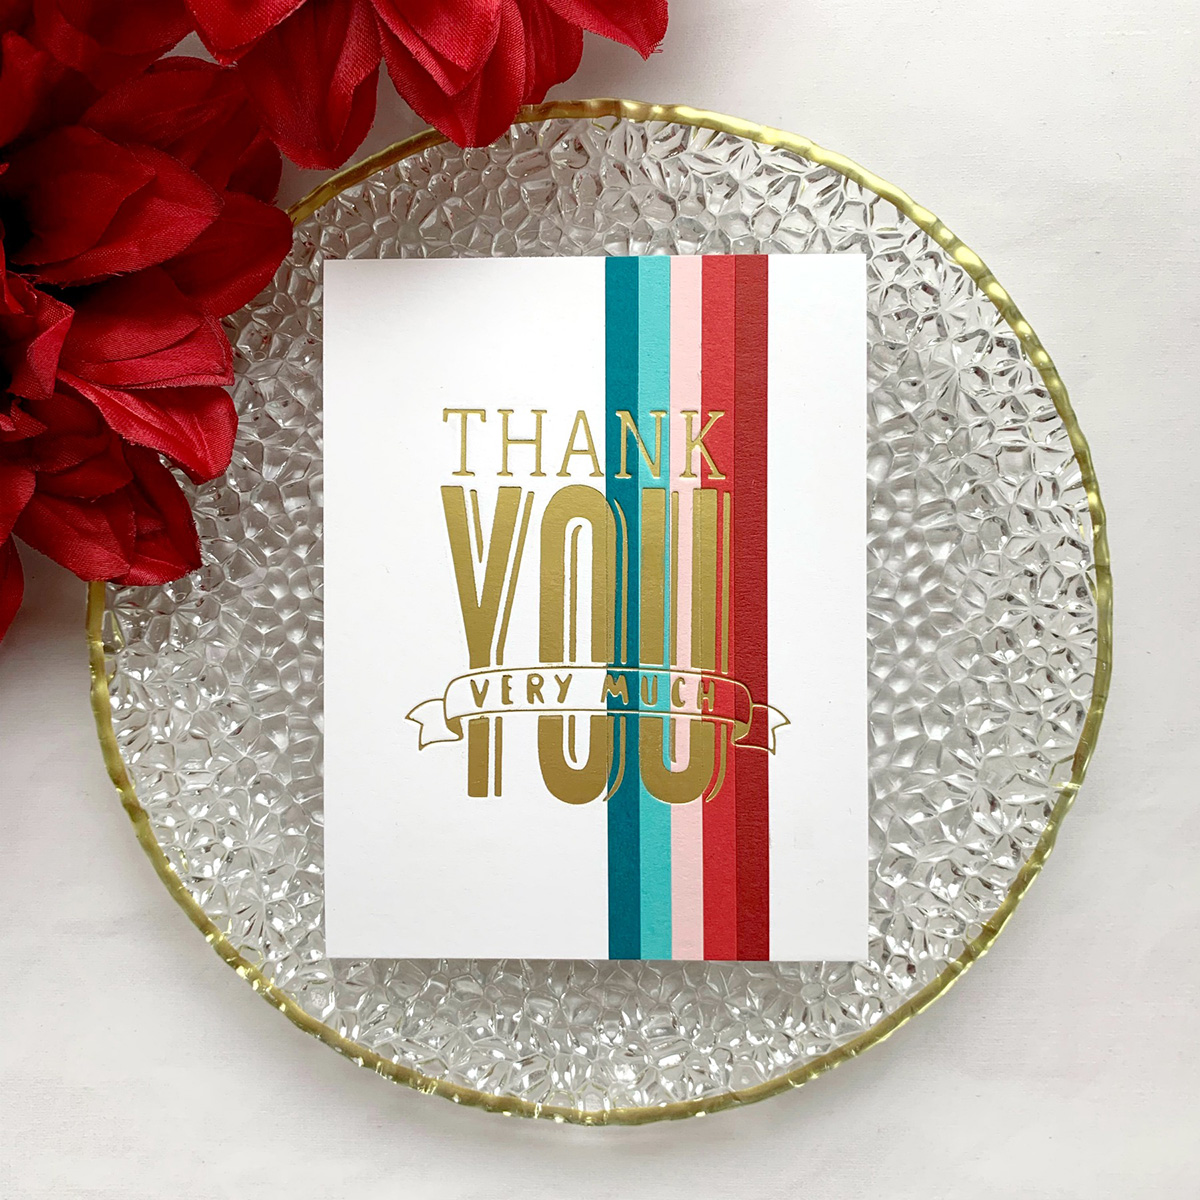
Repeat steps to create dry tape adhesive backing panel. This time apply ¼” bright cardstock strips vertically. Adhere white cardstock to each side, flip to back and trim along backing panel as a guideline.

Spellbinders Glimmer Hot Foil Inspiration | Hot Foil Card Trio with Janette Kausen

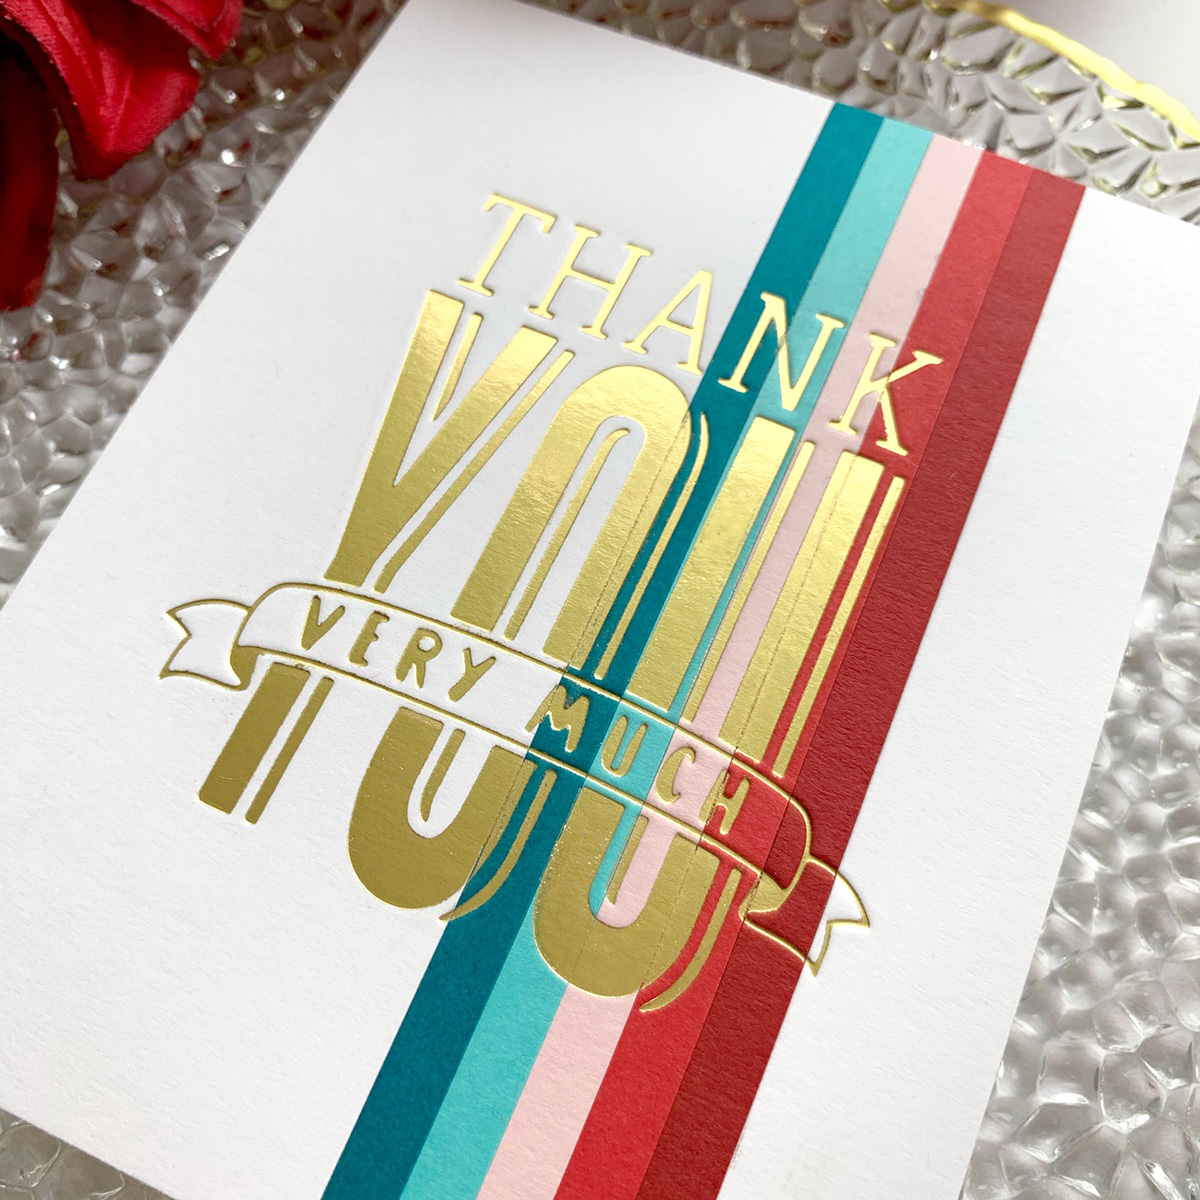
Using the grid lines on the Glimmer Hot Foil System base plate, center Thank You Very Much Glimmer Hot Foil Plate. Place Matte Gold foil dull side up over plate and carefully center striped panel in place. Complete sandwich, adding an extra scratch paper shim if necessary, to allow a complete foil transfer to the paper strips.

Spellbinders Glimmer Hot Foil Inspiration | Hot Foil Card Trio with Janette Kausen

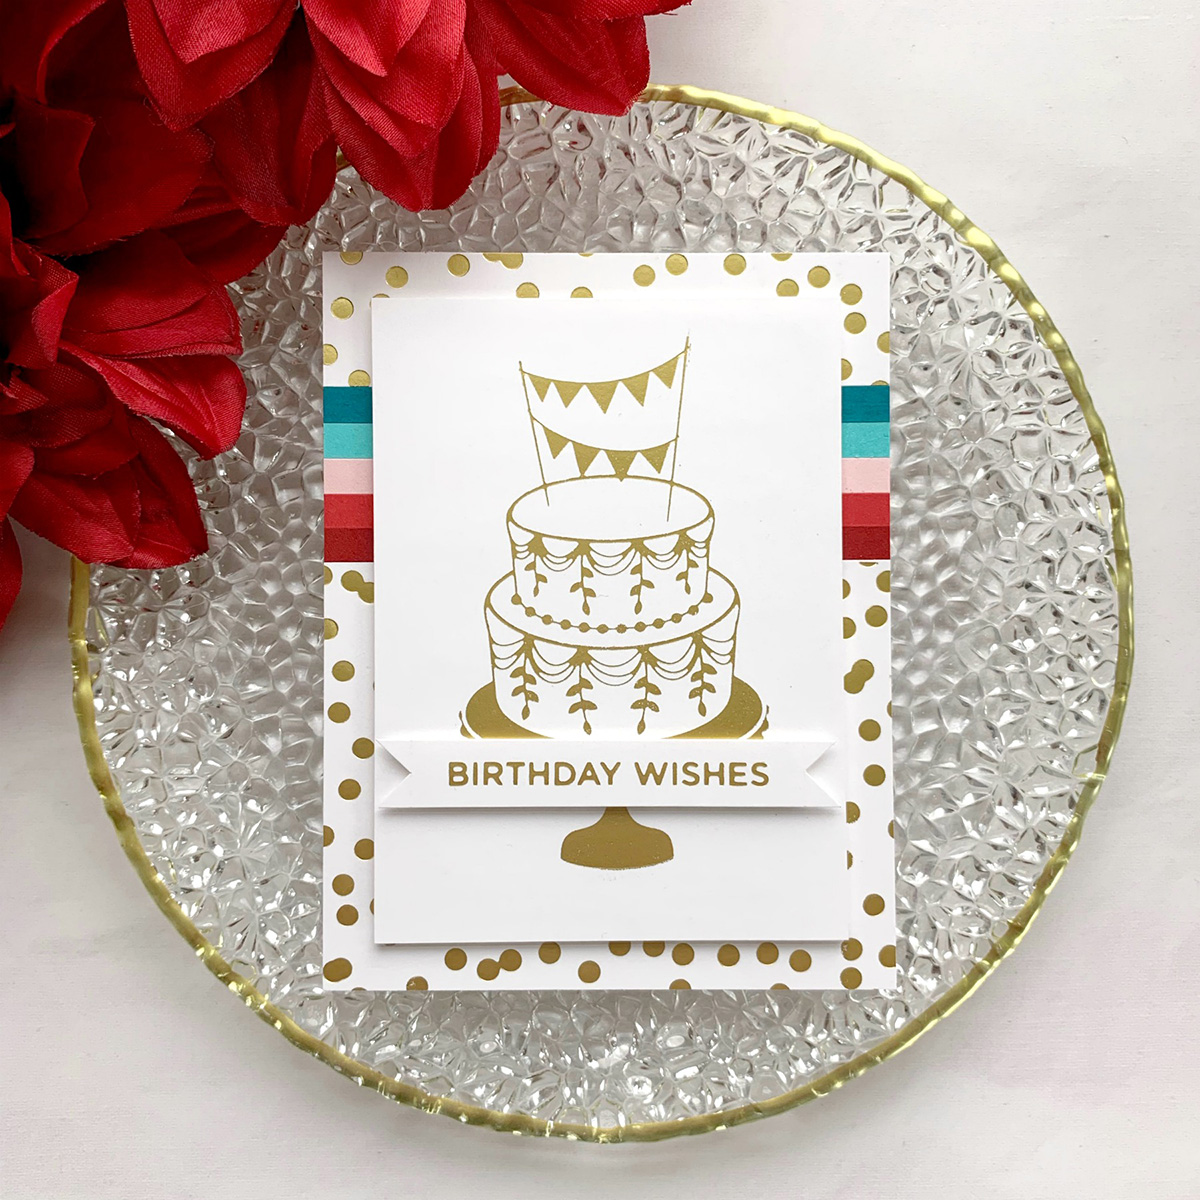
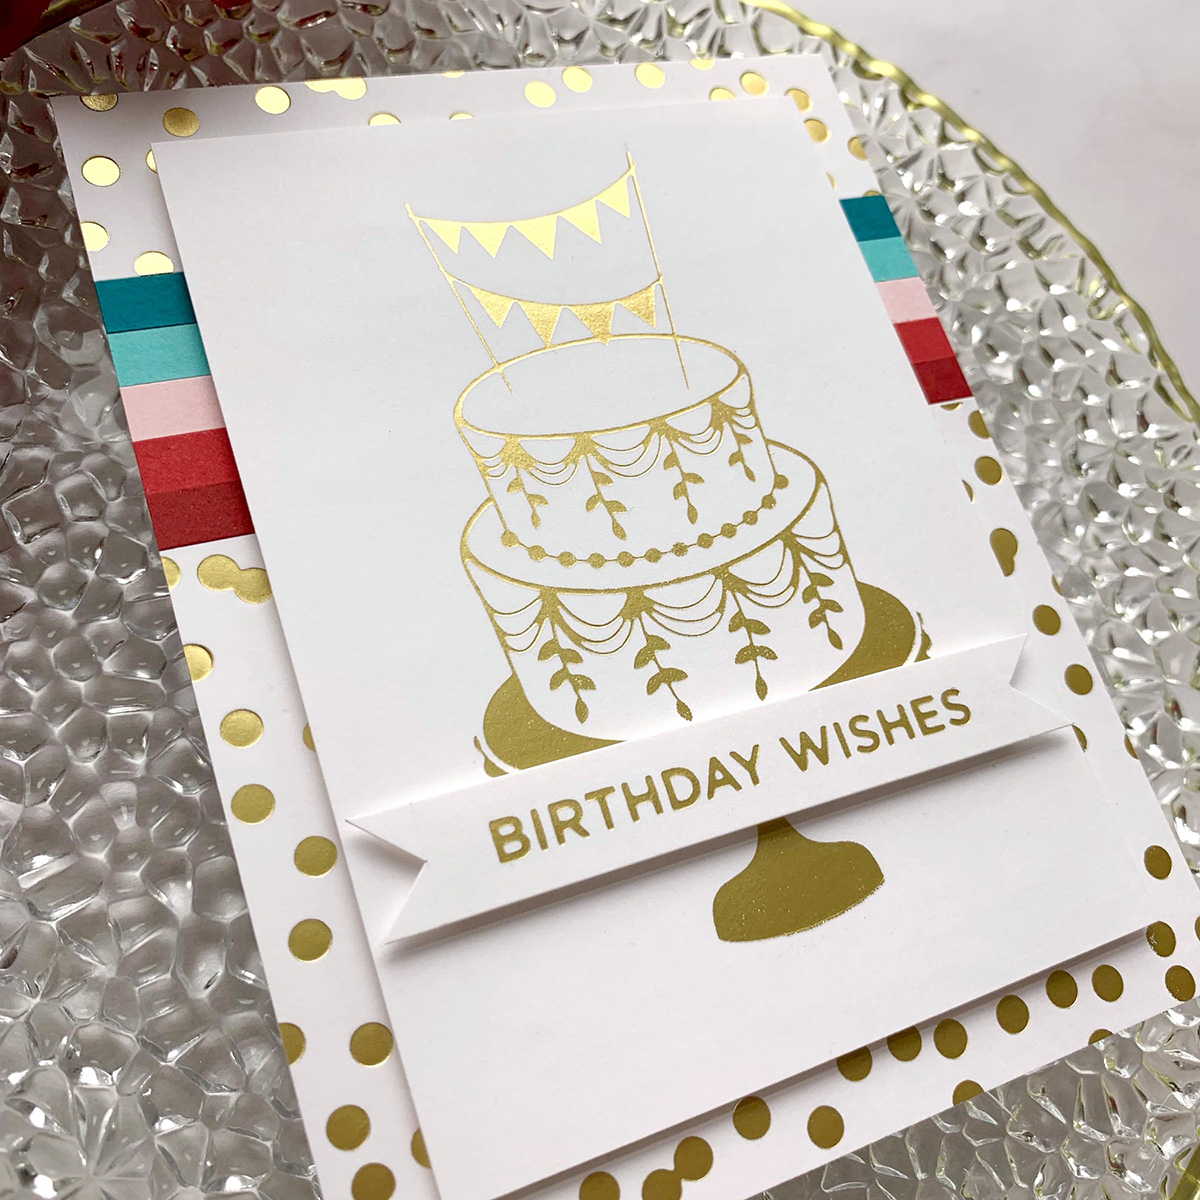
Again, create dry tape adhesive backing panel. This time align cardstock strips horizontally. Add a Scattered Dot Pattern foil design, again in Matte Gold, to basic white cardstock. Adhere to either side of the stripes and flip to trim off excess from the back.

Spellbinders Glimmer Hot Foil Inspiration | Hot Foil Card Trio with Janette Kausen

Matte Gold foil Tiered Cake Glimmer Plate and Everyday Sentiment II, “Birthday Wishes,” onto white cardstock. Trim cake down to 3 ¼” x 4 ½” and pop in place with dimensional adhesive. Trim down birthday sentiment cutting banner details on sides. Pop this in place with dimensional adhesive, as well. Adhere each to an A2 folded card base and give. Give a set as a gift or post individually as happy mail. Really, who doesn’t smile when they receive a handmade card in the mailbox? Foiling Tip: more heating time and pressure do not create a better transfer. I have had my best success by accurately using the built-in timer and light pressure when passing though the Platinum 6 Die Cutting & Embossing Machine.

Spellbinders Supplies:

Other Supplies:

Hero Arts cardstock, Be Creative tape, 3M foam tape. Thank you for visiting today and thank you to Spellbinders for the invitation to guest! It’s been a pleasure. I have enjoyed sharing more about the Glimmer Hot Foil System with you! If you’ve been inspired to create, be sure to tag #Spellbinders and #NeverStopMaking on social media! XO, Janette

Leave a comment

Your email will not be published. Please note, comments need to be approved before they are published.

2 comments

Evelyn Burton,

Love the color strips and of course the foil makes each one very special! So shiny and bright!

Pooja,

Awesome cards !!


  • How to Make a Foiled Ornament Christmas Card

    BP-001

    How to Make a Foiled Ornament Christmas Card

    Looking for a festive Christmas card that combines hot foiling, stenciling, and letterpress techniques? This colorful holiday project features a softly shaded ornament, a pressed sentiment, layered arch panels, and shimmering gold snowflakes. The Tied With Cheer BetterPress plate and stencil set makes it easy to coordinate the ornament imagery and greeting, while the Winter Peace plate creates an elegant foiled background. In this step-by-step...

  • HOW TO USE PRESS PLATES WITH MULTIPLE INKS | CREATE YOUR WAY HOLIDAY, BPR-050, BPI-049, BPI-003

    BP-001

    How to Use Multiple Ink Colors with BetterPress Registration Plates

    Create a colorful Christmas card while learning how to apply multiple ink colors to BetterPress registration plates. In this detailed tutorial, you’ll use the Festive Evergreens Registration Press + Foil Plate & Die Set to press a holiday doorway scene in three colors, combining the built-in registration system with a simple masking technique. The registration template positions the coordinating plates so each layer aligns with...

  • How to Make a Colorful Foiled Butterfly Card with Glimmer II

    BP-351

    How to Make a Colorful Foiled Butterfly Card with Glimmer II

    Combine hot foiling, alcohol-marker coloring, ink blending, and dimensional shaping to create a colorful butterfly card that sparkles from every angle. In this step-by-step tutorial, you’ll learn how to foil detailed butterflies and a floral background with the Glimmer II Hot Foil System, add bold color, and shape the butterfly wings for a realistic raised effect. The Bright Butterflies and Thanks In Bloom Press +...