Handmade Collection Inspiration | Made with Love Card with Yana
on February 18, 2018

Handmade Collection Inspiration | Made with Love Card with Yana

Hello friends, this is Yana Smakula, Spellbinders in-house creative designer. We continue to share inspiration using one of our newest collections -  Handmade by Stephanie Low. See Stephanie's post introducing her collection here as well as inspiration posts here and here.
Spellbinders Handmade Collection by Stephanie Low - Inspiration | Made with Love Card with Yana Smakula for Spellbinders using Kitchen Handmade by Stephanie Low Stamp and Die Set #cardmaking #handmadecard #stamping #adultcoloring #patternstamping #spellbinders

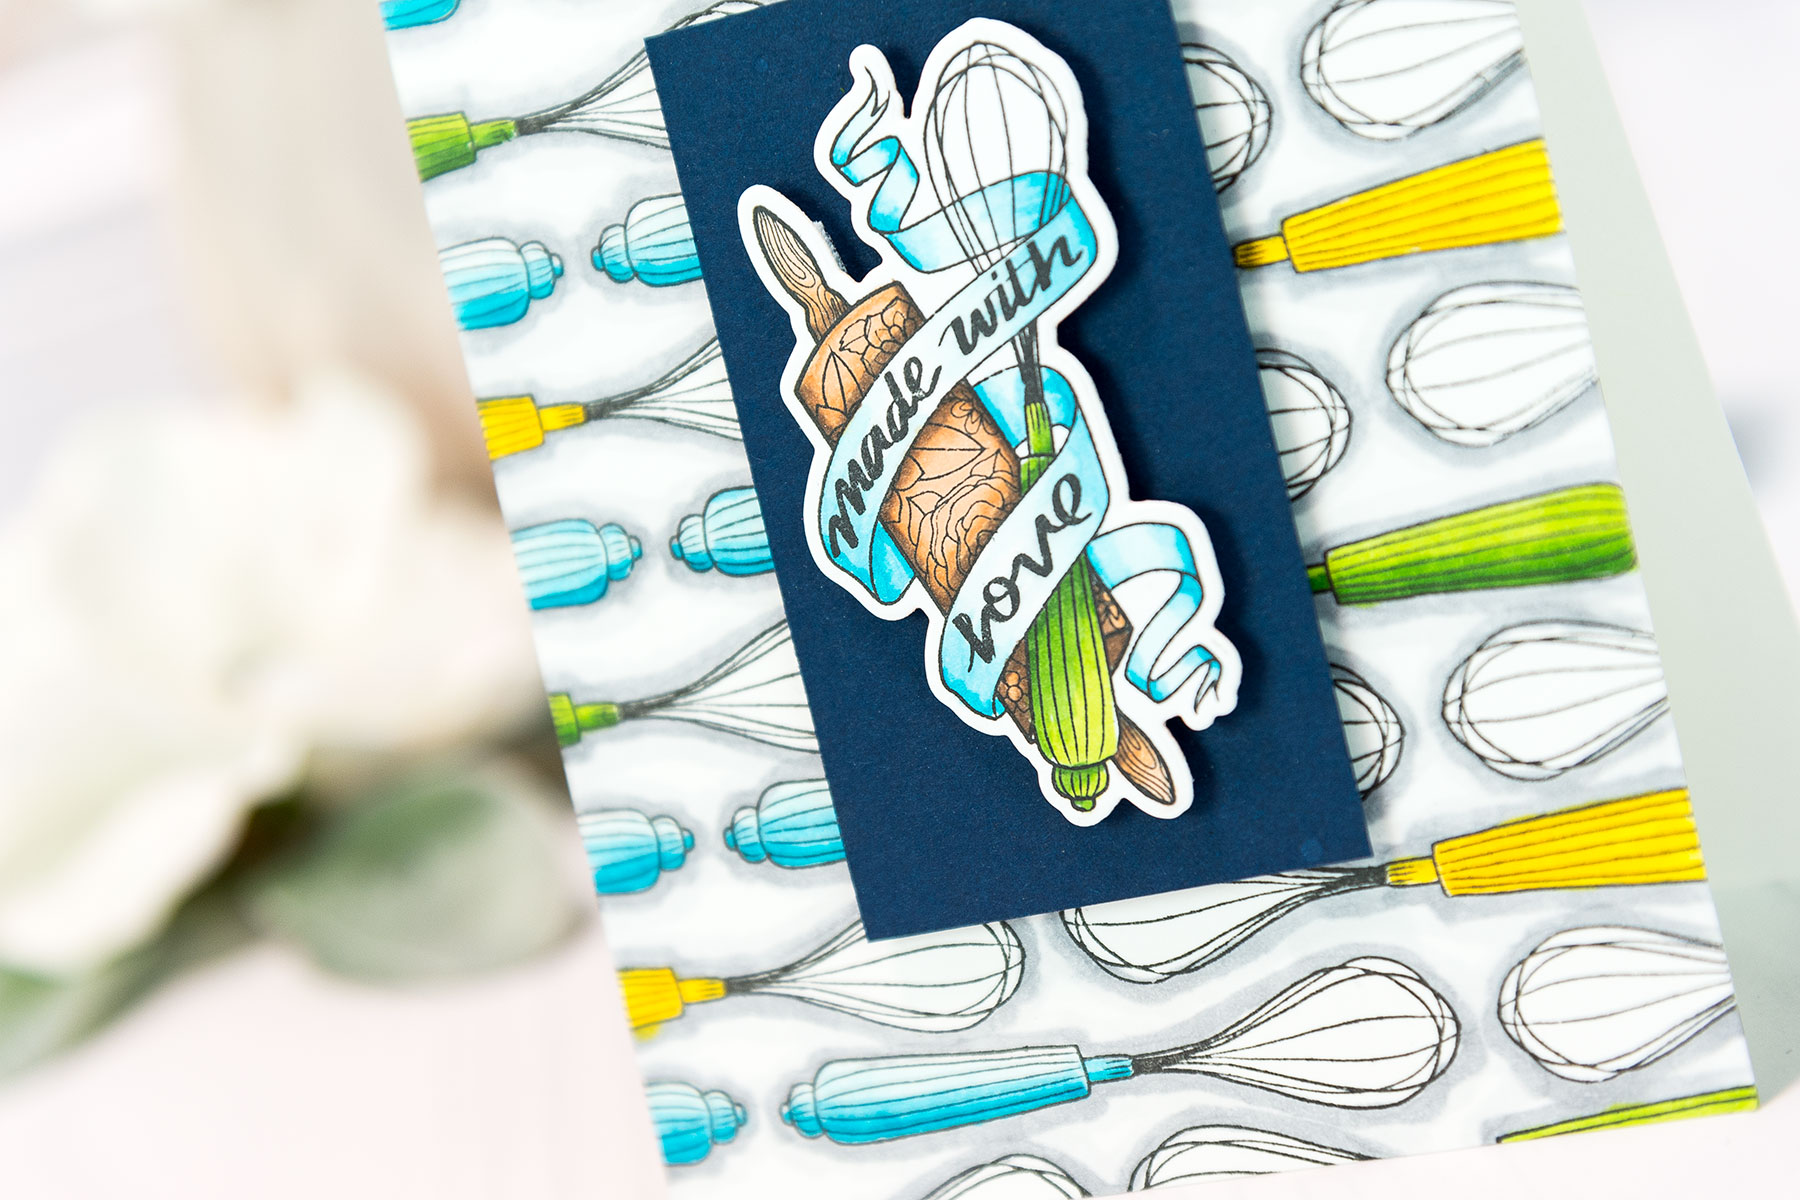
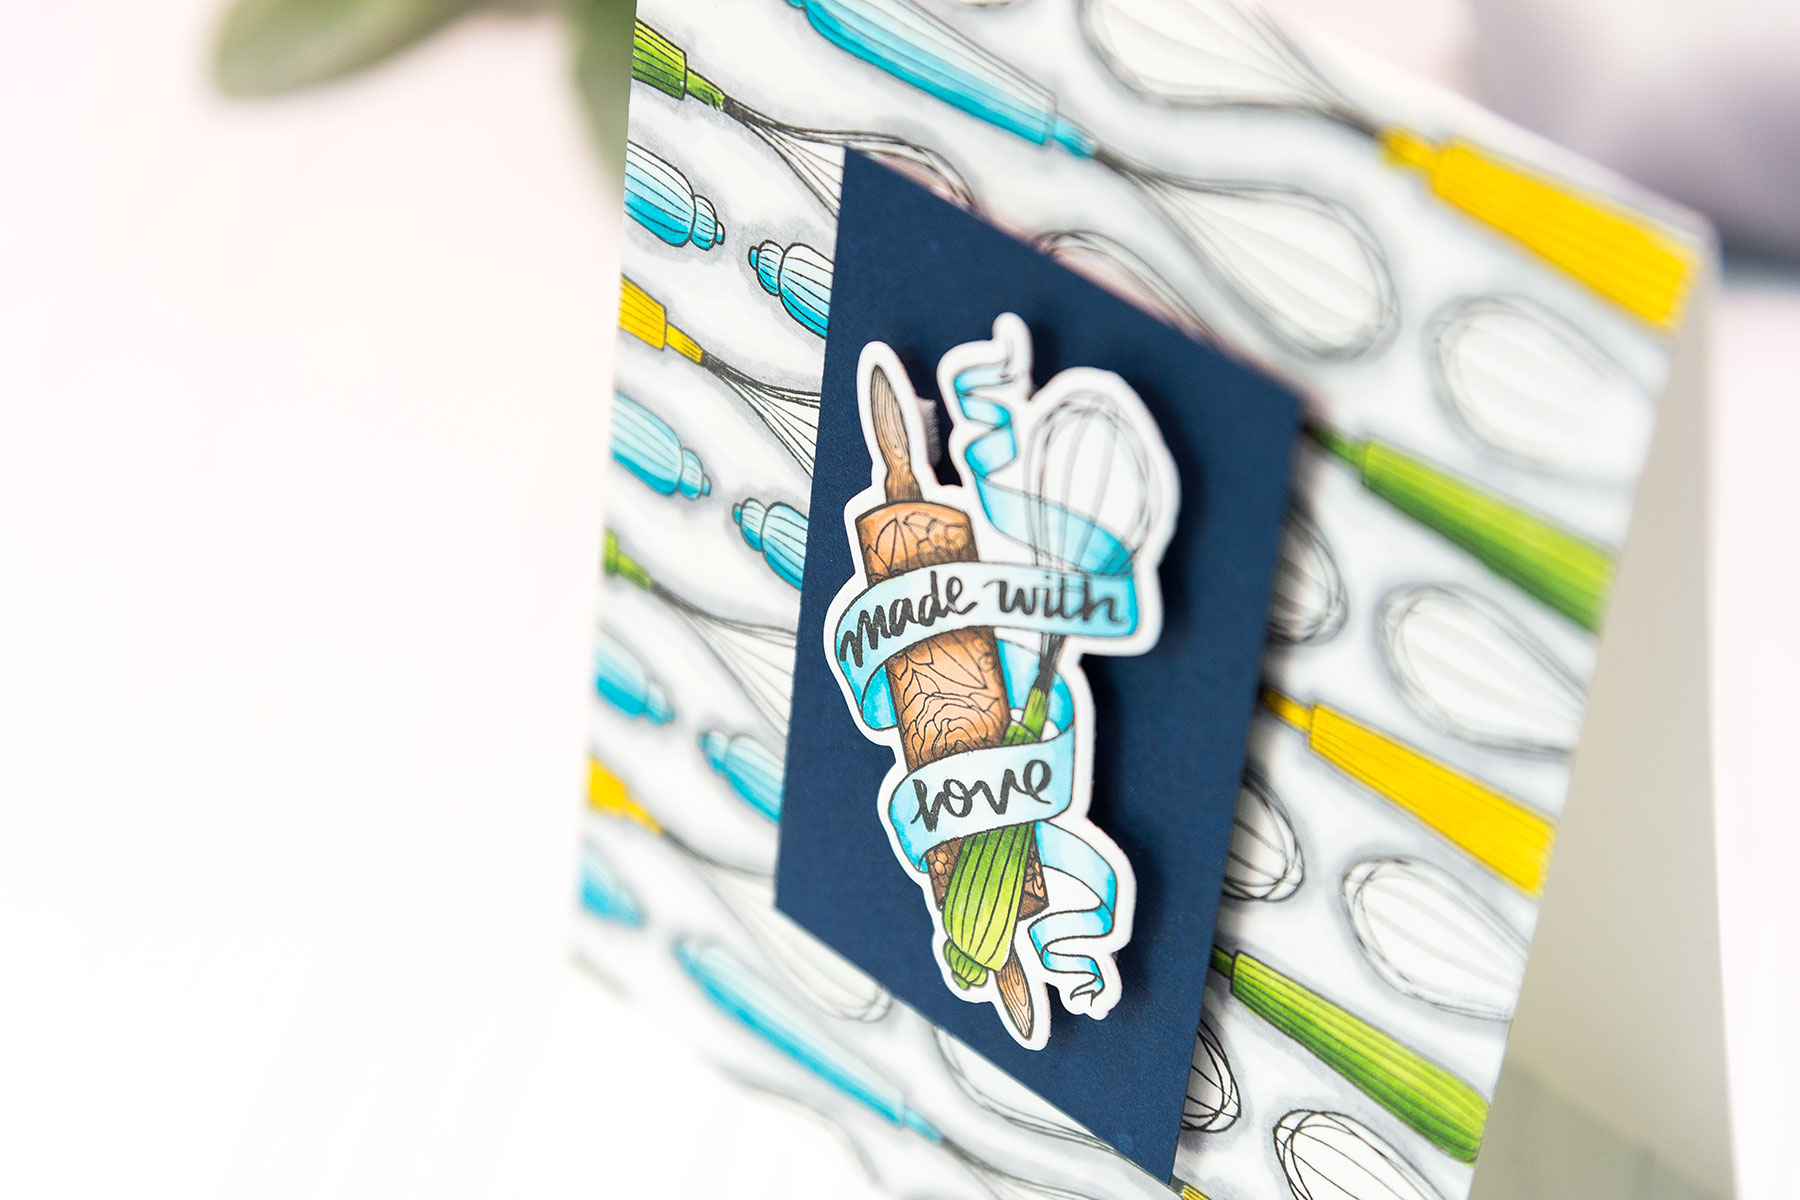
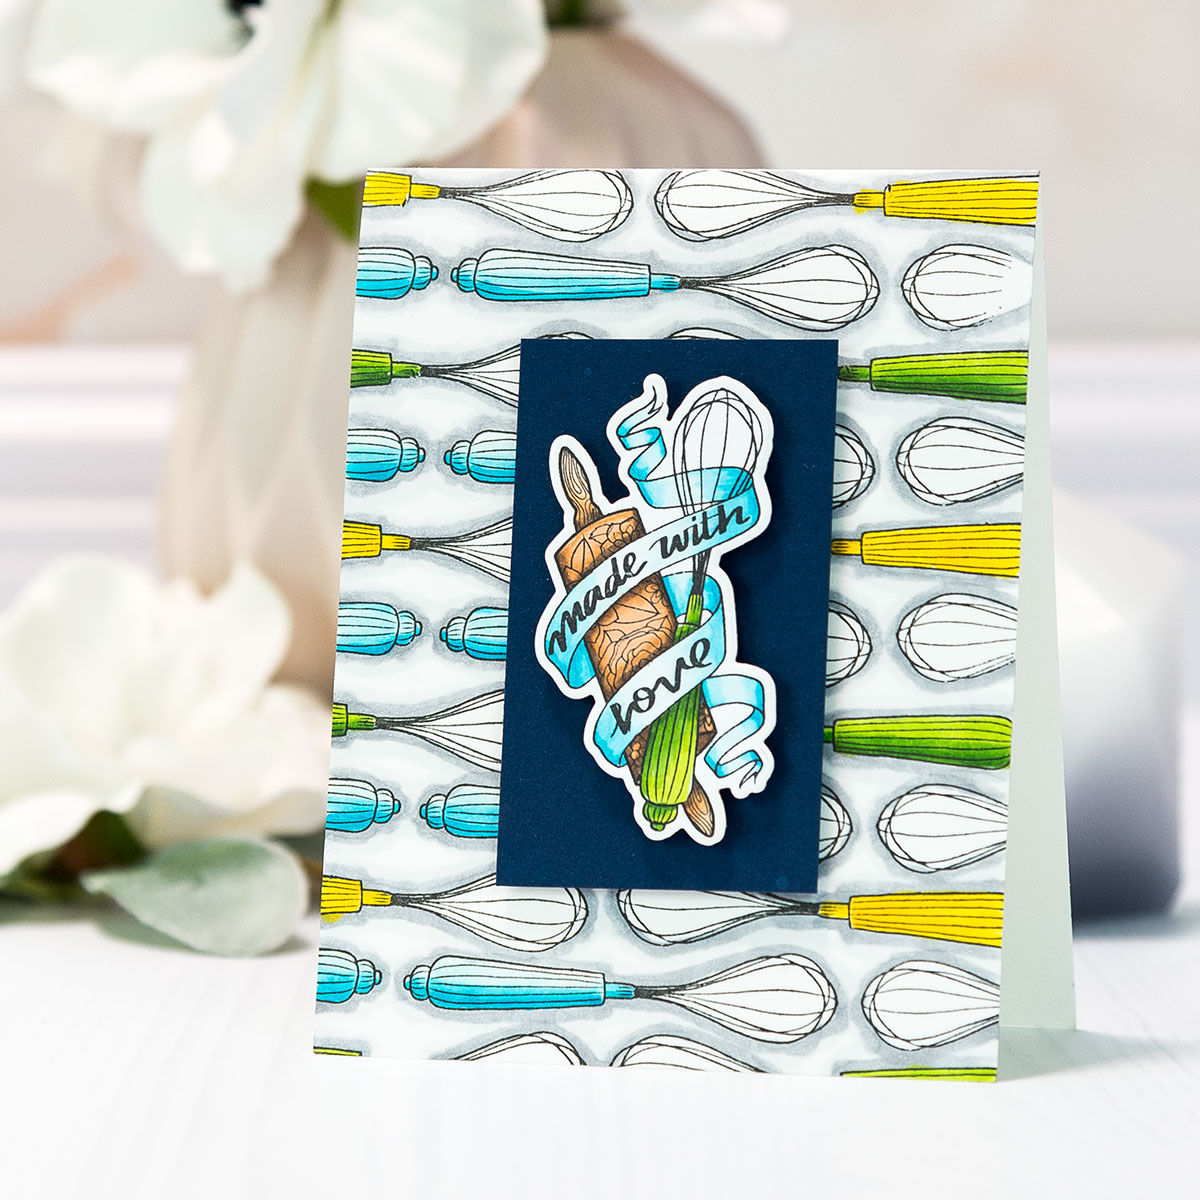
Like I mentioned in my previous post, I love to use my stamps to create the look of patterned paper. Yes, these days you can go and buy just about any patterned paper you want, but I enjoy the process of making my own design tremendously! To create this Handmade with Love card I stamped the image repeatedly onto a white cardstock panel. I was going for a linear pattern this time (in other words my images aren't stamped randomly), so I maintained some order to my stamping.

Spellbinders Handmade Collection by Stephanie Low - Inspiration | Made with Love Card with Yana Smakula for Spellbinders using Kitchen Handmade by Stephanie Low Stamp and Die Set #cardmaking #handmadecard #stamping #adultcoloring #patternstamping #spellbinders

I used multiple colors of markers and colored some yellow, some blue and some images green. Once again I also used gray C1 marker to outline each stamped impression and create the illusion of a drop-shadow. This adds depth and dimension to the pattern, yet it still remains flat.

Spellbinders Handmade Collection by Stephanie Low - Inspiration | Made with Love Card with Yana Smakula for Spellbinders using Kitchen Handmade by Stephanie Low Stamp and Die Set #cardmaking #handmadecard #stamping #adultcoloring #patternstamping #spellbinders

I also stamped my main image and colored it with markers, I cut it out using a coordinating die and foam mounted onto a blue cardstock rectangle which I foam mounted in the middle of my stamped pattern.

Spellbinders Supplies:

Have fun stamping!

Leave a comment

Your email will not be published. Please note, comments need to be approved before they are published.


  • How to Make A Christmas Card using Simon's Joyful Christmas Sentiments, BP-389, S5-762, S5-721, BPI-043

    AF505

    How to Make a Christmas Card with Joyful Christmas Sentiments Press + Foil Plates

    Hello, crafty friends! It’s Lisa Tilson here with you on the blog today to share a card using the Joyful Christmas Sentiments Press + Foil Plate and Die Set from Simon Hurley. There are four sentiment sets in this collection, which was originally released some years ago as Glimmer hot foiling plates. The plates are now available with the option of pressing as well as...

  • How to Make a Foiled Ornament Christmas Card

    BP-001

    How to Make a Foiled Ornament Christmas Card

    Looking for a festive Christmas card that combines hot foiling, stenciling, and letterpress techniques? This colorful holiday project features a softly shaded ornament, a pressed sentiment, layered arch panels, and shimmering gold snowflakes. The Tied With Cheer BetterPress plate and stencil set makes it easy to coordinate the ornament imagery and greeting, while the Winter Peace plate creates an elegant foiled background. In this step-by-step...

  • HOW TO USE PRESS PLATES WITH MULTIPLE INKS | CREATE YOUR WAY HOLIDAY, BPR-050, BPI-049, BPI-003

    BP-001

    How to Use Multiple Ink Colors with BetterPress Registration Plates

    Create a colorful Christmas card while learning how to apply multiple ink colors to BetterPress registration plates. In this detailed tutorial, you’ll use the Festive Evergreens Registration Press + Foil Plate & Die Set to press a holiday doorway scene in three colors, combining the built-in registration system with a simple masking technique. The registration template positions the coordinating plates so each layer aligns with...