Handmade Collection Inspiration | Sew Handmade Card with Anna
on February 21, 2018

Handmade Collection Inspiration | Sew Handmade Card with Anna

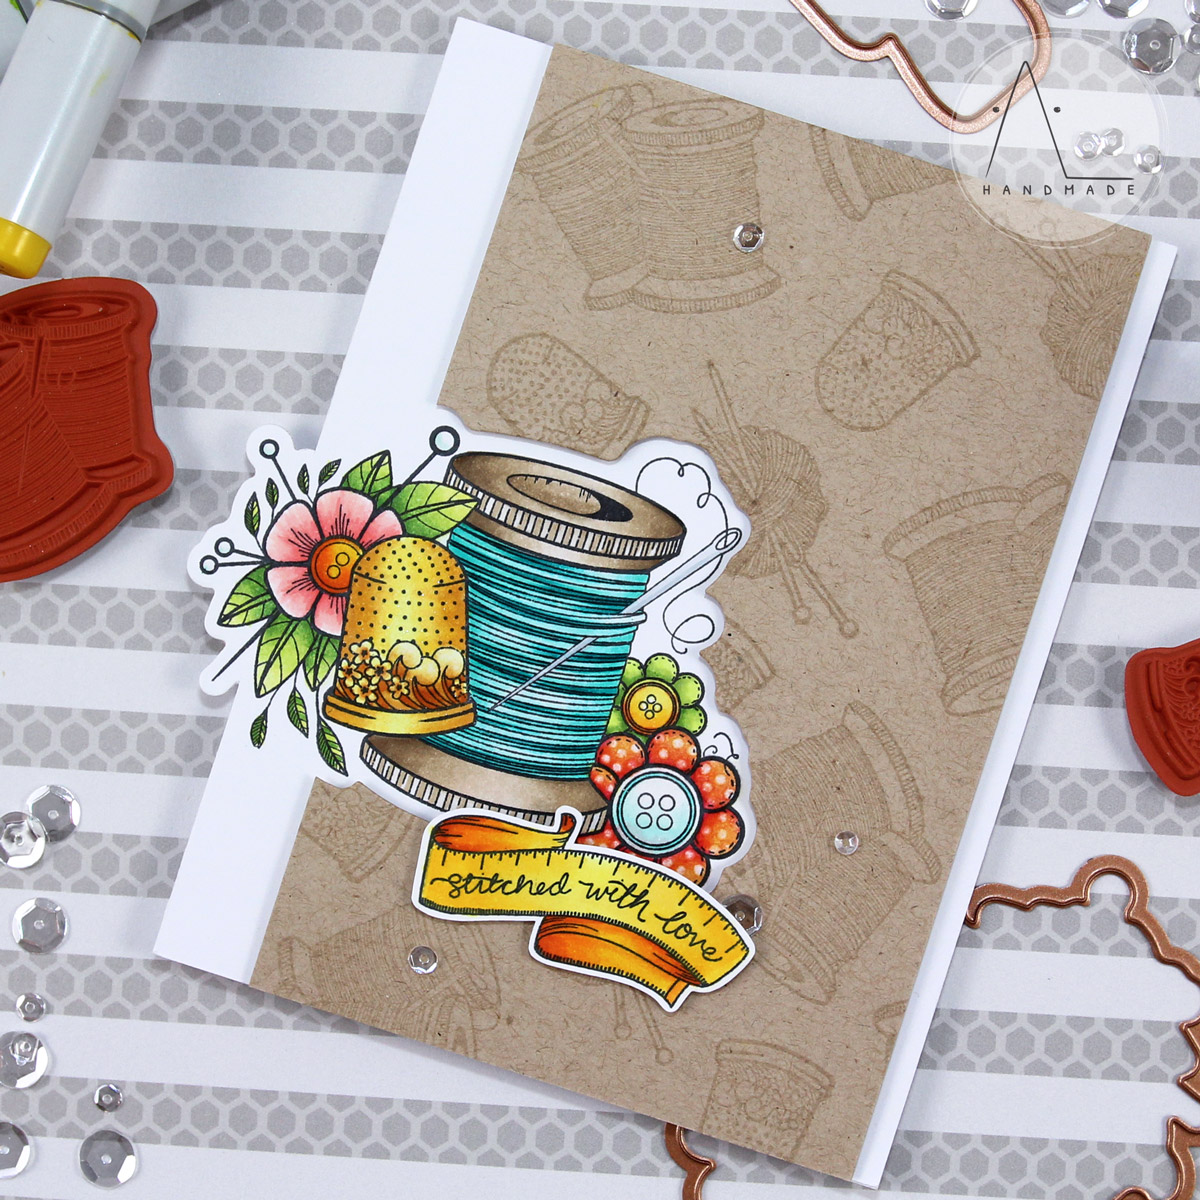
Hi there and thanks for joining me today. It’s Anna here and I’m thrilled to be a guest designer here on the Spellbinders blog! I have many projects to share with you over the next few weeks highlighting the spectacular Handmade Collection by Stephanie Low. For today’s card I used the Sew stamp set and die set. All the images are so beautifully detailed and you can easily combine them with the other stamp sets from the Handmade collection for endless creative possibilities.
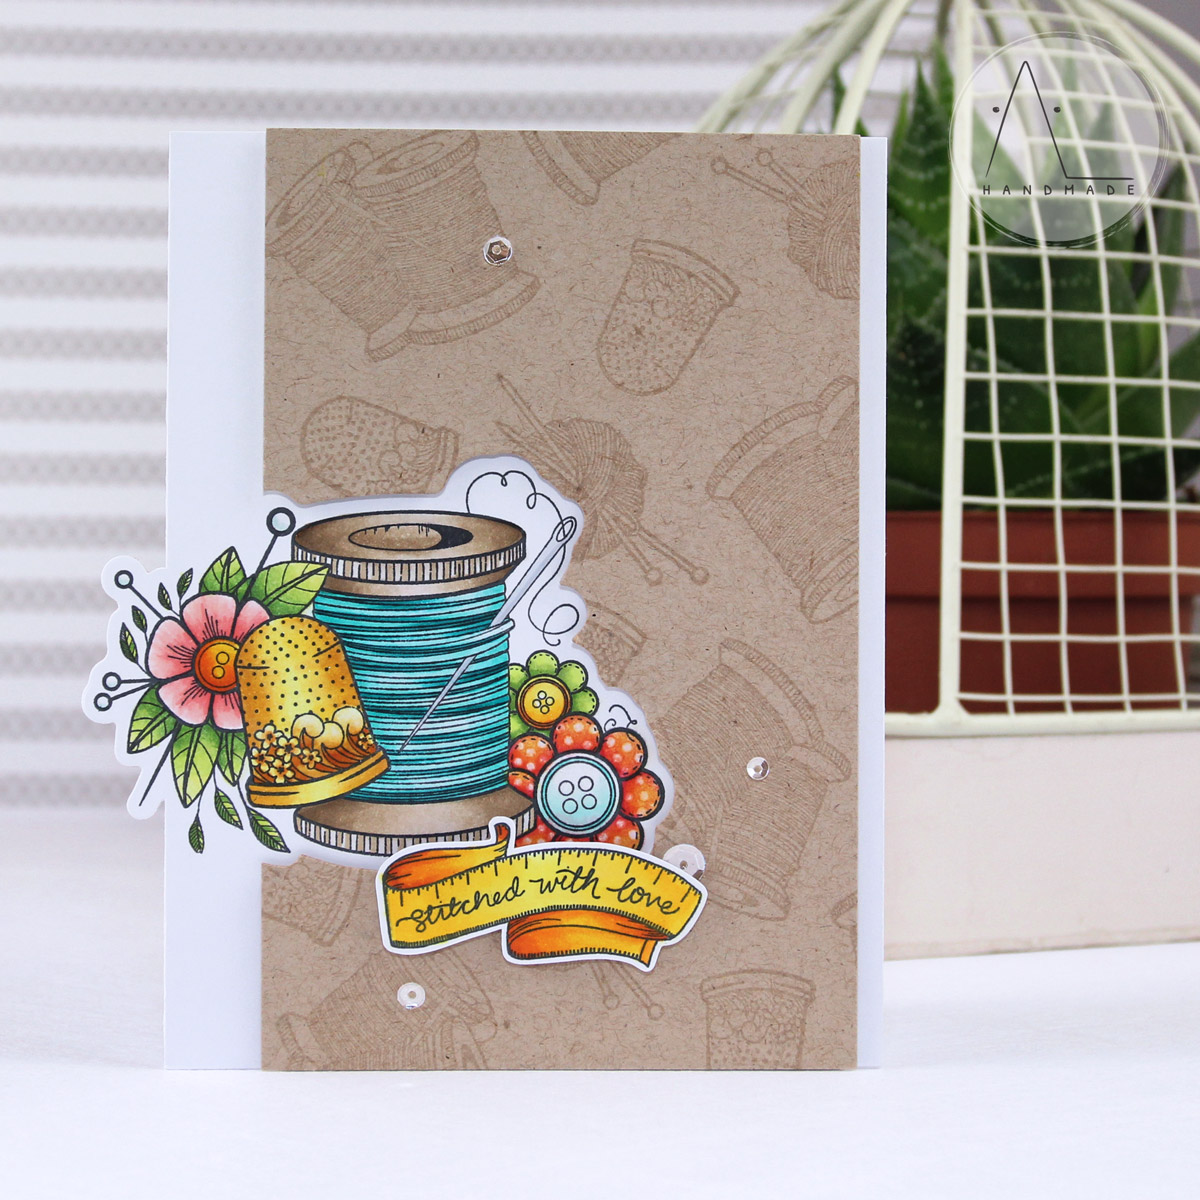
Handmade Collection by Stephanie Low Inspiration | Sew Handmade Card with Anna using SDS-072 Yarn, SDS-075 Sew stamps & dies #stamping #cardmaking #spellbinders #neverstopmaking

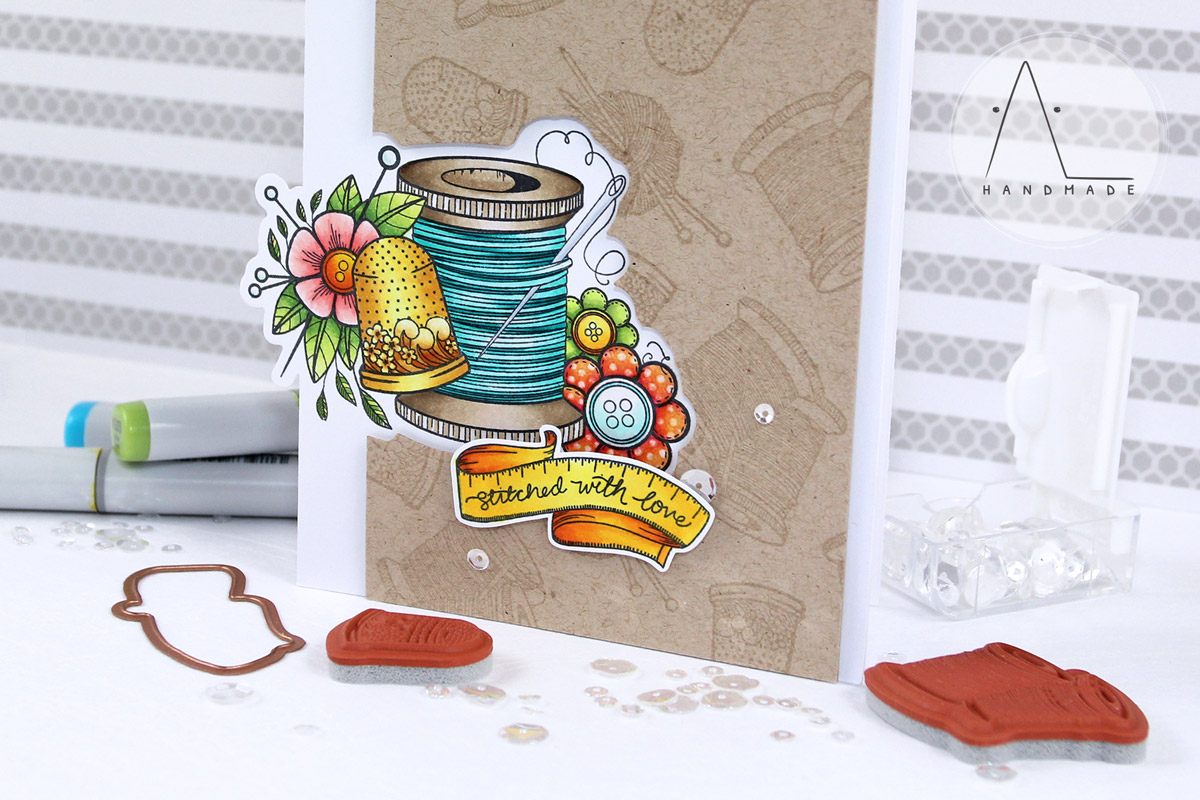
I started working on this card by creating a custom background using the small individual images from the Sew set along with an element from the Yarn set. I randomly stamped spools, thimbles and yarn balls on a kraft cardstock panel using clear pigment ink to achieve a two tone effect. Then I stamped the main image with black dye ink and colored it with Copic markers, adding some details with my colorless blender.

Handmade Collection by Stephanie Low Inspiration | Sew Handmade Card with Anna using SDS-072 Yarn, SDS-075 Sew stamps & dies #stamping #cardmaking #spellbinders #neverstopmaking

Once the coloring was done, I used the coordinating die to partial die-cut the colored panel, leaving a small part of the image outside the card base edge. Next, I trimmed the kraft panel down, aligned it in the right position and die-cut the shape of the main image out of it. Finally, I adhered it on my card base using foam tape for dimension.

Handmade Collection by Stephanie Low Inspiration | Sew Handmade Card with Anna using SDS-072 Yarn, SDS-075 Sew stamps & dies #stamping #cardmaking #spellbinders #neverstopmaking

To finish this project I stamped the sentiment with black dye ink and foam mounted it on my card, after coloring it with Copics. I also added some sparkling clear sequins as embellishment and a bit of Wink Of Stella for shimmer.

Spellbinders Supplies:

Other Supplies:

Paper: Copic Friendly Paper, Neenah Desert Storm cardstock; Ink: Memento Tuxedo Black Dye Ink, VersaMark Clear Pigment; Copic Markers; MISTI Stamping Tool; Pretty Pink Posh Clear Sparkling Sequins; Zig Wink of Stella Glitter Clear Brush Marker. I love Stephanie Low’s Handmade Collection so much: every single set is so inspiring and all its gorgeous images immediately caught my eye. I can’t wait to share more projects with you. Thank you so much for stopping by. Happy crafting!

Leave a comment

Your email will not be published. Please note, comments need to be approved before they are published.


  • HOW TO USE PRESS PLATES WITH MULTIPLE INKS | CREATE YOUR WAY HOLIDAY, BPR-050, BPI-049, BPI-003

    BP-001

    How to Use Multiple Ink Colors with BetterPress Registration Plates

    Create a colorful Christmas card while learning how to apply multiple ink colors to BetterPress registration plates. In this detailed tutorial, you’ll use the Festive Evergreens Registration Press + Foil Plate & Die Set to press a holiday doorway scene in three colors, combining the built-in registration system with a simple masking technique. The registration template positions the coordinating plates so each layer aligns with...

  • How to Make a Colorful Foiled Butterfly Card with Glimmer II

    BP-351

    How to Make a Colorful Foiled Butterfly Card with Glimmer II

    Combine hot foiling, alcohol-marker coloring, ink blending, and dimensional shaping to create a colorful butterfly card that sparkles from every angle. In this step-by-step tutorial, you’ll learn how to foil detailed butterflies and a floral background with the Glimmer II Hot Foil System, add bold color, and shape the butterfly wings for a realistic raised effect. The Bright Butterflies and Thanks In Bloom Press +...

  • How to Heat Emboss with BetterPress Plates: Snowman Christmas Card

    BP-001

    How to Heat Emboss with BetterPress Plates: Snowman Christmas Card

    BetterPress plates can do more than create letterpress impressions and hot-foiled designs. In this detailed Christmas card tutorial, you’ll learn how to apply clear sticky ink to a BetterPress plate and use white embossing powder to produce a crisp, heat-embossed snowflake background. The tutorial also covers pressing and die cutting a sentiment, assembling three detailed snowmen, and arranging the finished elements on an A2 card....