

Posted by Spellbinders Team
on September 22, 2018

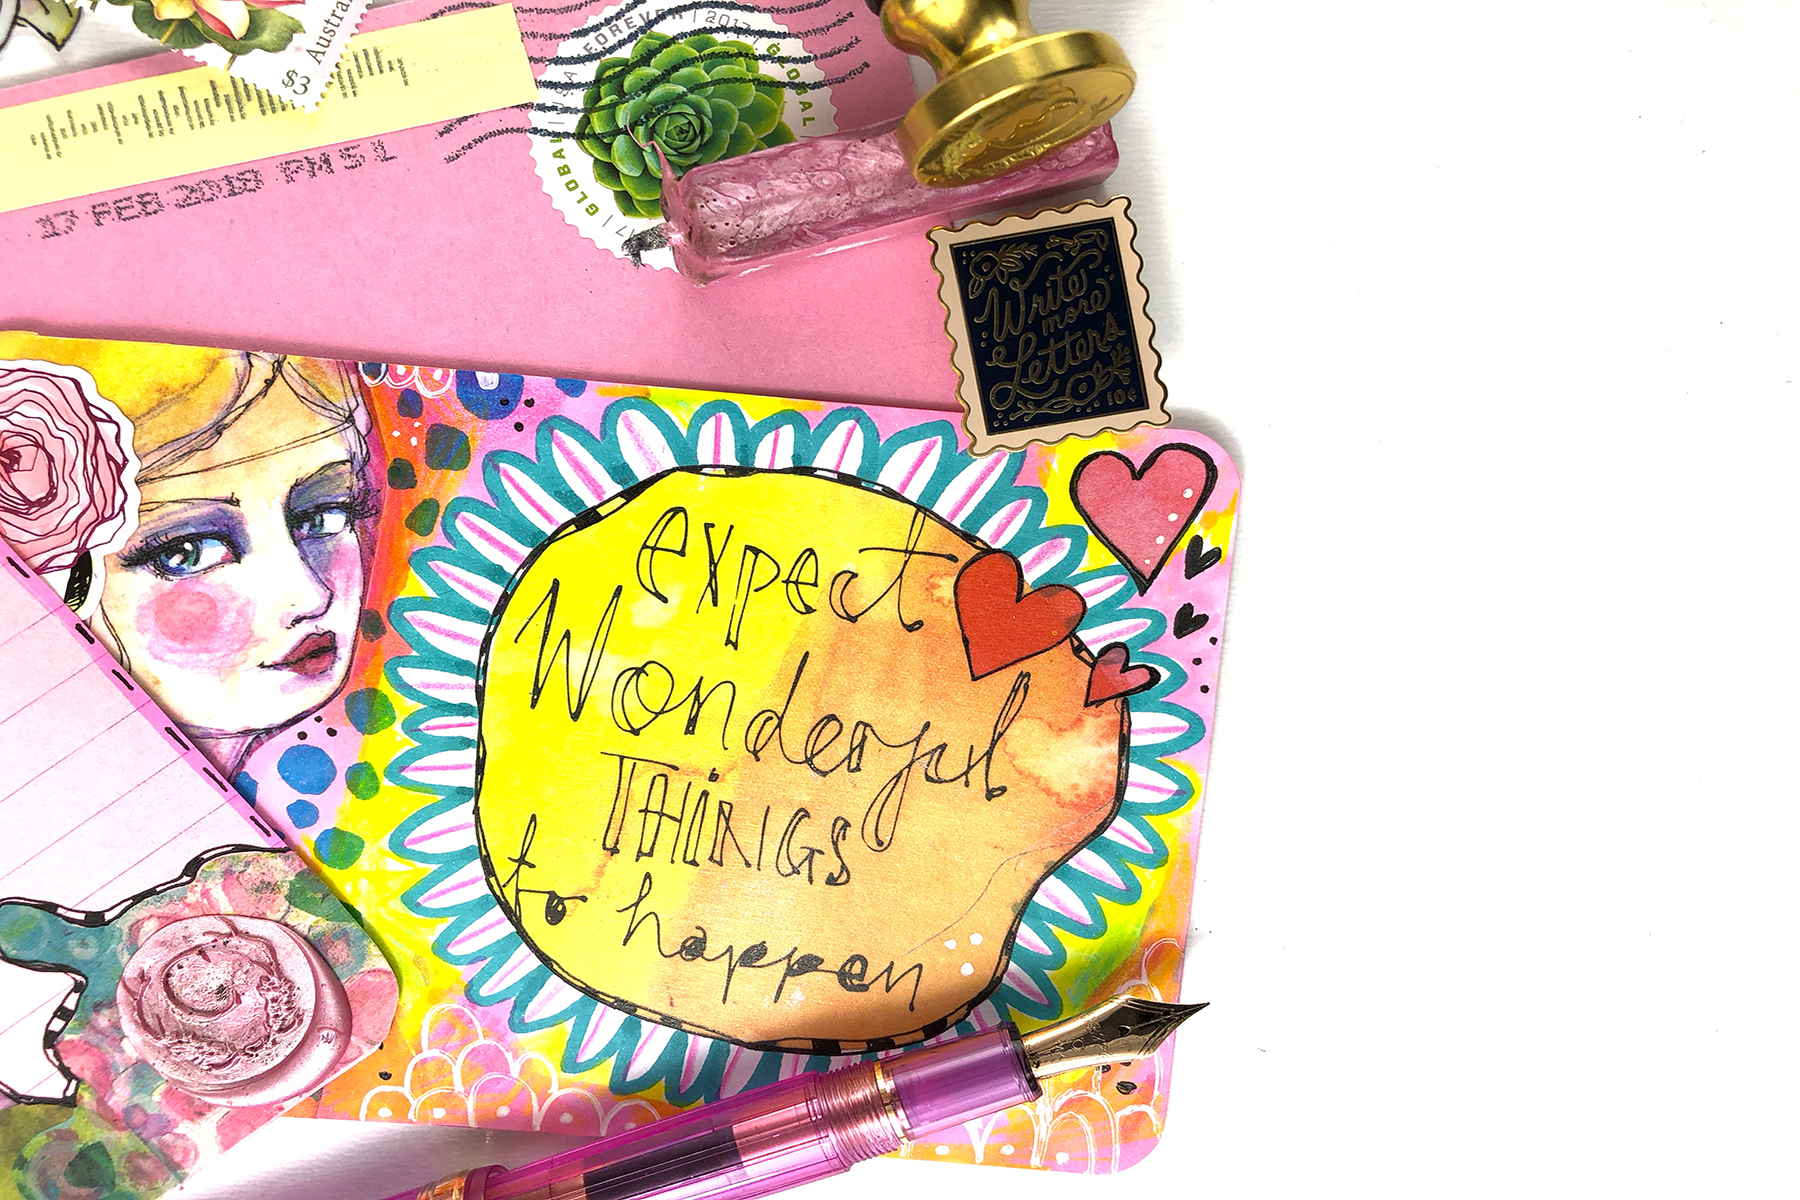
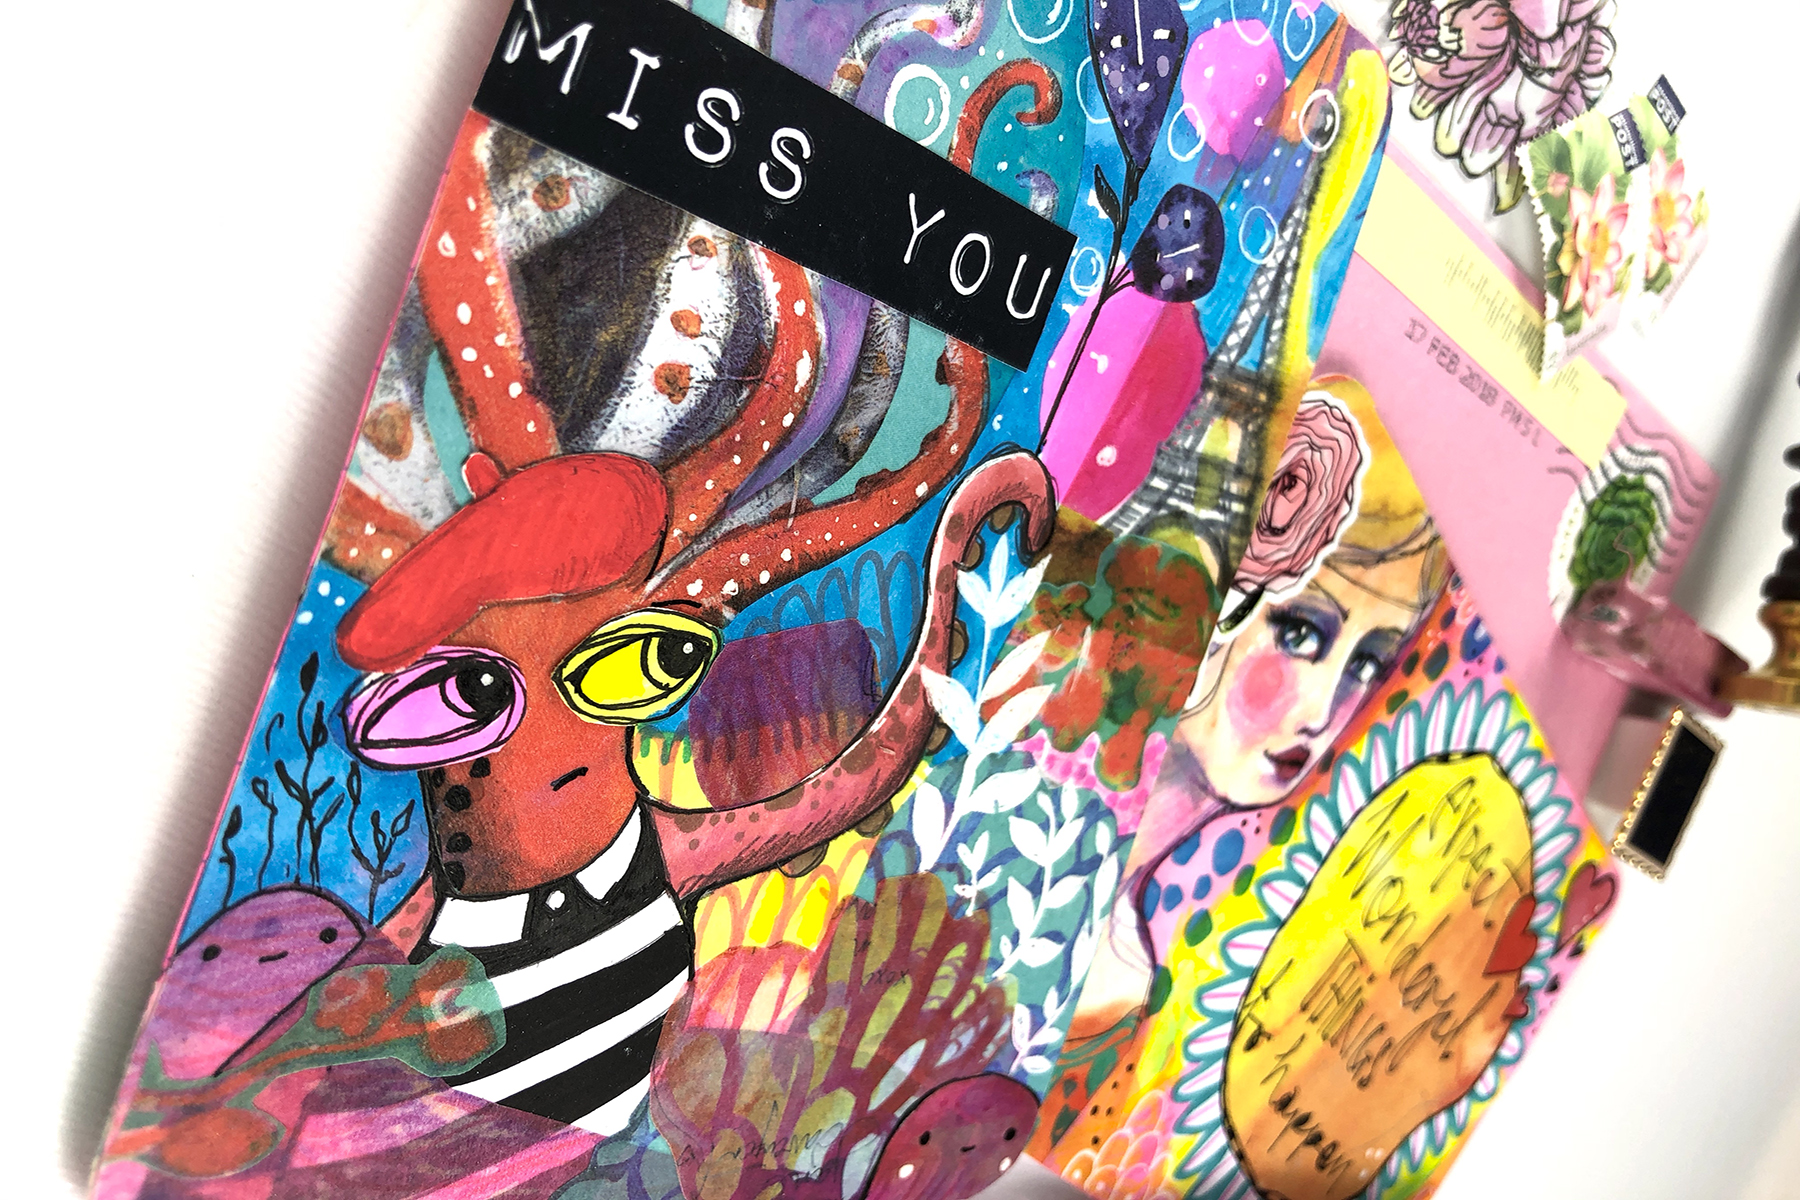
Hello Spellbinders and Davenpeeps! Courtney Diaz here with you again with another creative take on the Jane Danveport Artomology range. Being an analogue lover I love writing letters! I also love receiving letters, our mailboxes tend to only get the odd bill here and there and I think it's time we filled them up with colourful and unique happy mail! Today I'm going to show you my spin on the humble postcard!
Video Tutorial
Watch video tutorial below or on Youtube to learn how to make this project: I think in our digital age where a handwritten anything is getting less and less, I feel it is more important now more than ever to make and send out little forget-me-nots into the world. I know anyone and everyone would get so much joy from opening their mailbox and seeing a bright and colourful handmade item inside just for them.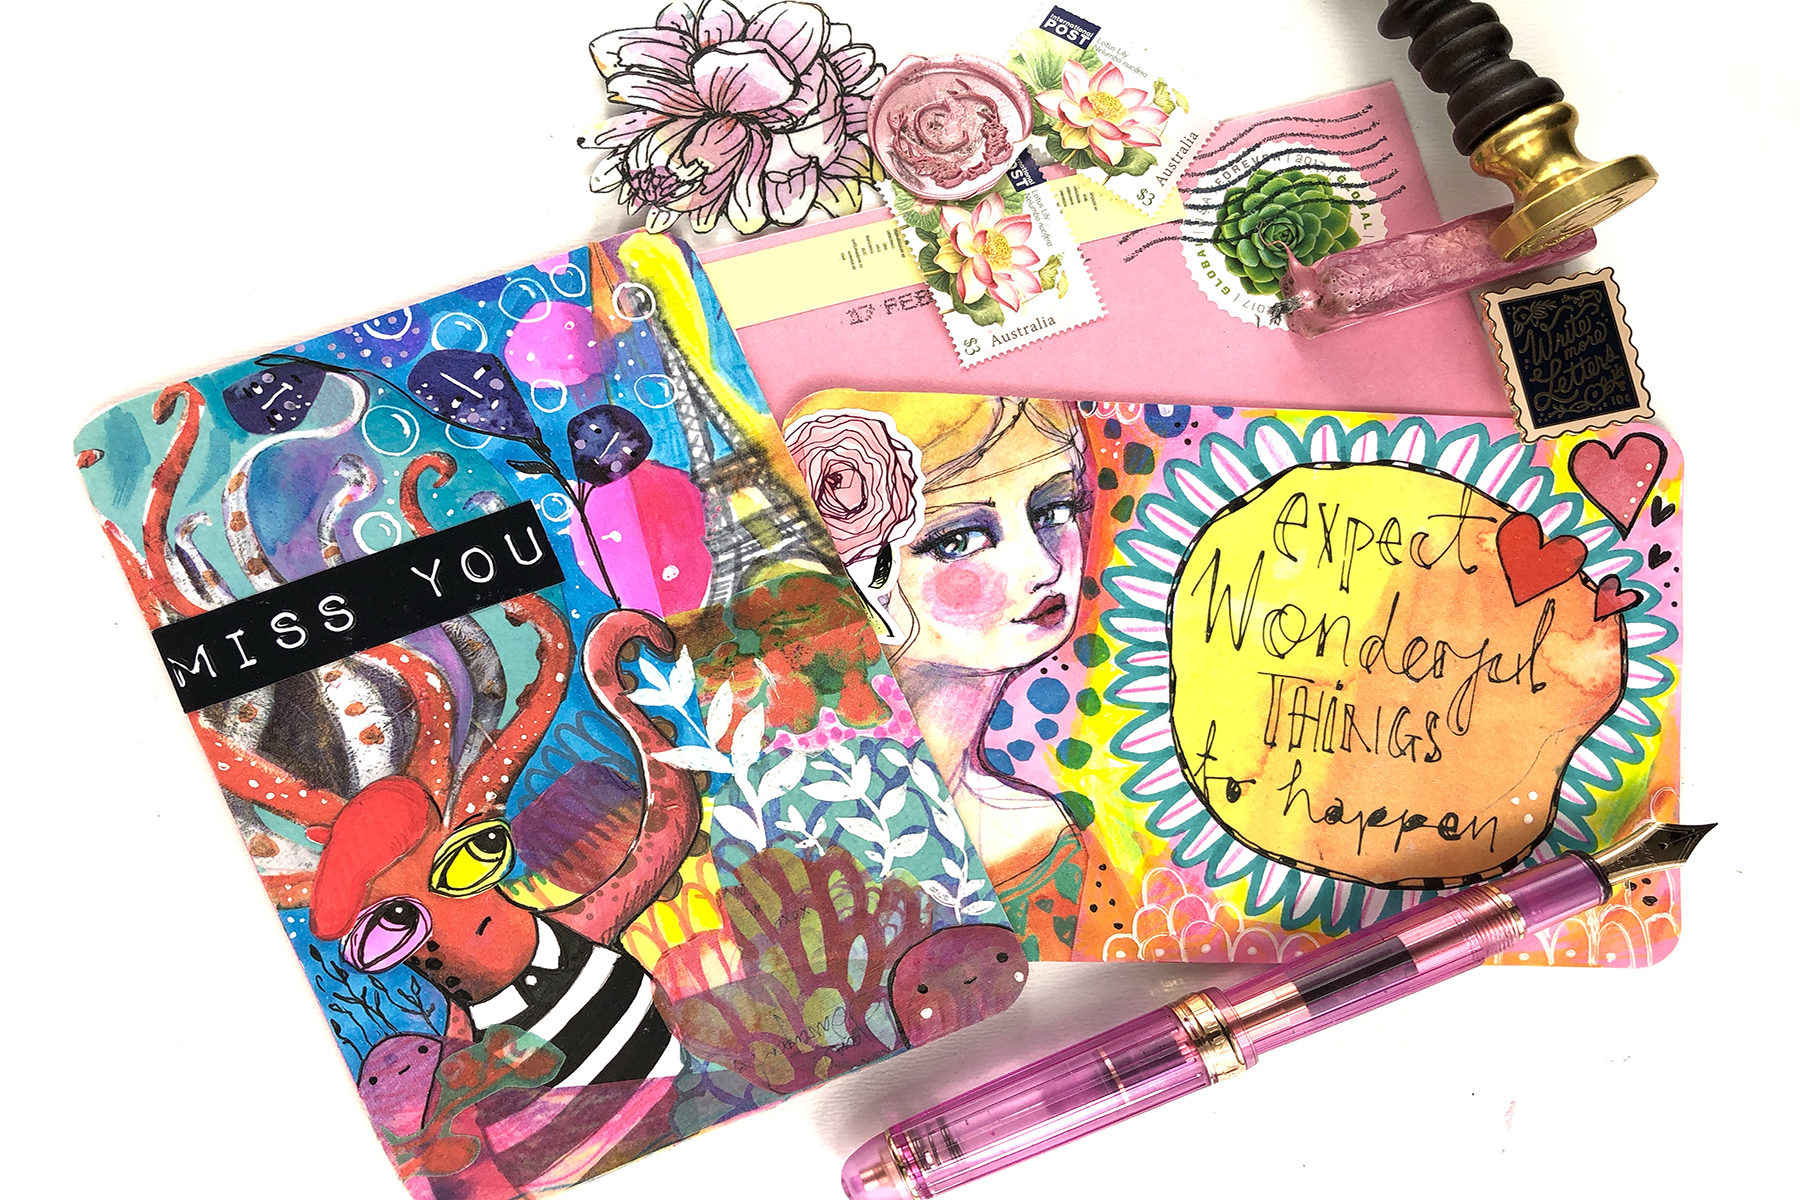
Spellbinders Supplies:
- JD-013 Washi Girls Washi Sheets
- JD-014 Washi Mermaids Washi Sheets
- JD-015 Colorist Stickers
- JD-024 Smooth Markers - Feathered Friends
- JD-025 Smooth Markers - Mermesmerizing
Other Supplies:
White Gel Pen; Black Fine Tip Pen; Wax Seal + Pink Sealing Wax (not necessary, but I enjoy using them on my snail mail); Adhesive; Pink Lined Paper.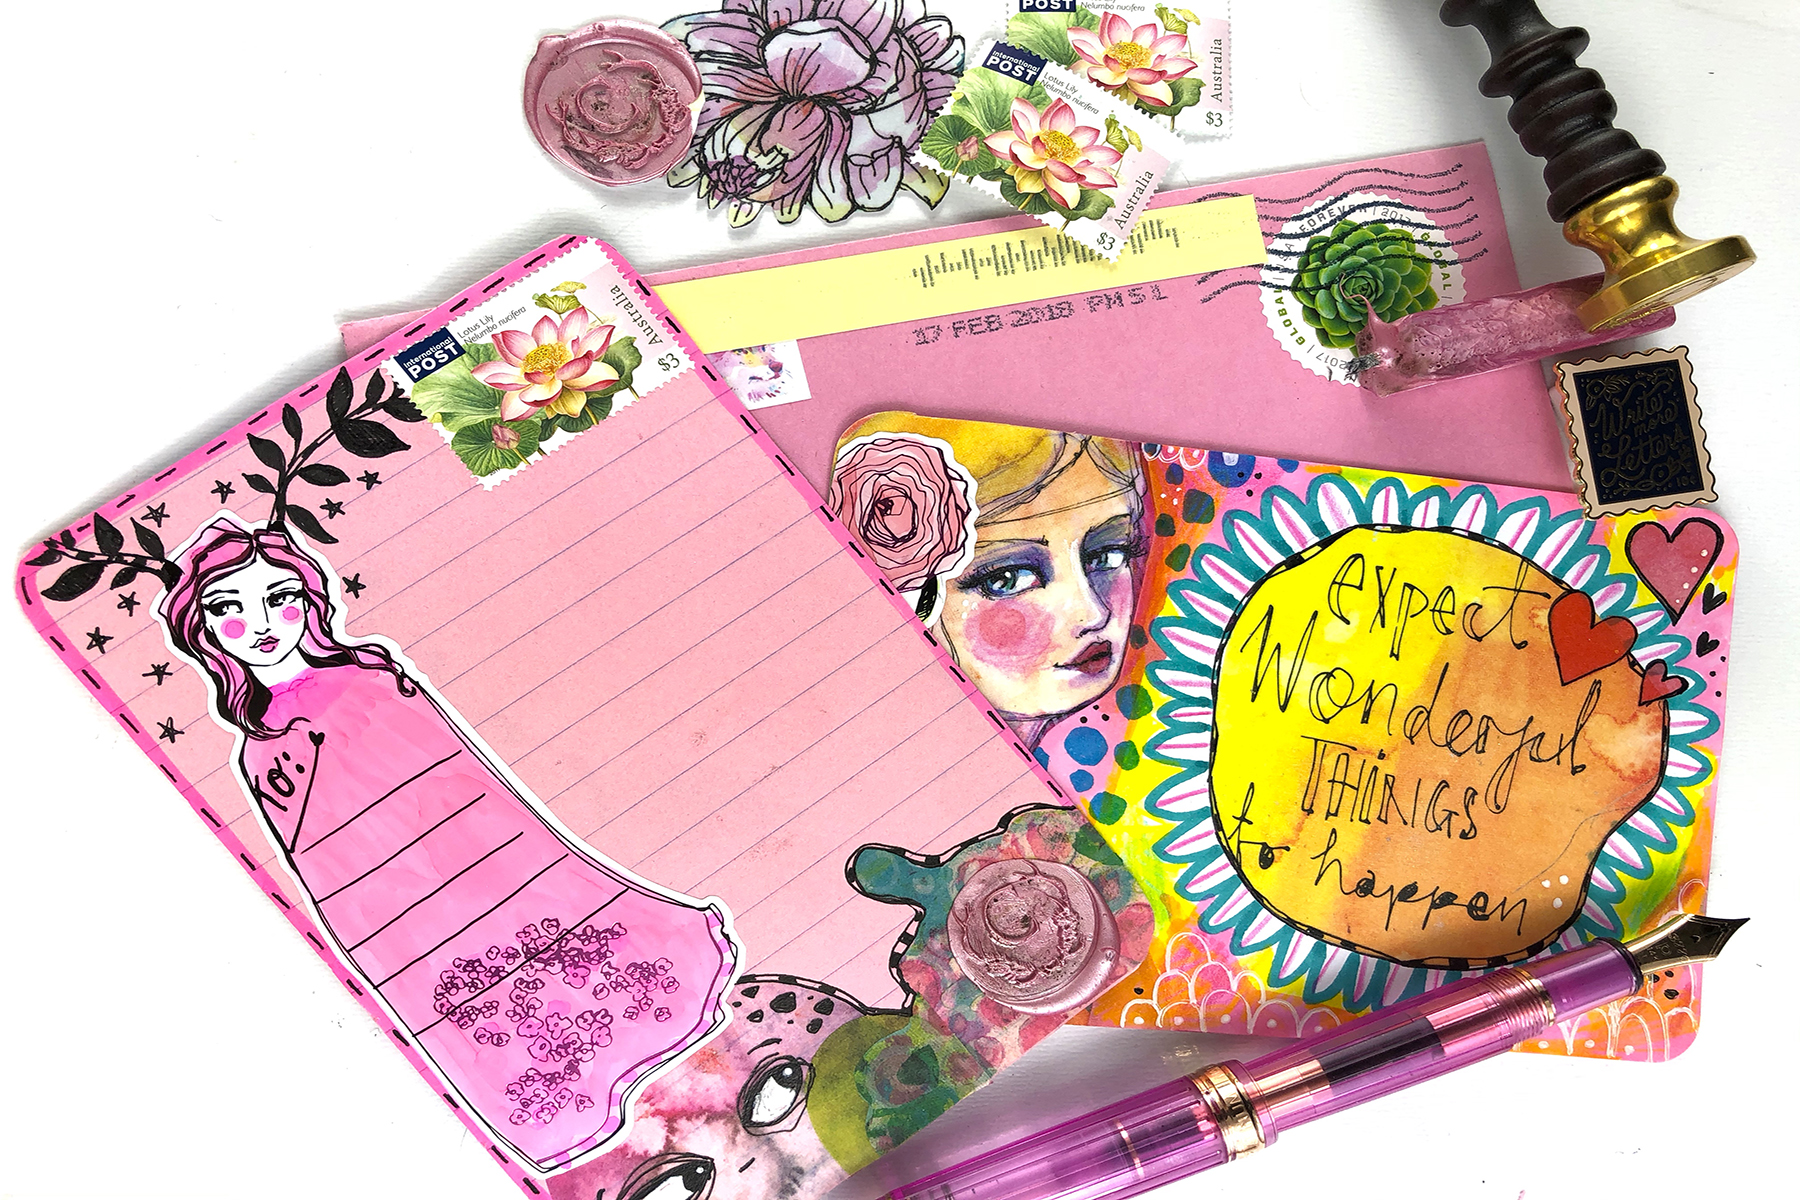























































































3 comments
LOVE Courtney’s style, everything she touches becomes magic!!! I also love anything Jane Davenport related!!! ❤
Brilliant Courtney. Fantastic ???
So super gorgeous!