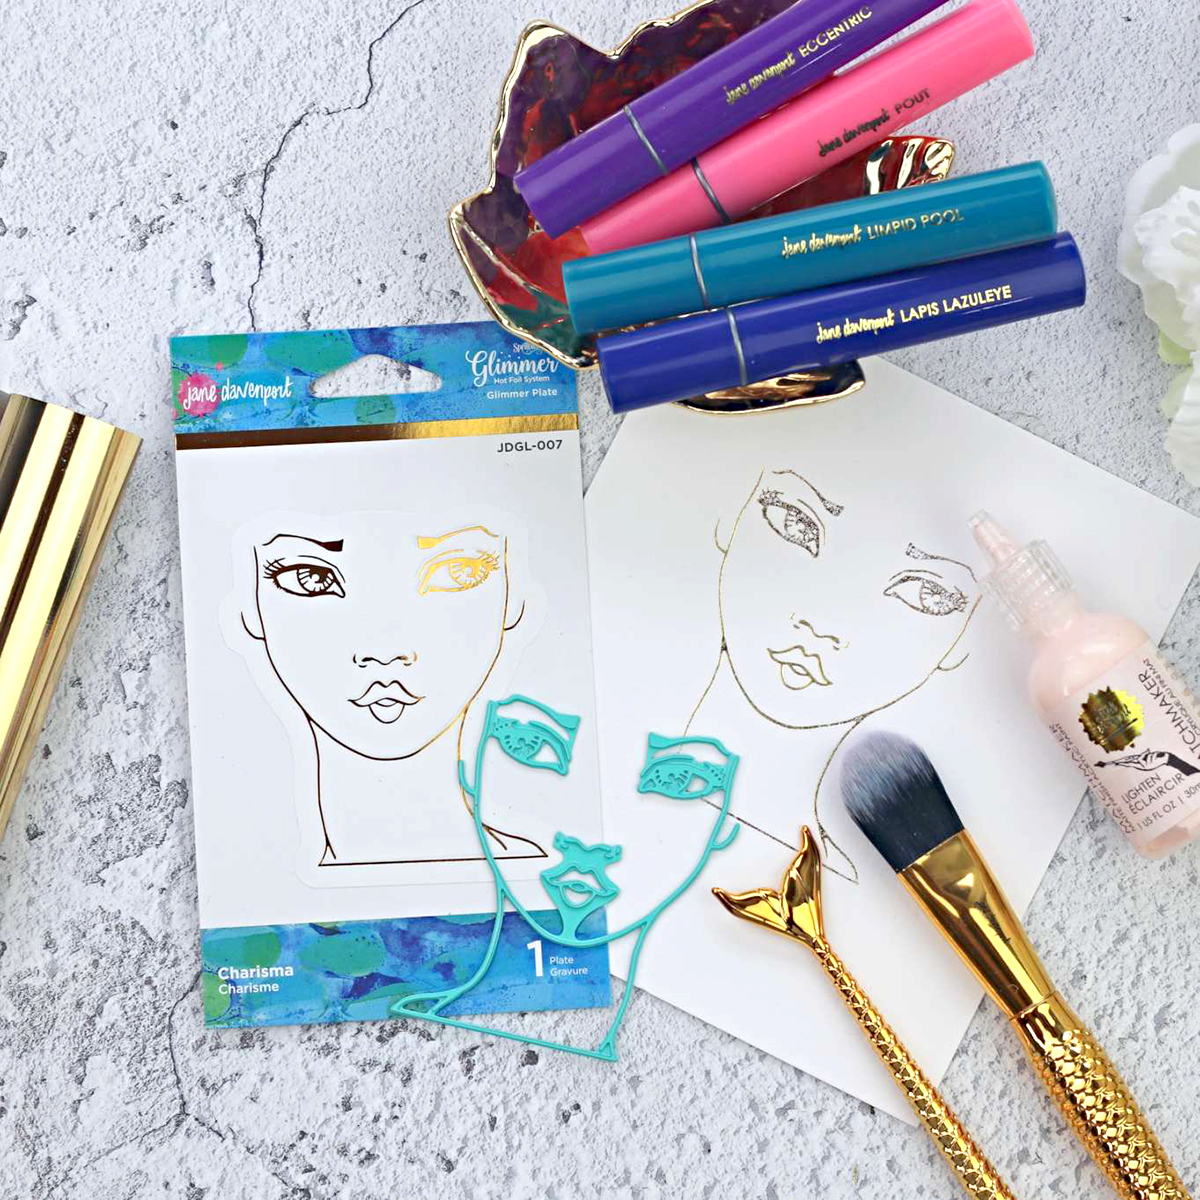
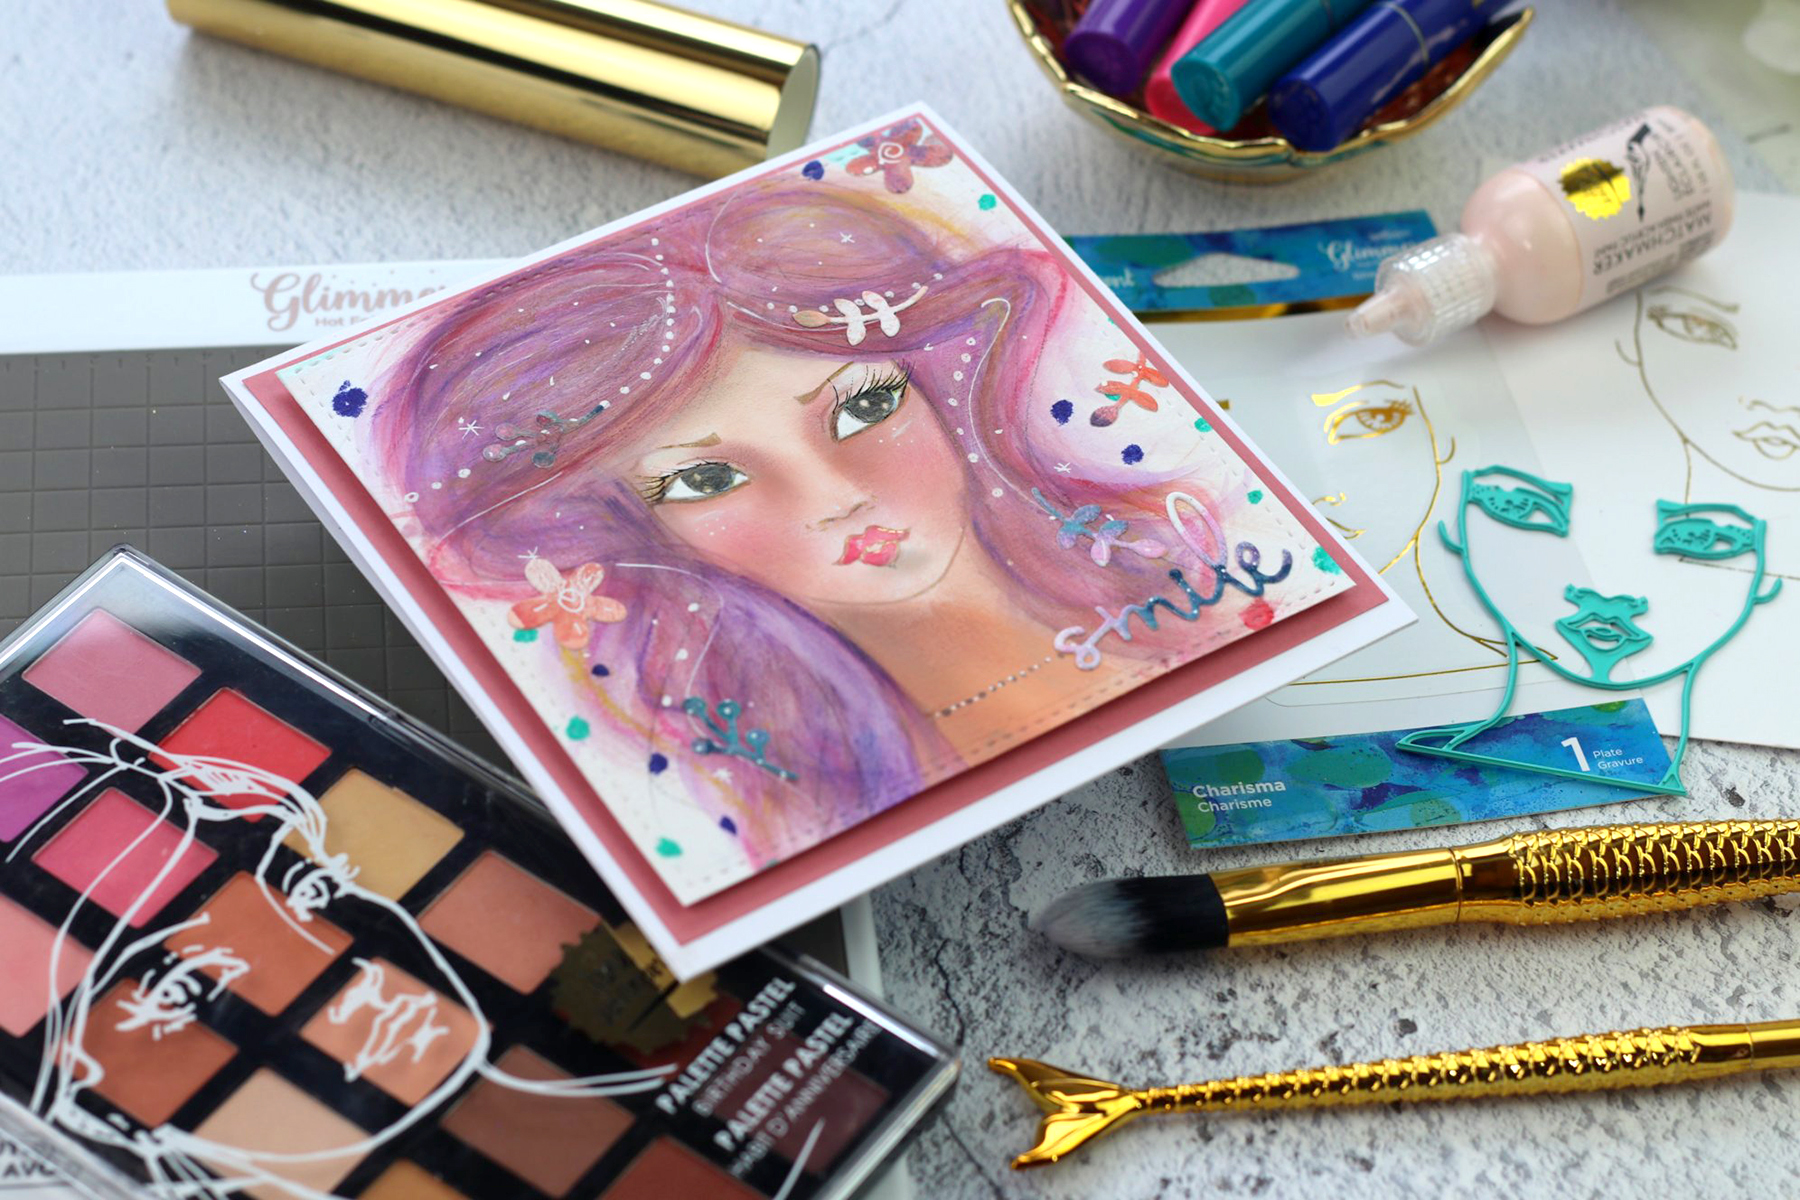
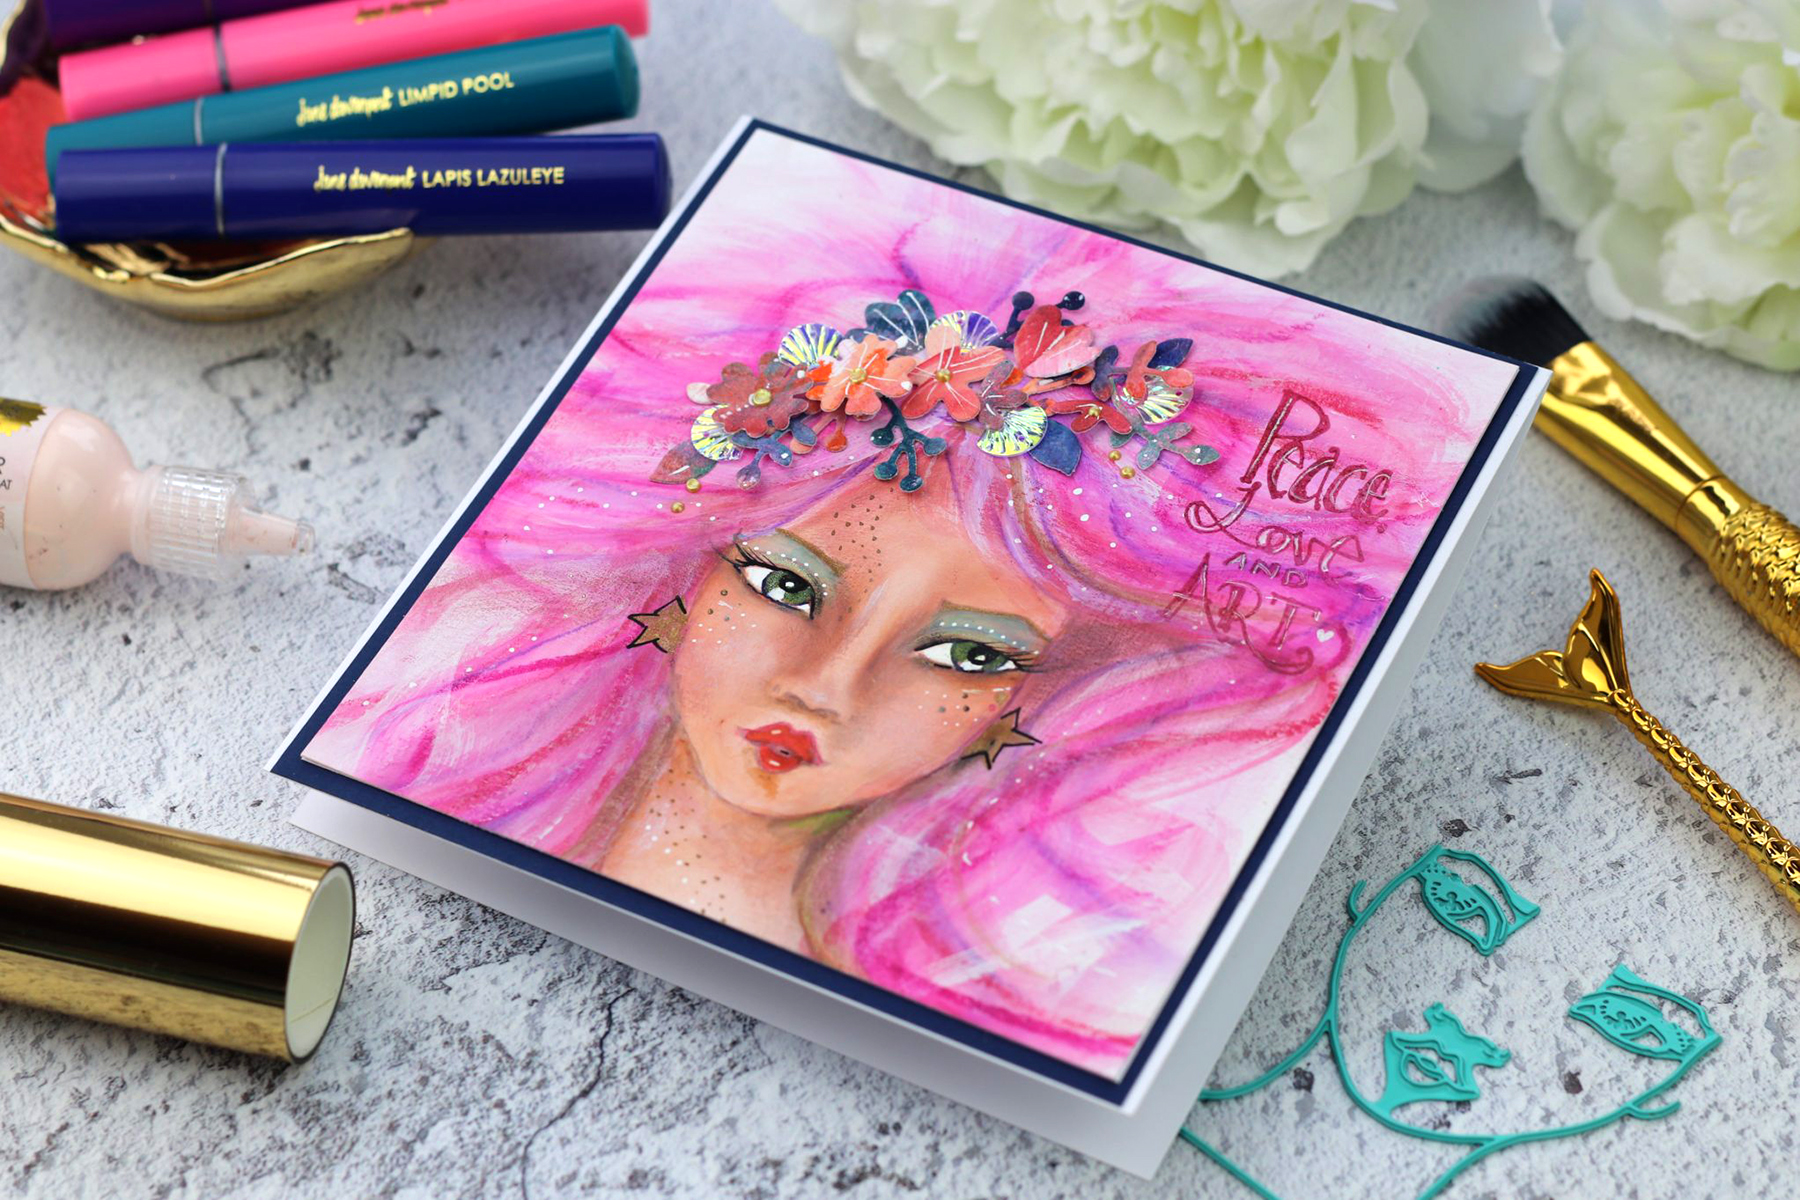
For today, I made three projects using "Charisma Glimmer Plate" and as I was experimenting with the products I got something a little bit different every time.
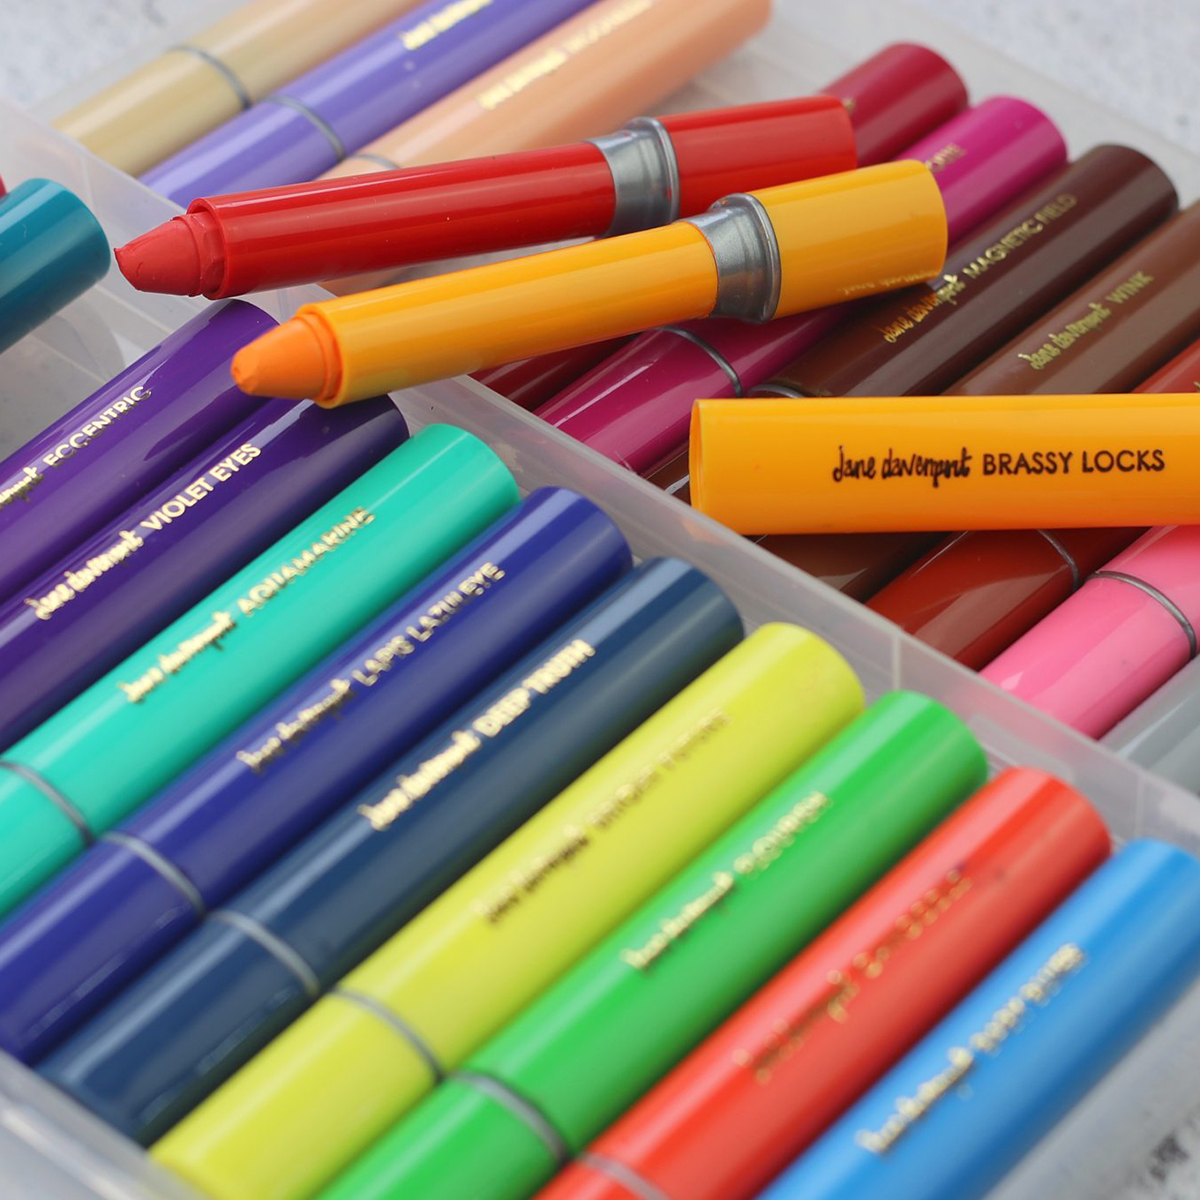
I found that colouring foiled images using Jane's pastels, acrylic paints and Colorsticks is terrific and in the video below I show you my process with more detail.
VIDEO TUTORIAL
Watch the video tutorial below or on YouTube to learn how to make this project:
Sound easy, right? And it is as easy as you want it to be. I felt the most challenging part was drawing the girls hair. I'm an avid stamper because I never developed skills to draw. Drawing is intimidating to me so trying these supplies took me out of my comfort zone.
You will start with a foiled image as a blank canvas. From there the sky's the limit.
I used the Spellbinders Glimmer Hot Foil System together with Charisma Glimmer plate and Glimmer Hot Foil to get the beautiful foiled silhouette on mixed media paper.
Although I worked with very little water, I found that Derwent mixed media paper, Strathmore Bristol paper, or hot press watercolour paper ( 270 - 300 grams) will be great to do foiling and to apply different mediums because these papers have a smooth surface and they are designed to absorb water with minimal warping.
The glimmer hot foil will resist the pastels, light washes of ColorSticks and it will resist acrylic paints too! Magic!
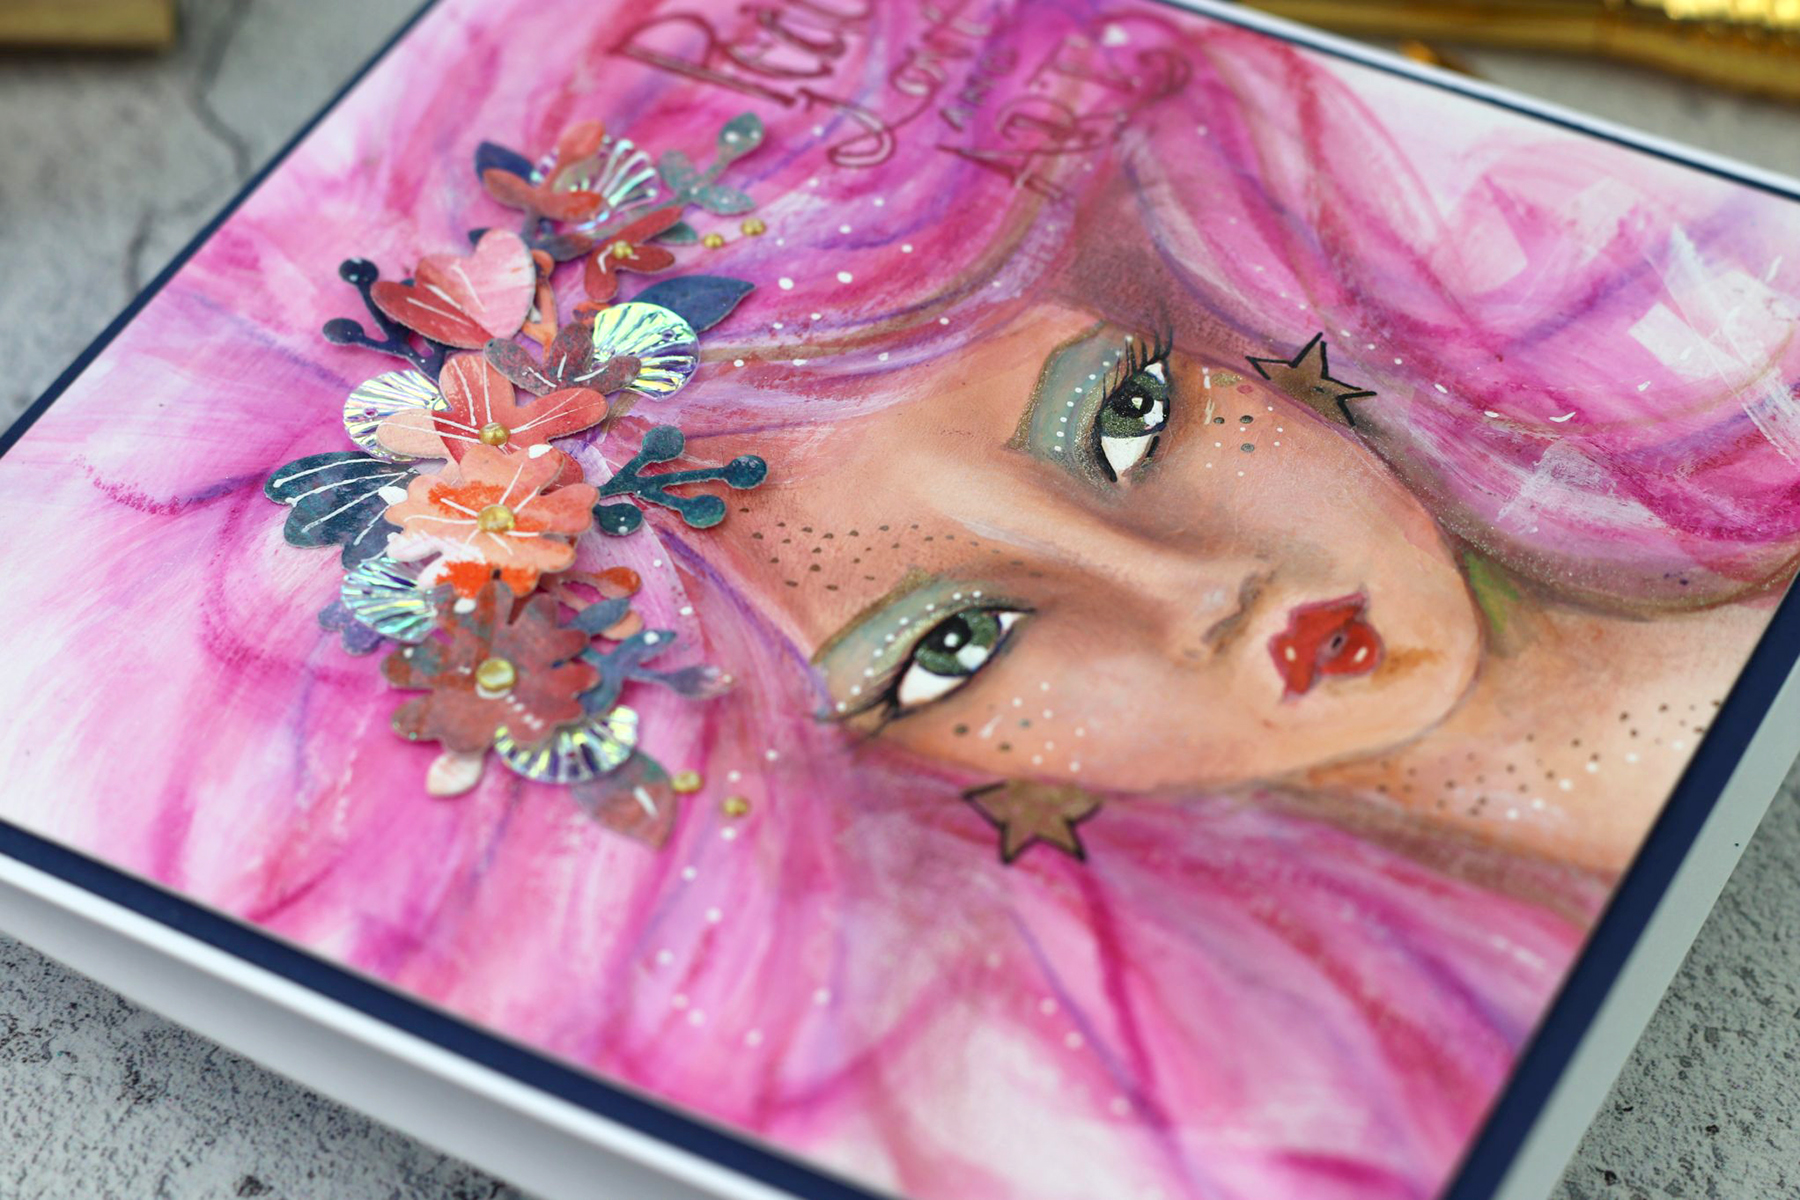
By applying different mediums over the hot foil, it will look subtle on the background but you will still be able to see it shining in the back.
The picture below shows better the hot foil shine:
I also found that when priming the paper using Jane Davenport acrylic paints or gesso, I could use the ColorStick pigments just as I use watercolours. The Colorstick glide nicely over the acrylic paint. They deliver a stunning mat finish and the colour becomes permanent when dry.
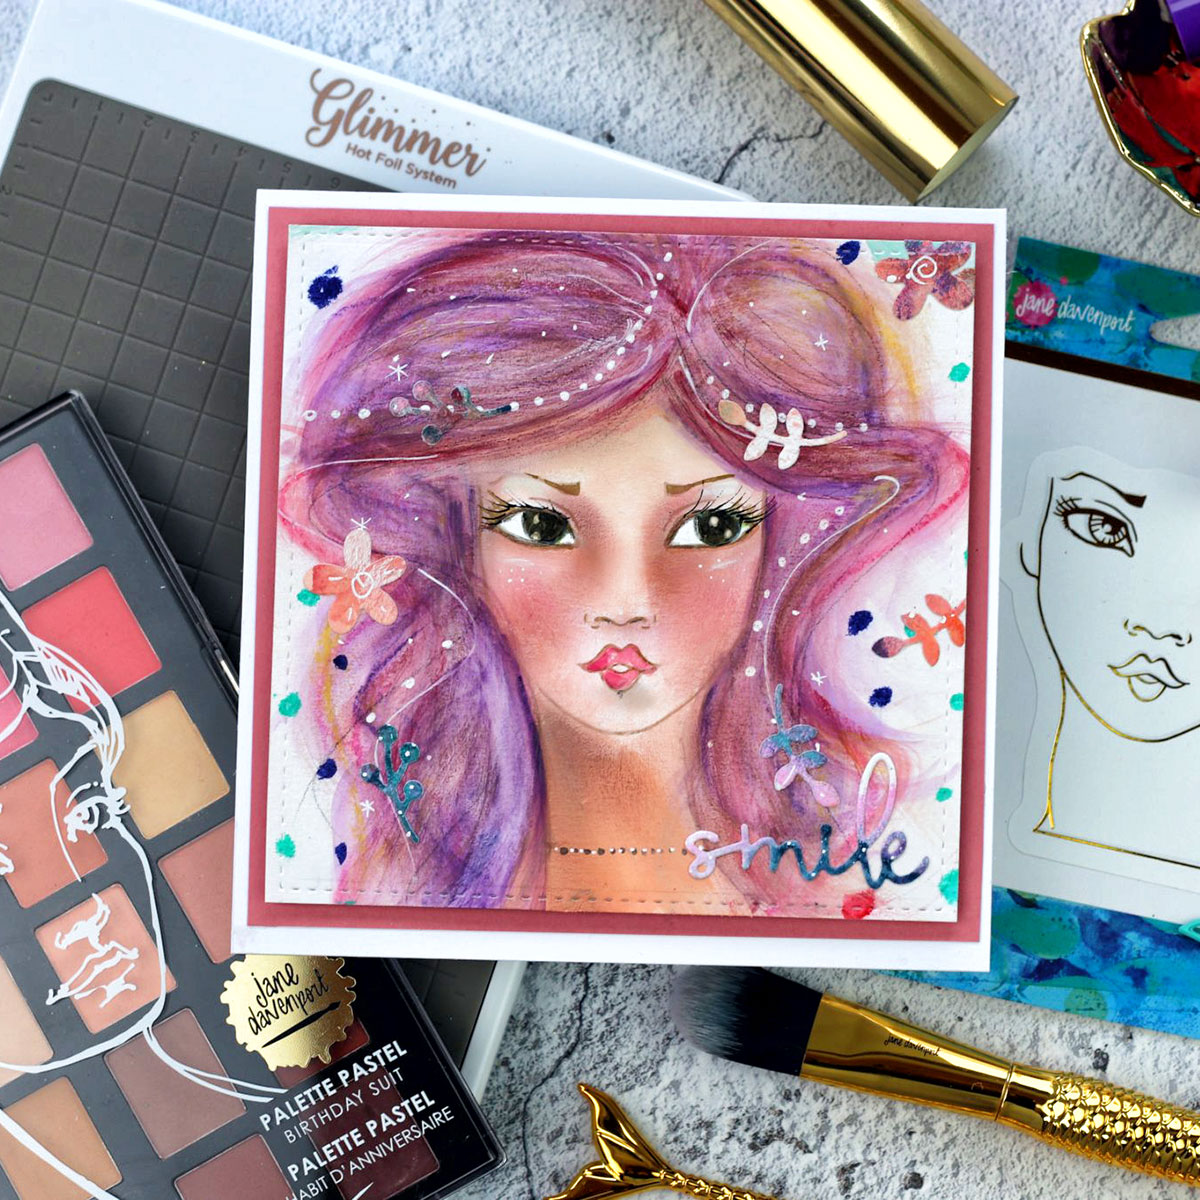
However, you can use Jane Davenport pastels directly on the paper without priming it, as this is a completely chalky - creamy and different medium.
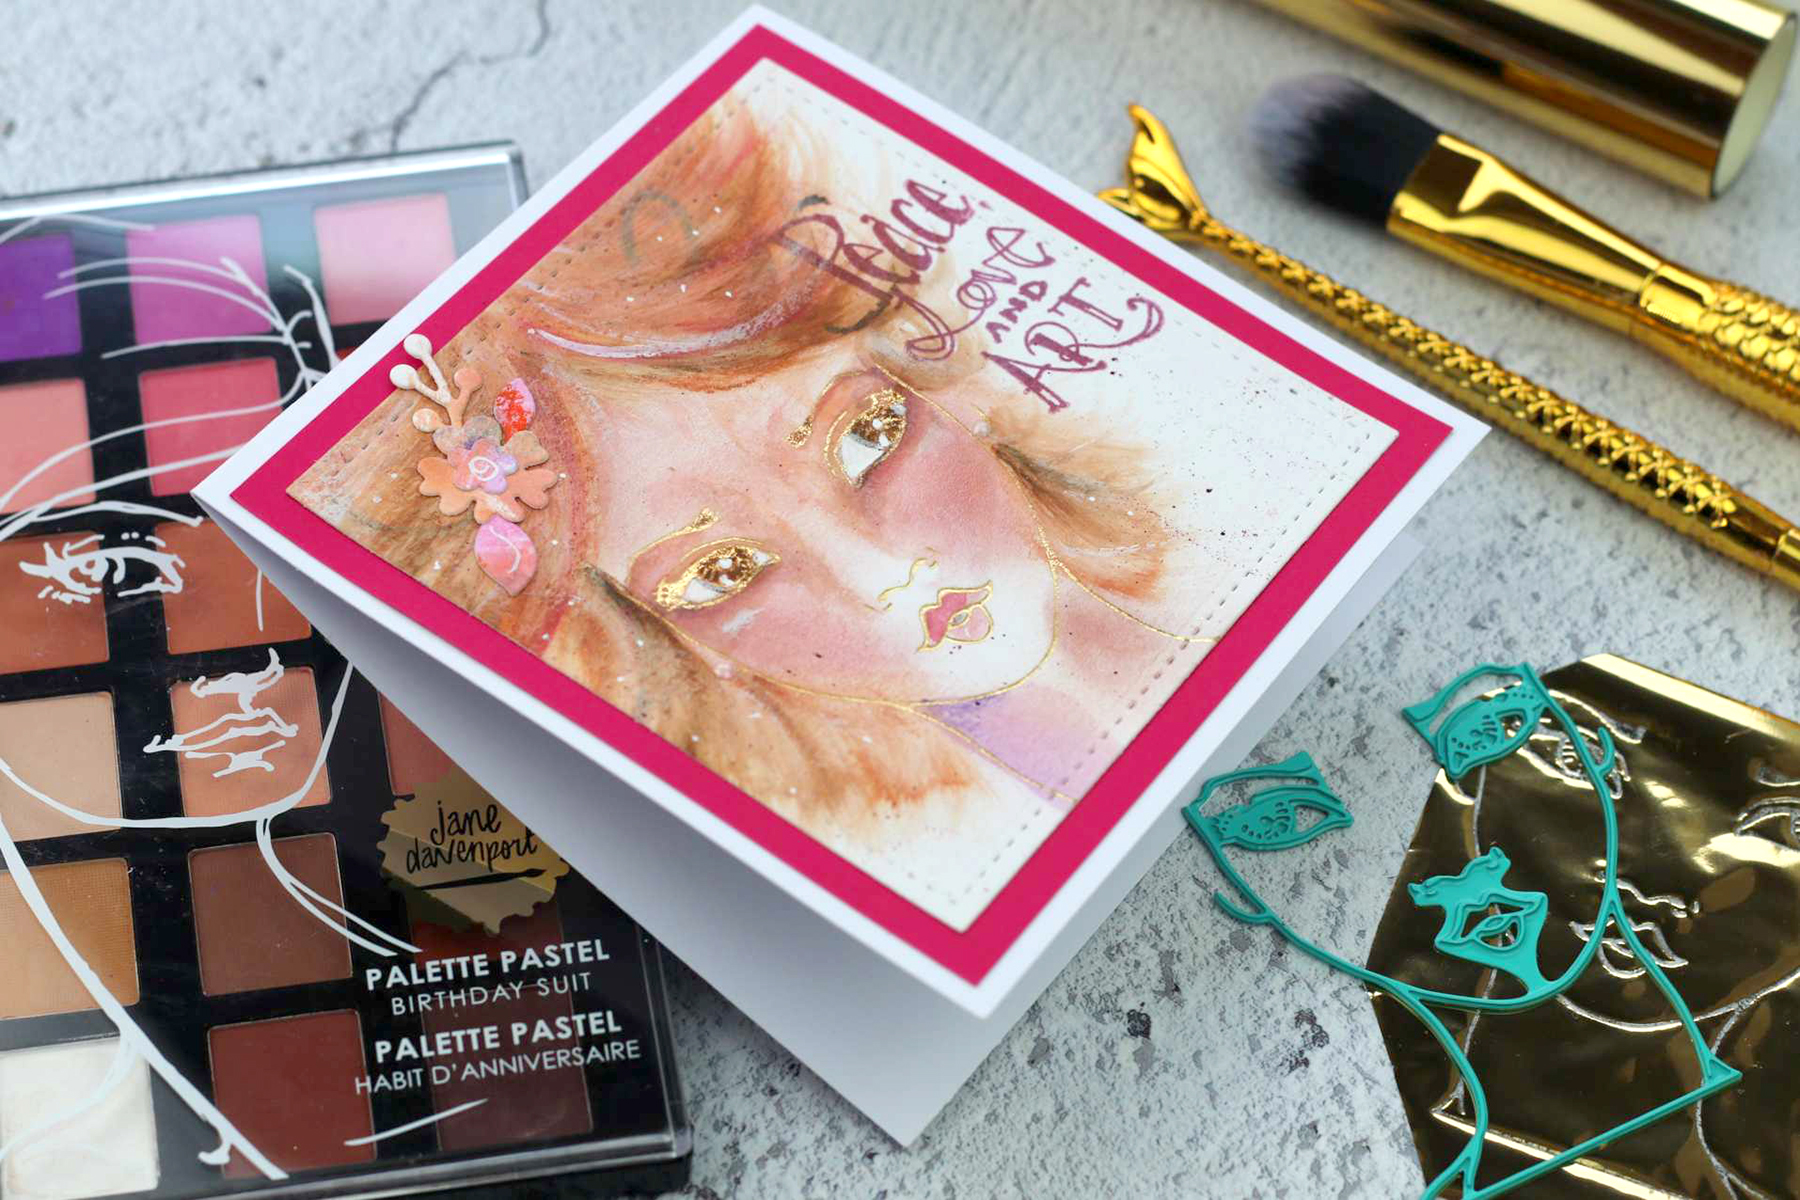
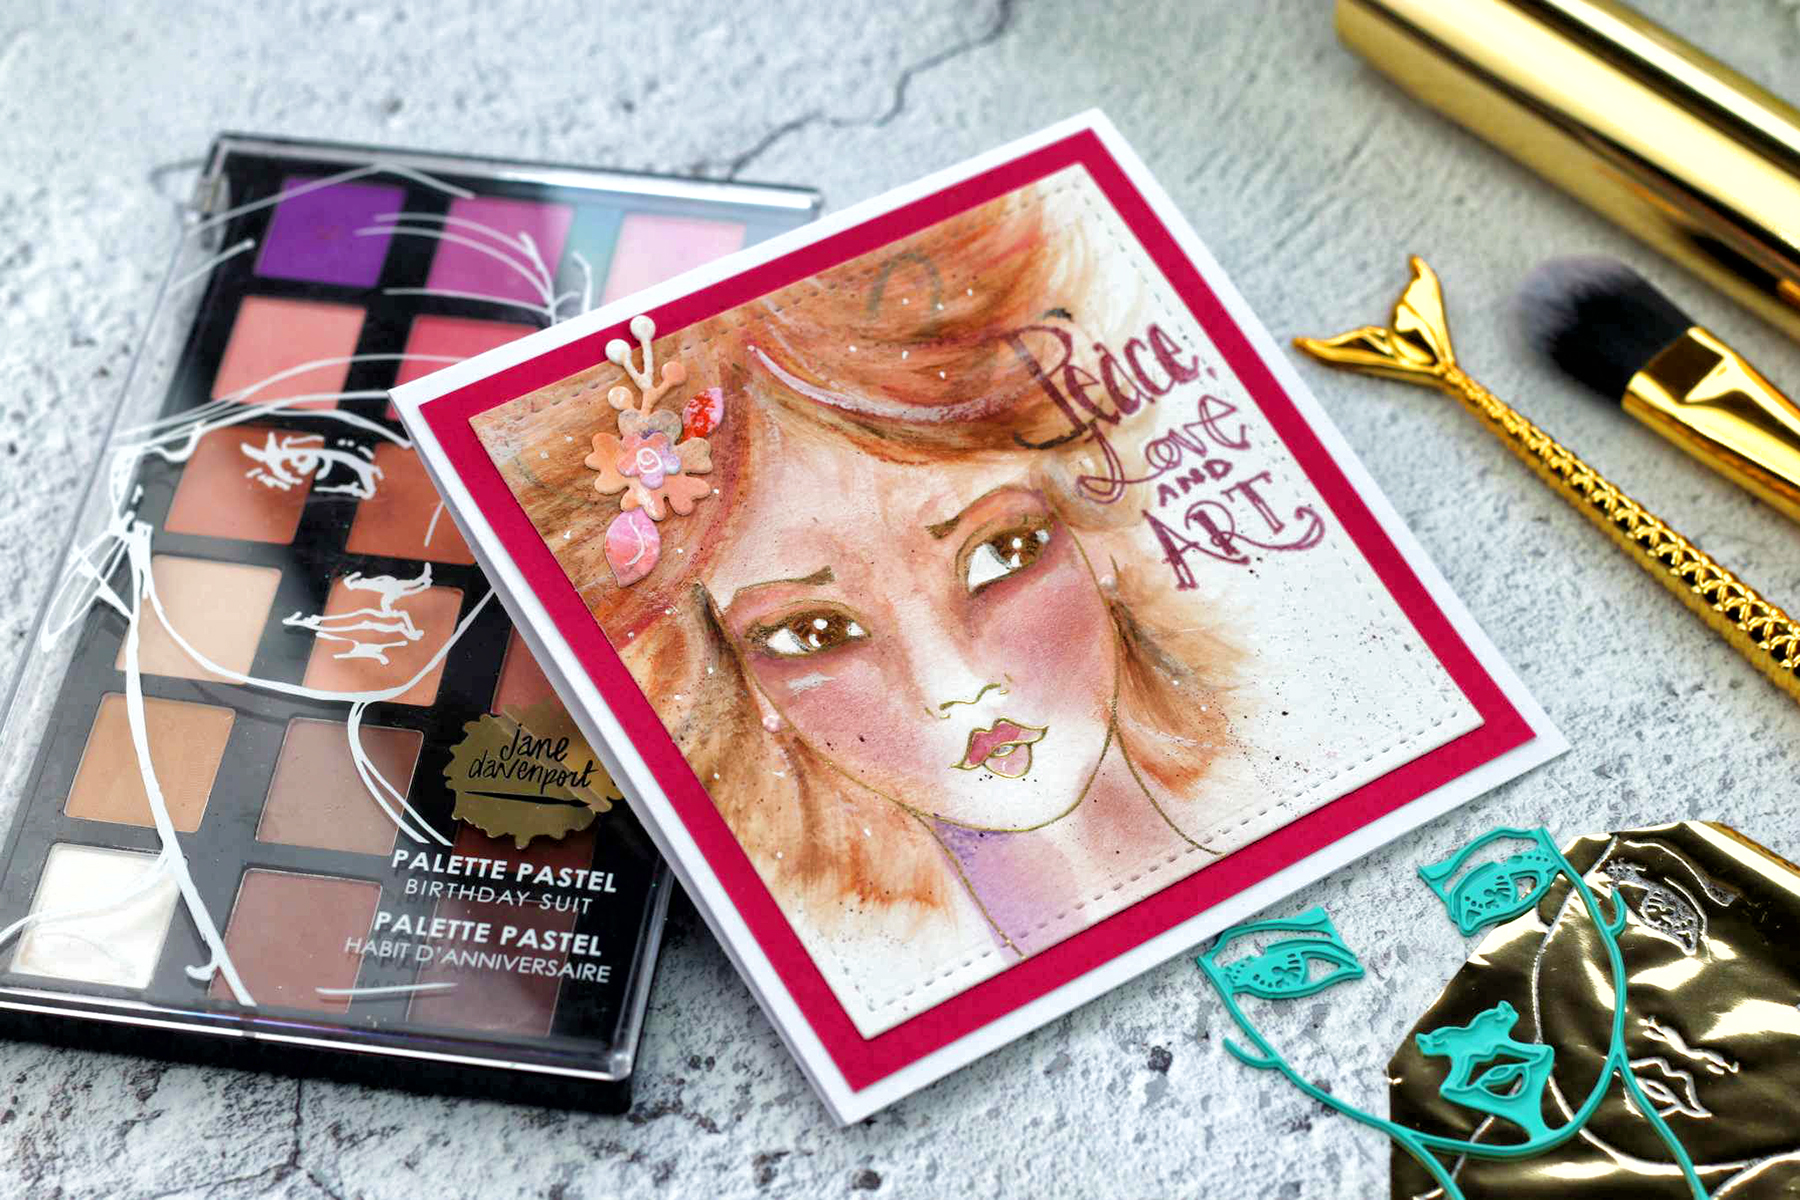
The card below is an example of this so you can see a remarkable difference between the look and feel of the skin in this card and the other two cards in this post.
Her face looks more chalky and of course, you can try different pastel colours to achieve different looks.
To create the hair in all my cards today I primed the area around the face using white acrylic paint. I used ColorSticks to draw the hair lines and I then used the mermaid brushes in flicking motion to move the pigments around.
The little floral die cuts on all the cards today are from Marcia's Make Over die set. I die cut a piece of paper in which I was testing the colour sticks and those die cuts looks gorgeous.
So you can use foiled images as a base to create a whole composition but of course, you can foil on top of paint, fabric, chipboard, leather or any other surface to add beautiful foiled images as accents to your artwork.
I think the Crown and the Seahorses glimmer plates in this release would go perfect together on artwork created using the Charisma glimmer plate. These will be a great aid for a newbie like me as it can hide a wee bit the hair as well -lol !!
I hope my video and this post to be helpful and that somehow I could inspire you to use Jane Davenport supplies.
I learn than watching videos on Youtube is a good first step to understand these products but is when you use them, when you touch them and when you try them when you will discover a whole new universe.
The colours in Jane Davenport product range are to die for.
The Mermaid brushes are soft and they do not leave strokes or marks of paint over the paper surface providing a smooth finishing when using any medium.
So in my opinion, these products are something to love from the beautiful packaging to every single result delivered.
Spellbinders Supplies:
I want to thank Spellbinders and Jane Davenport for this chance to try amazing products. I really enjoyed working with them and Jane got a new fan! Me!!!
Thank you for having me today Hugs
x
Bibi Cameron
Our August 2026 Clear Stamp & Die of the Month preview & tutorials are here! Join the Clear Stamp & Die of the Month Club and receive an expertly designed clear stamp and coordinating die set each month, complete with inspiration. Plus, members get store savings, extra deals, gifts, and more. This stamp set features made-in-the-USA stamps from high-quality photopolymer for clear, crisp impressions. Our stamps...
Our July 2026 2D Embossing Folder of the Month preview & tutorials are here! Exclusive 2D Embossing Folder adds texture and dimension to any project. Size will generally be 5.5" x 8.5" and can be used to make slimline, 5" x 7", and a variety of sized projects. Spellbinders Monthly Clubs are exclusively designed by our in-house creative team, curated with care, and delivered with...
Our August 2026 Stencil of the Month Club preview & tutorials are here! Here’s a look at the design for this month – Holiday Harmony: Please note, new Subscription Sign-Up Window will now open on the 6th of each month and close on the 27th (once existing club members subscriptions have been processed.) If there is additional inventory remaining, then they will be made available for...
2 comments
Loved the demo!!!! Your work is FABULOUS!!!!
Amazing work!