

Posted by Spellbinders Paper Arts
on January 20, 2018

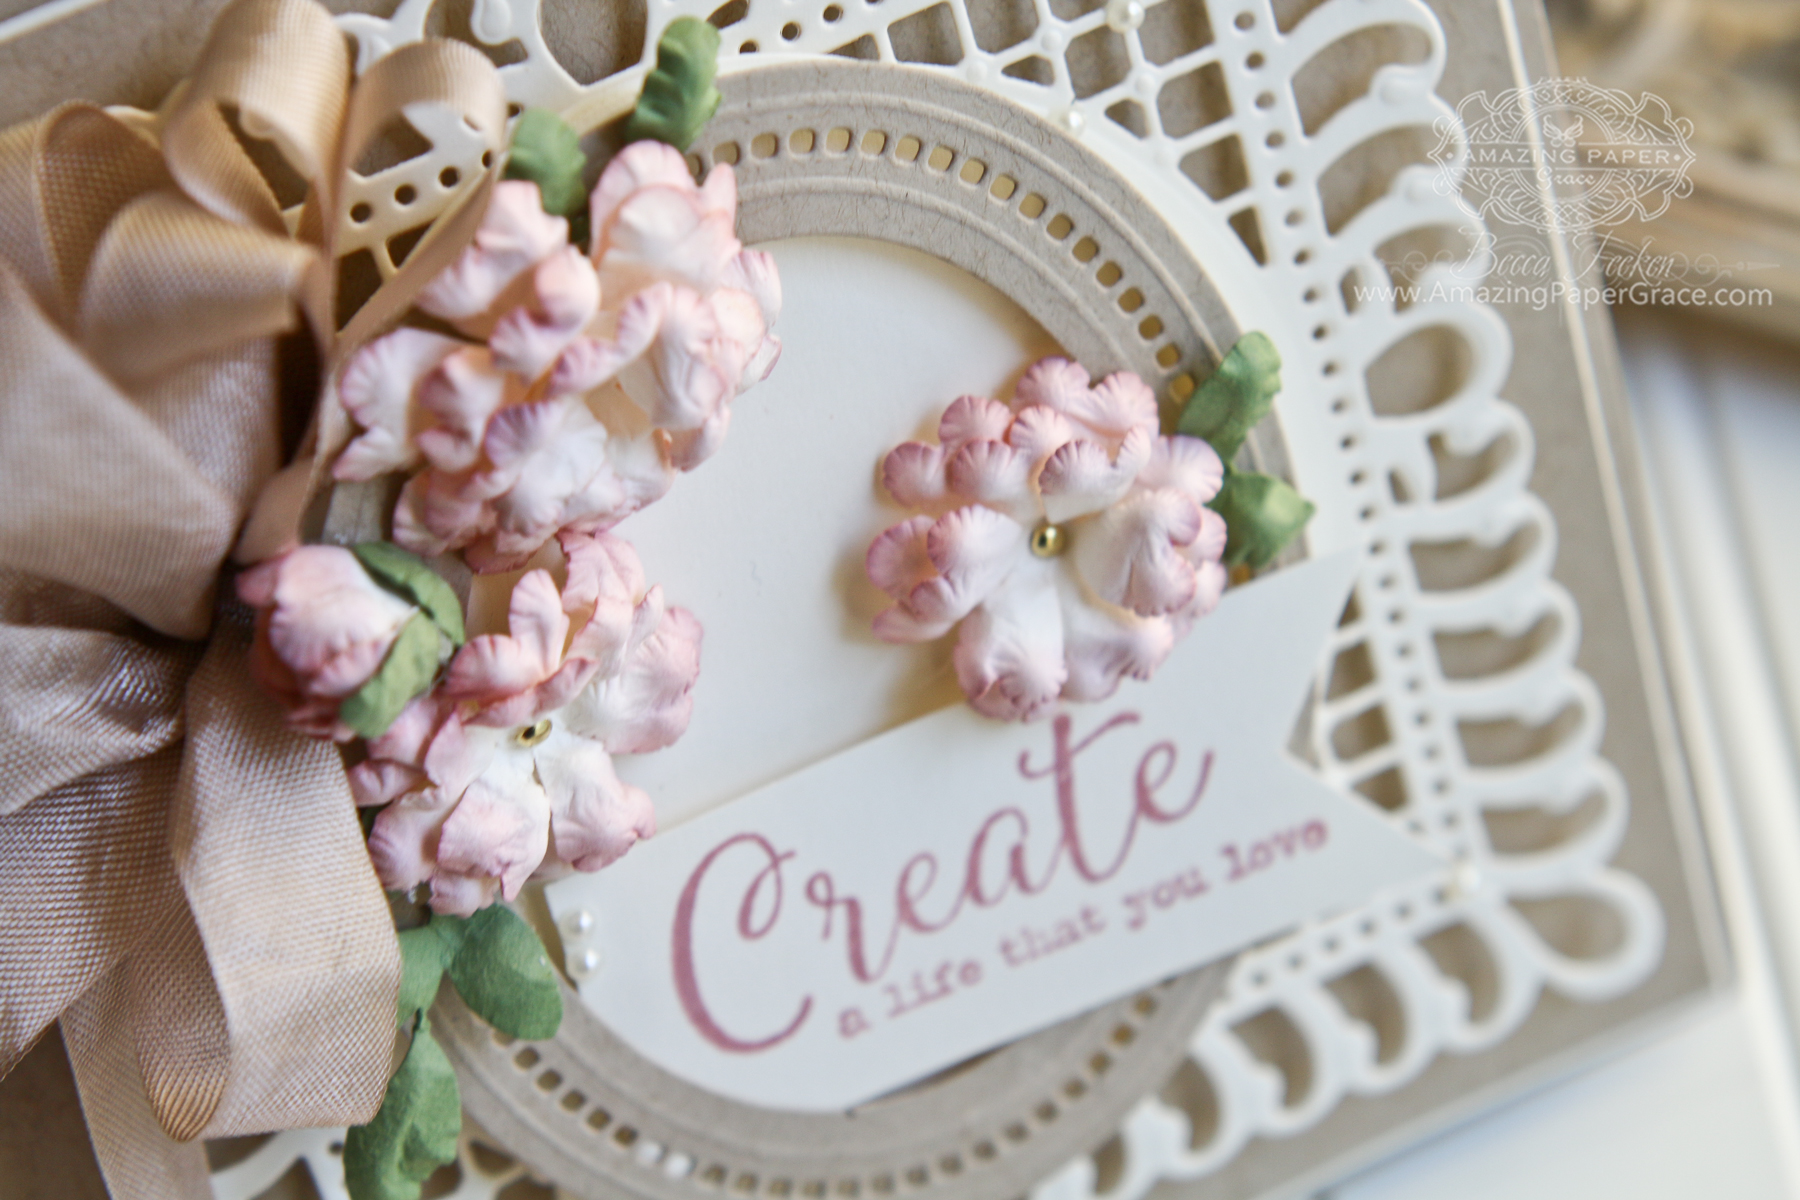
I always want to get the most out of my die templates, so I thought about taking a large rectangle card front and squaring it up to give it a different look. I'm Becca Feeken with Amazing Paper Grace and my card today takes a simple rectangle die, cuts it up and reassembles it as a square card. By doing that, I've kept my favorite parts of the die and have created a new look in the process.
 Last year one of the dies I introduced was the S6-112 Graceful Frame Maker. This die takes a panel of paper and miters it into four identical pieces. You want to do this with a symmetrical design and a few minutes to experiment. You can see how to use the Frame Maker Die in this video -----> HERE. I cut four pieces of S6-129 Bella Rose Lattice Layering Die and reassembled them by taping them together along the back with scotch tape. Voila, instant new background that goes from rectangle to square card in a heartbeat.

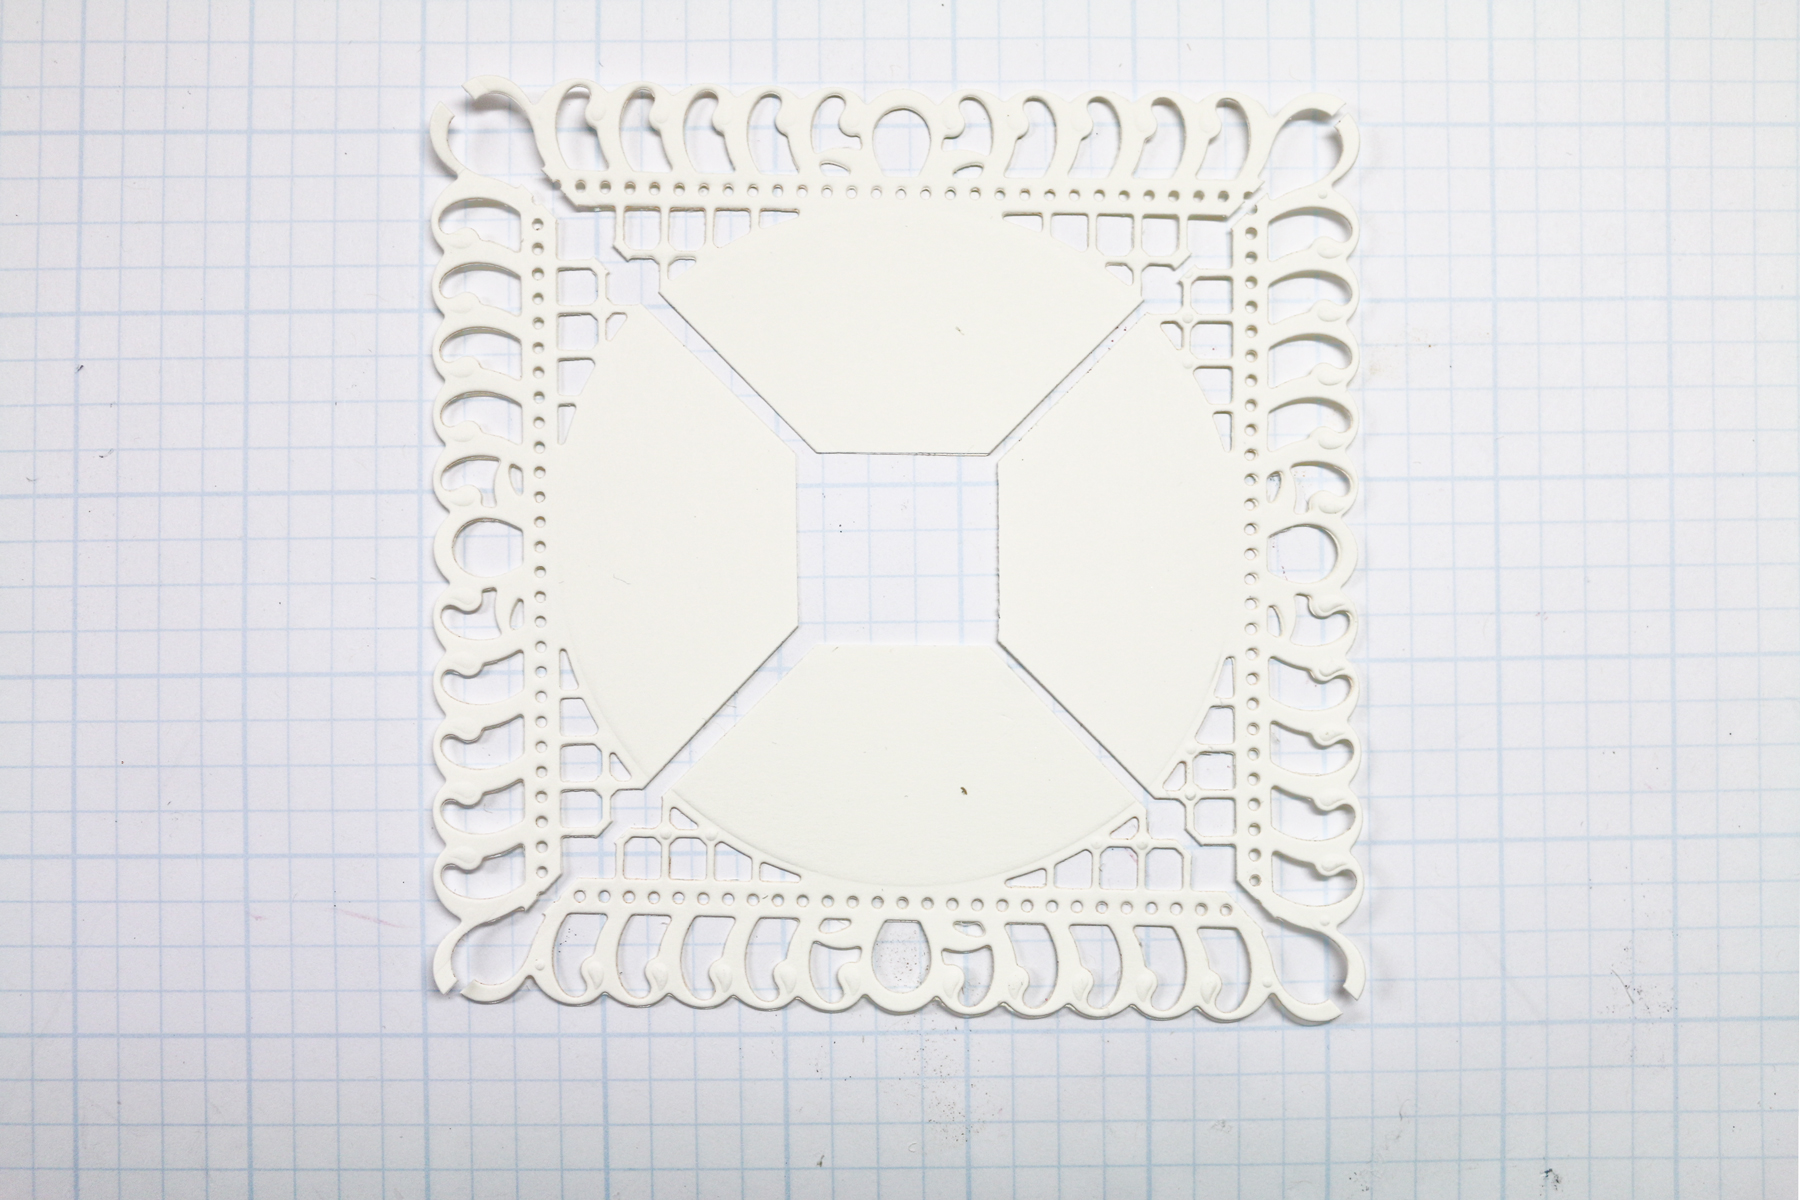
 I cut out two of the S6-129 Bella Rose Lattice Layering Dies and then cut two inches off each end. I taped them to my Frame Maker, two at a time then cut to miter them. Do this twice and it will give you the four wedges shown below. Simply tape together on the backside.
 To finish my 6"x 6"card, I layered my new background on top of a 5-5/8" x 5-5/8" tan panel matted with cream. Between each layer I use doubly stacked foam tape for dimension. The next layer is a frame created with two layers from S5-332 Hemstitch Ovals - one (cream) with no aperture on the bottom and the other (tan) with an aperture on top. This stacking creates depth and borders the focal panel at the same time.


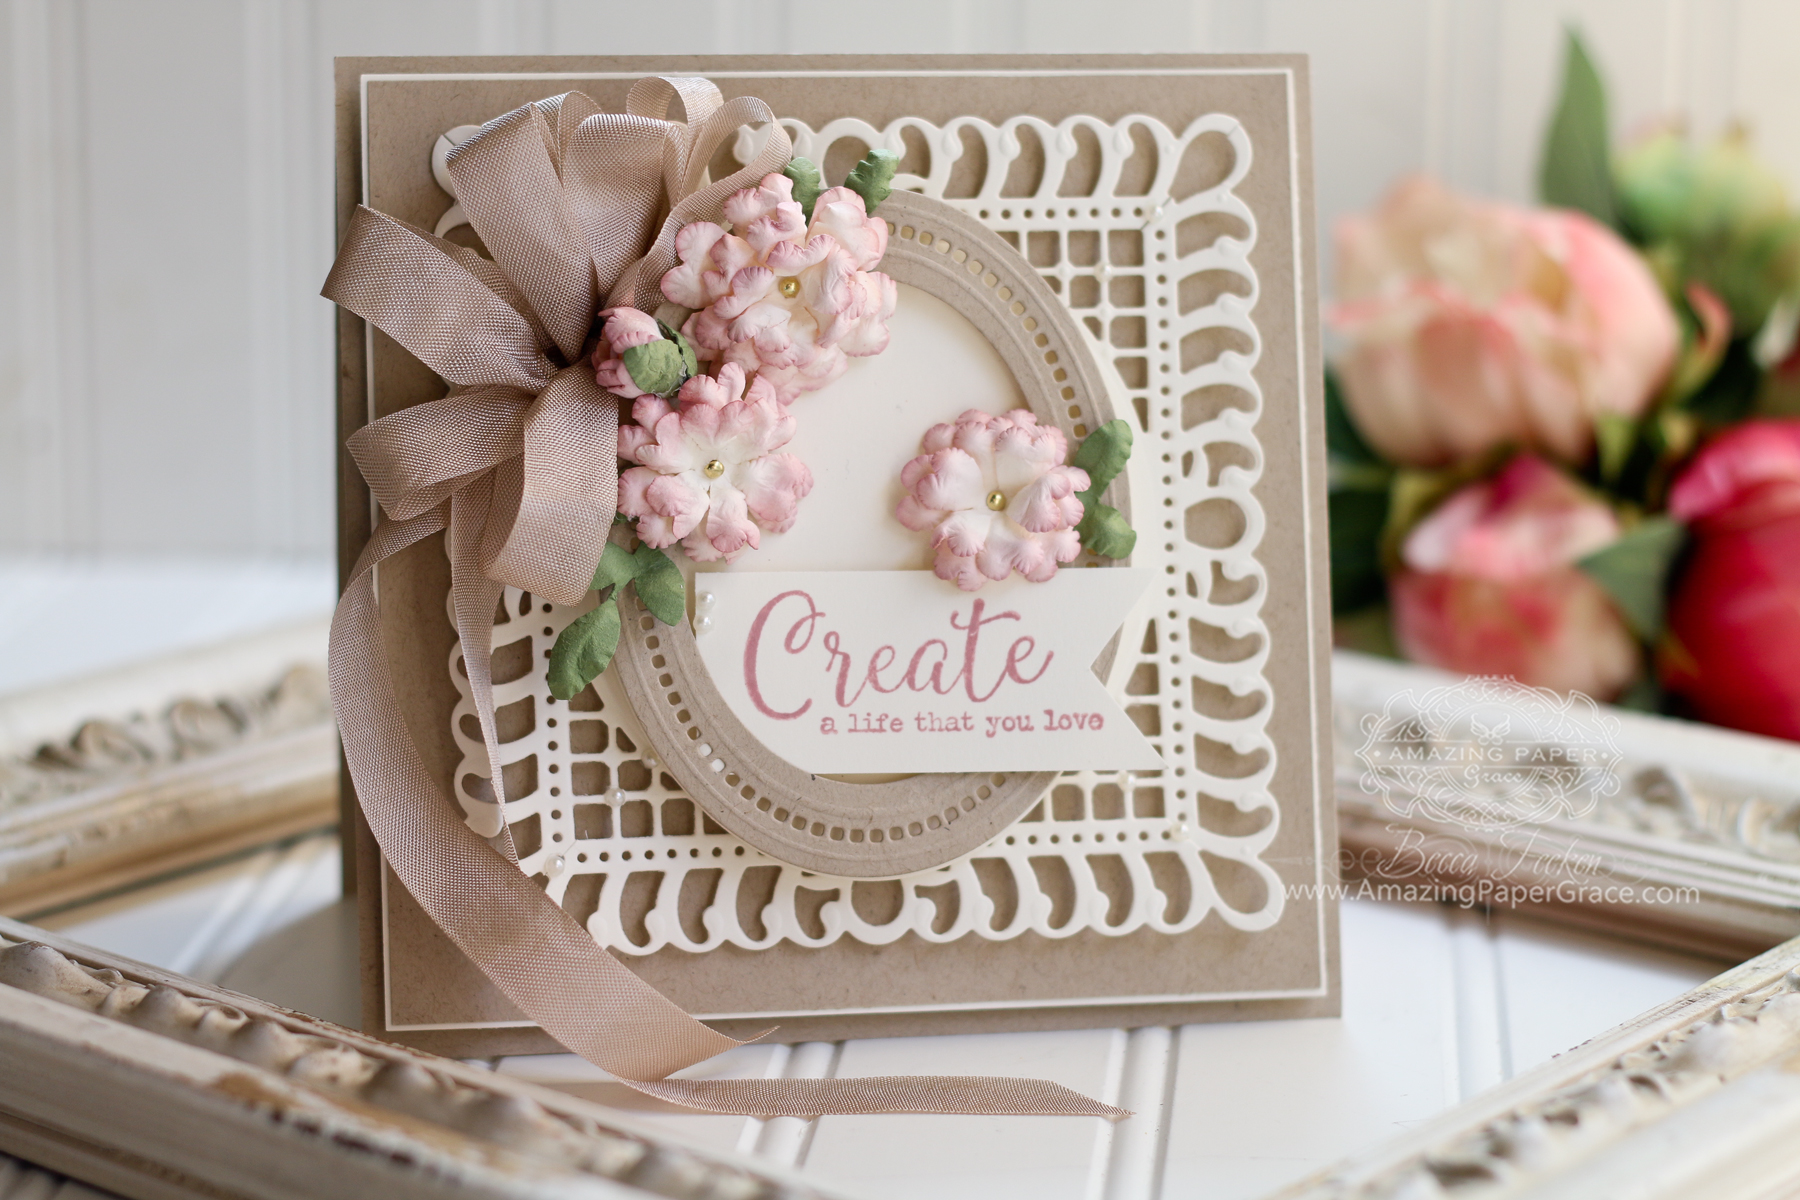 Last year one of the dies I introduced was the S6-112 Graceful Frame Maker. This die takes a panel of paper and miters it into four identical pieces. You want to do this with a symmetrical design and a few minutes to experiment. You can see how to use the Frame Maker Die in this video -----> HERE. I cut four pieces of S6-129 Bella Rose Lattice Layering Die and reassembled them by taping them together along the back with scotch tape. Voila, instant new background that goes from rectangle to square card in a heartbeat.

Using the Frame Maker for a Square Card
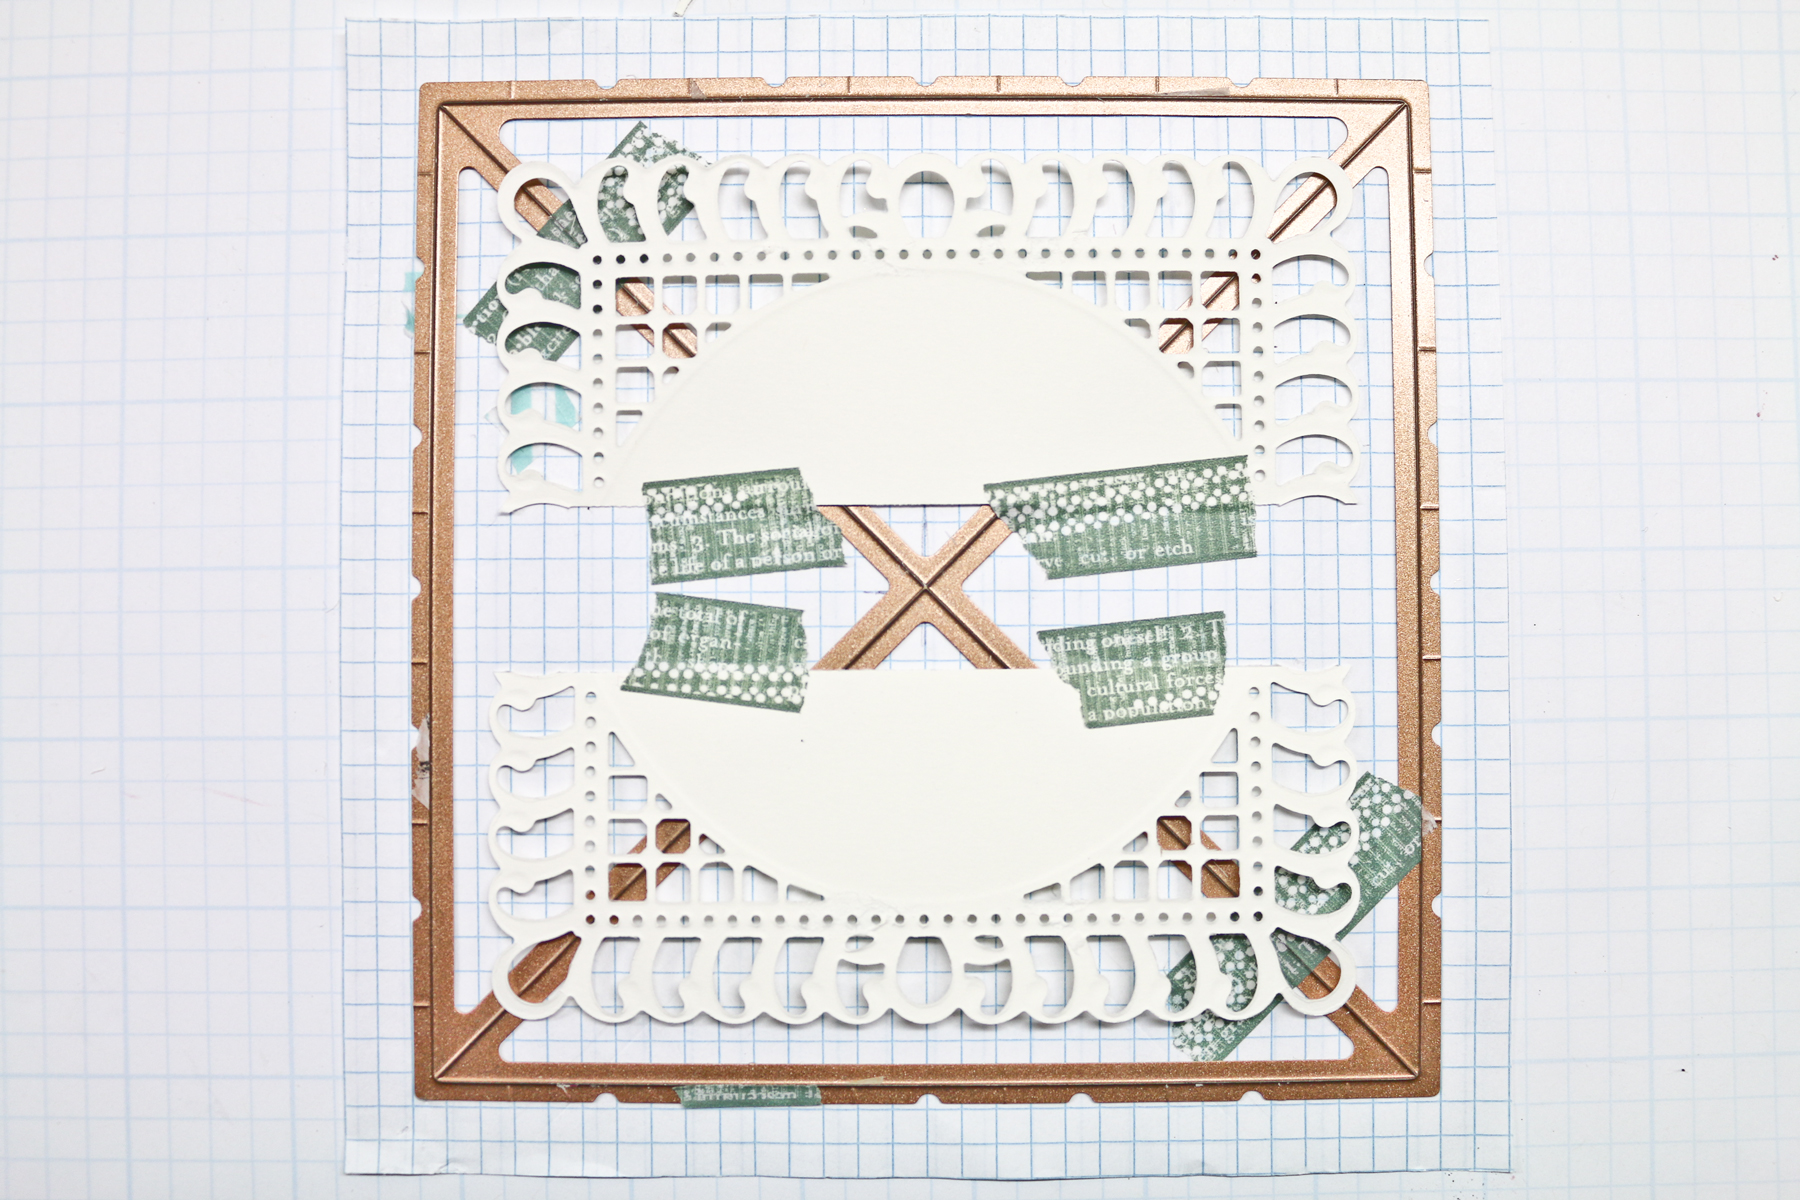 I cut out two of the S6-129 Bella Rose Lattice Layering Dies and then cut two inches off each end. I taped them to my Frame Maker, two at a time then cut to miter them. Do this twice and it will give you the four wedges shown below. Simply tape together on the backside.
 To finish my 6"x 6"card, I layered my new background on top of a 5-5/8" x 5-5/8" tan panel matted with cream. Between each layer I use doubly stacked foam tape for dimension. The next layer is a frame created with two layers from S5-332 Hemstitch Ovals - one (cream) with no aperture on the bottom and the other (tan) with an aperture on top. This stacking creates depth and borders the focal panel at the same time.
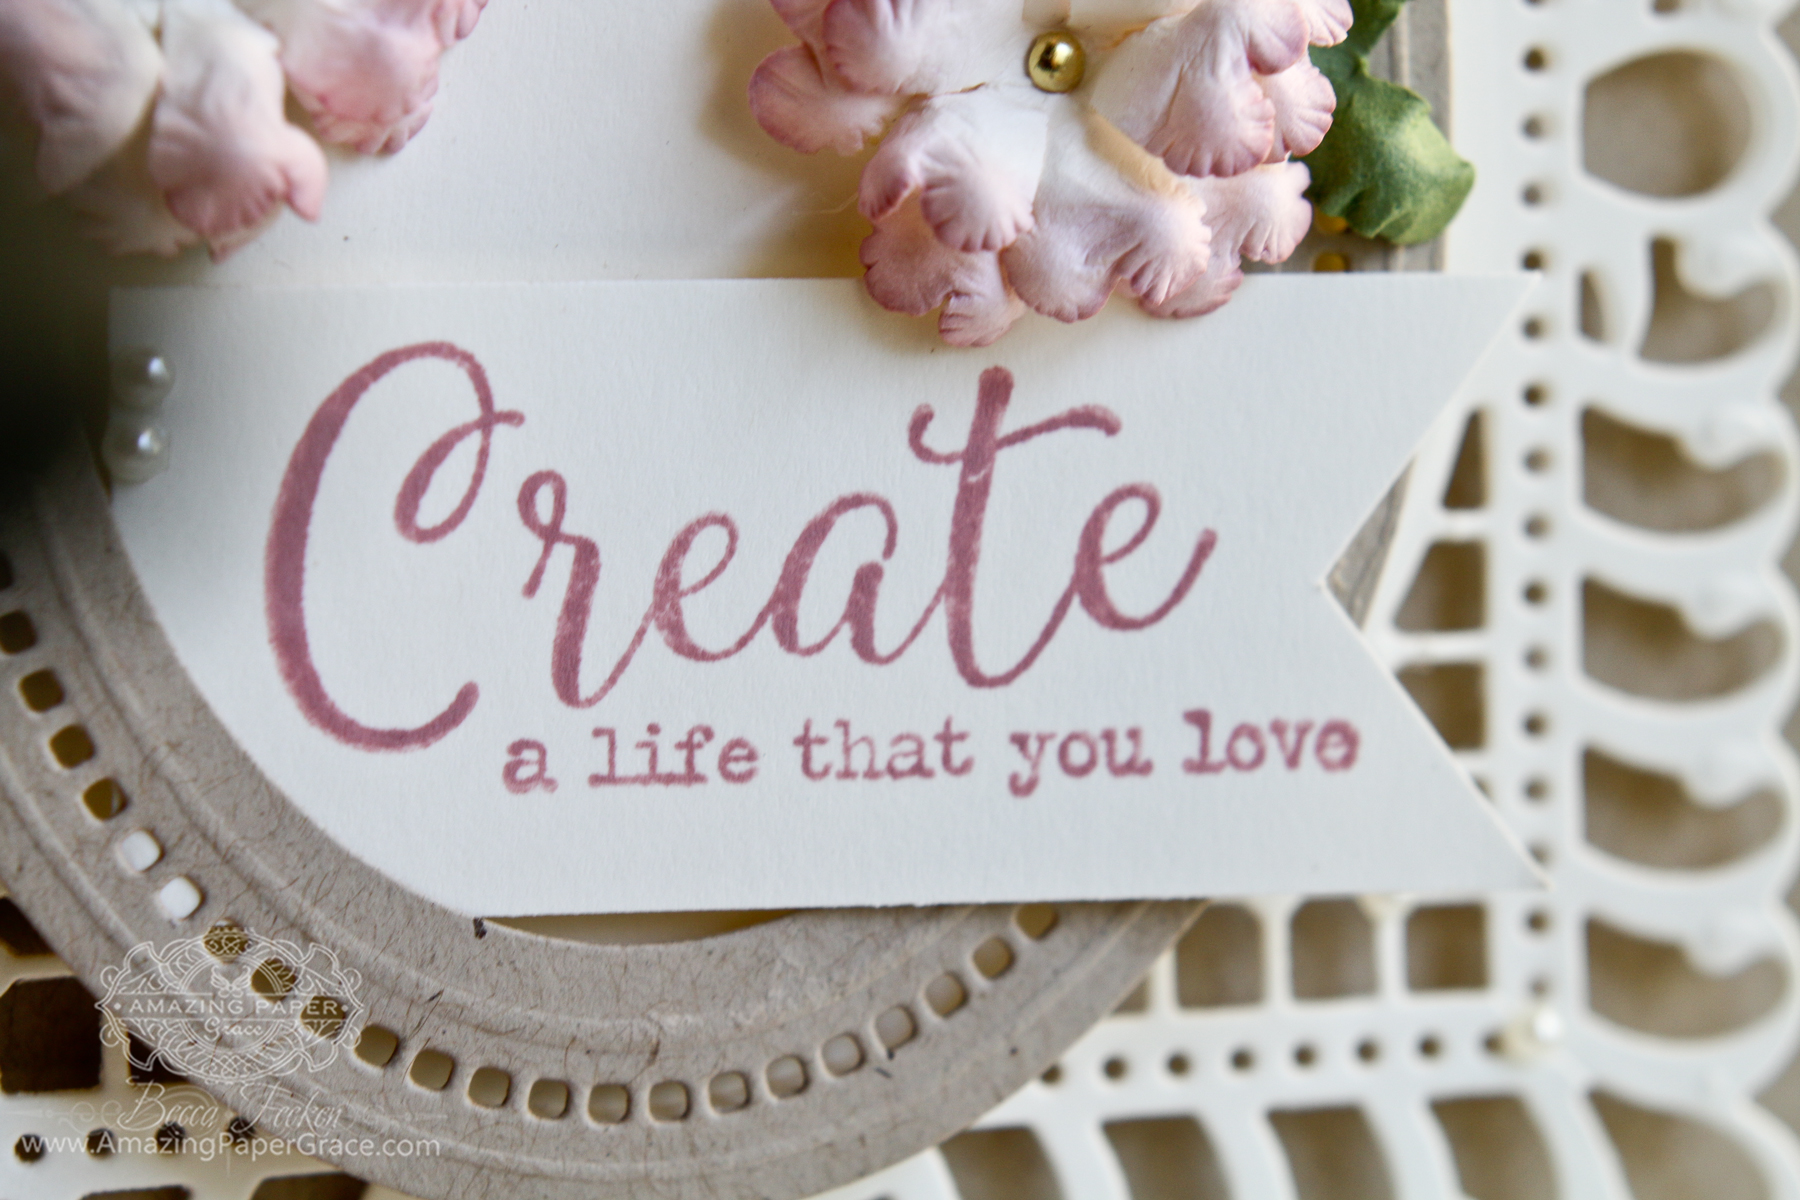
Tip: Cut your doubly stacked adhesive foam into tiny pieces that can still be applied by hand so that they can be placed strategically without showing.The final touch is S4-867 Cinch and Go Flowers III using the smallest three layers for the large flower and the smallest two layers for the small flowers. Color them, scrunch them then stack them for sweet little flowers held together by a brad.

- S6-112 Graceful Frame Maker
- S6-129 Bella Rose Lattice Layering Die
- S5-332 Hemstitch Ovals
- S4-867 Cinch and Go Flowers III
- PE-100 Platinum™ 6 Die Cutting And Embossing Machine – 6" Platform
- T-001 Tool ‘N One™
Other Supplies:
Neenah Classic Crest - Natural White Card Stock, Neenah Classic Crest - Desert Storm Card Stock, Bazzill (green), Ranger Victorian Velvet Distress Ink, Hug Snug Seam Binding, Recollection Pearl Stickers, Recollections mini gold brads. Make yours not only a great day, but a creatively great day - see you soon!! Becca Feeken – www.amazingpapergrace.com























































































