NEW Clear Stamps | Flowers & Butterflies with Brenda Noelke
Posted by Spellbinders Team on November 03, 2018

NEW Clear Stamps | Flowers & Butterflies with Brenda Noelke

Hello crafty friends!! This is Brenda Noelke from My PaperCut Creations, back for my 2nd guest post this week (find my first post here)! I am featuring three new stamp sets today - Layered Rose and Sentimental Words! Two of which are on my first card.

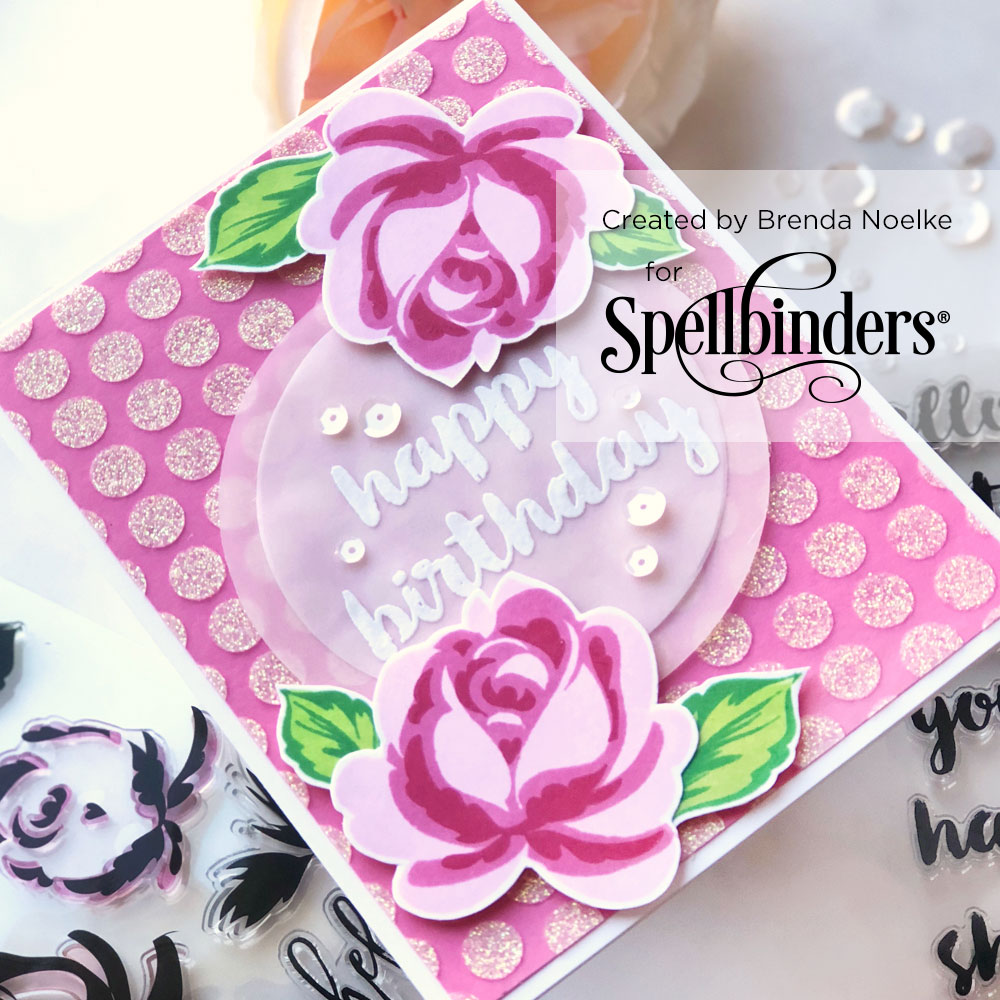
Spellbinders NEW Clear Stamps | Flowers & Butterflies with Brenda Noelke #neverstopmaking #spellbinders

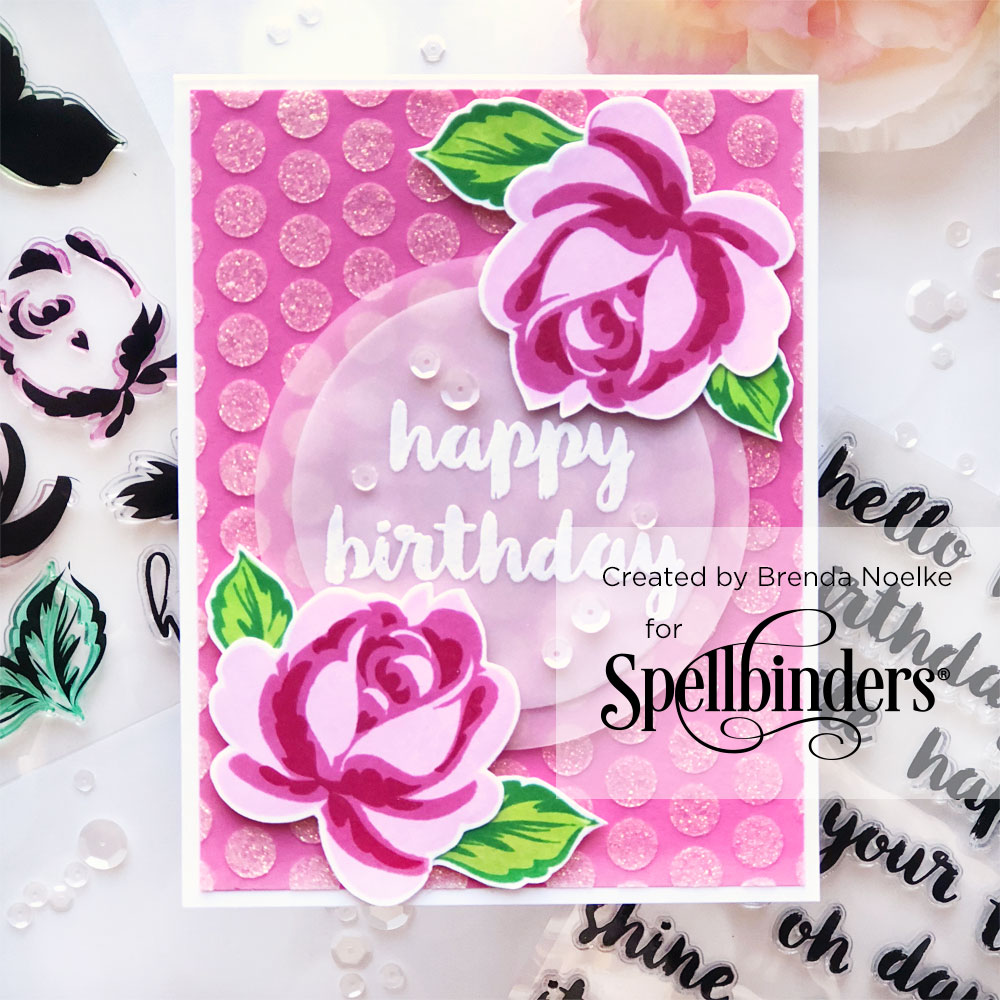
This floral layering set is so easy to line up and creates such dimension.

Spellbinders NEW Clear Stamps | Flowers & Butterflies with Brenda Noelke #neverstopmaking #spellbinders

I began by stamping the flowers with three shades of pink ink onto white cardstock. The leaves also have three layers, but I chose to only use two, stamping them in green. I fussy cut the stamped images. Next, I die-cut two circles from vellum and white heat embossed the sentiment onto the smaller one. Glimmer paste was applied through a polka-dot stencil onto a panel of pink cardstock. Once dry, the card was assembled. I applied liquid adhesive behind the heat embossed letters and popped the flowers and leaves up with dimensional adhesive, for added dimension. A few white sequins finish off the card.

Spellbinders NEW Clear Stamps | Flowers & Butterflies with Brenda Noelke #neverstopmaking #spellbinders

Spellbinders Supplies:

Other Supplies:

Neenah 110lb. cardstock; pink cardstock; vellum; The Ton Couture Inks: Rose Quartz, Hollywood Star, Red Sangria, Soft Garden, Bright Fern; Versamark Ink, Ranger Detail white embossing powder; Honey Bee Polka-Dot Stencil; Nuvo Moonstone Glimmer Paste; The Ton Waltz White Sequin Mix; Ranger Multi Medium Matte My second card focuses on a beautiful butterfly stamp set.
Spellbinders NEW Clear Stamps | Flowers & Butterflies with Brenda Noelke #neverstopmaking #spellbinders

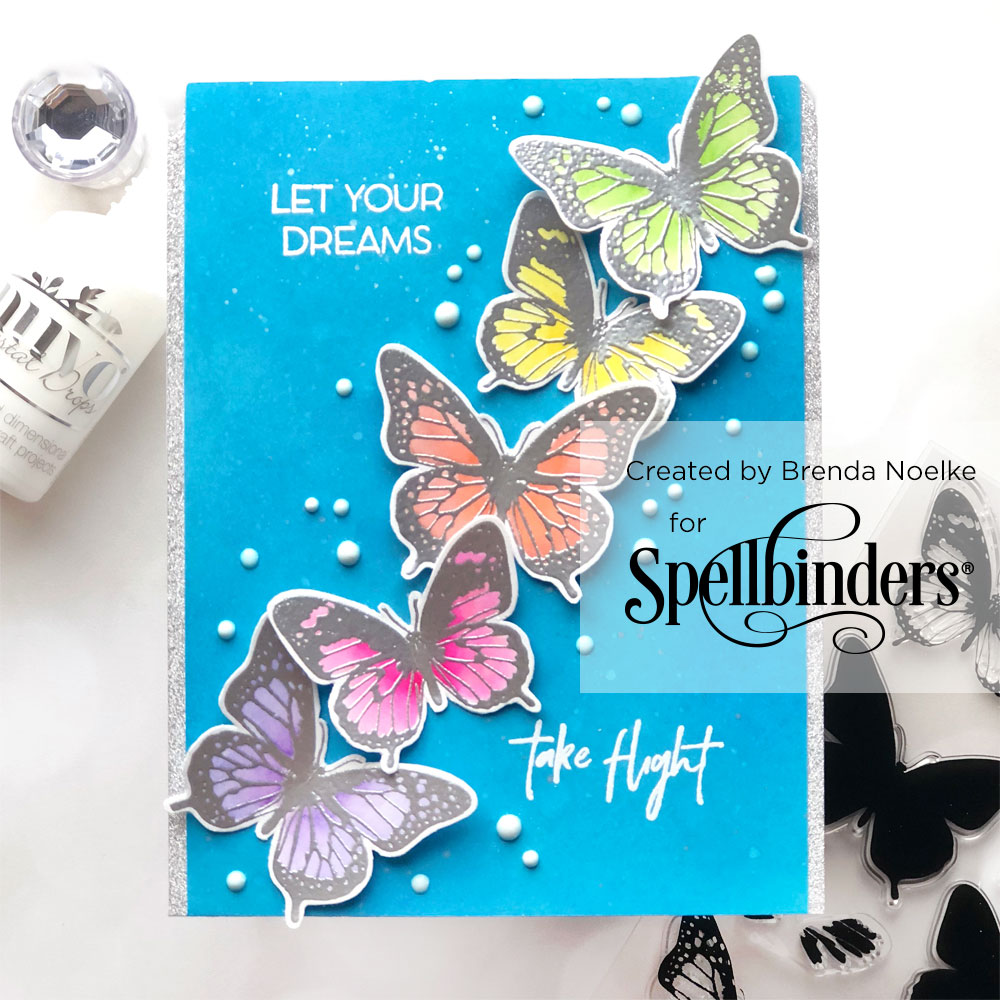
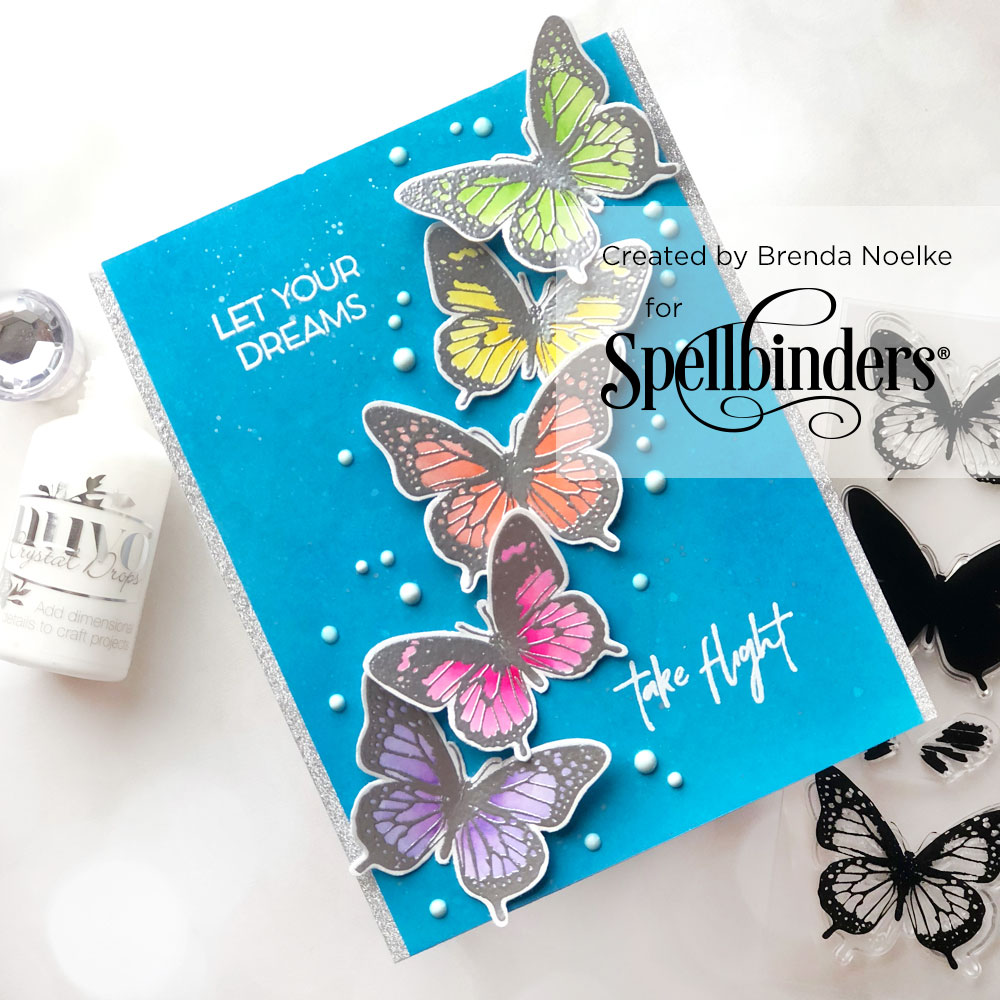
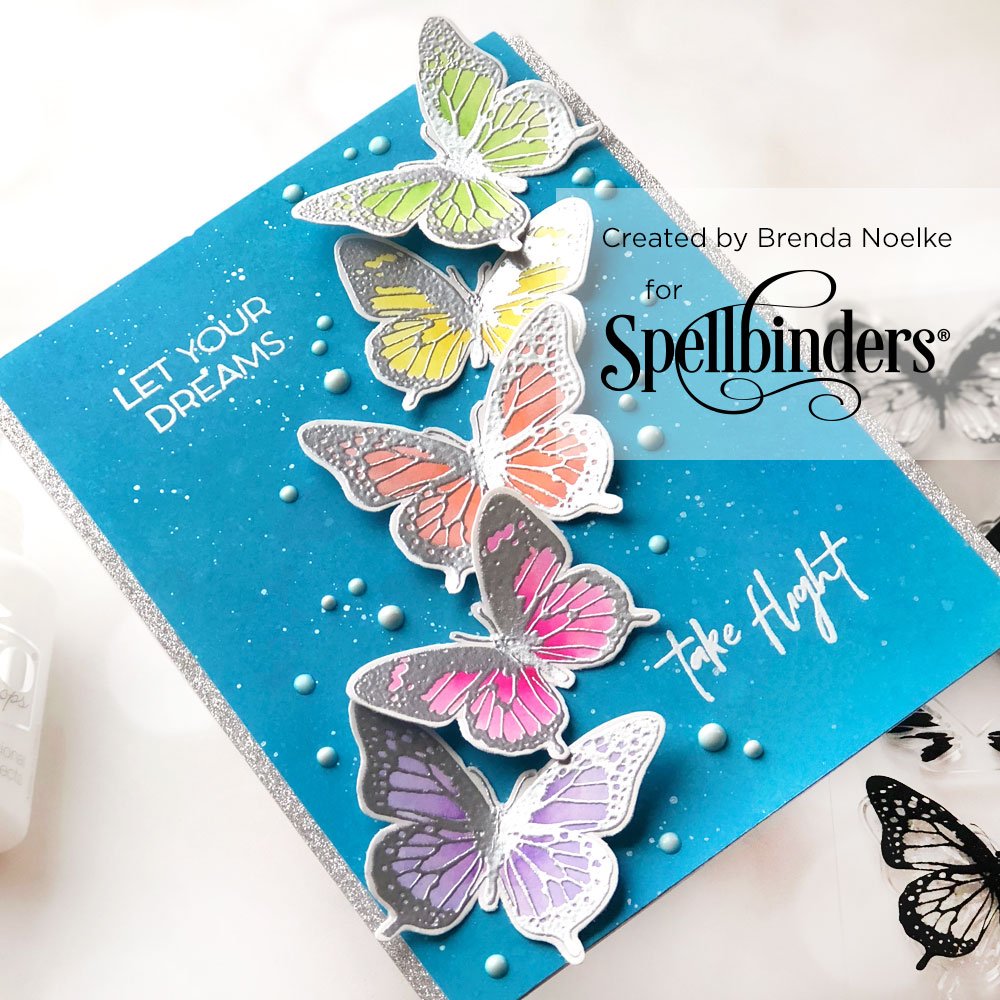
This set provides different ways to stamp your butterflies! It contains a solid image and a couple of layers, so you can stamp the entire butterfly. Or, if you are totally addicted to coloring like I am, you can stamp only the outline.

Spellbinders NEW Clear Stamps | Flowers & Butterflies with Brenda Noelke #neverstopmaking #spellbinders

I started off by silver heat embossing the outline of the butterflies onto white cardstock and then colored them with watercolor markers. I blended three different inks onto a white cardstock panel, then spritzed it with clear and pearlized water. The sentiment was heat embossed in white onto the ink-blended panel, before trimming the panel slightly on each side. Metallic tape was adhered onto the A2 size cardbase and the ink-blended panel was adhered. The butterflies were fussy cut and then adhered diagonally across the card. I only applied adhesive to the centers of the butterflies, allowing the wings to pop up to create movement and dimension. Finally, some dimensional drops were added around the butterflies.

Spellbinders NEW Clear Stamps | Flowers & Butterflies with Brenda Noelke #neverstopmaking #spellbinders

Spellbinders Supplies:

Spellbinders Supplies:

Other Supplies:

Neenah 110lb. cardstock; Bristol cardstock; Versamark Ink, Ranger Detail silver & white embossing powders; Zig Clean Color Real Brush Markers; Tim Holtz Distress Oxide Inks: Salty Ocean, Mermaid Lagoon, Tumbled Glass; Perfect Pearls; The Ton Silver Glitter Tape; Nuvo Crystal Drops – Simply White; Ranger Multi Medium Matte Thanks so much for joining me today! I have really enjoyed creating these projects for you!

Leave a comment

Please note, comments need to be approved before they are published.


  • Spellbinders Beginners Blog Post Series - Common Cardmaking Mistakes (and How to Fix Them)

    Beginner’s Guide to Cardmaking

    Common Cardmaking Mistakes and How to Fix Them: A Beginner's Guide

    Mistakes happen to every cardmaker, from beginners to experienced crafters. This comprehensive guide shares practical solutions for fixing common cardmaking mistakes, including stamping, die cutting, foiling, BetterPress, ink blending, stenciling, coloring, heat embossing, and more, so you can confidently rescue your handmade cards instead of starting over.

  • How to make a Polar Bear Christmas Card with Alcohol Markers, HUR93909, S7-291, S5-619

    CS-8-100

    How to make a Polar Bear Christmas Card with Alcohol Markers

    Hello, cardmaking friends! It’s Mona Tóth here, and I’m so happy to be back on the Spellbinders blog. Today, I’m sharing a Christmas step-by-step card tutorial featuring the Polar Friends Stamp and Die Set by Simon Hurley. This card was inspired by the Christmas advertisements I remember seeing on television when I was a child in the 1990s. They often featured polar bears surrounded by...

  • Interactive Scrapbook Layout Using the Turn the Page Collection by Esther Glas, SCSP-037, SCSE-054, SCSE-039, SCSR-016, E3D-186, STP-279, SDS-232, S2-473, S7-298, S7-295

    E3D-186

    Interactive Scrapbook Layout Using the Turn the Page Collection by Esther Glas

    Hello, crafty friend! I’m Adrienne Boese, better known online as Alice Scraps Wonderland. I love a good interactive scrapbook page! It can be something as simple as a pocket or something more intricate like a waterfall mechanism or flips. Today, we are going to focus on one of those simple techniques - a pocket!  It’s the perfect technique to dip your toes into the interactive...