October Small Die of the Month is Here!
on October 02, 2017

October Small Die of the Month is Here!

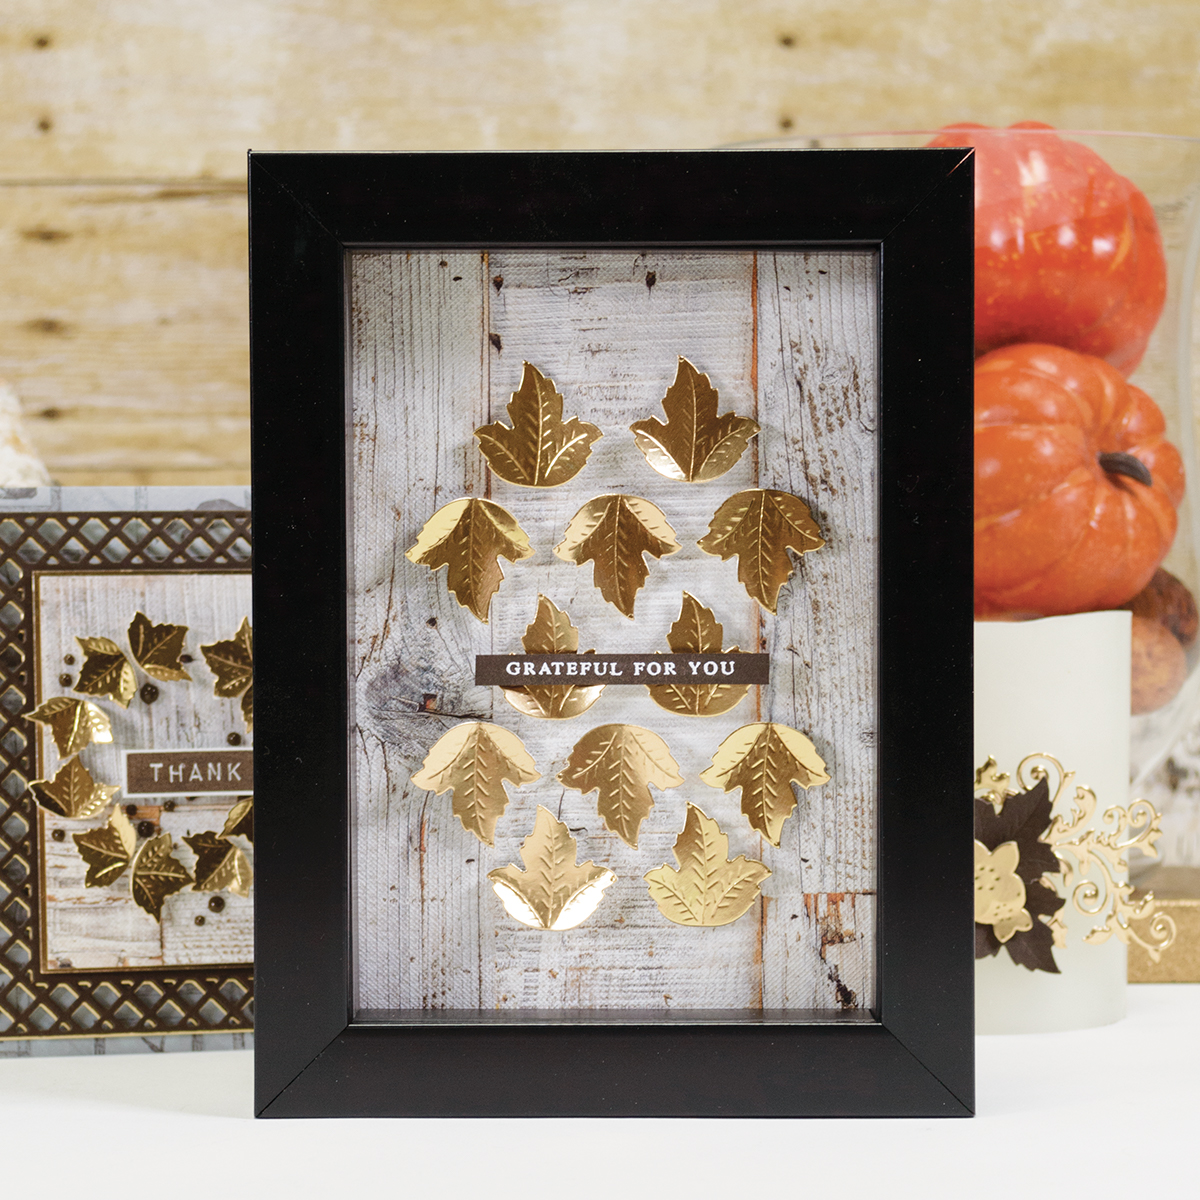
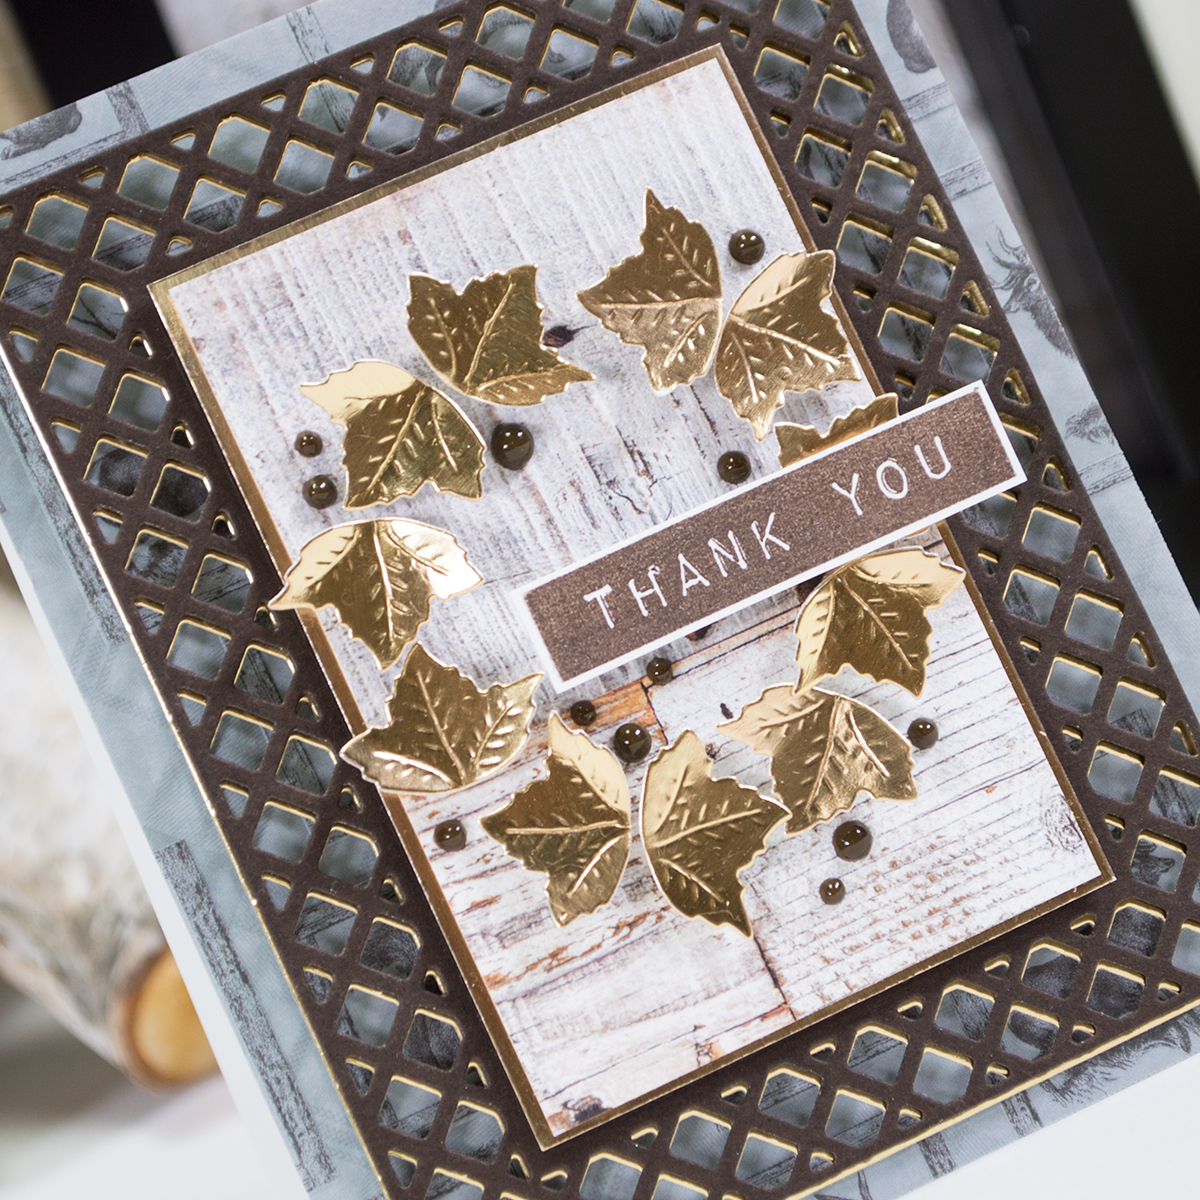
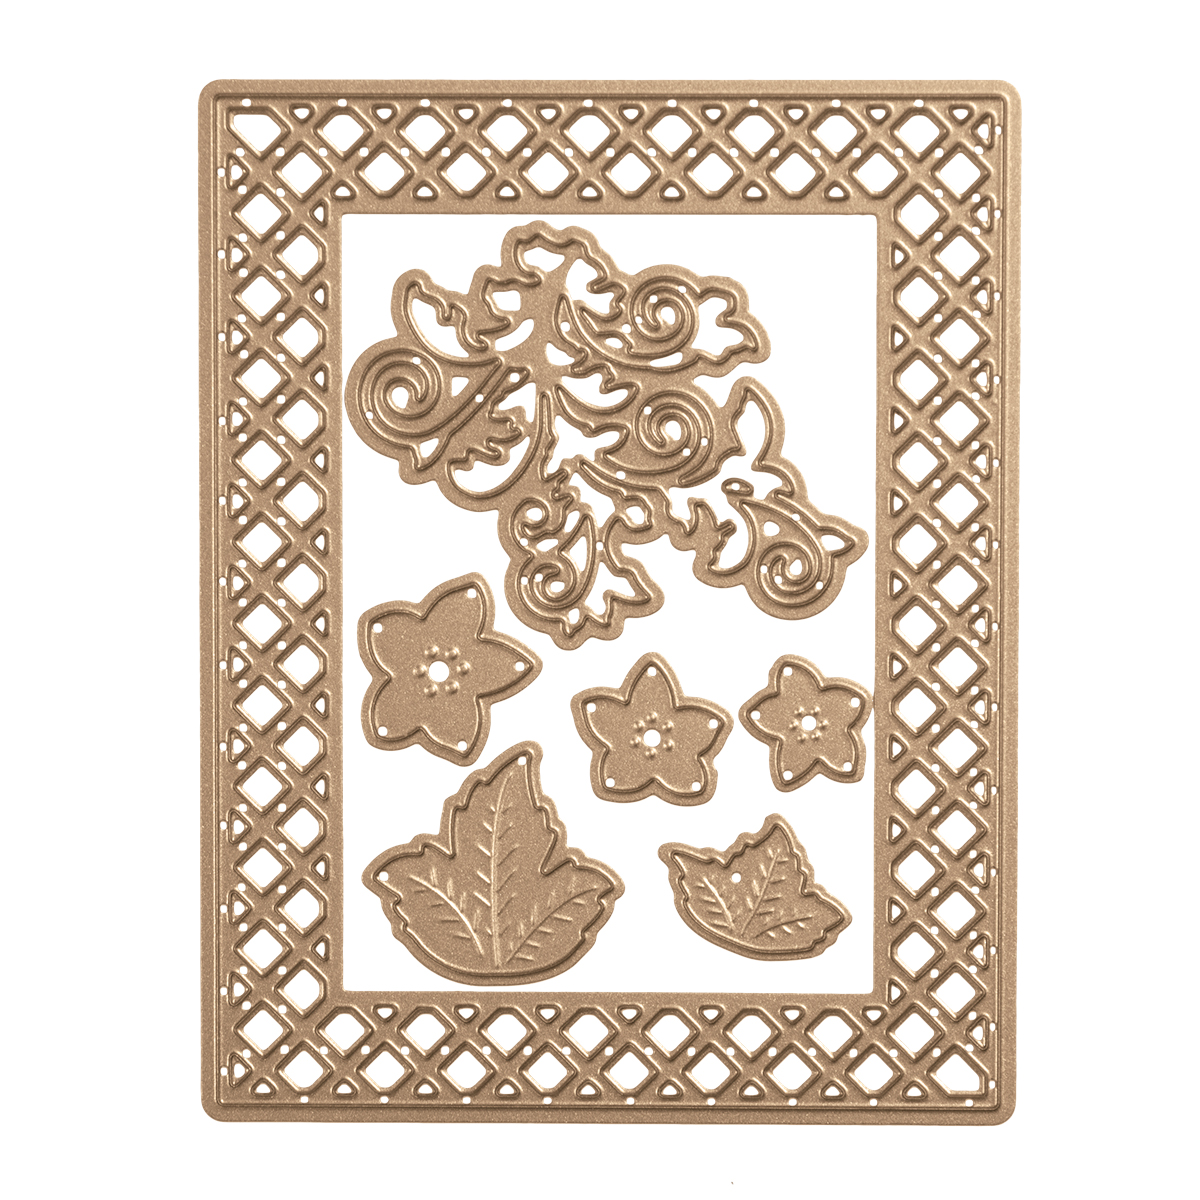
The Grateful for You, October Small Die of the Month is here! This kit features 7 dies that are perfect for Fall die cutting! Enjoy the step by step tutorial below as well as the video tutorial to get you started with this month’s kit! Make sure to show us what you create by tagging #SpellbindersClubKits on social media! This kit is available October 1, 2017, make sure to get yours!
Spellbinders October 2017 Small Die of The Month

THIS KIT INCLUDES:

7 Die Templates

Supplies needed for project below:

Patterned Paper, Gold Foil Cardstock, Brown Cardstock, White Embossing Powder, Clear Stamp, Glue, Foam Adhesive.

Grateful For You Wall Hanging

Spellbinders October 2017 Small Die of The Month

Catch step by step instructions for this project below: Step 1: Prep

Spellbinders October 2017 Small Die of The Month

Step 2: Die-cut

Spellbinders October 2017 Small Die of The Month

Step 3: Adhere

Spellbinders October 2017 Small Die of The Month

Step 4: Frame & Embellish

Spellbinders October 2017 Small Die of The Month

Video Tutorial – Thank You Card

Watch video tutorial using this month kit below or on Youtube.

Additional inspiration

Here's a closer look at the 3 projects we created using our October Small Die Of The Month kit:

October Small Die of the Month is Here!

October Small Die of the Month is Here!

October Small Die of the Month is Here!

Interested in becoming a member of Die of the Month, Large Die Of The Month & Card Kit of the Month clubs? Check out our Kit & Caboodle Membership.

October Small Die of the Month is Here!

Leave a comment

Your email will not be published. Please note, comments need to be approved before they are published.

1 comment

SarahC,

Wonderful kit!!! So glad I signed up last month.


  • How to Make a Colorful Foiled Butterfly Card with Glimmer II

    BP-351

    How to Make a Colorful Foiled Butterfly Card with Glimmer II

    Combine hot foiling, alcohol-marker coloring, ink blending, and dimensional shaping to create a colorful butterfly card that sparkles from every angle. In this step-by-step tutorial, you’ll learn how to foil detailed butterflies and a floral background with the Glimmer II Hot Foil System, add bold color, and shape the butterfly wings for a realistic raised effect. The Bright Butterflies and Thanks In Bloom Press +...

  • How to Heat Emboss with BetterPress Plates: Snowman Christmas Card

    BP-001

    How to Heat Emboss with BetterPress Plates: Snowman Christmas Card

    BetterPress plates can do more than create letterpress impressions and hot-foiled designs. In this detailed Christmas card tutorial, you’ll learn how to apply clear sticky ink to a BetterPress plate and use white embossing powder to produce a crisp, heat-embossed snowflake background. The tutorial also covers pressing and die cutting a sentiment, assembling three detailed snowmen, and arranging the finished elements on an A2 card....

  • How to Use the Reverse Foiling Technique on a Colorful Window Card

    BP-001

    How to Use the Reverse Foiling Technique on a Colorful Window Card

    Create a bright, modern card while learning how to use the negative foil left behind after hot foiling. In this step-by-step tutorial, you’ll foil the detailed Windows with a View design, use a solid plate to reverse foil the remaining image, and turn selected windows into dimensional embellishments. An ink-blended striped background, BetterPress sentiment, and sparkling gems complete the design. This project is ideal for...