PA Scribe by Paul Antonio Inspiration | Foiled Cards with Brenda
Posted by Spellbinders Team on July 23, 2019

PA Scribe by Paul Antonio Inspiration | Foiled Cards with Brenda

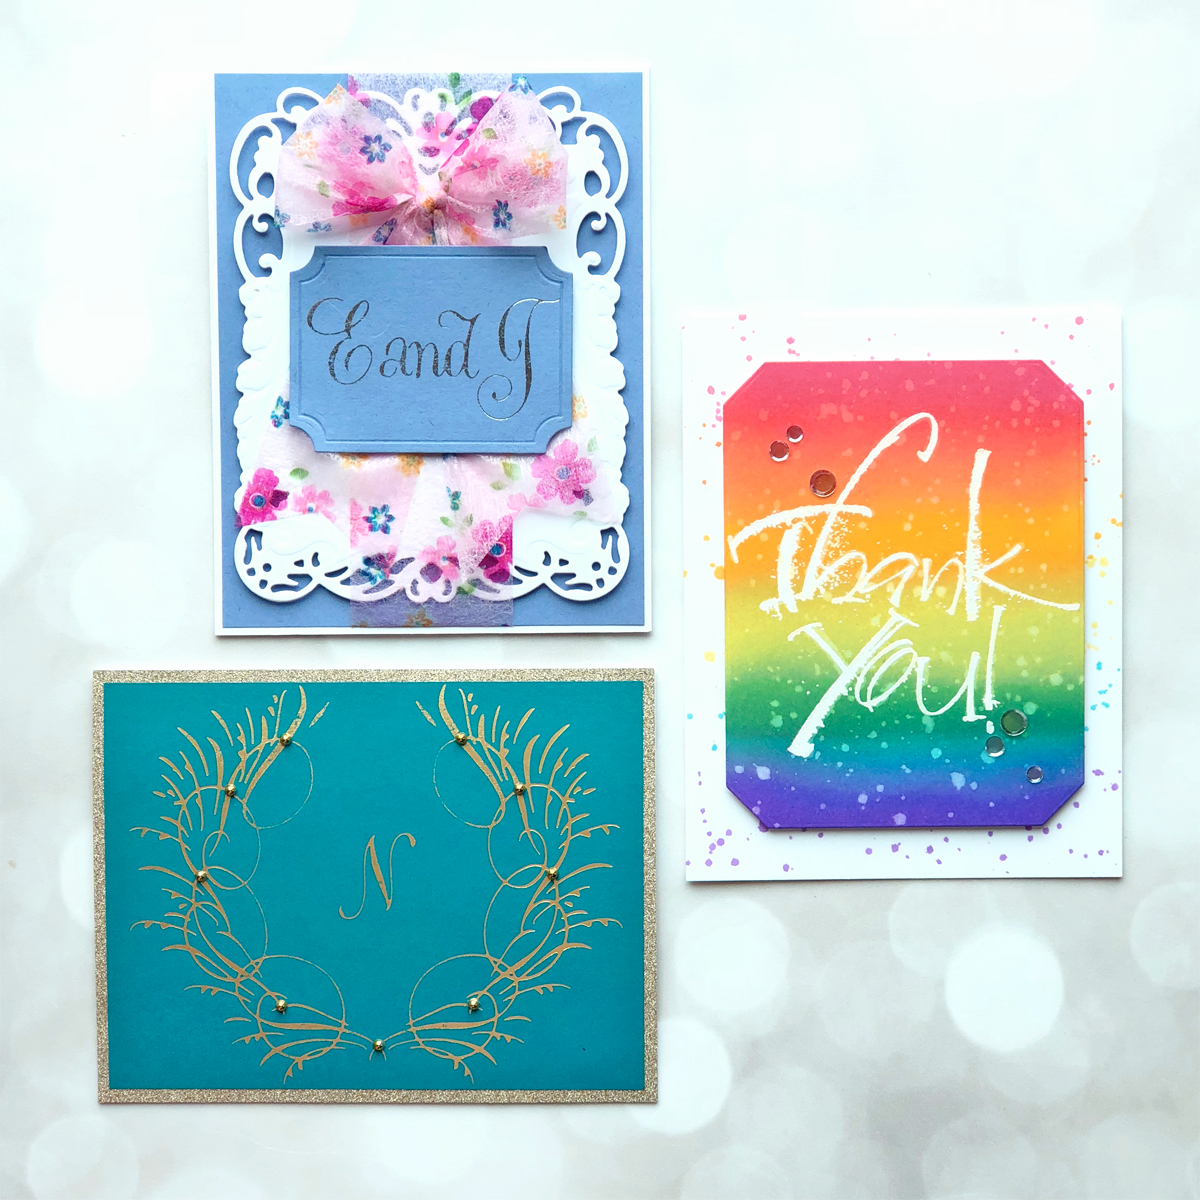
Hey there everyone!! This is Brenda, from MyPaperCut Creations. I am absolutely thrilled to be guest posting for Spellbinders again today!! I have three completely different cards to share that showcase the PA Scribe Collection by Paul Antonio!
PA Scribe by Paul Antonio Inspiration | Foiled Cards with Brenda

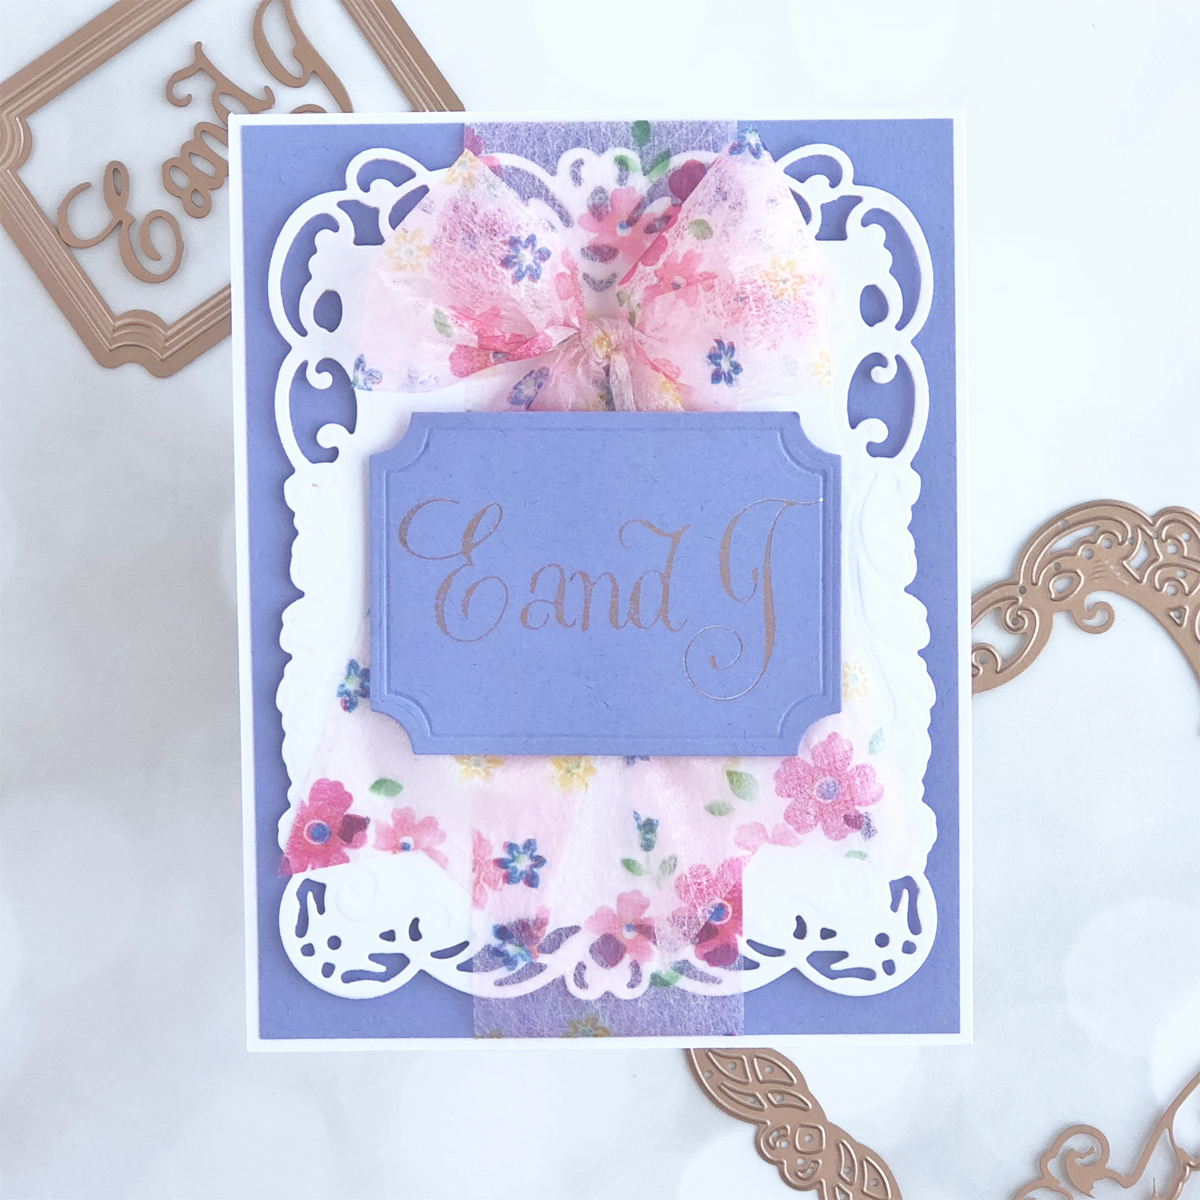
One of our nieces is getting married next month, and I think that hot foil is perfect for wedding cards!

PA Scribe by Paul Antonio Inspiration | Foiled Cards with Brenda

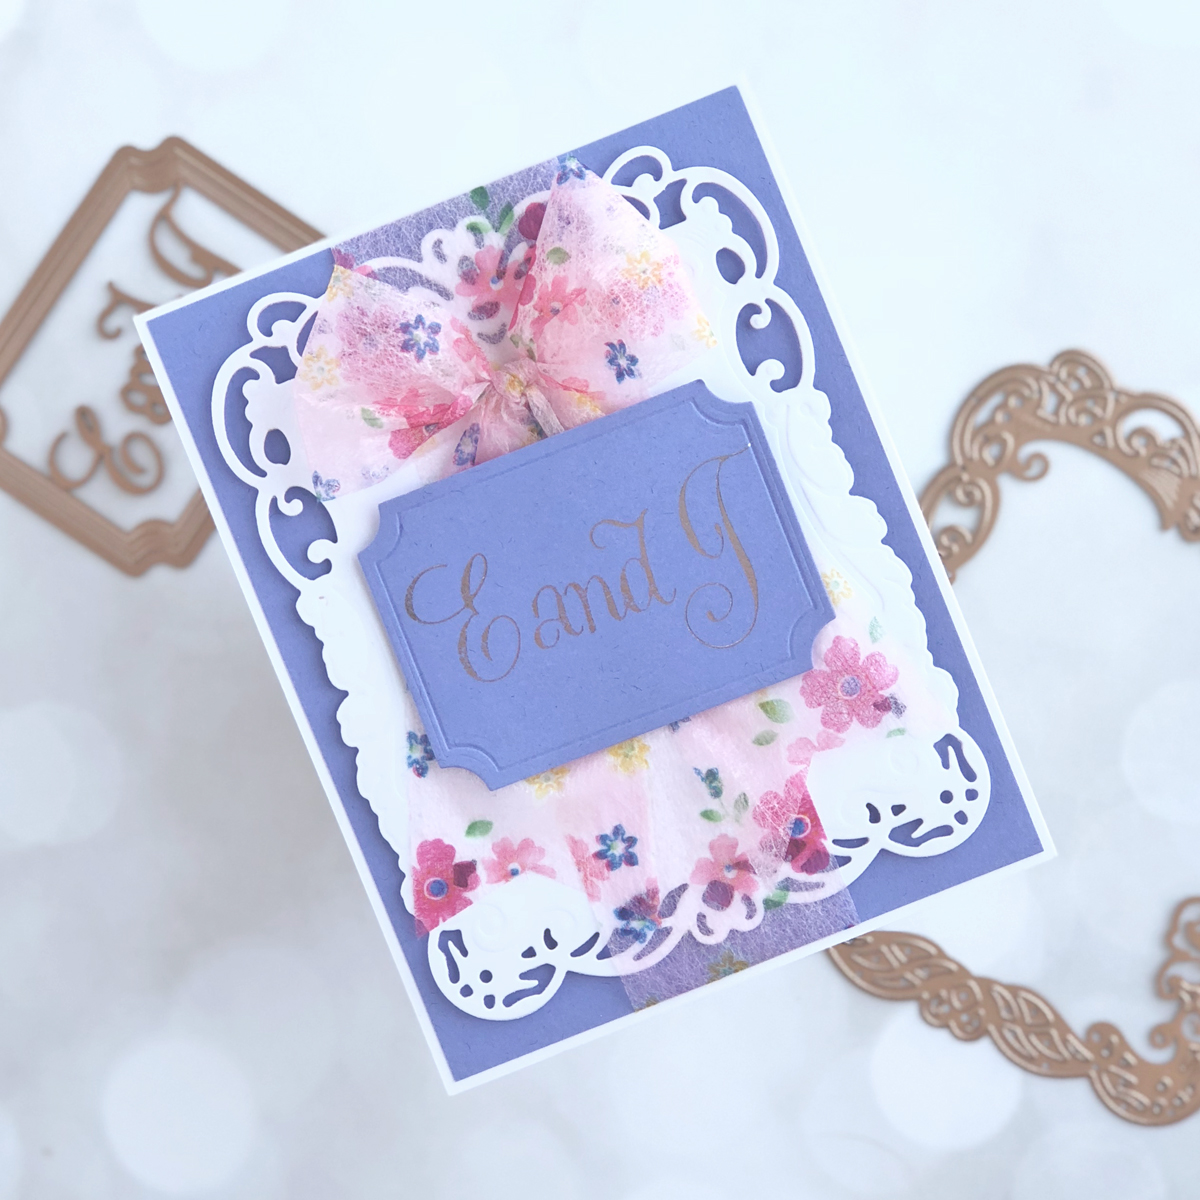
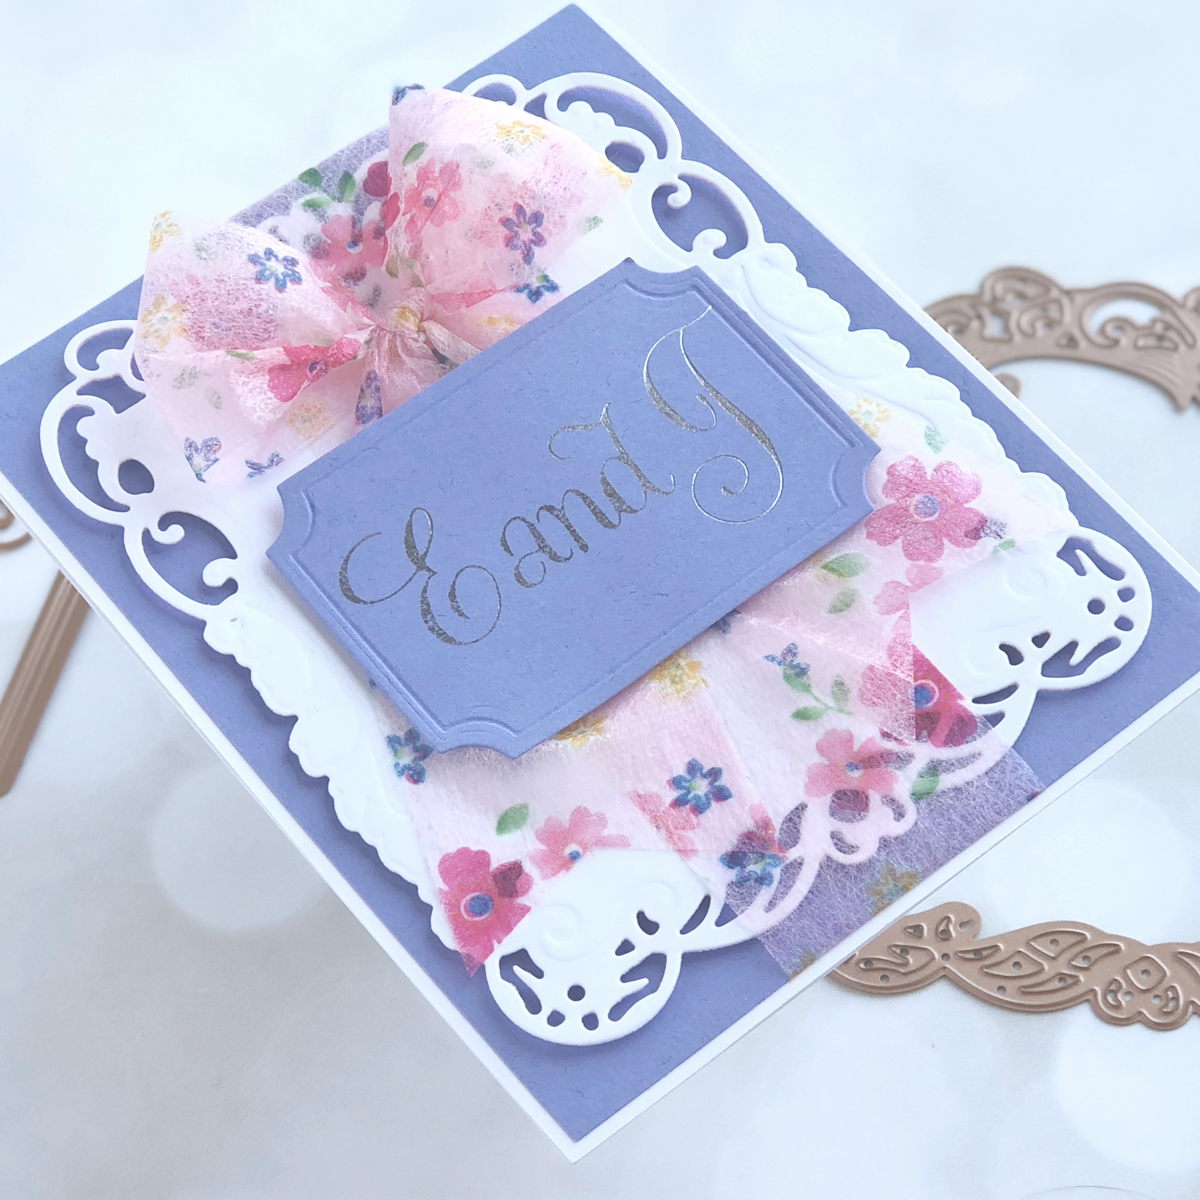
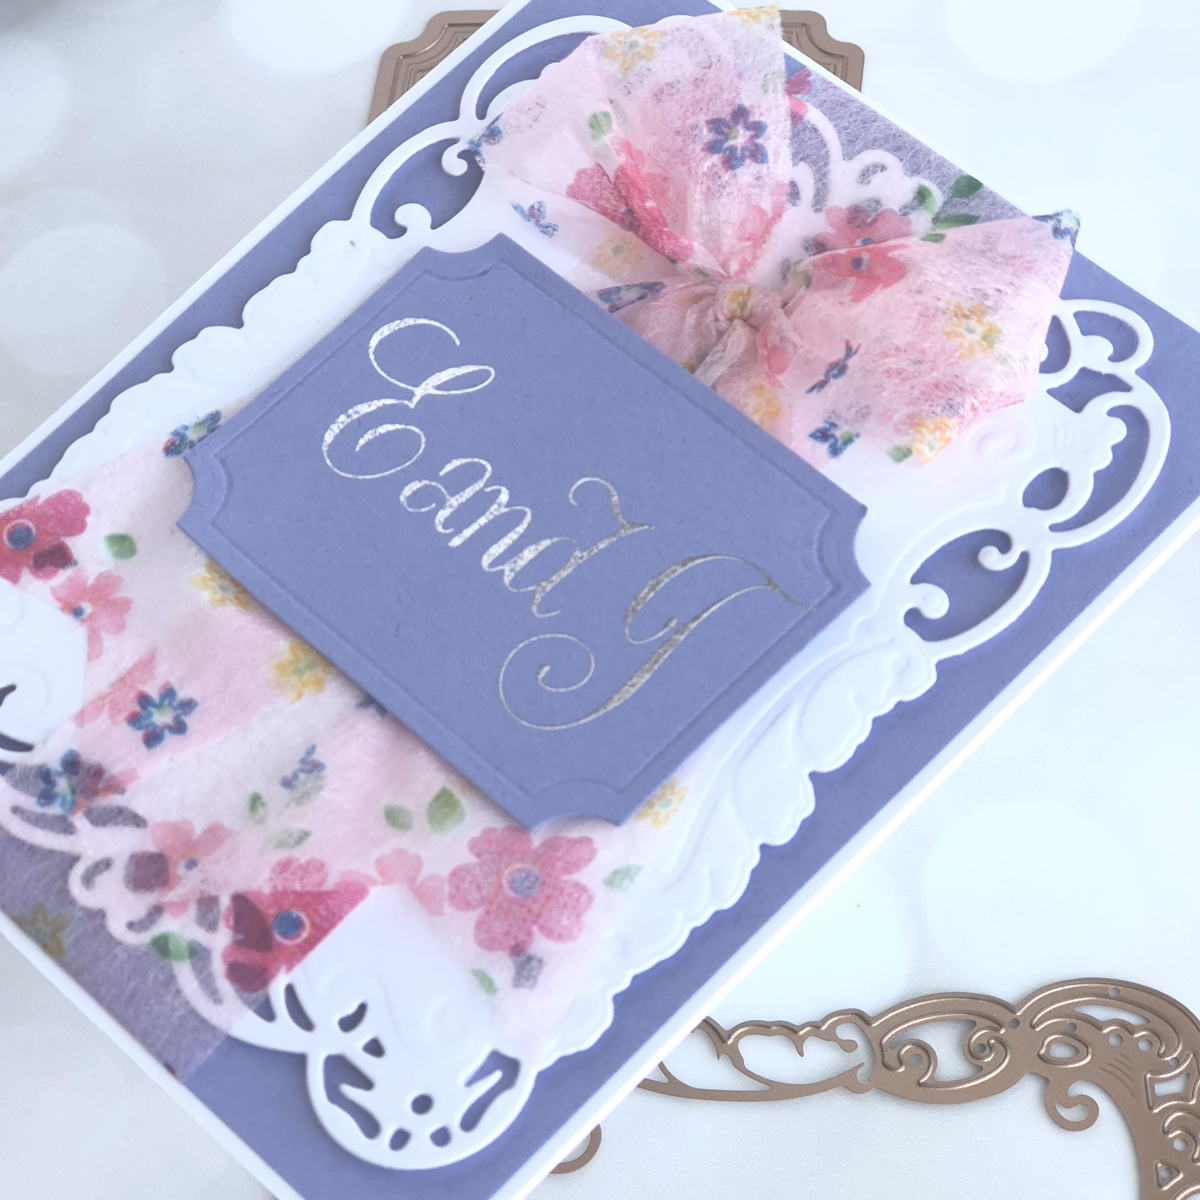
I started by hot foiling the bride and groom’s initials from the Copperplate Majuscules Glimmer Hot Foil Plates onto periwinkle (the wedding color) paper using Silver Foil, then cutting it out with a label from the Booklet Binding Etched Dies set. I die-cut the intricate rectangle with a die from the Nesting Frames Etches Dies from white cardstock and then ran it back through my Platinum 6 Die-Cutting Machine with the Embossing Mat to add the raised embossing.

PA Scribe by Paul Antonio Inspiration | Foiled Cards with Brenda

After adhering the die-cut to a periwinkle cardstock panel with foam adhesive, I wrapped the floral organza ribbon around the panel and added a bow. The monogrammed die-cut was adhered over the ribbon with foam tape.

PA Scribe by Paul Antonio Inspiration | Foiled Cards with Brenda PA Scribe by Paul Antonio Inspiration | Foiled Cards with Brenda

I just love how I was able to coordinate this to the wedding colors and personalize it with the bride and groom’s initials!

Spellbinders Supplies:

Other supplies

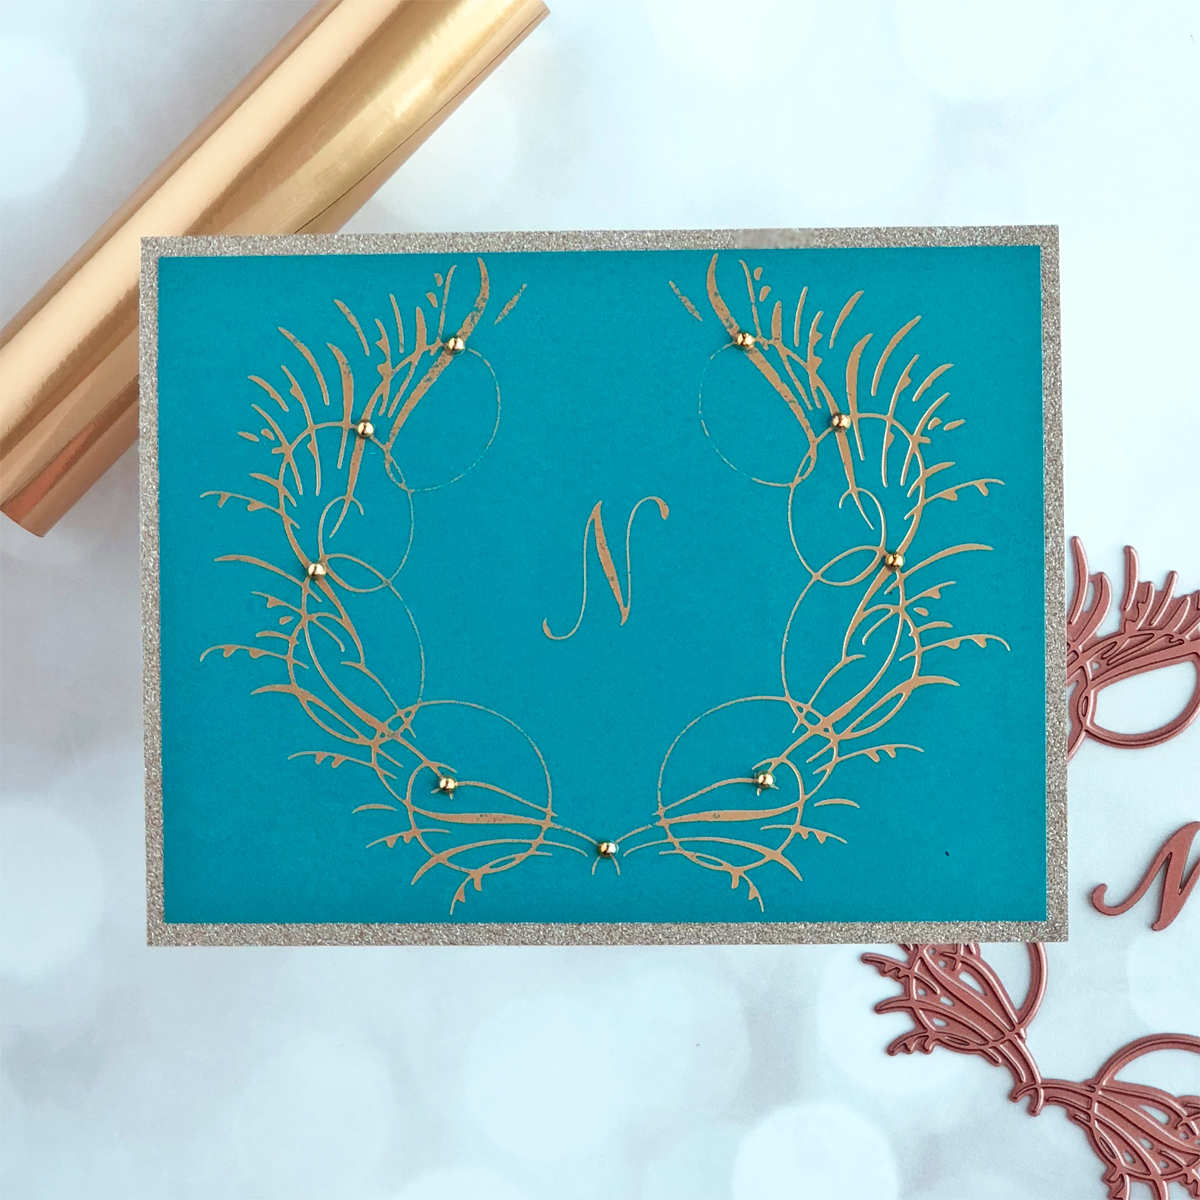
Neenah 110# & 80# white cardstock, periwinkle cardstock, ribbon, liquid adhesive, foam adhesive. My second is a monogrammed card that I will probably use for a thank you note. I tend to create mostly floral, feminine cards and sometimes I need a thank you card for a male. I think this fits the bill!
PA Scribe by Paul Antonio Inspiration | Foiled Cards with Brenda

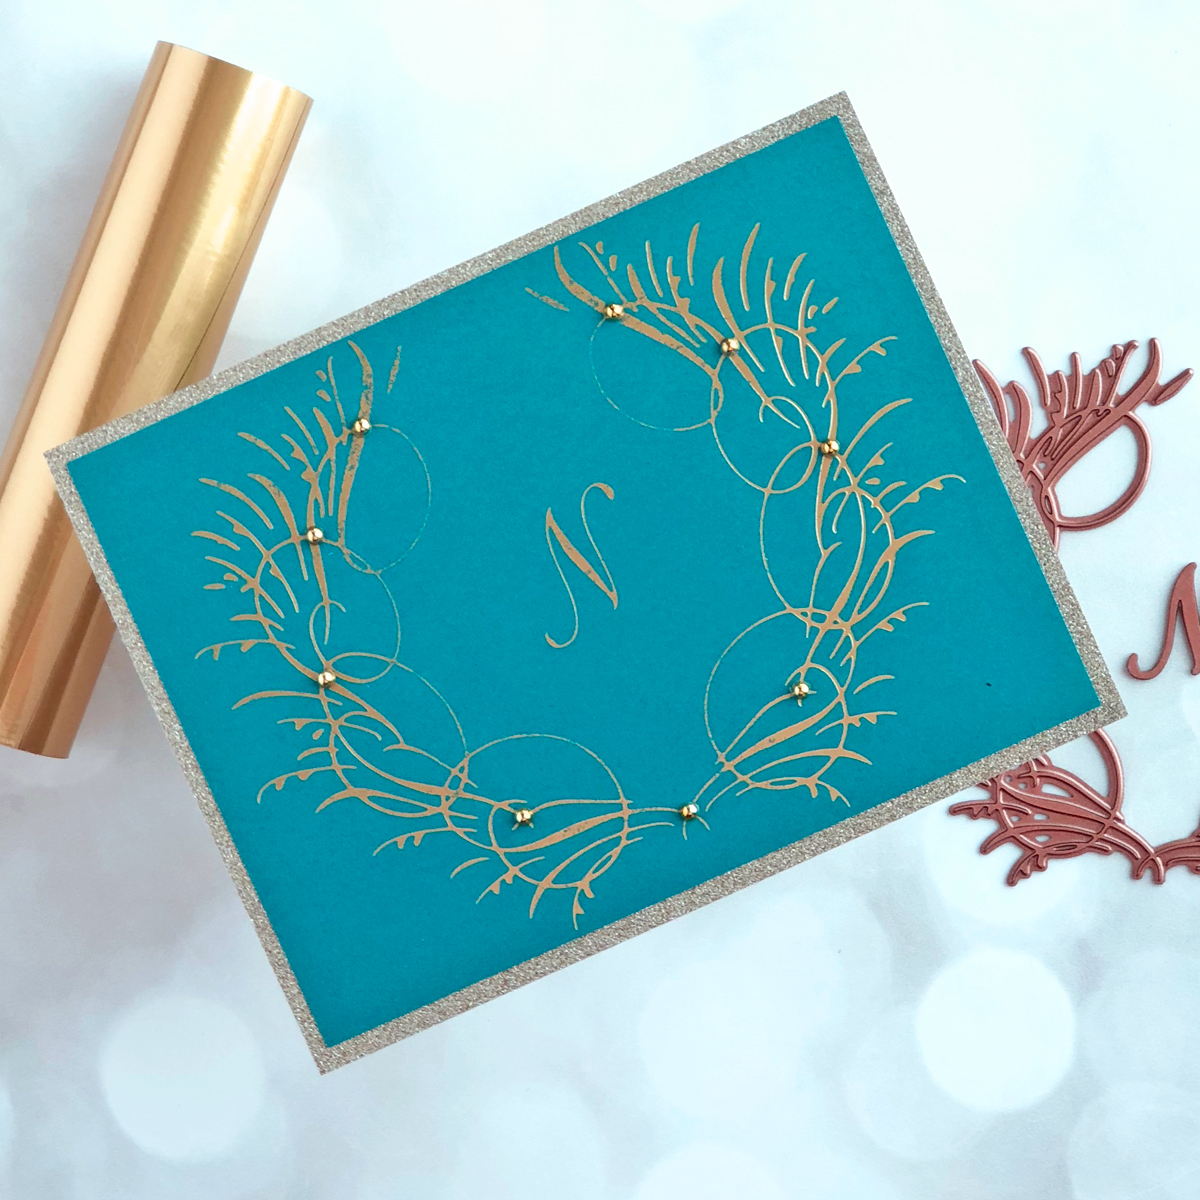
I foiled the Monogram Laurel Glimmer Hot Foil Plate onto teal cardstock using Matte Gold Foil. I trimmed it to be slightly smaller than an A2 card base, then foiled the “N” from the Copperplate Majuscules Glimmer Hot Foil Plates onto the center.

PA Scribe by Paul Antonio Inspiration | Foiled Cards with Brenda

I placed the panel onto an A2 size panel of gold glitter paper and added some gold gems.

Spellbinders Supplies:

Other supplies

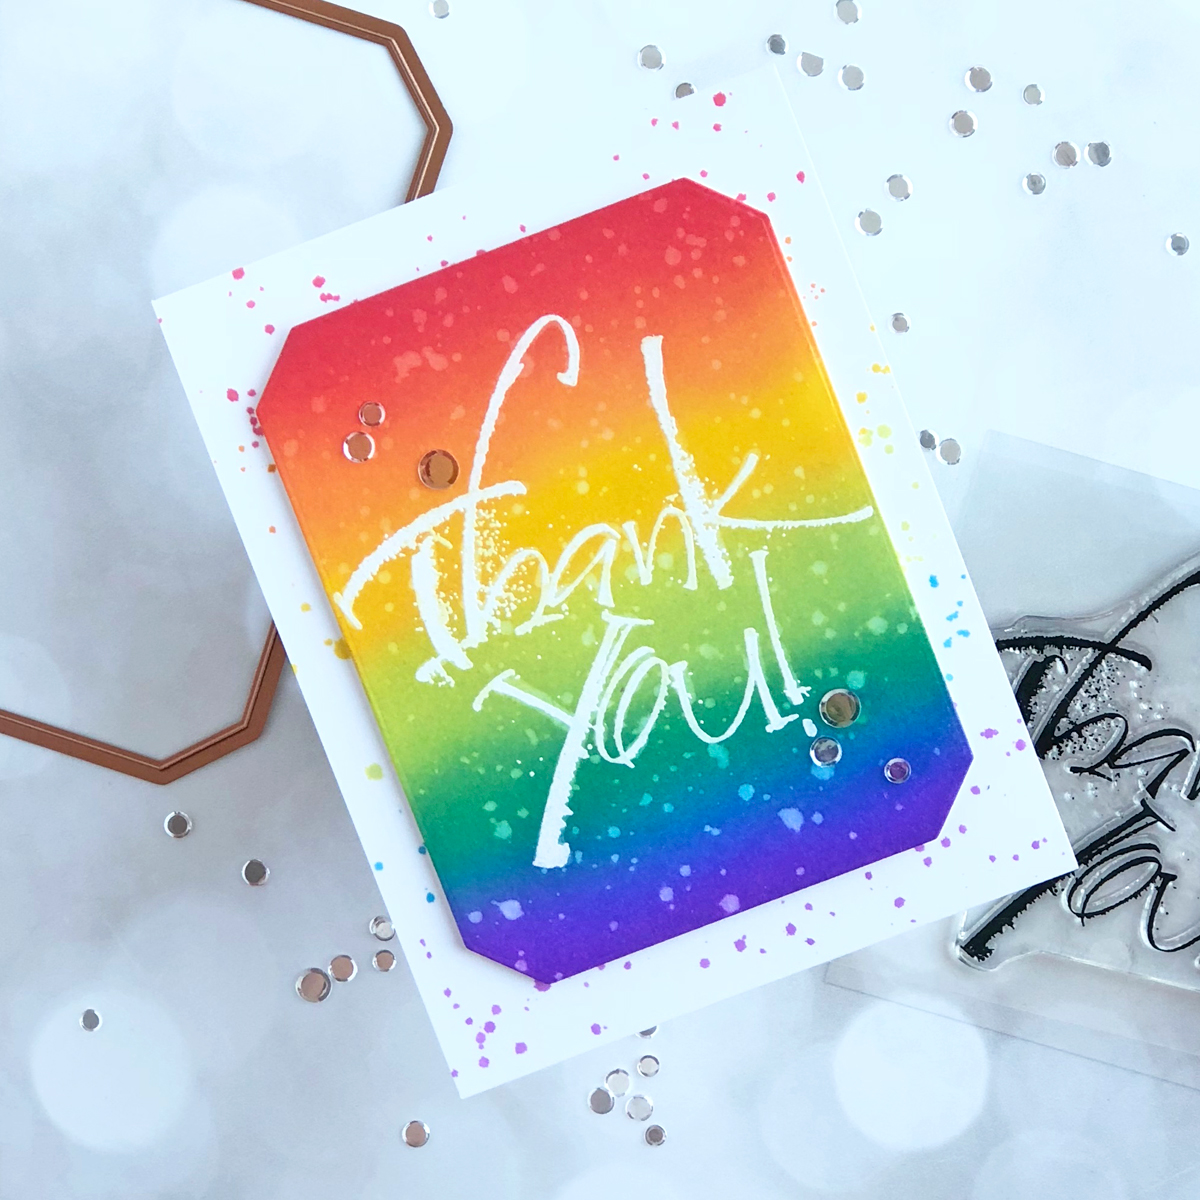
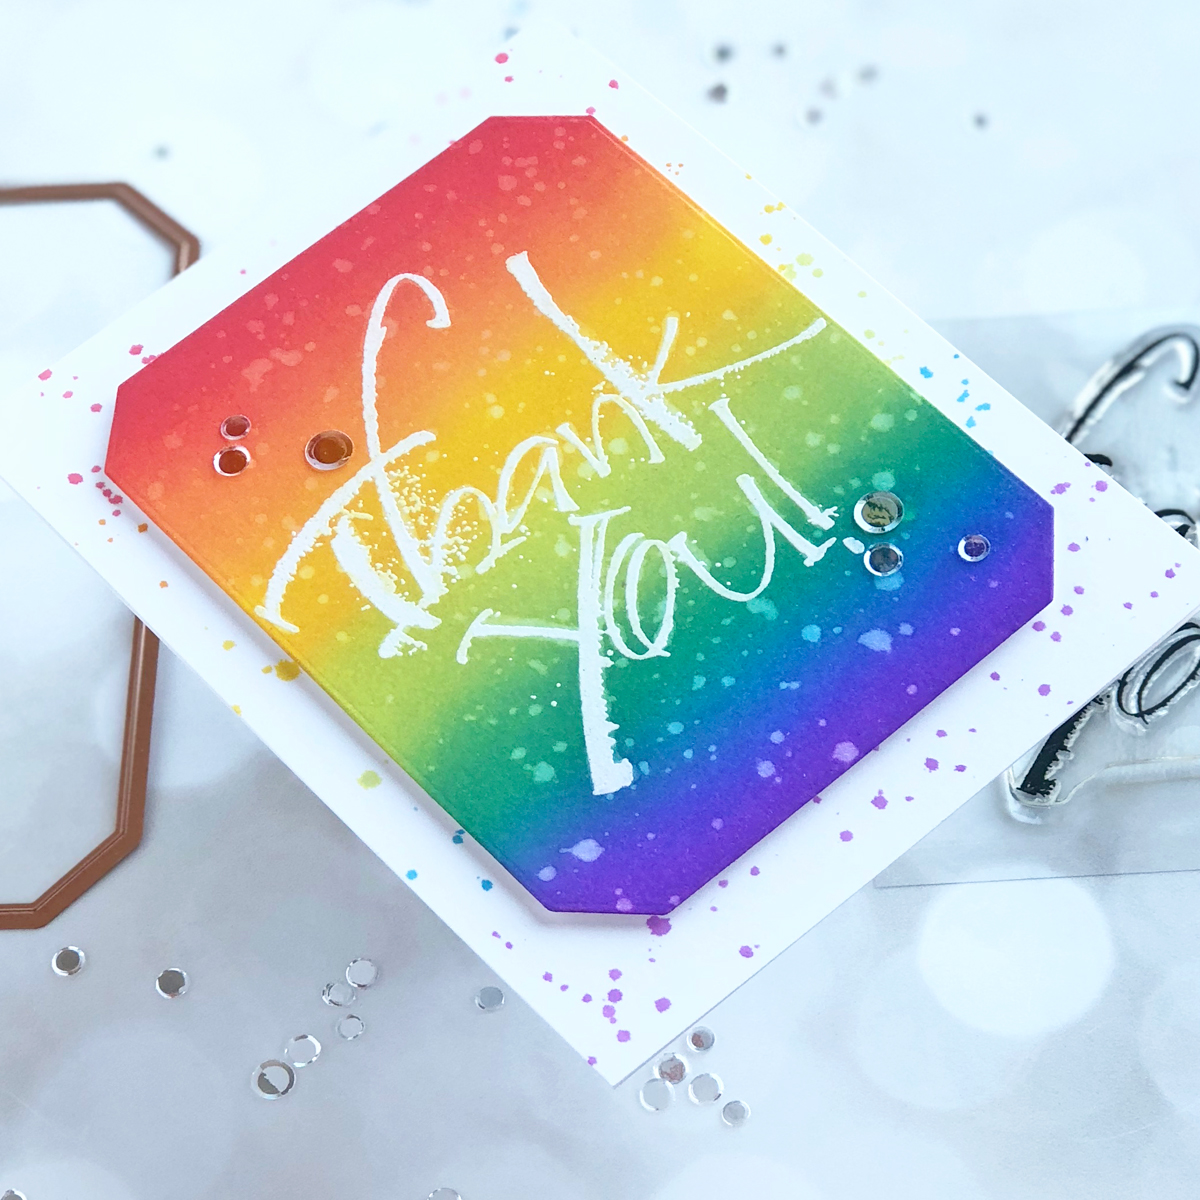
Neenah 110# white cardstock, teal cardstock, gold glitter paper, gold gems, liquid adhesive. My final card uses the Thank You Clear Stamp.
PA Scribe by Paul Antonio Inspiration | Foiled Cards with Brenda

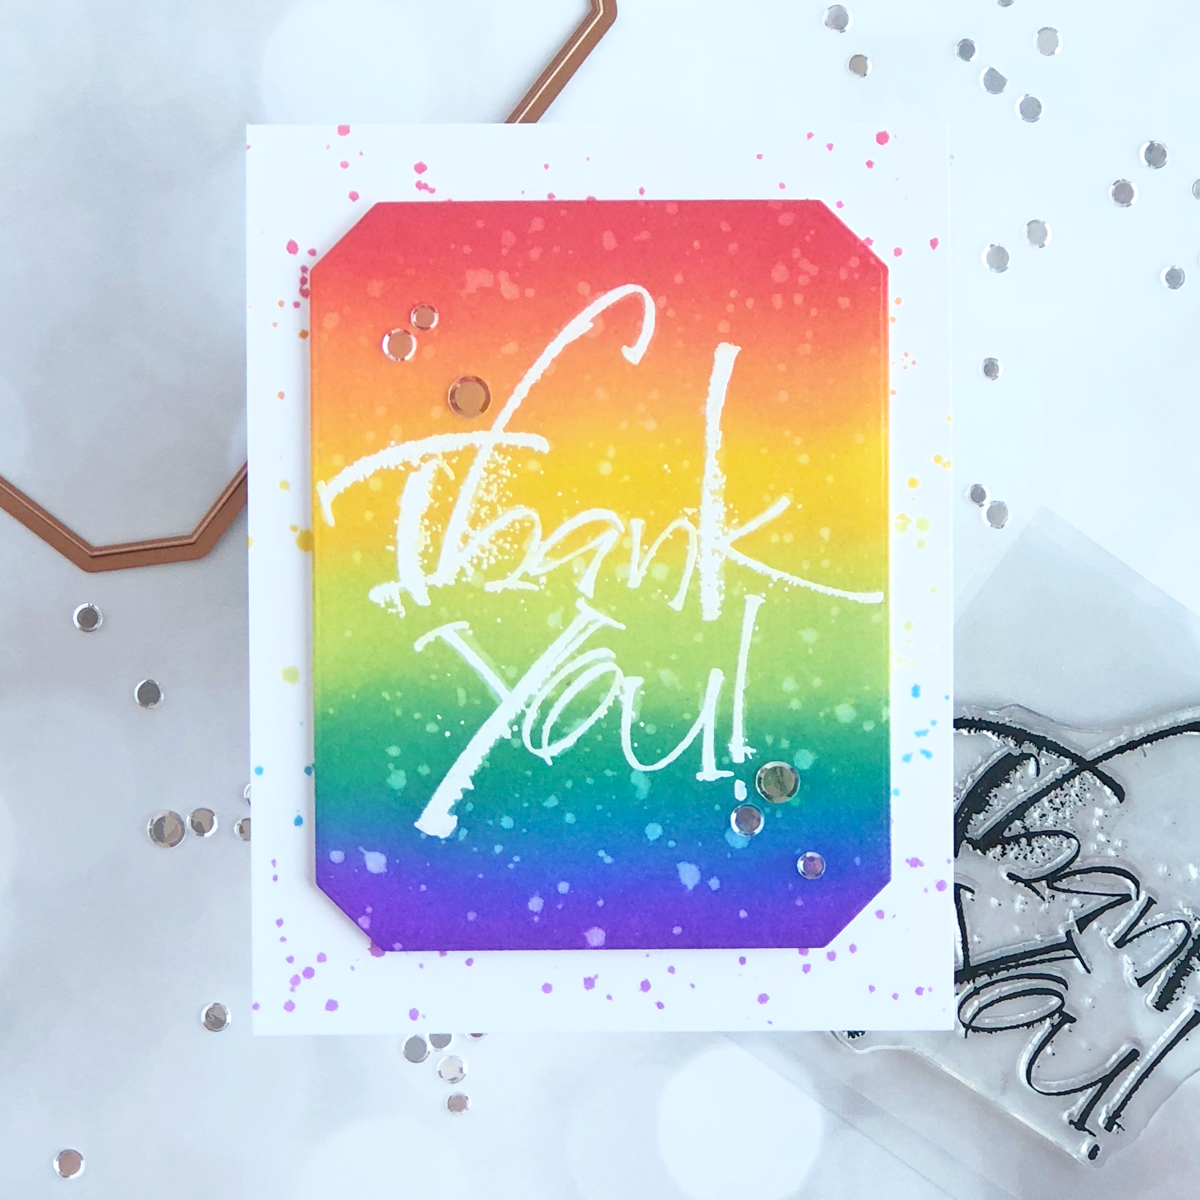
For this one, I die-cut a rectangular panel from Bristol paper using second largest die from the Amazing Paper Grace Gilded Nested Rectangle Die set. I white heat embossed the Thank You Clear Stamp onto the panel.

PA Scribe by Paul Antonio Inspiration | Foiled Cards with Brenda

I then ink blended Distress Oxide Inks in a rainbow order onto the panel. I spritzed water onto the panel and picked the excess up with a paper towel.

PA Scribe by Paul Antonio Inspiration | Foiled Cards with Brenda

I splattered diluted Distress Oxide Inks onto the white card base in the same order as the ink-blended panel. After it was dry, the rectangular panel was adhered using foam adhesive. A sprinkling of clear confetti adds a little shine!

Spellbinders Supplies:

Other supplies

Neenah 110# white cardstock, Bristol paper, Ranger Distress Oxide Inks: Festive Berries, Carved Pumpkin, Mustard Seed, Twisted Citron, Salty Ocean, Wilted Violet; Honey Bee Bokeh Lights Confetti, liquid adhesive, foam adhesive. Thanks so much for stopping by today!! I absolutely loved working with these Spellbinders products!! I would love for you to visit my blog at www.mypapercutcreations.com or Instagram @mypapercutcreations. Have a great day!

1 comment

Love your beautiful cards! They make me so happy!

Kirsty,

Leave a comment

Please note, comments need to be approved before they are published.


  • August 2026 Clear Stamp + Die of the Month Preview & Tutorials – Trick or Snark

    Spellbinders Blog

    August 2026 Clear Stamp + Die of the Month Preview & Tutorials – Trick or Snark

    Our August 2026 Clear Stamp & Die of the Month preview & tutorials are here! Join the Clear Stamp & Die of the Month Club and receive an expertly designed clear stamp and coordinating die set each month, complete with inspiration. Plus, members get store savings, extra deals, gifts, and more. This stamp set features made-in-the-USA stamps from high-quality photopolymer for clear, crisp impressions. Our stamps...

  • August 2026 Embossing Folder of the Month Preview & Tutorials – Happy Jacks

    Spellbinders Blog

    August 2026 Embossing Folder of the Month Preview & Tutorials – Happy Jacks

    Our July 2026 2D Embossing Folder of the Month preview & tutorials are here! Exclusive 2D Embossing Folder adds texture and dimension to any project. Size will generally be 5.5" x 8.5" and can be used to make slimline, 5" x 7", and a variety of sized projects. Spellbinders Monthly Clubs are exclusively designed by our in-house creative team, curated with care, and delivered with...

  • August 2026 Stencil of the Month Preview & Tutorials – Peek-a-Boo

    Spellbinders Blog

    August 2026 Stencil of the Month Preview & Tutorials – Peek-a-Boo

    Our August 2026 Stencil of the Month Club preview & tutorials are here! Here’s a look at the design for this month – Holiday Harmony: Please note, new Subscription Sign-Up Window will now open on the 6th of each month and close on the 27th (once existing club members subscriptions have been processed.) If there is additional inventory remaining, then they will be made available for...