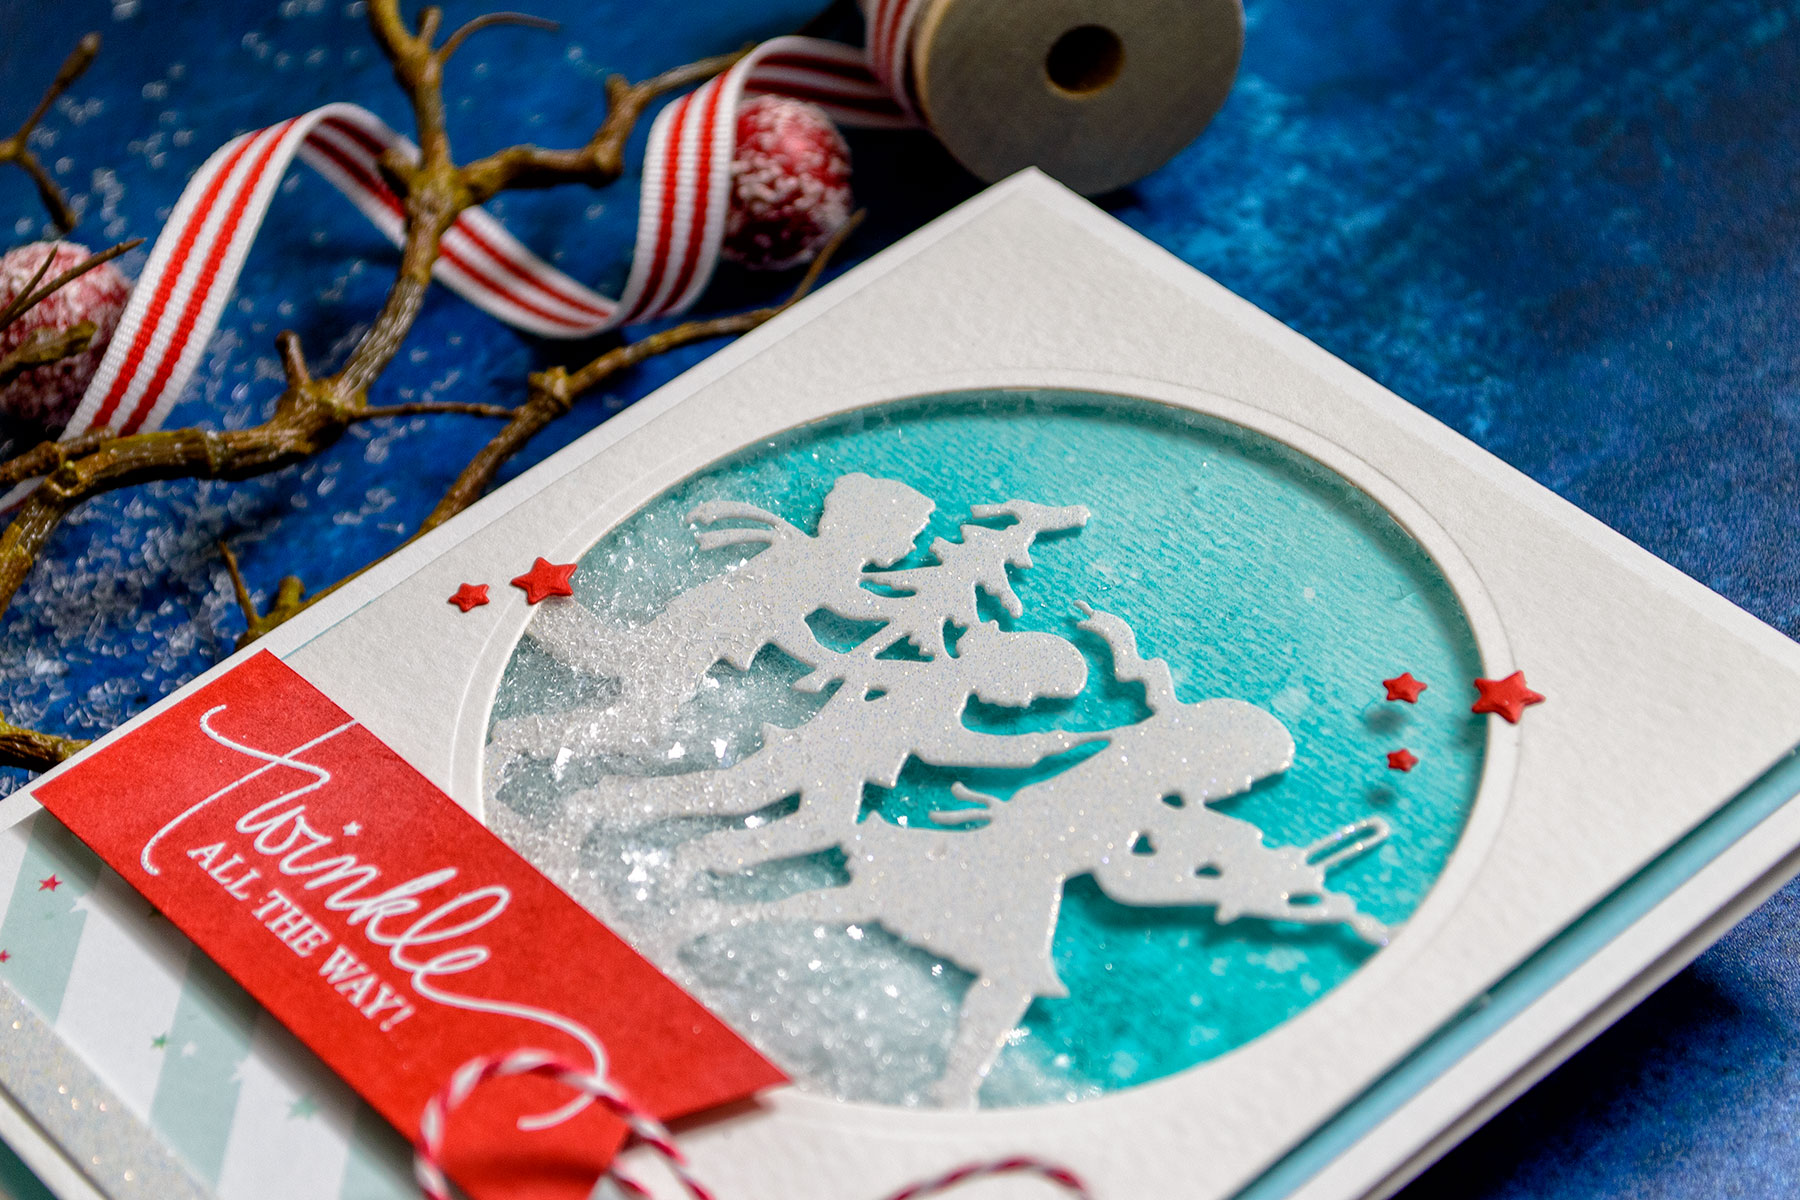
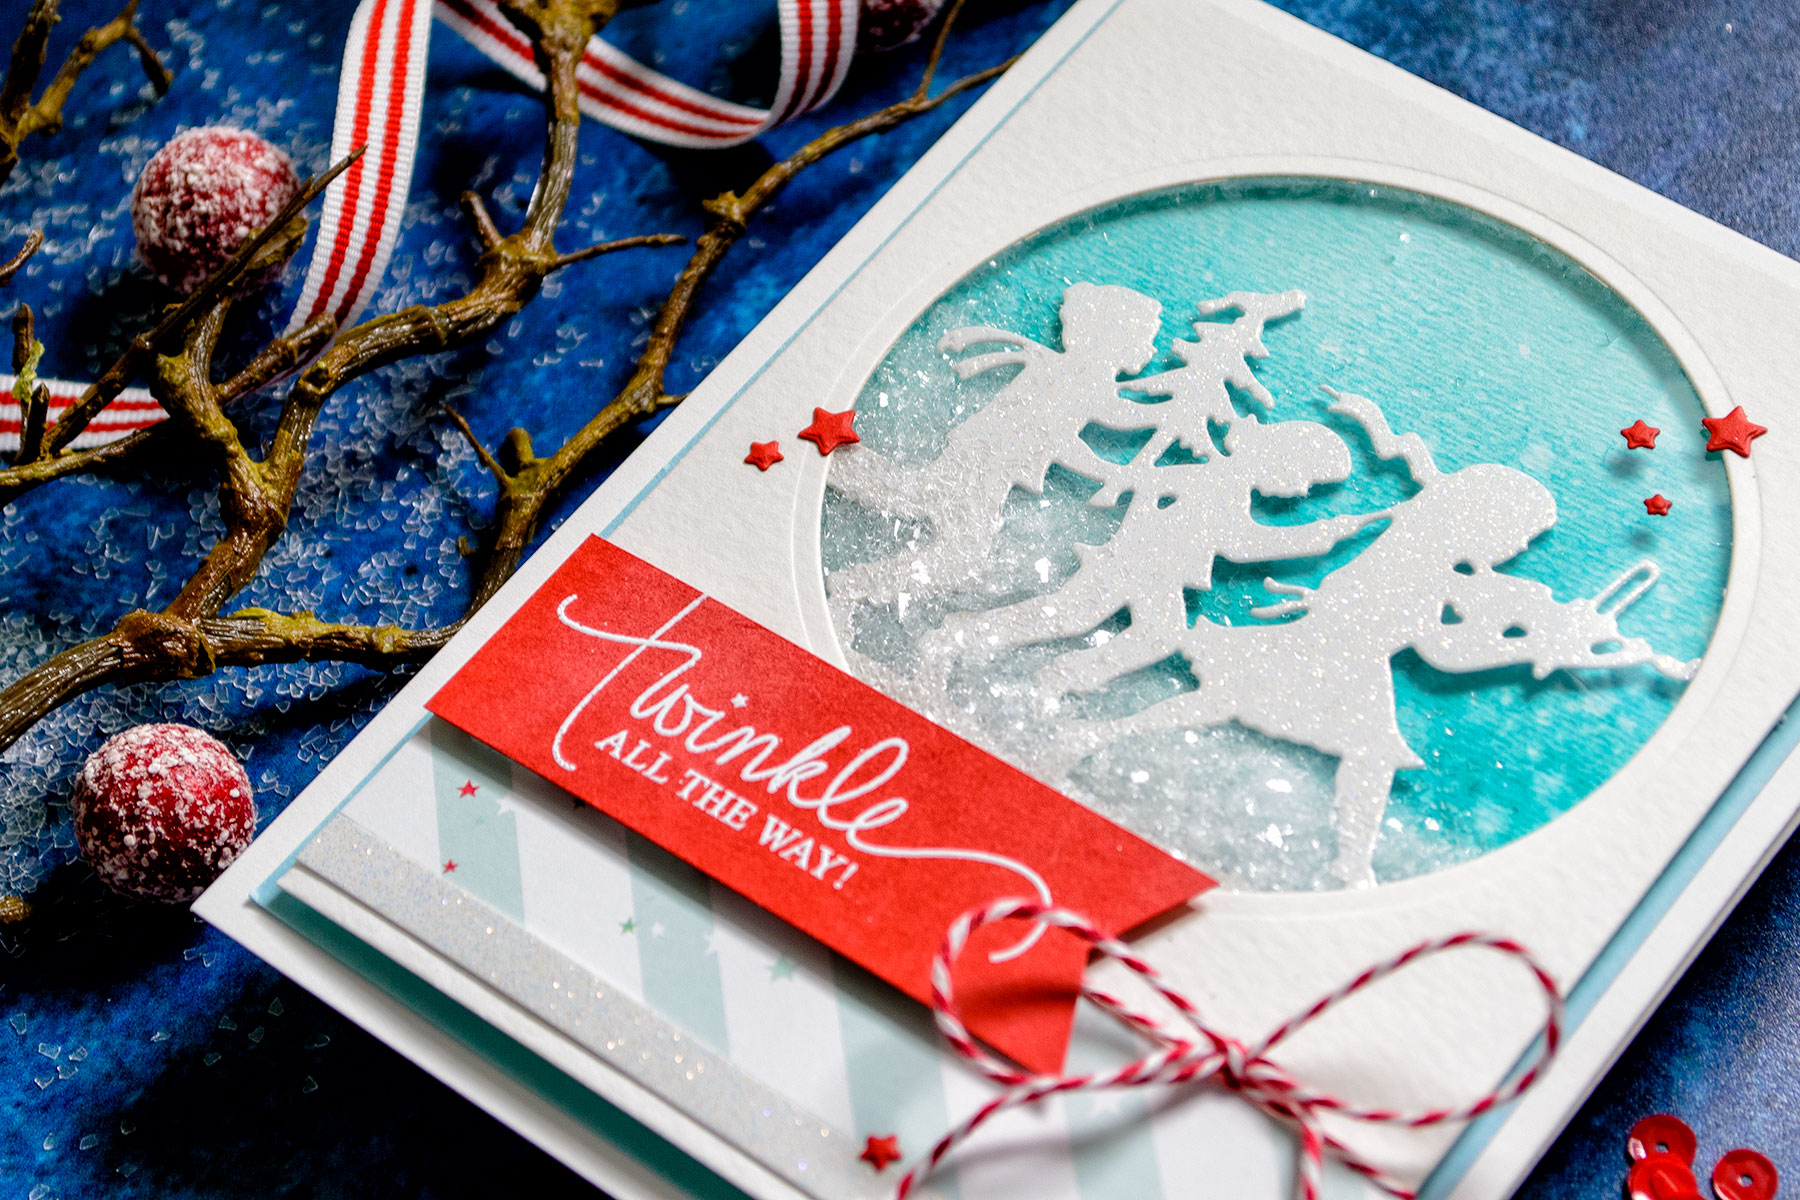
Quick Technique | Twinkle All The Way Card with Fa La La Die
on October 20, 2017

Quick Technique | Twinkle All The Way Card with Fa La La Die

Hello friends and welcome back for another episode from our brand new Quick Technique series!
Quick Technique is all about sharing simple projects using our products and showcasing fun and fresh techniques! We hope you’ll love this new installment on our blog and will give some (or possibly all?) of these techniques a try!
Today we are sharing a card created using S4-828 Fa La La dies from the Joyous Celebrations collection from Sharyn Sowell (you can find more inspiration using dies from Sharyn here)!
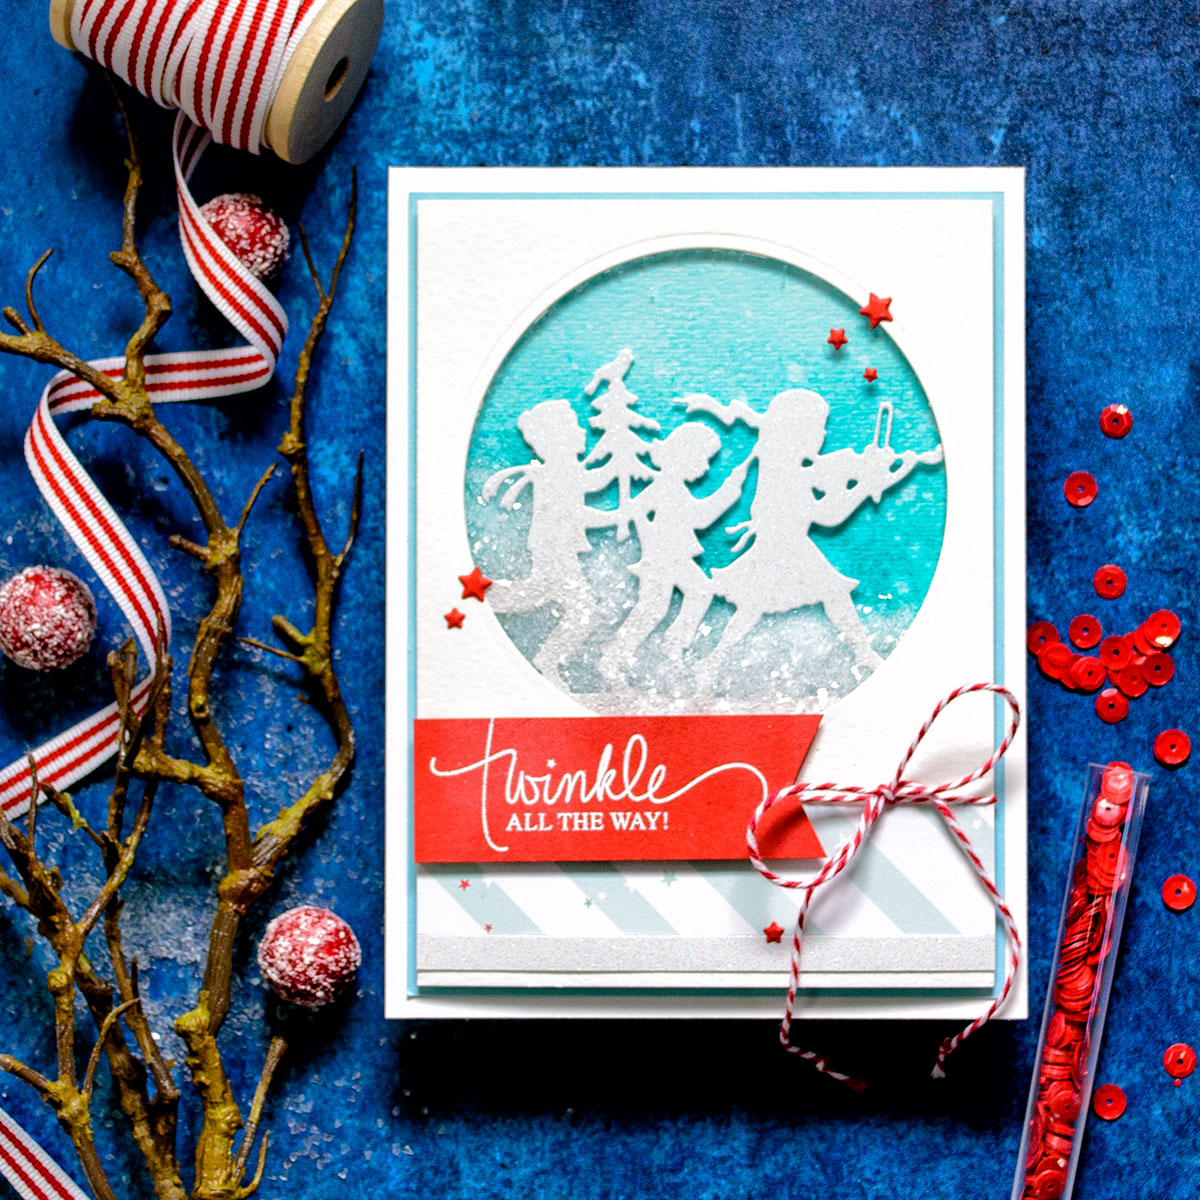
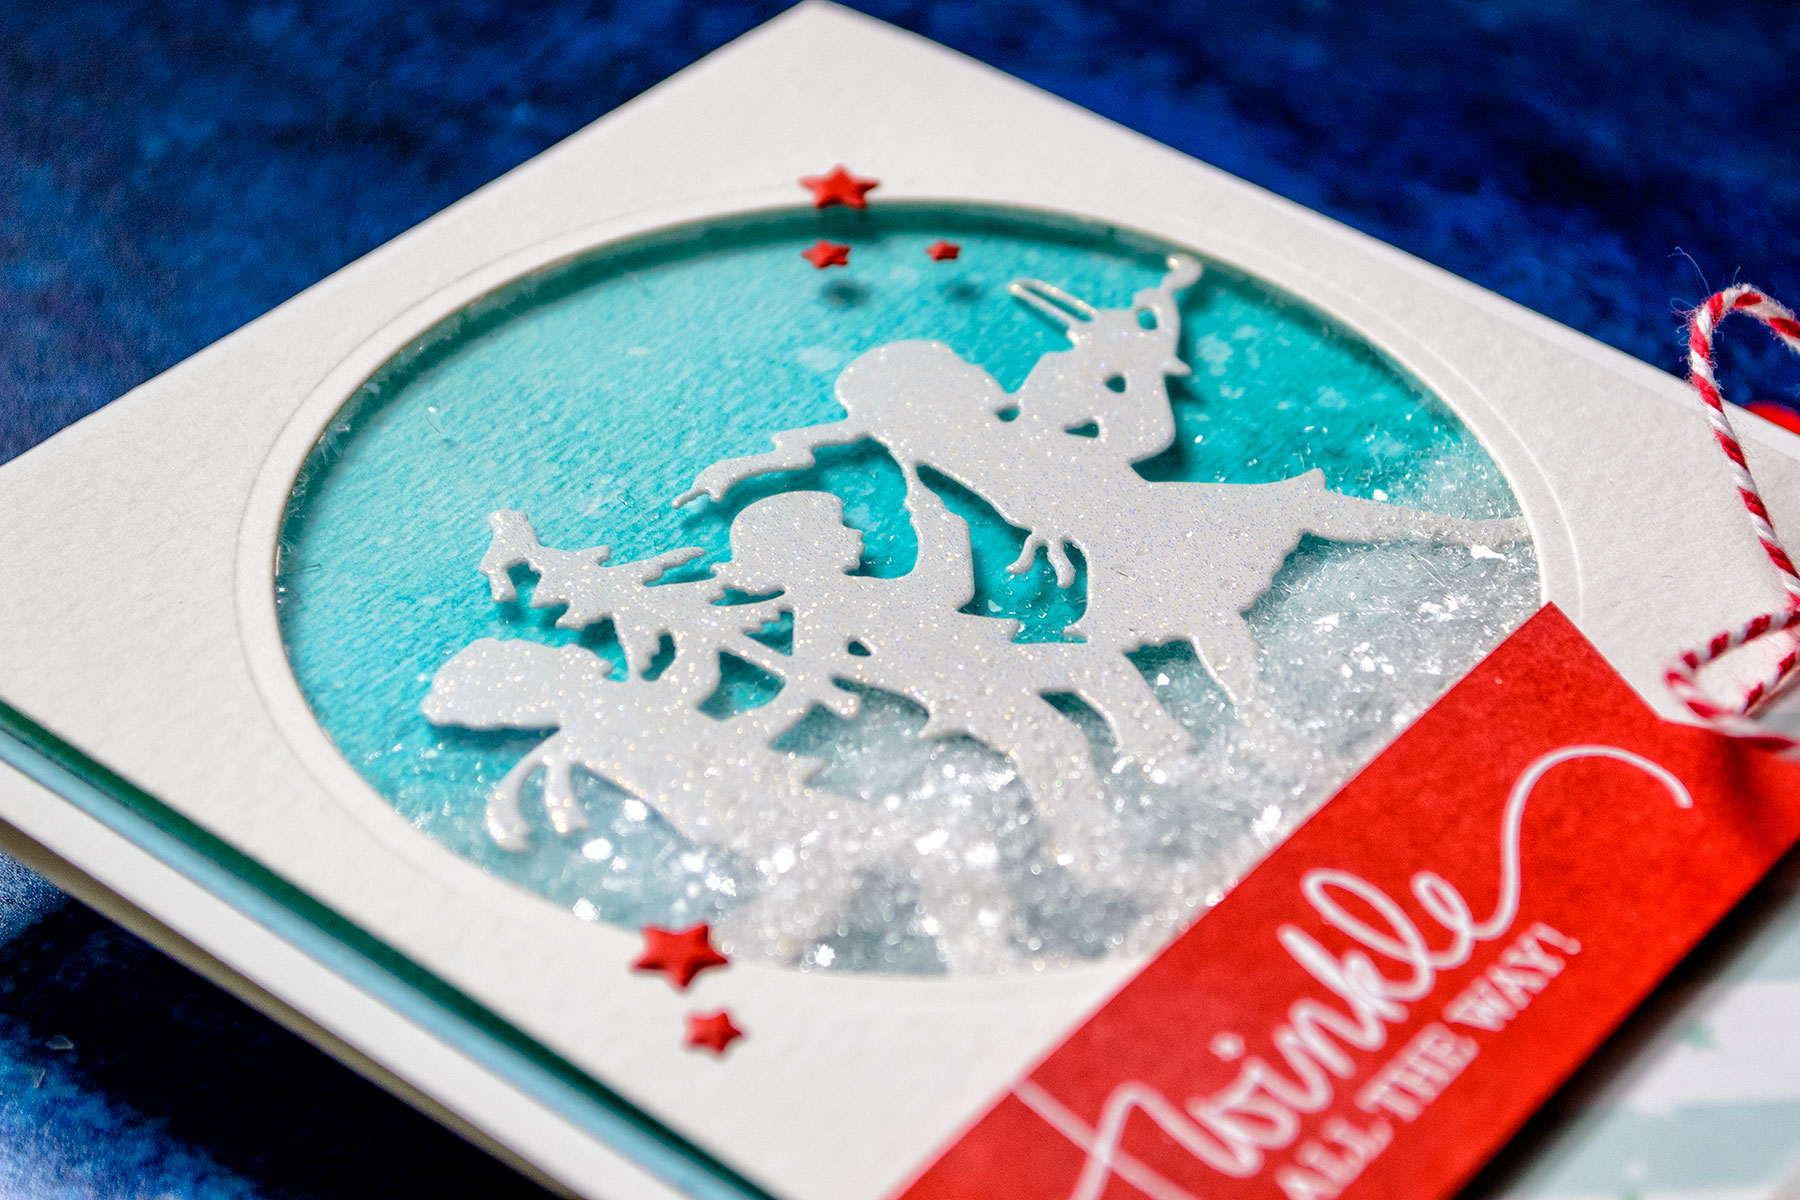
Quick Technique | Twinkle All The Way Card by Yana Smakula for Spellbinders using Fa La La Die

Project created by Yana Smakula

Quick Technique - Shaker!

Cut white cardstock panel 4 ½” x 6”. Die-cut circle in the panel. Adhere clear acetate from the back of the panel to create a screen for the die cut window. Die-cut Fa La La out of white glitter paper. Adhere from the back of the white panel inside the circle opening. Use foam adhesive to create shaker walls. Add Diamond Dust to create snow inside the shaker. Blend Peacock Feathers and Tumbled Glass Distress inks onto white cardstock panel. Use panel to close the shaker.
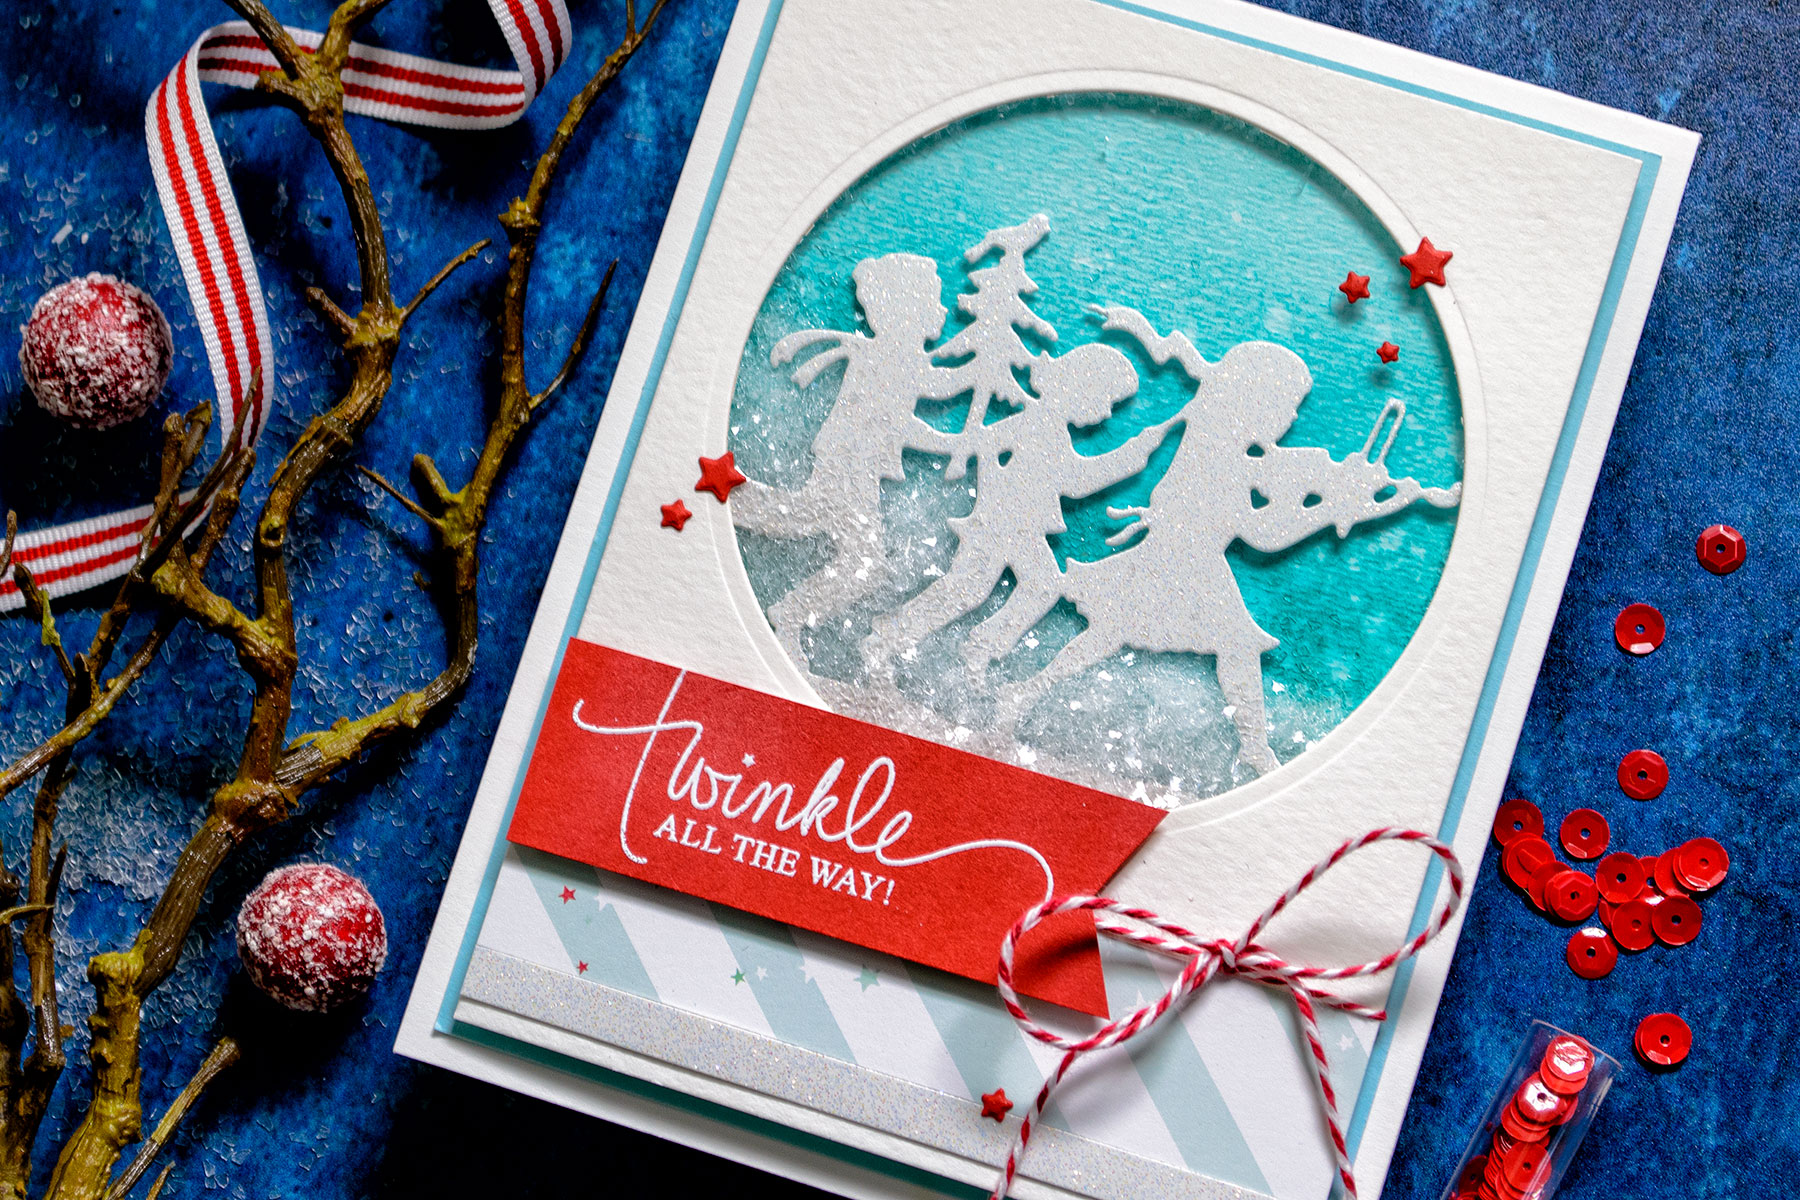
Quick Technique | Twinkle All The Way Card by Yana Smakula for Spellbinders using Fa La La Die

Instructions:

Looking for a full set of instructions to create this card? See below!
  • Create 5” x 6 ½” card base.
  • Cut blue cardstock panel to 4 ⅝  x 6 ⅛”.
  • Cut white cardstock panel 4 ½” x 6”. Die-cut circle in the panel. Adhere clear acetate from the back of the panel to create a screen for the die cut window. Add strips of patterned and glitter paper on the front at the bottom of the panel. Tie twine into a bow.
  • Die-cut Fa La La out of white glitter paper. Adhere from the back of the white panel inside the circle opening.
  • Use foam adhesive to create shaker walls. Add Diamond Dust to create snow inside the shaker.
  • Blend Peacock Feathers and Tumbled Glass Distress inks onto white cardstock panel. Use panel to close the shaker.
  • Adhere shaker panel onto blue panel. Adhere onto the card base.
  • White heat emboss a sentiment onto red cardstock panel. Trim one end into a V-shape. Foam mount onto the card.
  • Embellish card using pre-cut self adhesive stars.
Quick Technique | Twinkle All The Way Card by Yana Smakula for Spellbinders using Fa La La Die

Spellbinders supplies:

Other Supplies: White Cardstock (Neenah Solar White 80 LB); Colored Cardstock (My Colors Cardstock - Scarlet; Simon Says Stamp - Surf Blue); Patterned Paper (Pinkfresh Studio - Christmas Wishes); White Glitter Paper; Clear Acetate; Foam Adhesive; Tape Runner; Distress Inks (Tumbled Glass, Peacock Feathers); Clear Stamp (Mama Elephant - Merry Greetings); Clear Embossing Ink; White Embossing Powder; Heat Gun; Doodlebug Red and White Twine; FloraCraft Diamond Dust; Ink Blending Tool; Water Mister.

Quick Technique | Twinkle All The Way Card by Yana Smakula for Spellbinders using Fa La La Die Quick Technique | Twinkle All The Way Card by Yana Smakula for Spellbinders using Fa La La Die

Have you ever tried this technique? Will you give it a try? Let us know in the comments below! And have fun die-cutting!

Leave a comment

Your email will not be published. Please note, comments need to be approved before they are published.


  • How to Color BetterPress Scenes with Watercolor and Colored Pencils, BP-383, STNB-020, DC378

    AF724

    How to Color BetterPress Scenes with Watercolor and Colored Pencils

    Want to move beyond simple ink blending when using layering stencils? In this tutorial, you'll learn how to combine BetterPress printing, stencil coloring, watercolor painting, and colored pencil shading to create a detailed scenic card. By mixing coloring mediums, you can build additional texture, depth, and realism while using supplies you may already have in your craft room. This project features the Scenic Kyoto Press...

  • How to Use Reverse Foiling for Elegant Christmas Cards, BP-345, BP-314, S4-1452, BP-312, S5-526, S5-647

    BP-312

    How to Use Reverse Foiling for Elegant Christmas Cards

    Get more from your hot foil supplies by learning how to use the reverse foiling technique. In this step-by-step Christmas card tutorial, you'll create a beautiful snowflake background using leftover foil, then pair it with a dimensional poinsettia arrangement and festive sentiment. Reverse foiling is a fantastic way to reduce waste while creating an entirely different look from your original foiled design. Using the A2...

  • How to Make Felt Christmas Ornaments with Festive Felt Dies, S7-302, S7-303, S7-305, PE-104

    Categories:Die Cutting

    How to Make Felt Christmas Ornaments with Festive Felt Dies

    Create charming handmade felt Christmas ornaments using the Festive Felt Christmas Dies by Lollie & Grace. In this step-by-step tutorial, you'll learn how to die-cut felt, assemble layered ornament designs, add decorative stitching, embellish with sequins and beads, and finish your ornaments with hanging loops for Christmas decorating. This project is perfect for holiday crafters who enjoy working with felt and creating handmade decorations. These festive...