Scenic Snapshots Collection Inspiration | Card Ideas with Varada Sharma
on September 30, 2019

Scenic Snapshots Collection Inspiration | Card Ideas with Varada Sharma

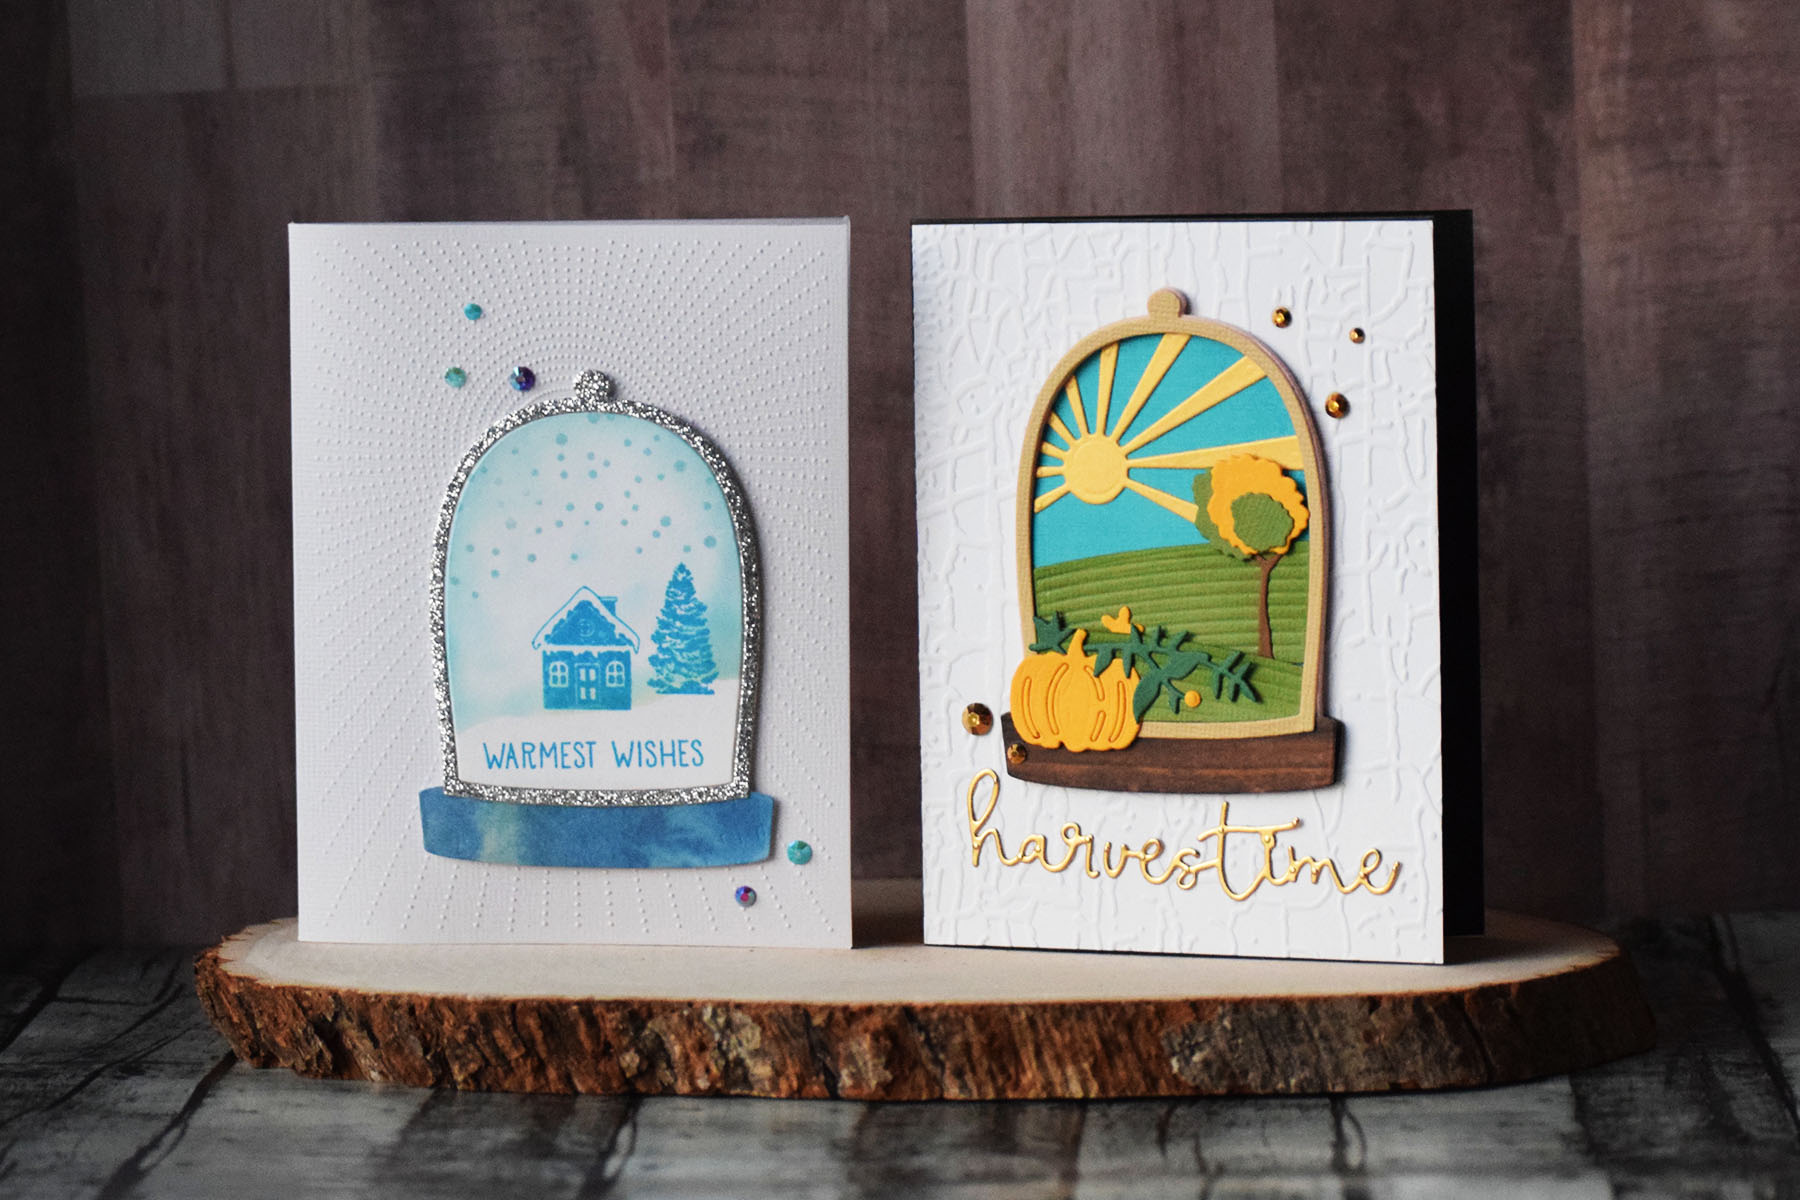
Hi there, everyone! My name is Varada and I am the crafter and blogger behind VaradaSharma.com. I am thrilled to be guest posting for Spellbinders again today. I will be sharing two projects created using the adorable Scenic Snapshots collection. I have shared a couple tags using the Santa’s Workshop set from this collection earlier. You can find them here. But for today, here are the two cards we will look at:
Spellbinders Scenic Snapshots Collection Inspiration | Card Ideas by Varada Sharma

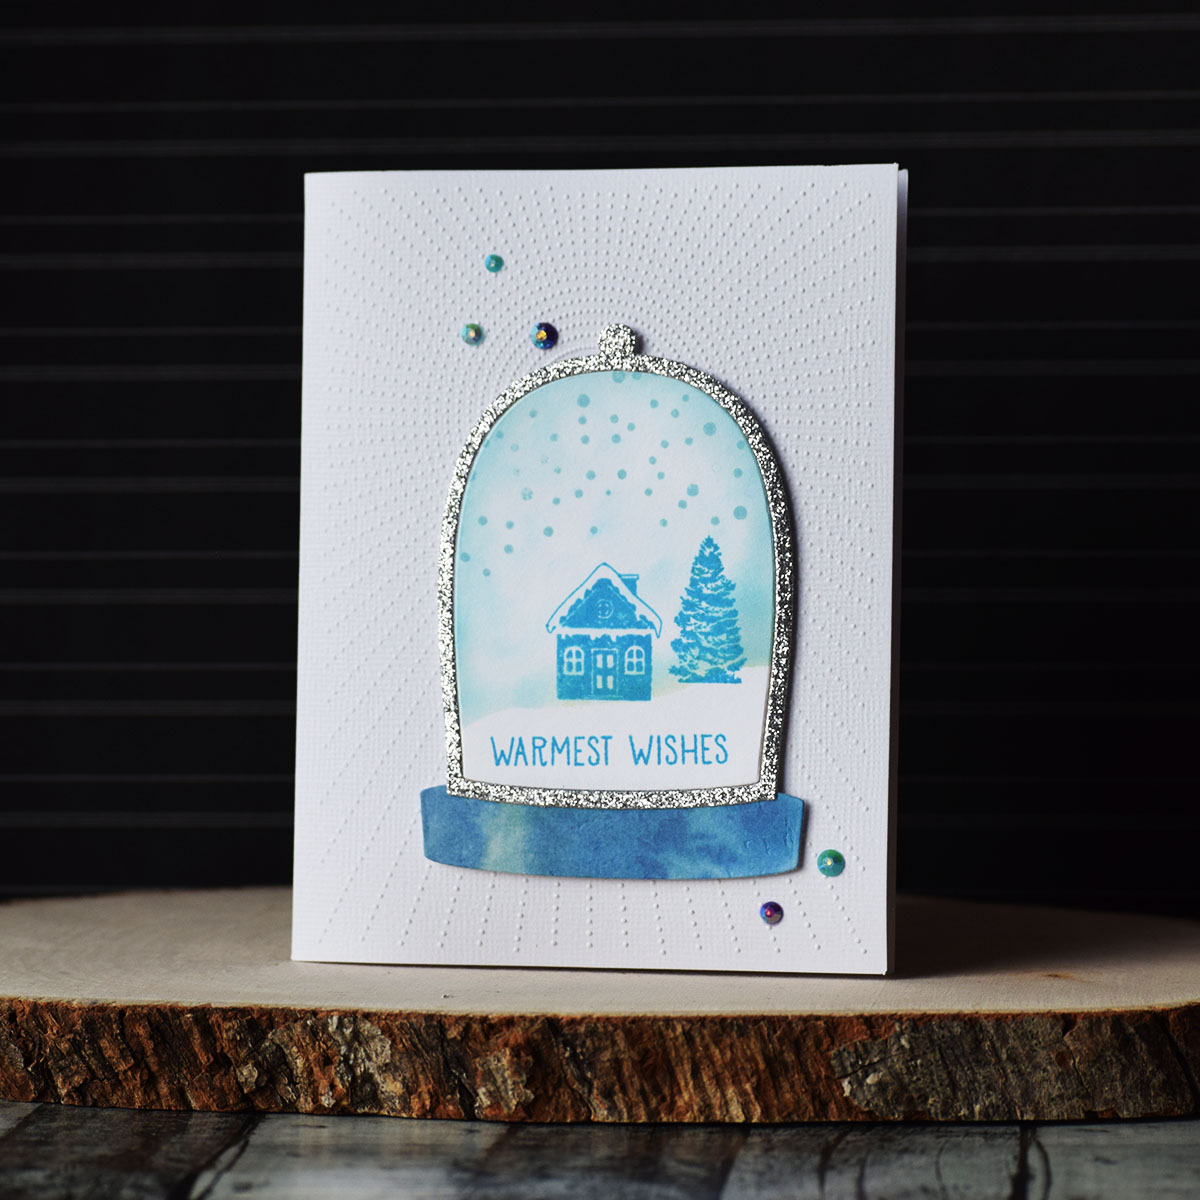
For my first project, I made a winter themed card by combining the main snow globe die with Winter Wishes Mason Jar stamp set that came in December 2018 card kit. After cutting out the top part of snow globe, I used the inside area to stamp a scene with the little images.

Spellbinders Scenic Snapshots Collection Inspiration | Card Ideas by Varada Sharma

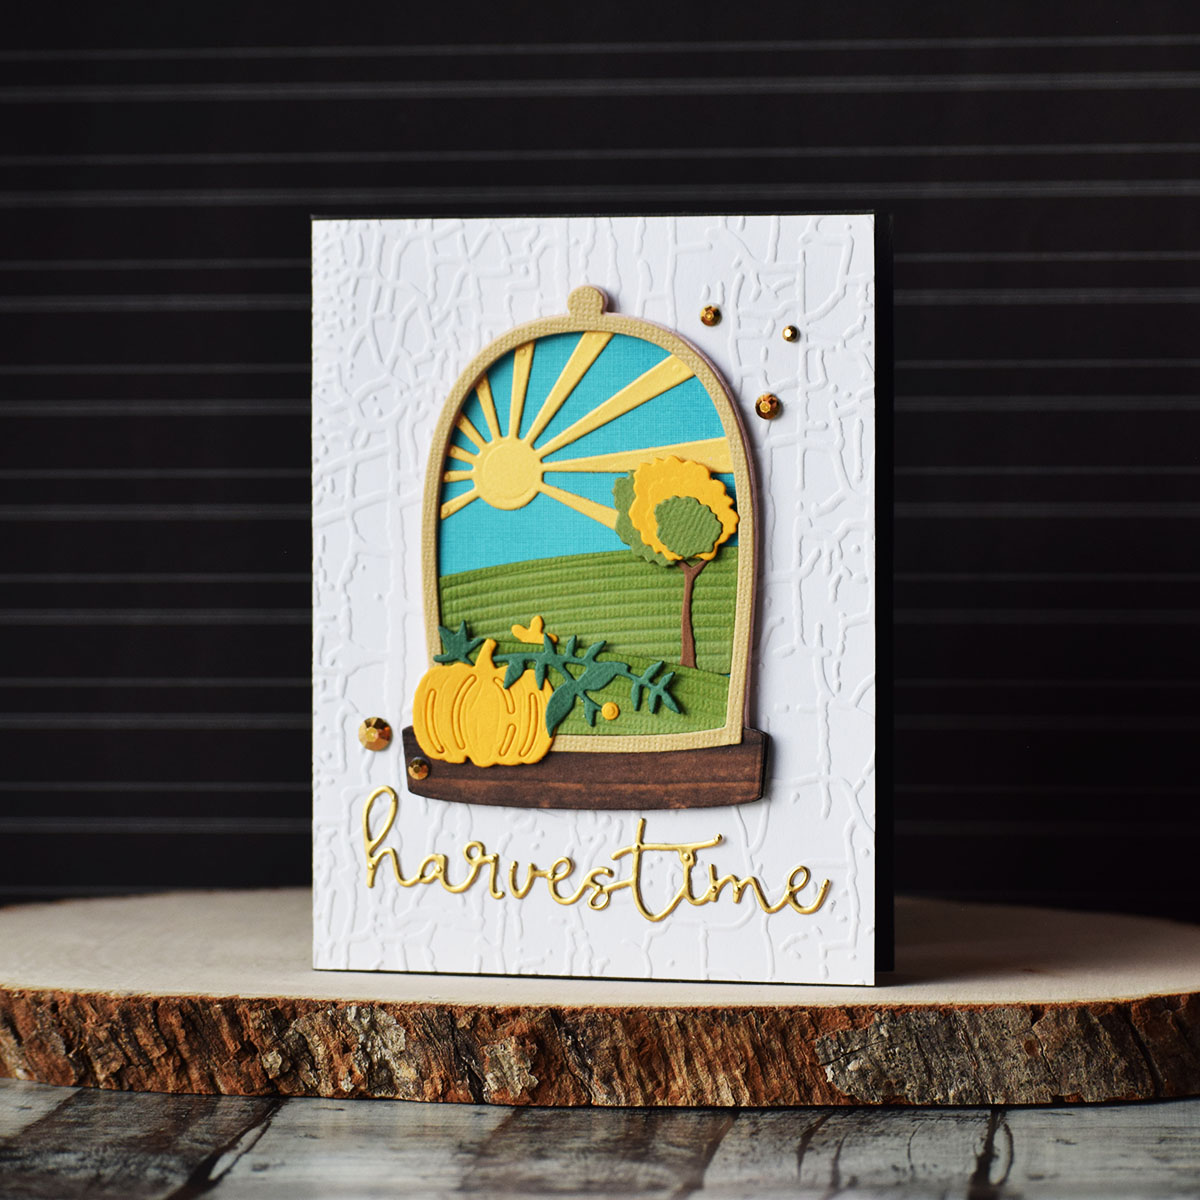
To create a monochromatic theme, I ink blended the snow banks and sky with a lighter blue ink and then stamped images using a darker blue ink. Then I used a silver glitter paper and a blue patterned paper to create the snow globe and assembled it together with some foam tape. For the sentiment, I used same dark blue color and used a stamp from older Hero Arts card kit. A matching blue-ish pat-terned paper helped me create a base and stay within my color theme. For finishing this card, I mounted it on a card base where the front was dry embossed using Bright Days embossing folder and sprinkled some sparkly blue gems. My second project is also a card but one that shows a harvest scene. I am so happy with the way you can mix and match these elements with each other as well as with other Spellbinders goodies. For this snow globe scene, I combined it with a pumpkin from the Truckin Through The Seasons. I love these versatile die sets so much.

Spellbinders Scenic Snapshots Collection Inspiration | Card Ideas by Varada Sharma

To add a little something extra to this project, I dry embossed a white 5x7 panel with Spellbinders Blis-tered embossing folder and mounted my snow globe as well as sentiment “harvest time” on this panel before mounting it on a black card base. And just because I cannot make anything without a touch of bling, I added a few gold gems to it.

Spellbinders Supplies:

Other Supplies

Simon Says Stamp Surf Blue ink, Simon Says Stamp Island Blue ink, Little Things From Lucy's Cards Jewels Rainbow Sparkle, Pretty Pink Posh Metallic Gold gems and Ranger Multi Medium Matte and Scotch Double-Sided Urethane Foam Tape. I hope these creations inspire you to create some fun things for yourself and for your loved ones. Thank you so much for visiting! If you would like to see more of my work using Spellbinders dies, do visit my blog and follow my Instagram page. Have a blessed day! Varada

Leave a comment

Your email will not be published. Please note, comments need to be approved before they are published.


  • How to Make a Foiled Ornament Christmas Card

    BP-001

    How to Make a Foiled Ornament Christmas Card

    Looking for a festive Christmas card that combines hot foiling, stenciling, and letterpress techniques? This colorful holiday project features a softly shaded ornament, a pressed sentiment, layered arch panels, and shimmering gold snowflakes. The Tied With Cheer BetterPress plate and stencil set makes it easy to coordinate the ornament imagery and greeting, while the Winter Peace plate creates an elegant foiled background. In this step-by-step...

  • HOW TO USE PRESS PLATES WITH MULTIPLE INKS | CREATE YOUR WAY HOLIDAY, BPR-050, BPI-049, BPI-003

    BP-001

    How to Use Multiple Ink Colors with BetterPress Registration Plates

    Create a colorful Christmas card while learning how to apply multiple ink colors to BetterPress registration plates. In this detailed tutorial, you’ll use the Festive Evergreens Registration Press + Foil Plate & Die Set to press a holiday doorway scene in three colors, combining the built-in registration system with a simple masking technique. The registration template positions the coordinating plates so each layer aligns with...

  • How to Make a Colorful Foiled Butterfly Card with Glimmer II

    BP-351

    How to Make a Colorful Foiled Butterfly Card with Glimmer II

    Combine hot foiling, alcohol-marker coloring, ink blending, and dimensional shaping to create a colorful butterfly card that sparkles from every angle. In this step-by-step tutorial, you’ll learn how to foil detailed butterflies and a floral background with the Glimmer II Hot Foil System, add bold color, and shape the butterfly wings for a realistic raised effect. The Bright Butterflies and Thanks In Bloom Press +...