Video Friday | Feathers and Florals with Kelly
on February 16, 2018

Video Friday | Feathers and Florals with Kelly

It's Kelly Latevola here and I'm back with a fun floral arrangement that uses a ton of products from Stephanie Low's Cool Vibes Designer Series . I love so many of the elements in this series it was hard to choose which to use!
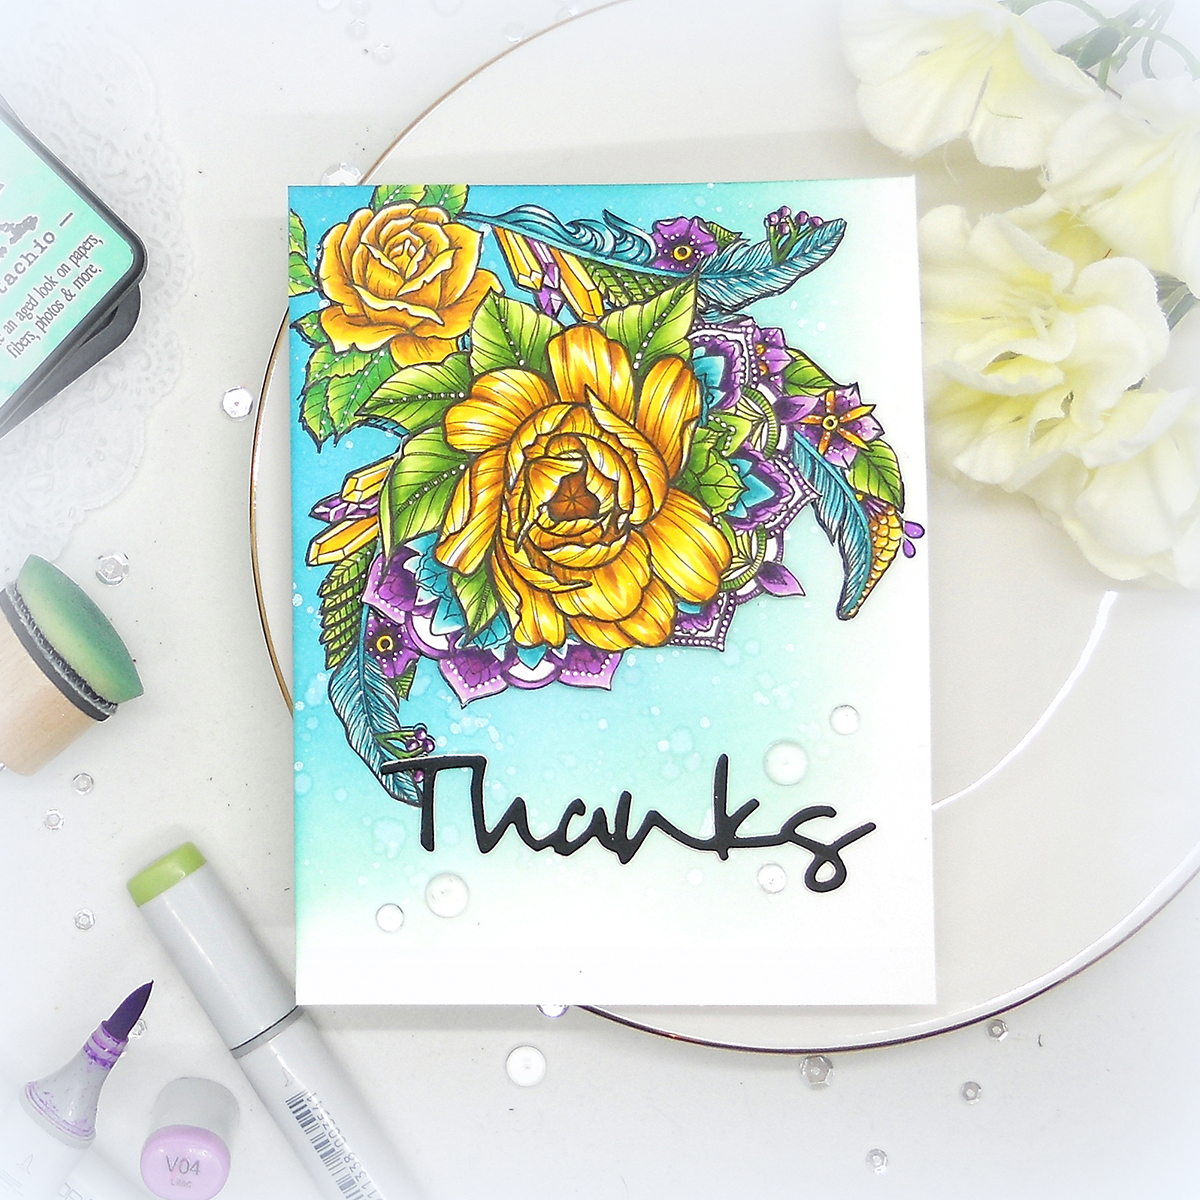
Video Friday | Feathers and Florals with Kelly Latevola for Spellbinders using Stephanie Low's Cool Vibes Designer Series SDS-099 Medium Peony, SDS-100 Feathers, SDS-098 Moon Flower, S4-563 Simply Said Phrase Set One #spellbinders #stamping #neverstopmaking #diecutting #handmadecard

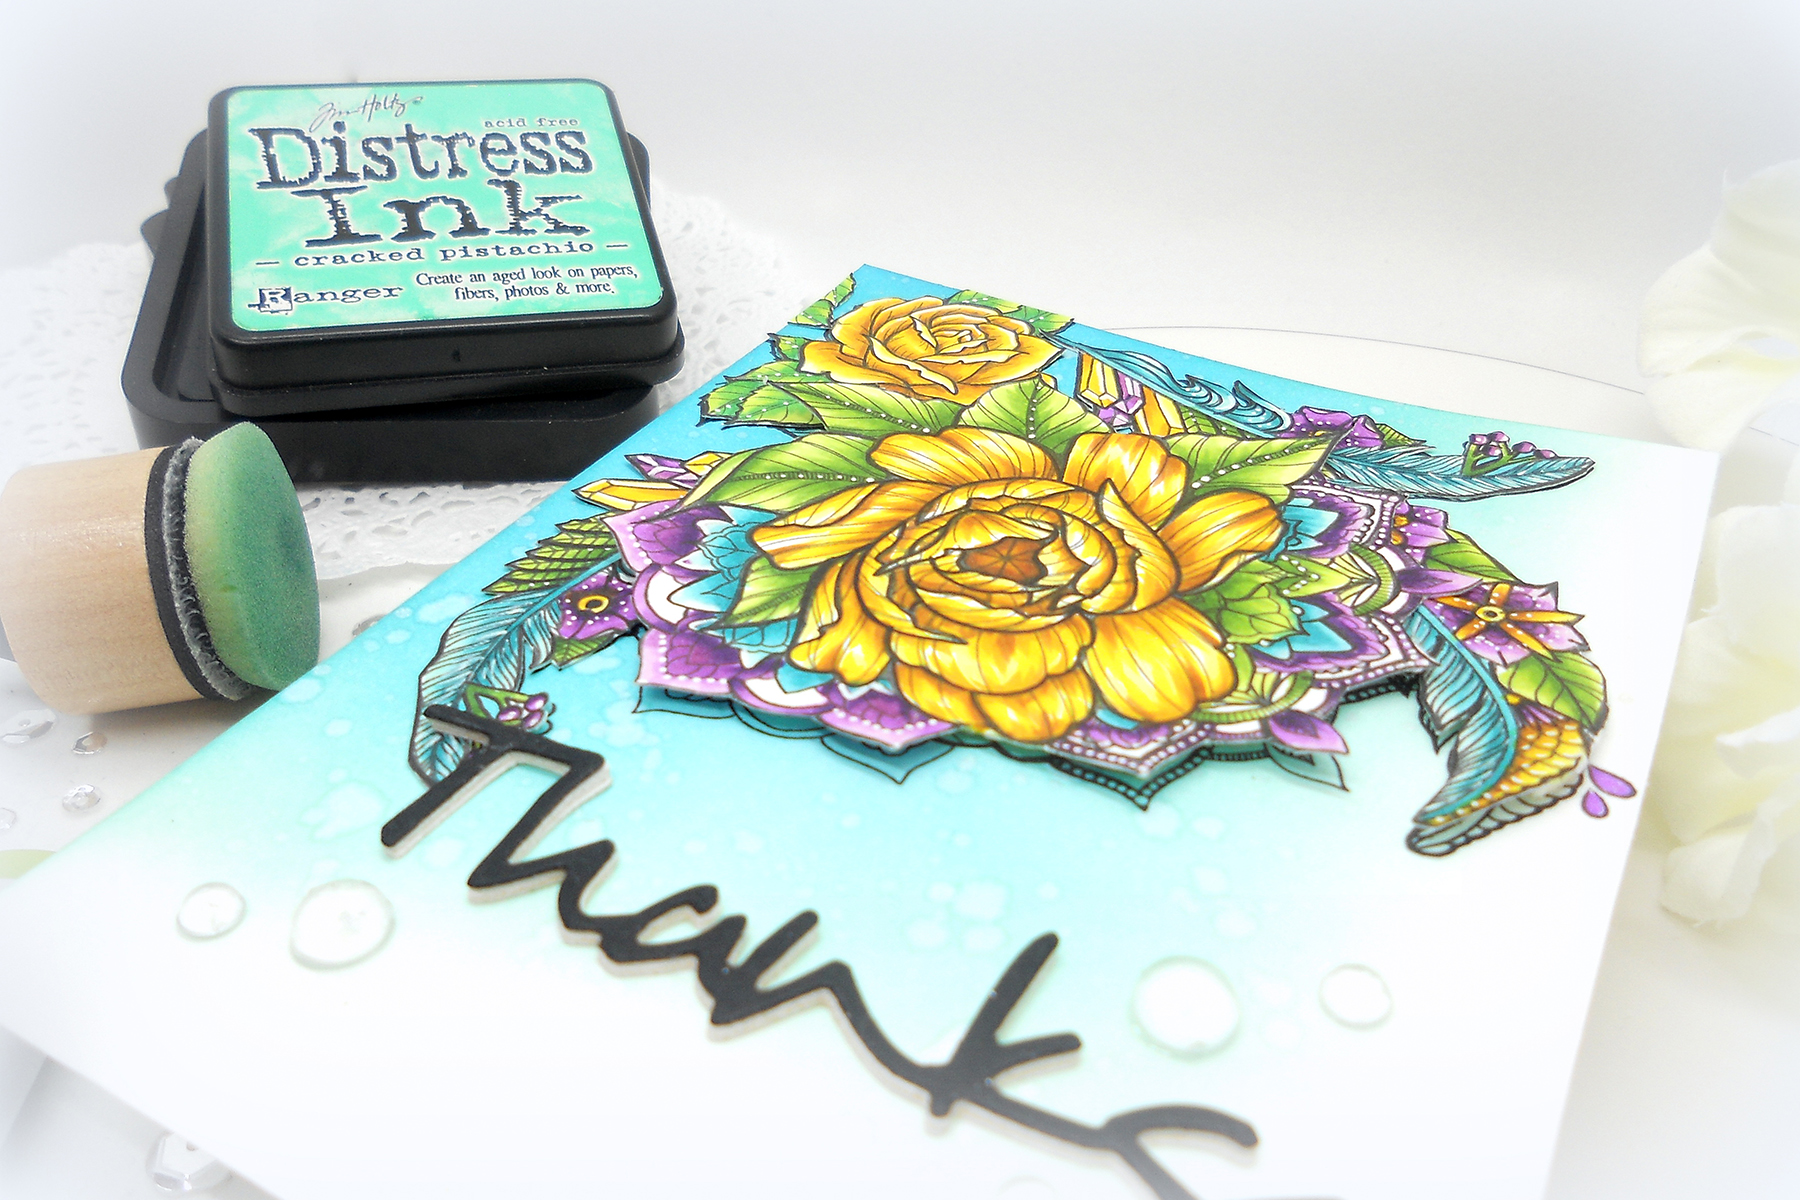
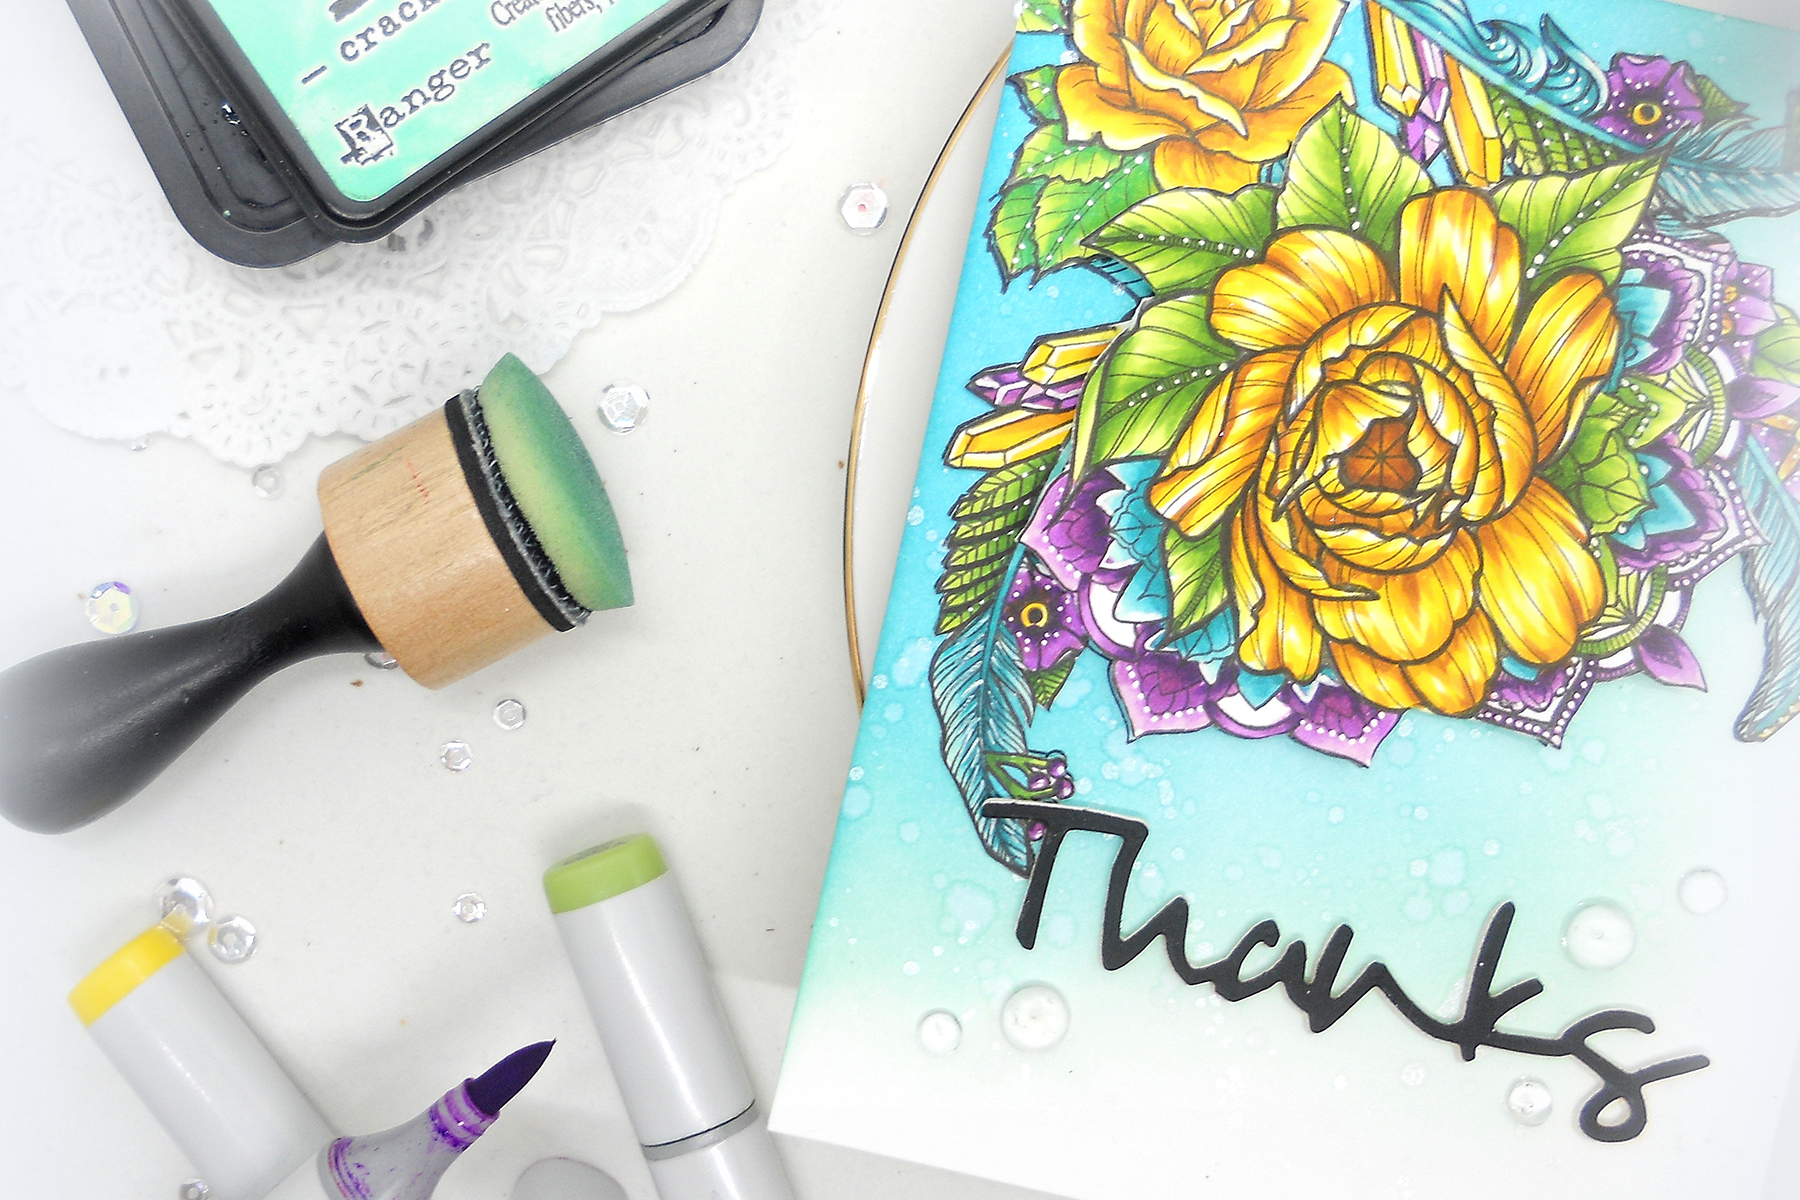
I started by stamping out all my images in Copic safe ink then I dove right into the coloring. I went with a golden yellow and then added purple since they are complimentary colors. I love purple with teal and bright green so those were easy additions to round out my color palette.

Video Friday | Feathers and Florals with Kelly Latevola for Spellbinders using Stephanie Low's Cool Vibes Designer Series SDS-099 Medium Peony, SDS-100 Feathers, SDS-098 Moon Flower, S4-563 Simply Said Phrase Set One #spellbinders #stamping #neverstopmaking #diecutting #handmadecard

Once the coloring was finished I put the coordinating dies in place and ran them though my Platinum machine . I also die cut my Thanks sentiment out of black cardstock to tie in all the black outline stamping.

Video Friday | Feathers and Florals with Kelly Latevola for Spellbinders using Stephanie Low's Cool Vibes Designer Series SDS-099 Medium Peony, SDS-100 Feathers, SDS-098 Moon Flower, S4-563 Simply Said Phrase Set One #spellbinders #stamping #neverstopmaking #diecutting #handmadecard

I set my images aside to create my background. I used several distress ink colors to create a gradient from the top left fading off to the bottom right. I did my signature water and perfect pearls splattered in the background to add interest. I arranged my flowers and feathers and began adhering them to my background using both flat and dimensional adhesive. A few clear droplets completed the card . . . or so I thought.

VIDEO TUTORIAL

Watch video tutorial below or on Youtube to learn how to make this project: Like I said in the video there definitely wasn't anything "wrong" with the first card. It just felt a bit disjointed to me. Which version is your favorite?

Video Friday | Feathers and Florals with Kelly Latevola for Spellbinders using Stephanie Low's Cool Vibes Designer Series SDS-099 Medium Peony, SDS-100 Feathers, SDS-098 Moon Flower, S4-563 Simply Said Phrase Set One #spellbinders #stamping #neverstopmaking #diecutting #handmadecard

Spellbinders Supplies:

Other Supplies:

Intense Black Ink, Neenah 80lb Solar White Card Stock, Black Card Stock Distress Ink: Cracked Pistachio, Peacock Feathers, and Mermaid Lagoon Ink Blending Tool, Ranger Craft Mat, Copic Markers, Y02, Y08, YR24, E99, E57, YG01, YG03, YG17, YG67, G05, G17, BG11, BG45, BG49, V01, V04, V06, V09, Clear Wink of Stella, Clear Droplets, Scotch Foam Tape, Perfect Pearls, #2 Round Brush, White Gel Pen, EK Success Journaling Pen Tombow Mono Multi Glue, Thanks so much for stopping in! I hope this gave you a little bit of faith that everyone starts and stops again. It happens to all of us. As long as you end up with something YOU love in the end that's all that matters! Have a great weekend!

Leave a comment

Your email will not be published. Please note, comments need to be approved before they are published.


  • HOW TO USE PRESS PLATES WITH MULTIPLE INKS | CREATE YOUR WAY HOLIDAY, BPR-050, BPI-049, BPI-003

    BP-001

    How to Use Multiple Ink Colors with BetterPress Registration Plates

    Create a colorful Christmas card while learning how to apply multiple ink colors to BetterPress registration plates. In this detailed tutorial, you’ll use the Festive Evergreens Registration Press + Foil Plate & Die Set to press a holiday doorway scene in three colors, combining the built-in registration system with a simple masking technique. The registration template positions the coordinating plates so each layer aligns with...

  • How to Make a Colorful Foiled Butterfly Card with Glimmer II

    BP-351

    How to Make a Colorful Foiled Butterfly Card with Glimmer II

    Combine hot foiling, alcohol-marker coloring, ink blending, and dimensional shaping to create a colorful butterfly card that sparkles from every angle. In this step-by-step tutorial, you’ll learn how to foil detailed butterflies and a floral background with the Glimmer II Hot Foil System, add bold color, and shape the butterfly wings for a realistic raised effect. The Bright Butterflies and Thanks In Bloom Press +...

  • How to Heat Emboss with BetterPress Plates: Snowman Christmas Card

    BP-001

    How to Heat Emboss with BetterPress Plates: Snowman Christmas Card

    BetterPress plates can do more than create letterpress impressions and hot-foiled designs. In this detailed Christmas card tutorial, you’ll learn how to apply clear sticky ink to a BetterPress plate and use white embossing powder to produce a crisp, heat-embossed snowflake background. The tutorial also covers pressing and die cutting a sentiment, assembling three detailed snowmen, and arranging the finished elements on an A2 card....