Video Friday | Paper Diorama / Figurine Holder with Olga
on February 23, 2018

Video Friday | Paper Diorama / Figurine Holder with Olga

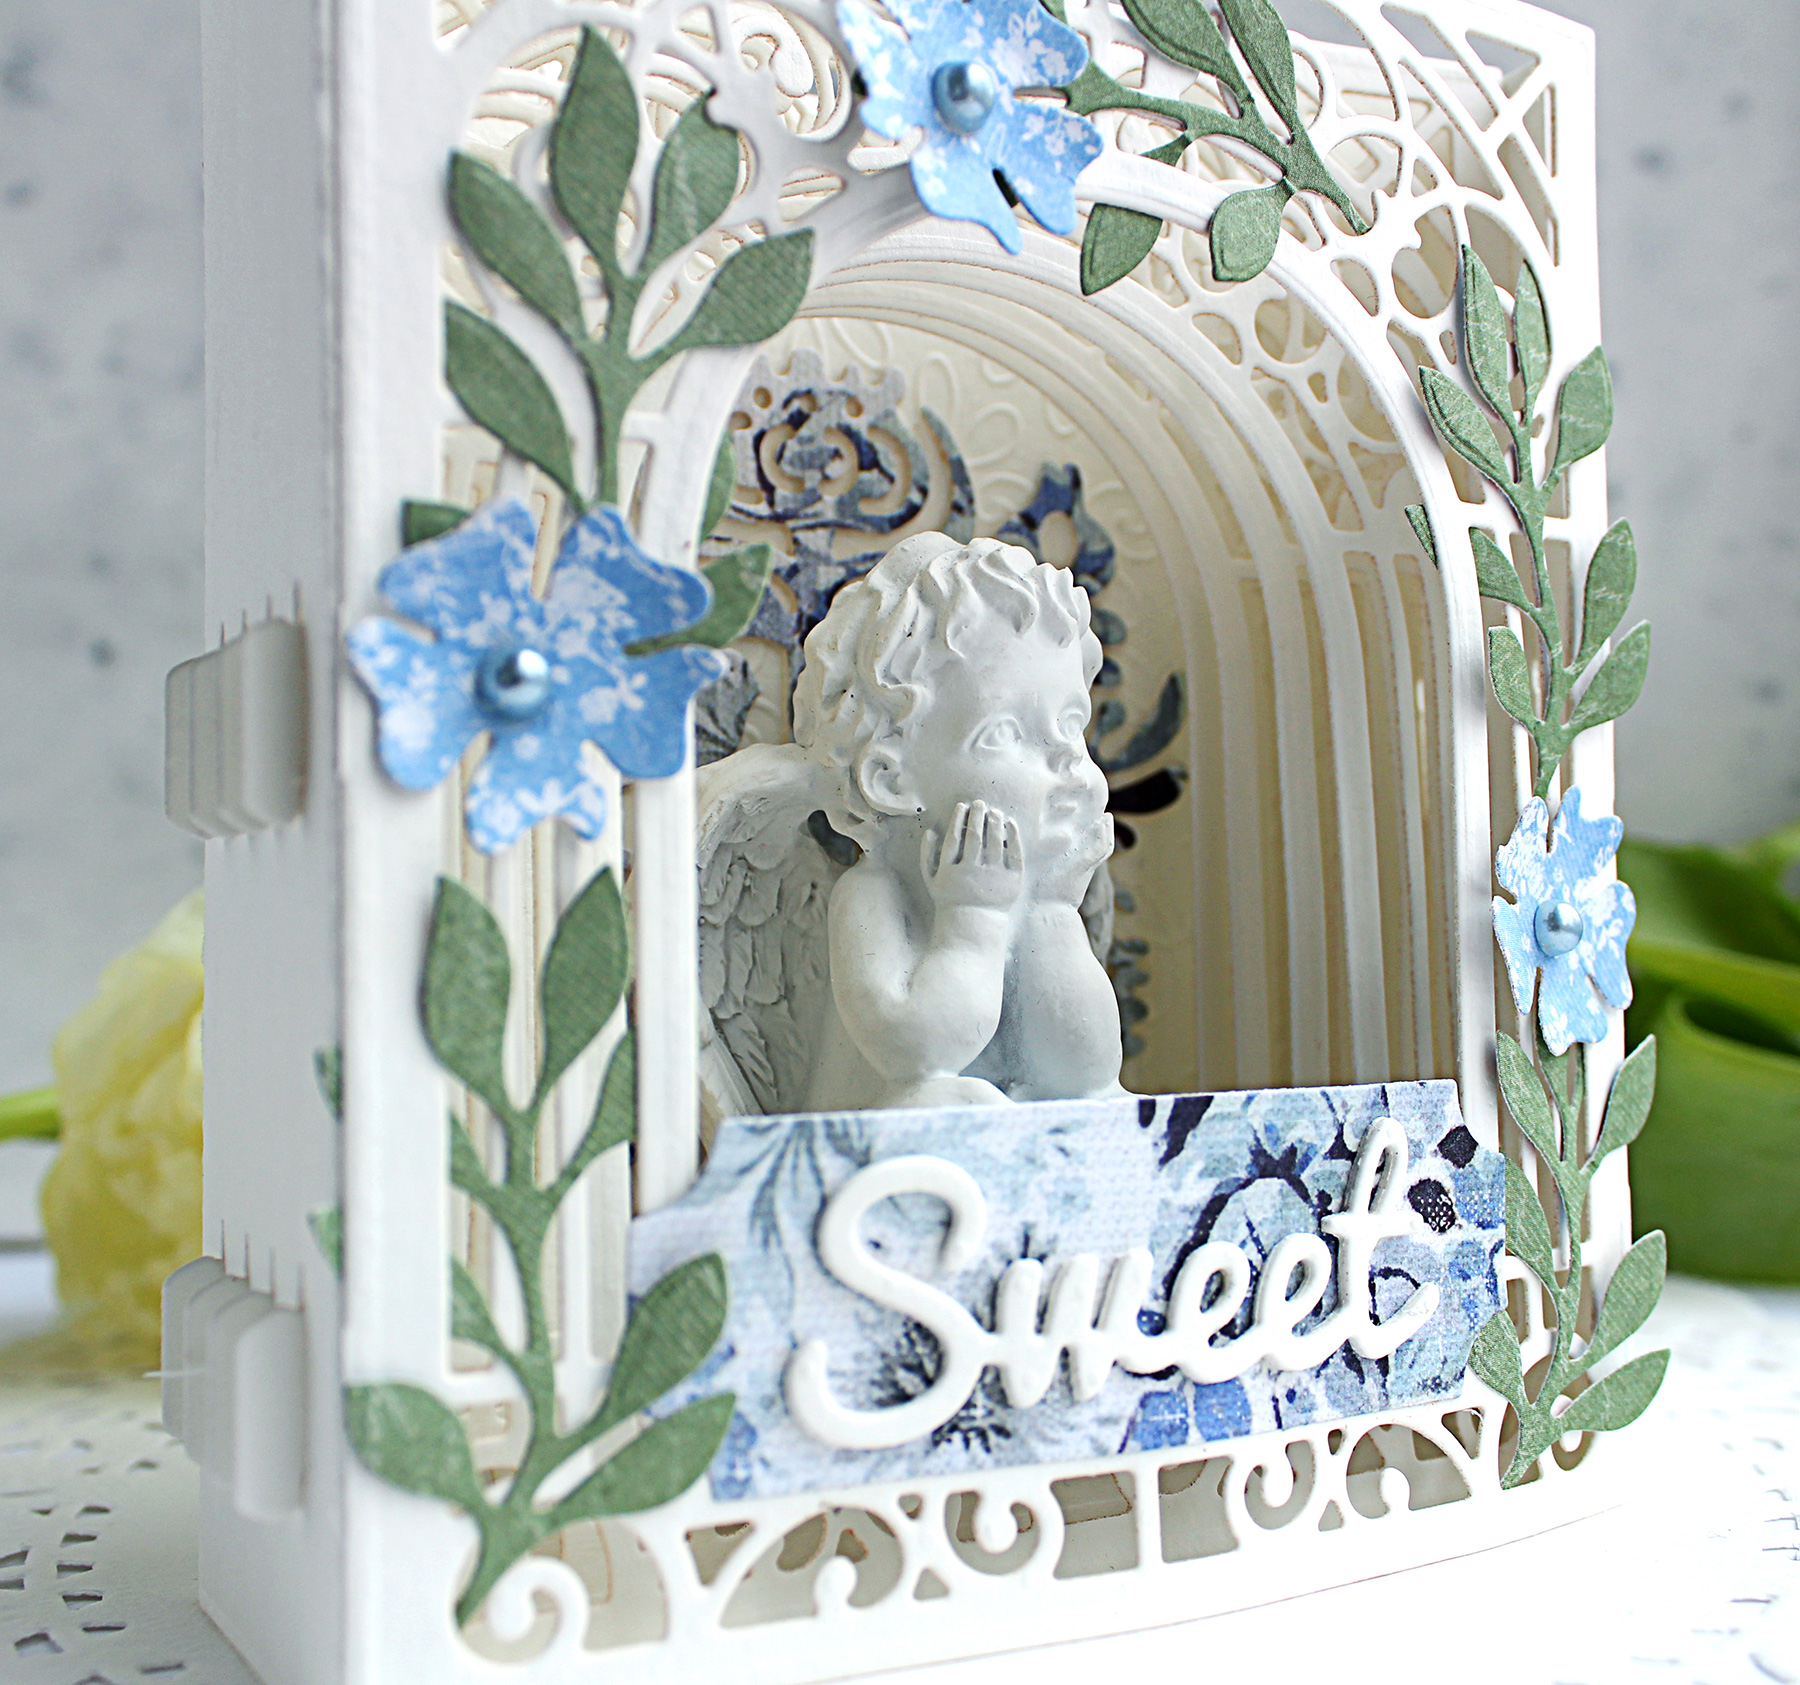
Hi there, it's Olga and I am back with another 3D project tutorial. I have literally gasped when I first saw Becca Feeken's new 3D card dies . This is the type of dies that I have been waiting for - the one that allows you to easily create a diorama or a shadow box template just by cutting out all elements and then assembling it. My favorite die set from this collection is Grand Arch 3D Card just because it has a simple rectangle for an outline which makes it super versatile and suitable for all styles.
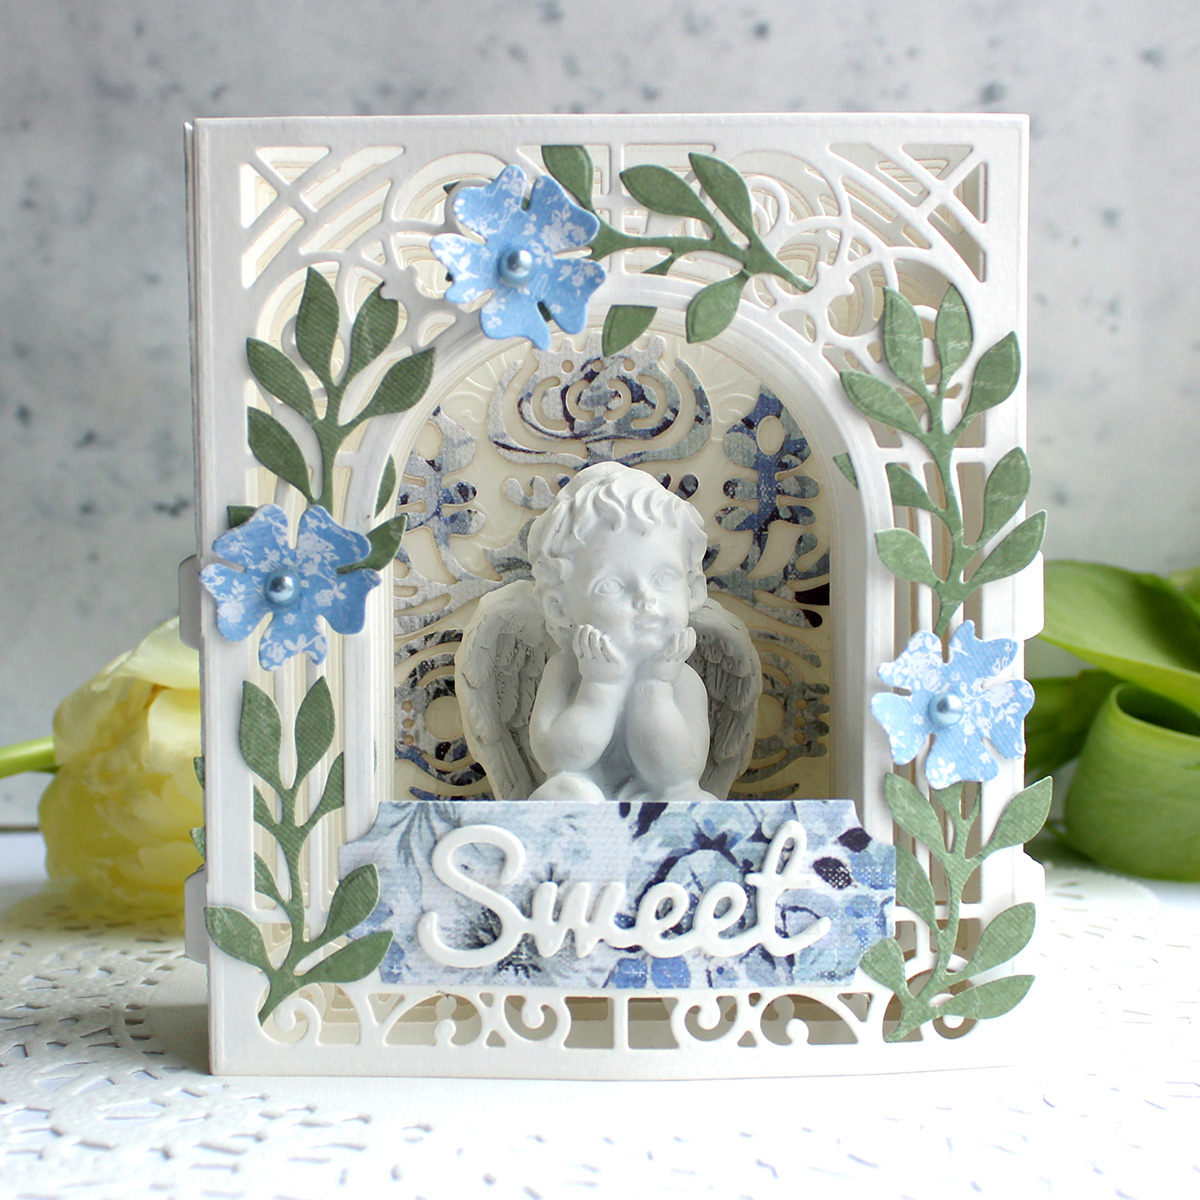
Video Friday | Paper Diorama / Figurine Holder with Olga using S3-303 Little Plants, S4-563 Phrase Set One, S4-883 Nordic Tree, S5-338 Wreath Elements, S6-138 Grand Arch 3D Card, SES-013 Flourish Stitch #spellbinders #diecutting

I have used this gorgeous die set to create a diorama that holds a plaster figurine. You could also place any other small things inside like a pot with a succulent or a cactus, a tiny vase with real or artificial flowers or any other treasured memorabilia.

Video Friday | Paper Diorama / Figurine Holder with Olga using S3-303 Little Plants, S4-563 Phrase Set One, S4-883 Nordic Tree, S5-338 Wreath Elements, S6-138 Grand Arch 3D Card, SES-013 Flourish Stitch #spellbinders #diecutting

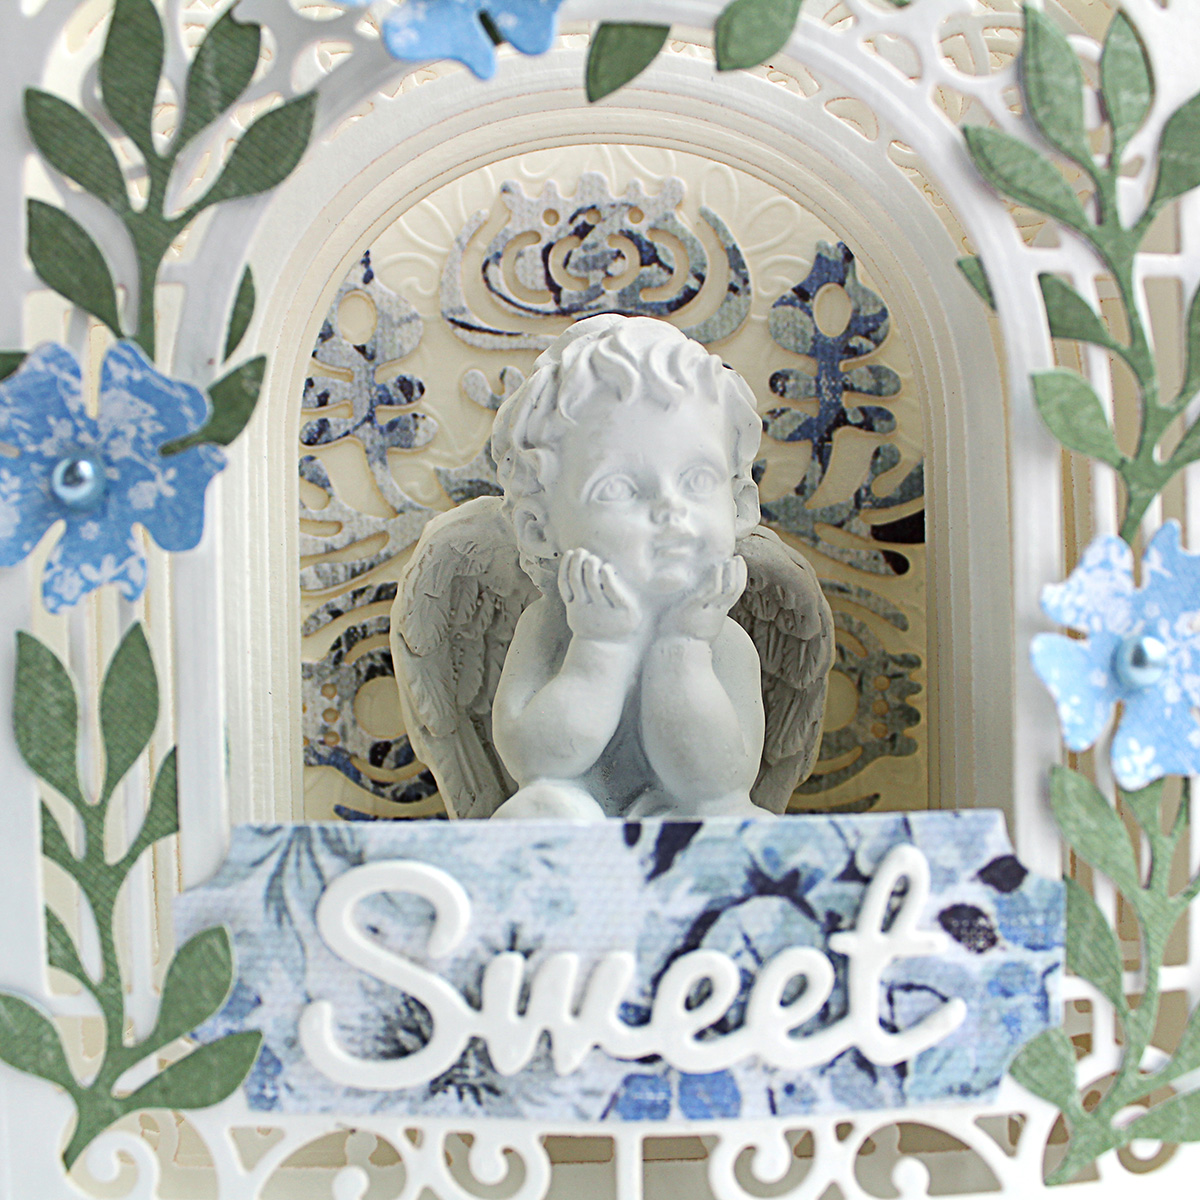
I have also used some other Spellbinders dies that coordinate great with the 3D card template - the gorgeous Nordic Tree made a perfect background and it fits right inside the arch! I combined the flowers and leaves from different sets to twirl around the trellis and I finally added a die cut sentiment to a label and placed it at the bottom of the arch.

Video Friday | Paper Diorama / Figurine Holder with Olga using S3-303 Little Plants, S4-563 Phrase Set One, S4-883 Nordic Tree, S5-338 Wreath Elements, S6-138 Grand Arch 3D Card, SES-013 Flourish Stitch #spellbinders #diecutting

This project might look super complicated when you first see it - but I assure you it is much much easier to make than it seems because most of work is already done for you by the die creators and it is really just about die cutting and putting it together!

VIDEO TUTORIAL

Watch the video tutorial for the step by step guide on how to make this project. Watch below or on Youtube :

Spellbinders Supplies:

Other supplies:

300gsm watercolor paper by Canson, "Country Living" 6x6 paper pad by Maja Design, patterned paper sheet by Fab Scraps, plaster figurine. I hope you enjoyed today's project and got inspired! Thank you so much for visiting and if you have any questions I'll be happy to answer them! Have a beautiful and sweet weekend!

Leave a comment

Your email will not be published. Please note, comments need to be approved before they are published.


  • HOW TO USE PRESS PLATES WITH MULTIPLE INKS | CREATE YOUR WAY HOLIDAY, BPR-050, BPI-049, BPI-003

    BP-001

    How to Use Multiple Ink Colors with BetterPress Registration Plates

    Create a colorful Christmas card while learning how to apply multiple ink colors to BetterPress registration plates. In this detailed tutorial, you’ll use the Festive Evergreens Registration Press + Foil Plate & Die Set to press a holiday doorway scene in three colors, combining the built-in registration system with a simple masking technique. The registration template positions the coordinating plates so each layer aligns with...

  • How to Make a Colorful Foiled Butterfly Card with Glimmer II

    BP-351

    How to Make a Colorful Foiled Butterfly Card with Glimmer II

    Combine hot foiling, alcohol-marker coloring, ink blending, and dimensional shaping to create a colorful butterfly card that sparkles from every angle. In this step-by-step tutorial, you’ll learn how to foil detailed butterflies and a floral background with the Glimmer II Hot Foil System, add bold color, and shape the butterfly wings for a realistic raised effect. The Bright Butterflies and Thanks In Bloom Press +...

  • How to Heat Emboss with BetterPress Plates: Snowman Christmas Card

    BP-001

    How to Heat Emboss with BetterPress Plates: Snowman Christmas Card

    BetterPress plates can do more than create letterpress impressions and hot-foiled designs. In this detailed Christmas card tutorial, you’ll learn how to apply clear sticky ink to a BetterPress plate and use white embossing powder to produce a crisp, heat-embossed snowflake background. The tutorial also covers pressing and die cutting a sentiment, assembling three detailed snowmen, and arranging the finished elements on an A2 card....