Video: Silhouetted Images Against Inked and Stenciled Backgrounds with Nichol
on November 23, 2018

Video: Silhouetted Images Against Inked and Stenciled Backgrounds with Nichol

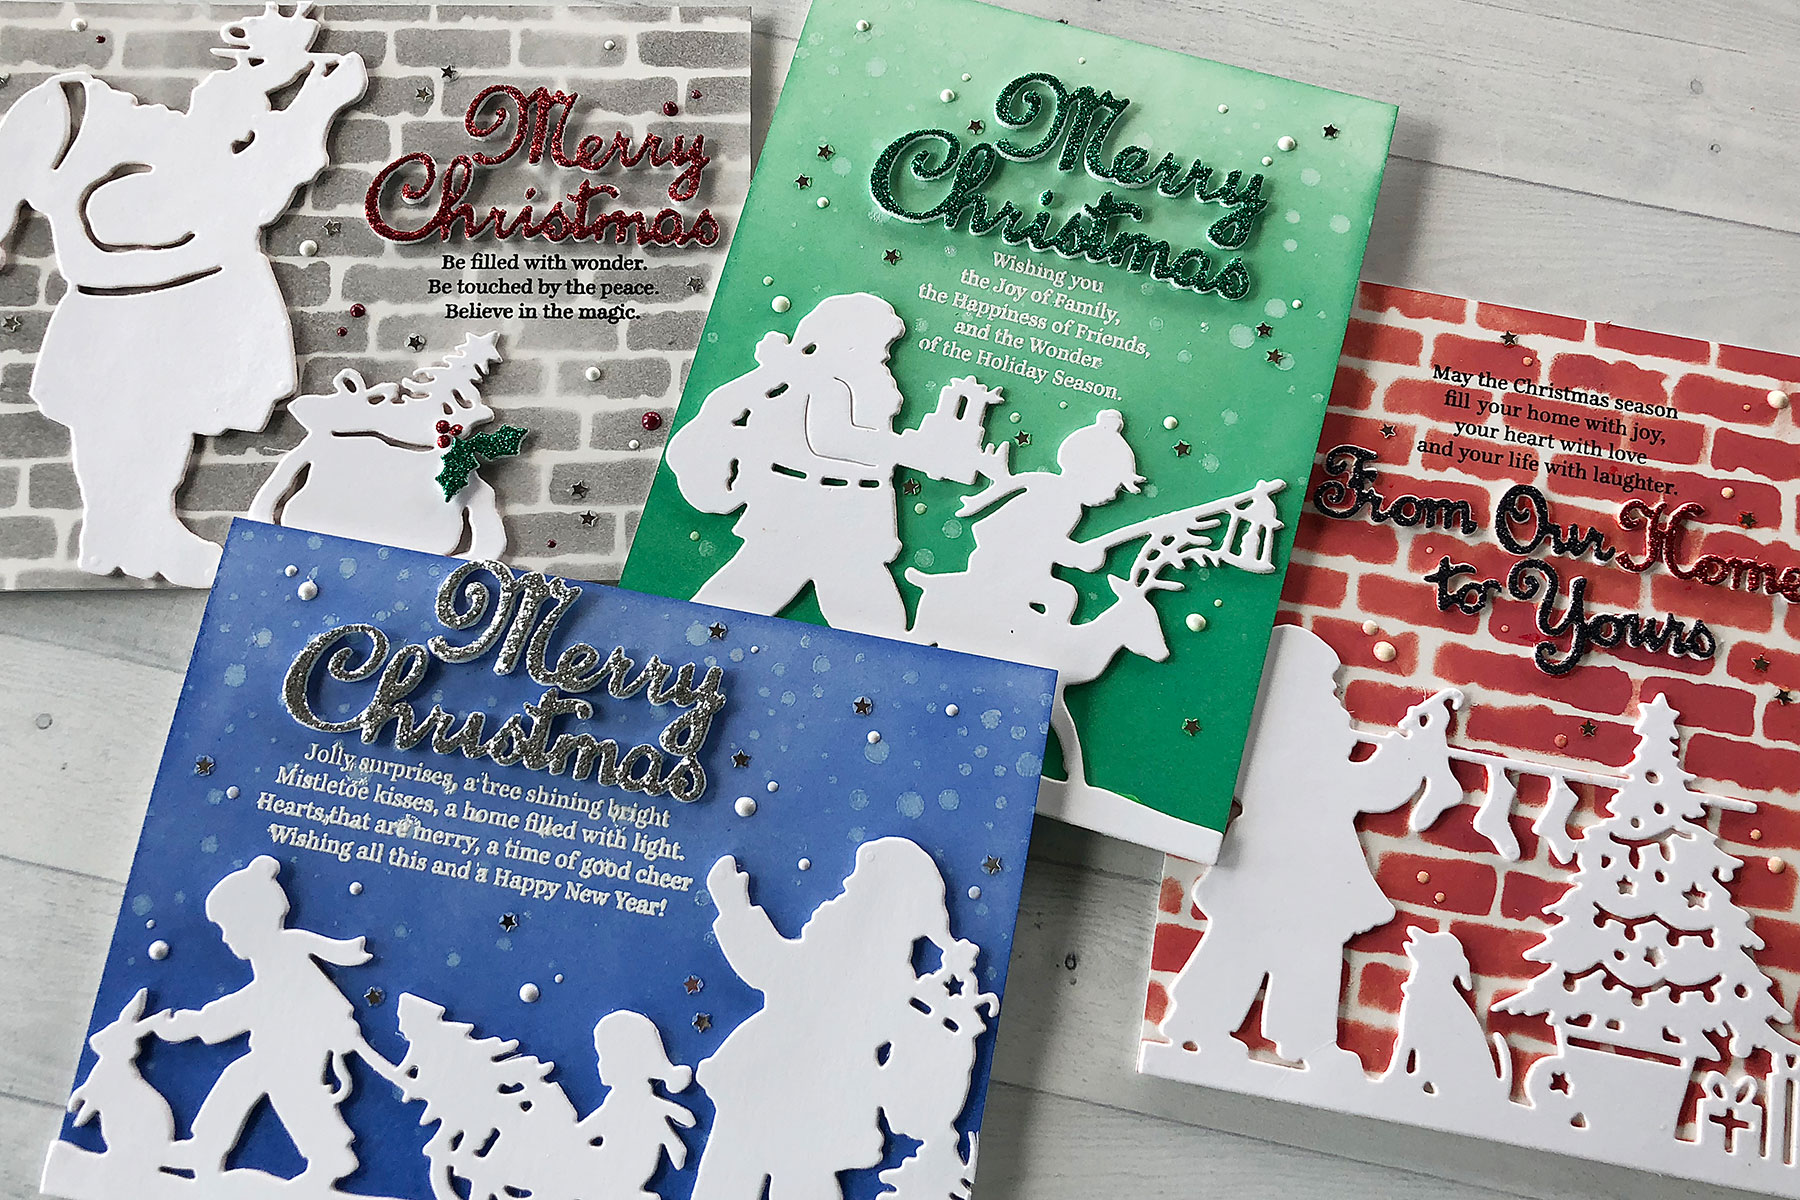
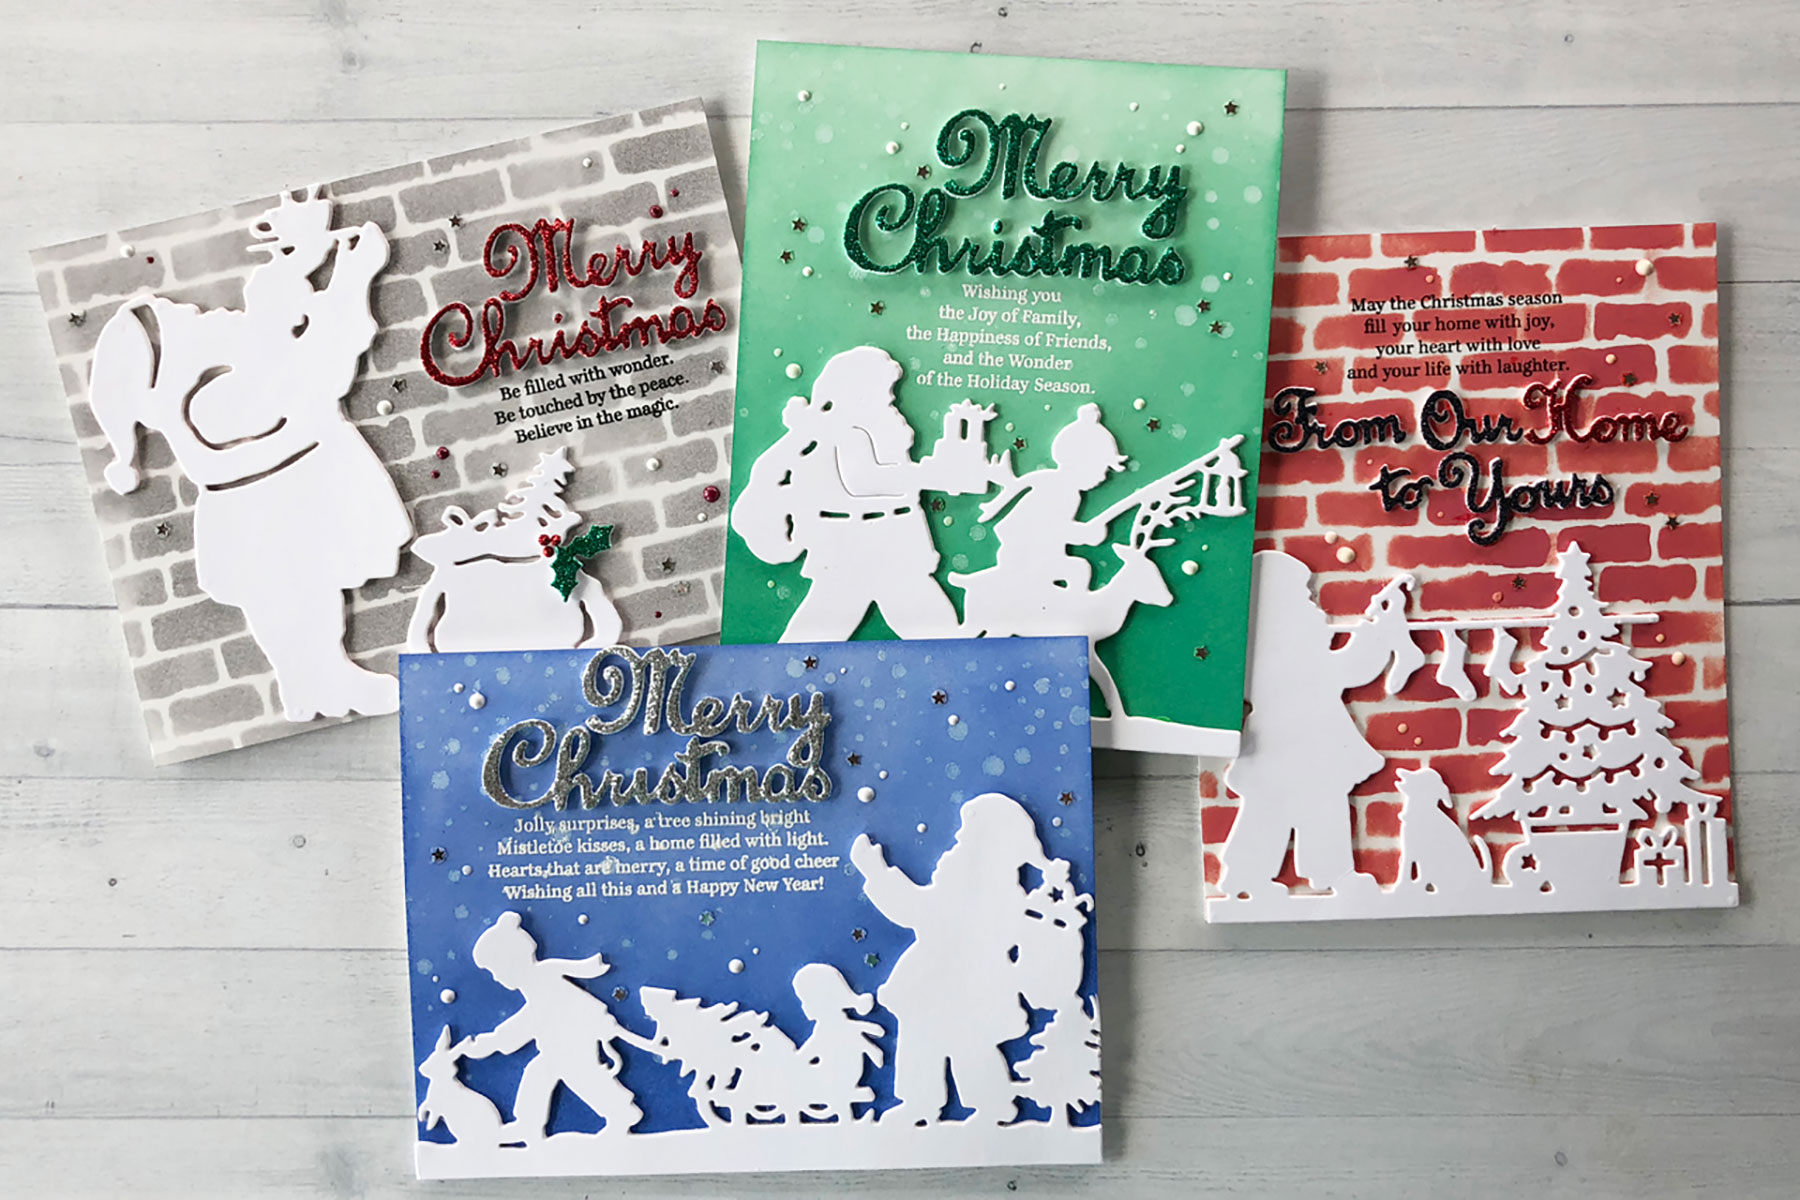
Hello everyone. This is Nichol Spohr and I’m so thrilled to be sharing a set of four Christmas cards with dies from the A Sweet Christmas Collection by Sharyn Sowell. Simple inking and stenciling provides the perfect backdrop for these detailed silhouette dies! Die cut greetings paired with a stamped sentiment provides the perfect accompaniment to the design.
Video: Silhouetted Images Against Inked and Stenciled Backgrounds by Nichol Spohr for Spellbinders

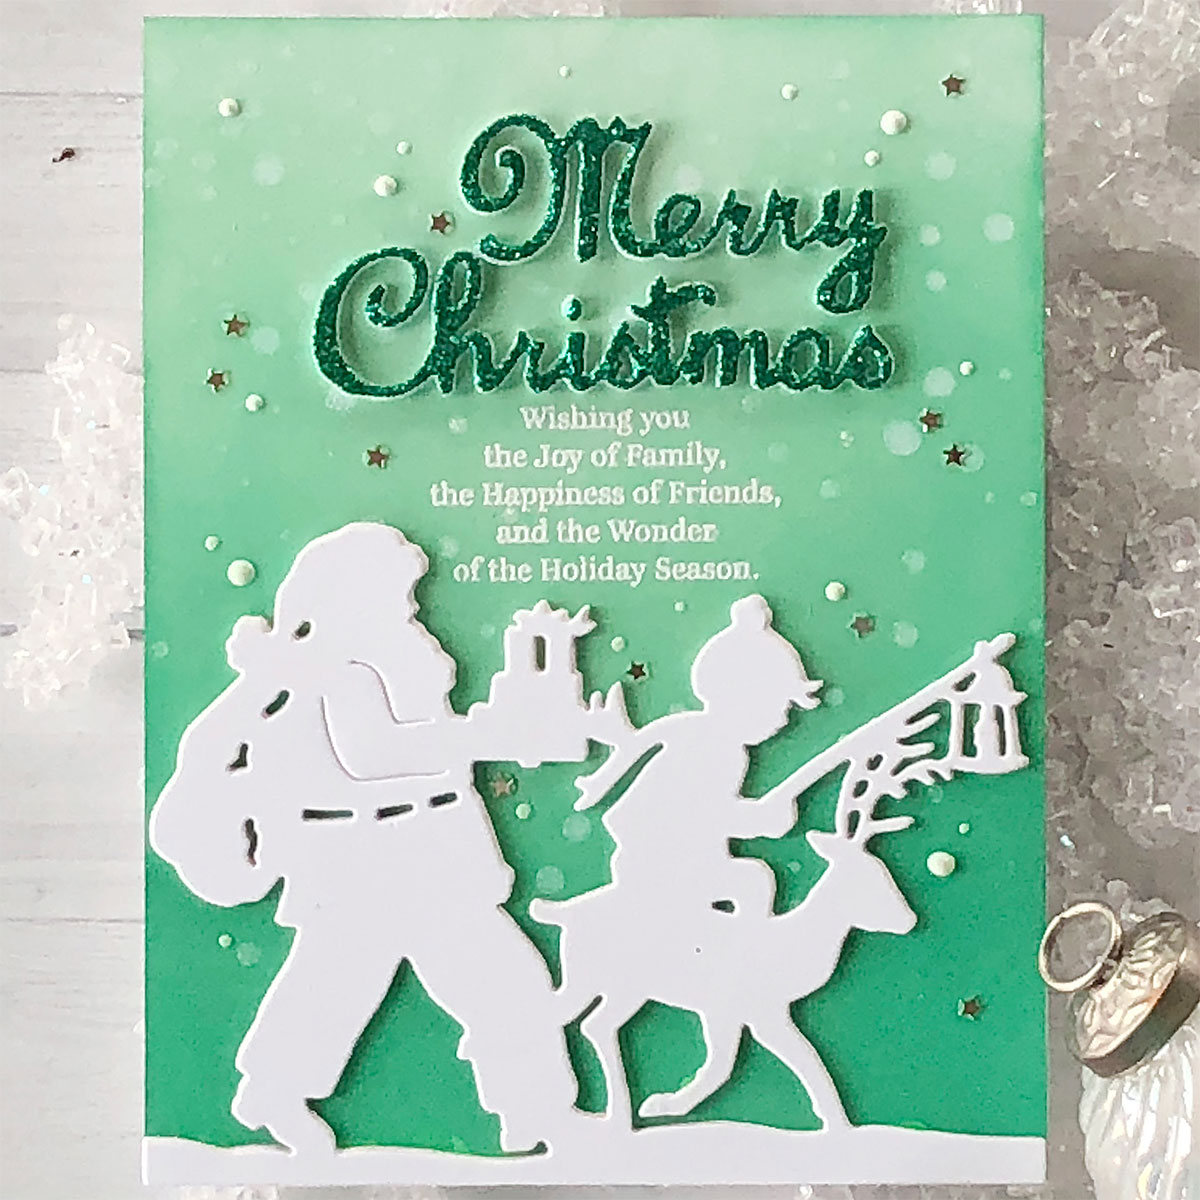
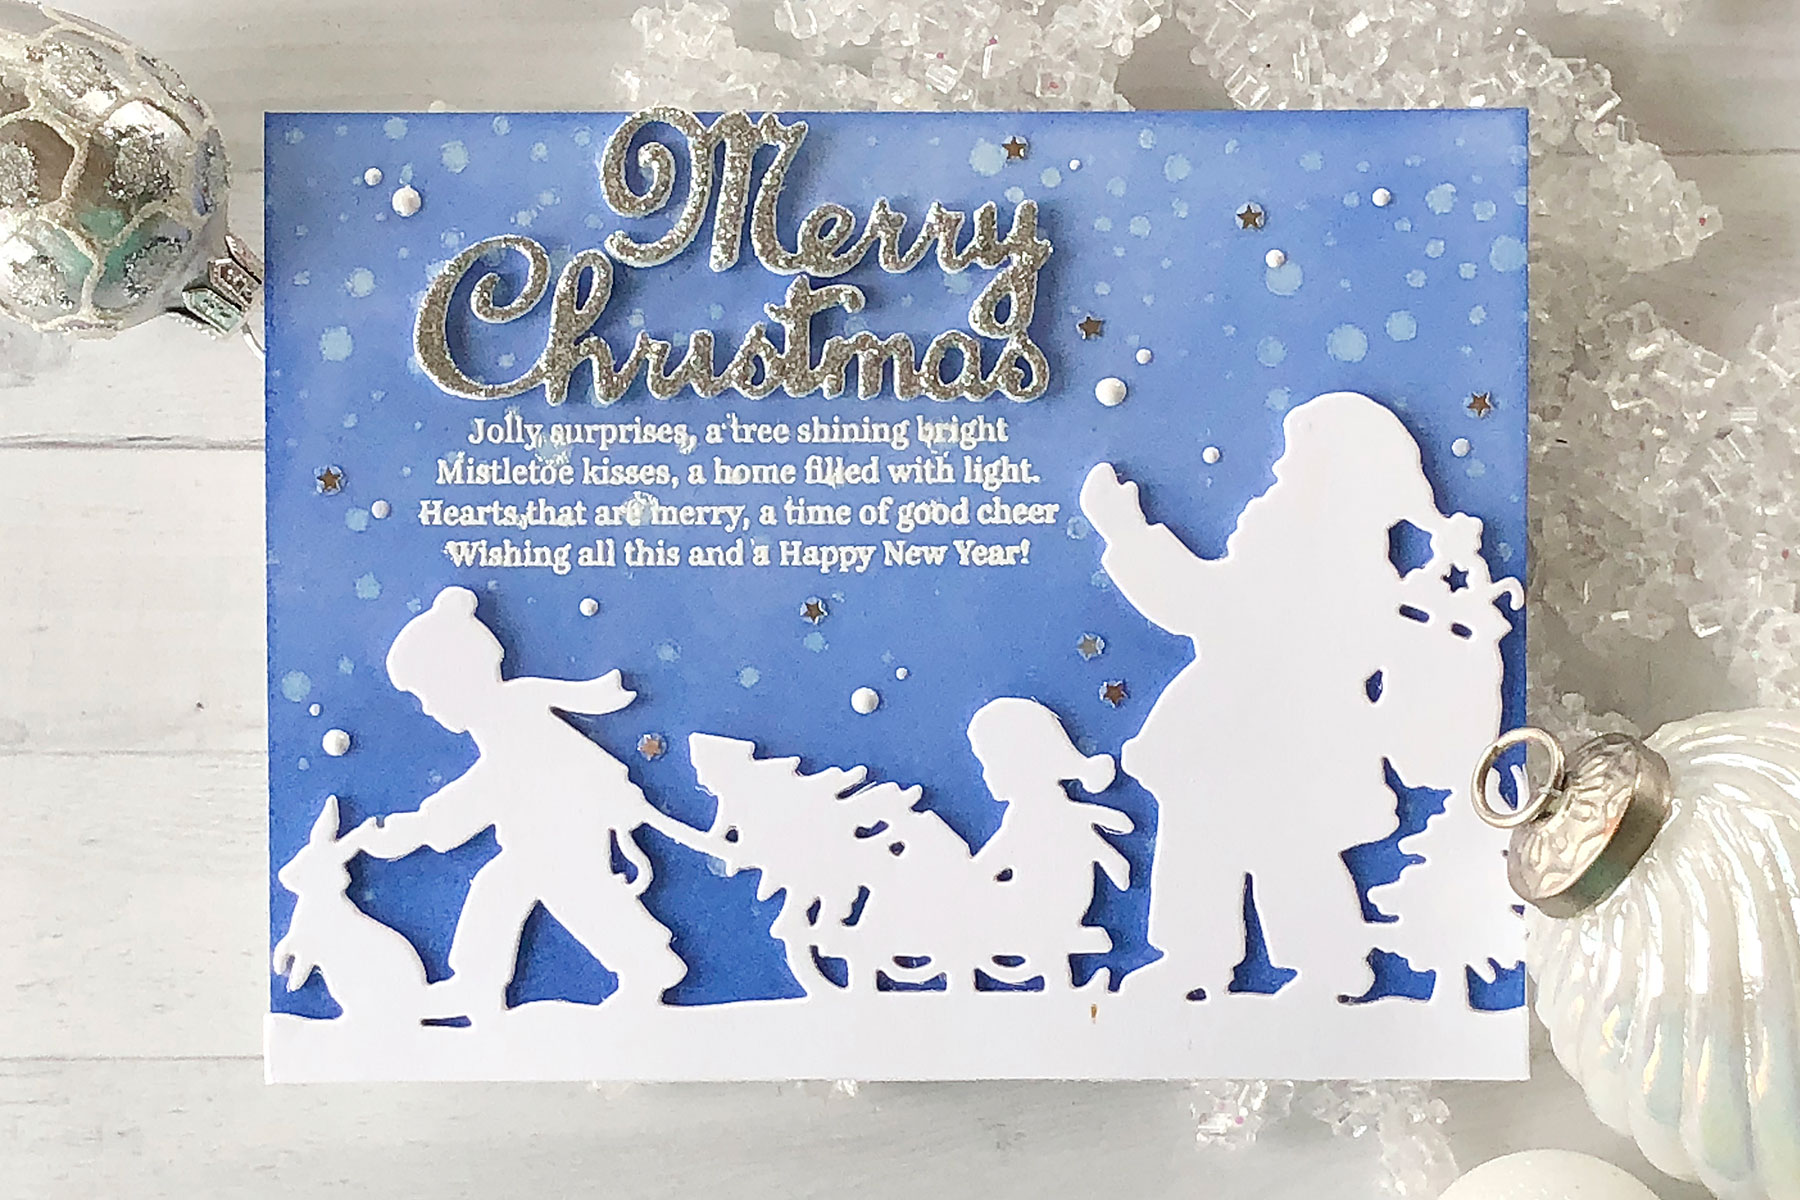
The backgrounds for the first two cards were created by applying Lucky Clover and Blueprint Sketch Distress Oxide Inks to Bristol Smooth Cardstock with Ink Blending Tools. Stenciling was applied over the inked backgrounds with white pigment ink and allowed to air dry. You can speed up this step with a heat tool, if you prefer. The Lighting The Way and Santa Parade Dies were each die cut three times and glued one on top of another before being adhered along the bottom edge of each background. The slight dimension from applying one on top of another helps the silhouetted image pop off the background.

Video: Silhouetted Images Against Inked and Stenciled Backgrounds by Nichol Spohr for Spellbinders

Sentiments phrases were stamped on the backgrounds with clear embossing ink and heat embossed with white embossing powder. “Merry Christmas” was die cut from glittered cardstock adhered to Fun Foam with Stick It Adhesive and adhered in place on both cards.

Video: Silhouetted Images Against Inked and Stenciled Backgrounds by Nichol Spohr for Spellbinders

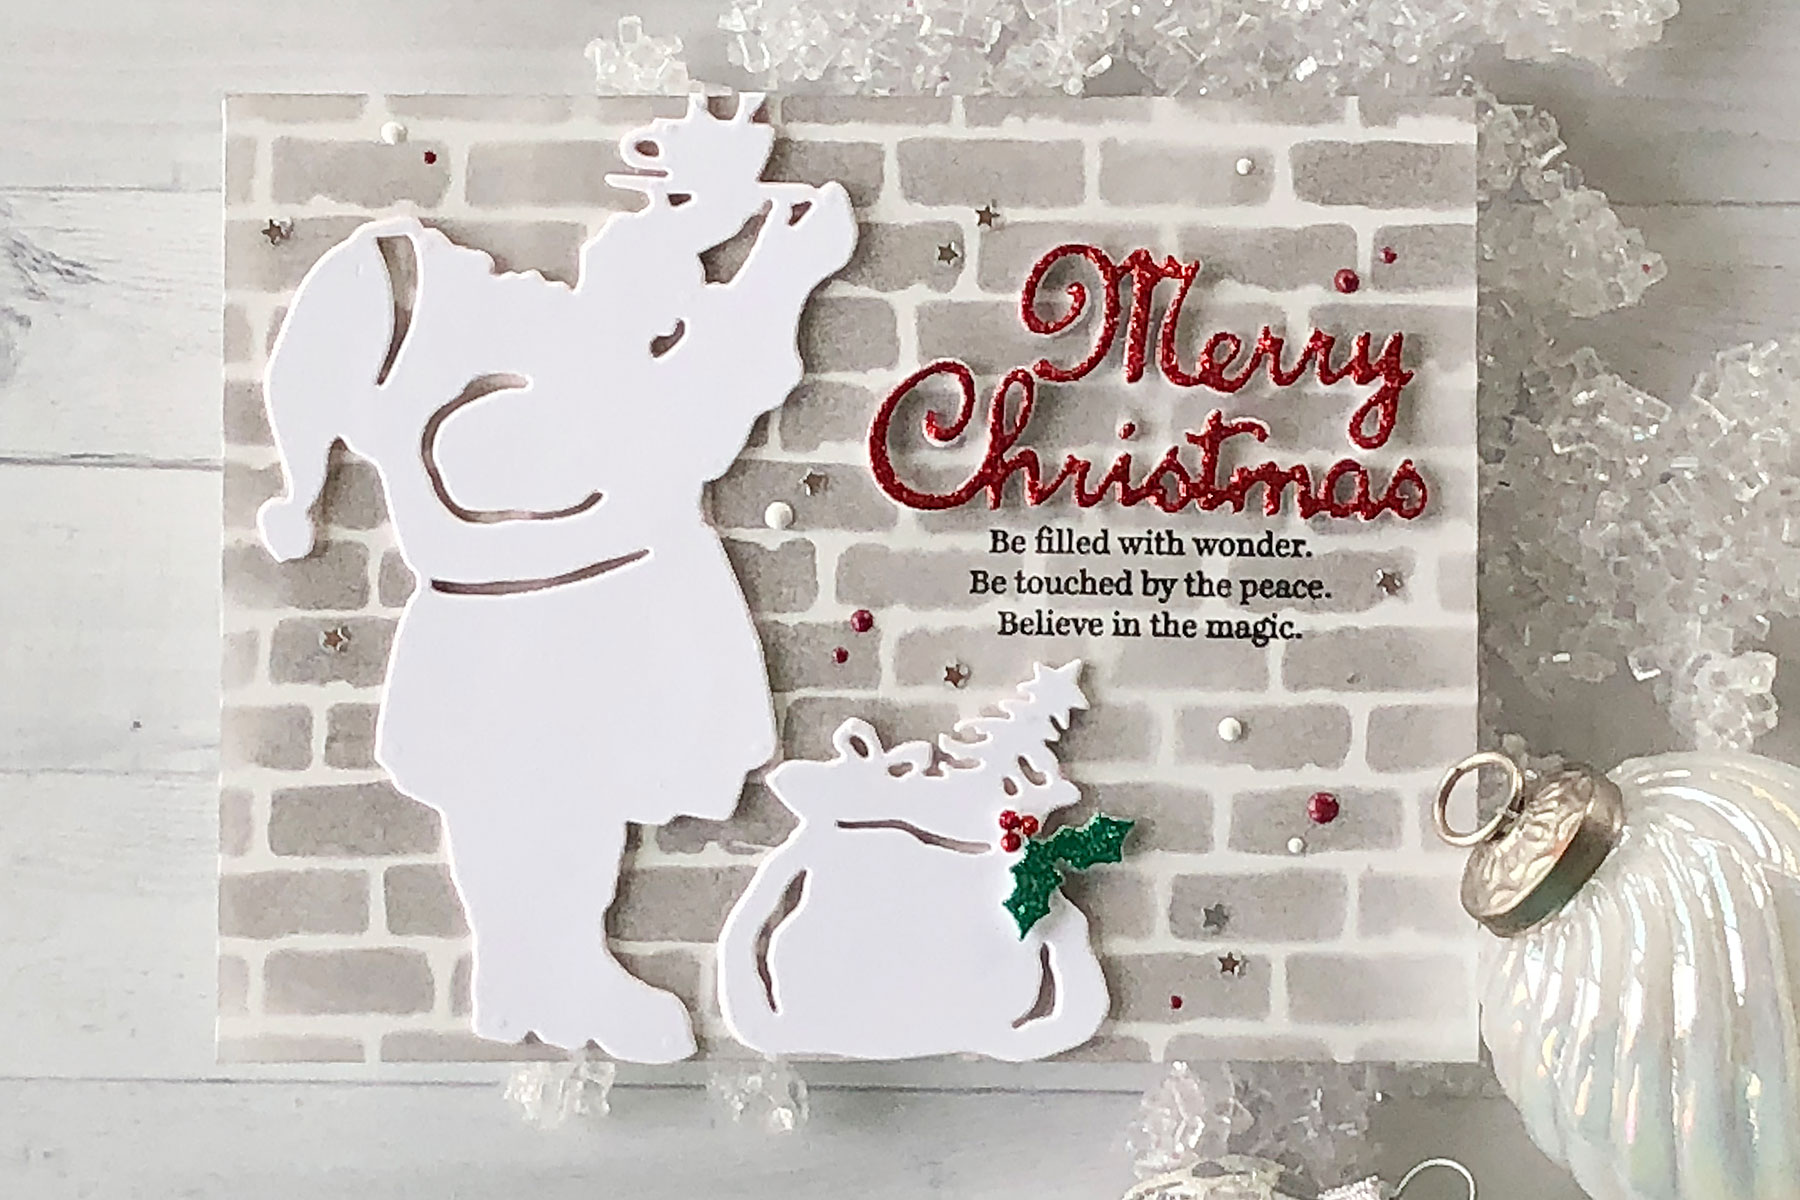
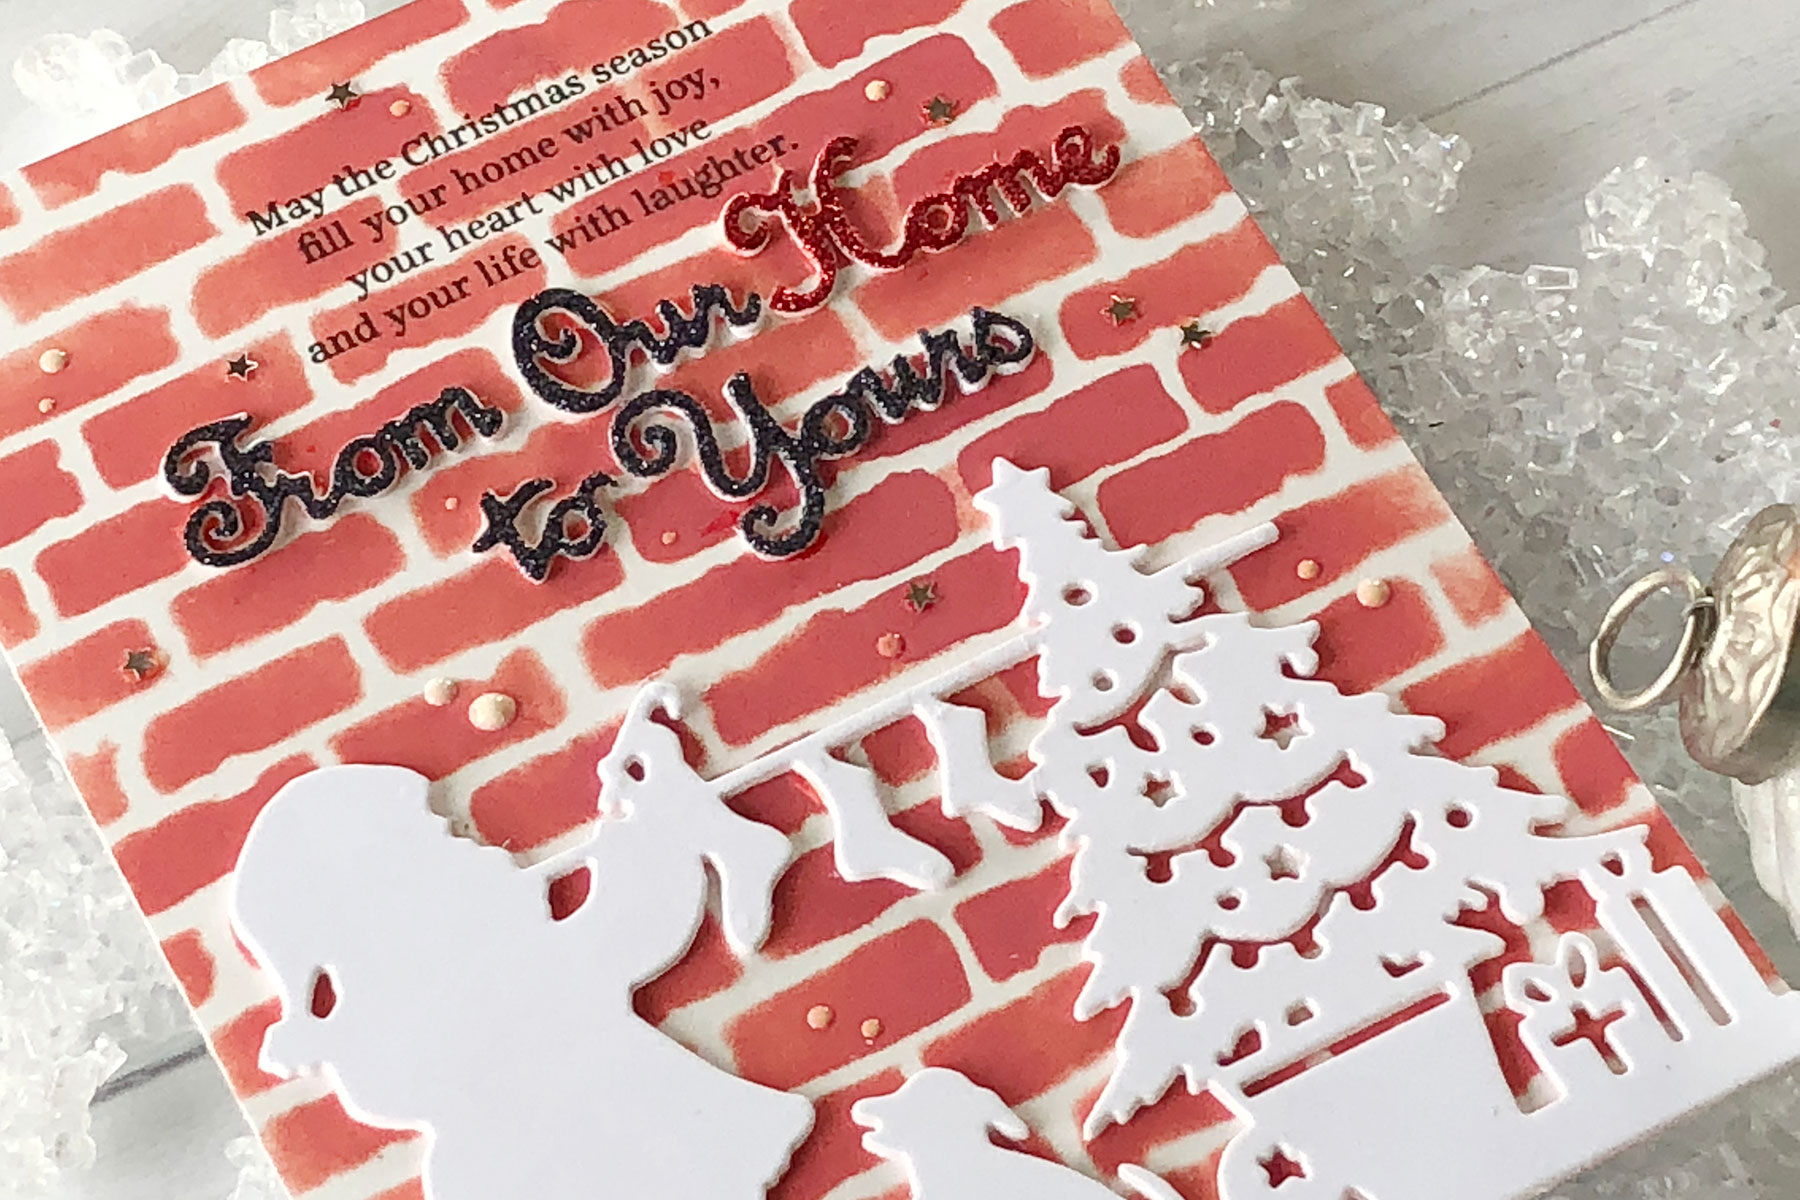
A brick stencil was inked on the next two backgrounds using Fired Brick and Hickory Smoke Distress Inks.

Video: Silhouetted Images Against Inked and Stenciled Backgrounds by Nichol Spohr for Spellbinders

The Hanging Stockings and From Our Home To Yours Dies were die cut three times each, glued one on top of another, and adhered to each brick background as shown. “Merry Christmas” and “From Our Home To Yours” were die cut from glittered cardstock adhered to Fun Foam with Stick It Adhesive and glued in place on both cards.

Video: Silhouetted Images Against Inked and Stenciled Backgrounds by Nichol Spohr for Spellbinders

All four designs were finished with Nuvo Crystal Drops and a scattering of silver mini star confetti.

Video: Silhouetted Images Against Inked and Stenciled Backgrounds by Nichol Spohr for Spellbinders

VIDEO TUTORIAL

Watch video tutorial below or on Youtube to learn how to make this project:

Spellbinders Supplies:

Other supplies:

Bristol Smooth Cardstock; Neenah Smooth Cardstock; Simon Says Stamp Crimson Glitter, Emerald Glitter, Black Cardstock, Silver Cardstock; Mama Elephant Season’s Wishes Stamp Set, Mama Elephant Peaceful Wishes Stamp Set; Simon Says Stamp Falling Snow Stencil; Tim Holtz Bricked Stencil; Ranger Tim Holtz Lucky Clover, Fired Brick, Blueprint Sketch Distress Oxide Ink, Tim Holtz Hickory Smoke Distress Ink, Lawn Fawn Yeti White Pigment Ink, Tsukineko Versamark Ink, Versafine Onyx Black Ink; Lawn Fawn White Embossing Powder; Tonic Nuvo Crystal Drops in Gloss White and Autumn Red; Pretty Pink Posh Silver Mini Star Confetti; Fun Foam; Stick It Adhesive I hope this has inspired you to try silhouetted Christmas images against inked and stenciled backgrounds. Thank you so much for joining me today and I look forward to sharing more die cutting ideas with you soon!

Video: Silhouetted Images Against Inked and Stenciled Backgrounds by Nichol Spohr for Spellbinders

Leave a comment

Your email will not be published. Please note, comments need to be approved before they are published.

1 comment

Patricia Wilson,

Wow! So very cute! You make me want to buy all those dies. Thanks for all you do!


  • How to Heat Emboss with BetterPress Plates: Snowman Christmas Card

    BP-001

    How to Heat Emboss with BetterPress Plates: Snowman Christmas Card

    BetterPress plates can do more than create letterpress impressions and hot-foiled designs. In this detailed Christmas card tutorial, you’ll learn how to apply clear sticky ink to a BetterPress plate and use white embossing powder to produce a crisp, heat-embossed snowflake background. The tutorial also covers pressing and die cutting a sentiment, assembling three detailed snowmen, and arranging the finished elements on an A2 card....

  • How to Use the Reverse Foiling Technique on a Colorful Window Card

    BP-001

    How to Use the Reverse Foiling Technique on a Colorful Window Card

    Create a bright, modern card while learning how to use the negative foil left behind after hot foiling. In this step-by-step tutorial, you’ll foil the detailed Windows with a View design, use a solid plate to reverse foil the remaining image, and turn selected windows into dimensional embellishments. An ink-blended striped background, BetterPress sentiment, and sparkling gems complete the design. This project is ideal for...

  • CLEAN & SIMPLE CHRISTMAS CARD WITH FROSTY SKATES, S5-1566, BP-393, S4-1292

    BP-393

    Clean and Simple Christmas Card with Frosty Skates

    Give the Frank Garcia Christmas Blush Collection a contemporary twist with this clean and simple Christmas card. Learn how to assemble pastel ice skates, add winter foliage, and finish the design with a hot-foiled sentiment and silver gems.