Wine Country Inspiration | Uncork & Unwind Card with Michelle Short
on August 25, 2018

Wine Country Inspiration | Uncork & Unwind Card with Michelle Short

Hello there! This is Michelle Short and I am delighted to be back today to share another card using the fabulous Wine Country collection by Stacey Caron. In case you missed my post yesterday, you can see that here. Today I am using two more sets from the collection.

Spellbinders Wine Country collection by Stacey Caron - Inspiration | Uncork & Unwind Card with Michelle Short featuring S5-346 Time for Wine, SDS-135 Barrel of Sentiments,  PE-100 Platinum 6 Die Cutting and Embossing Machine,  T-001 Tool ‘N One #spellbinders #diecutting #handmadecard #neverstopmaking

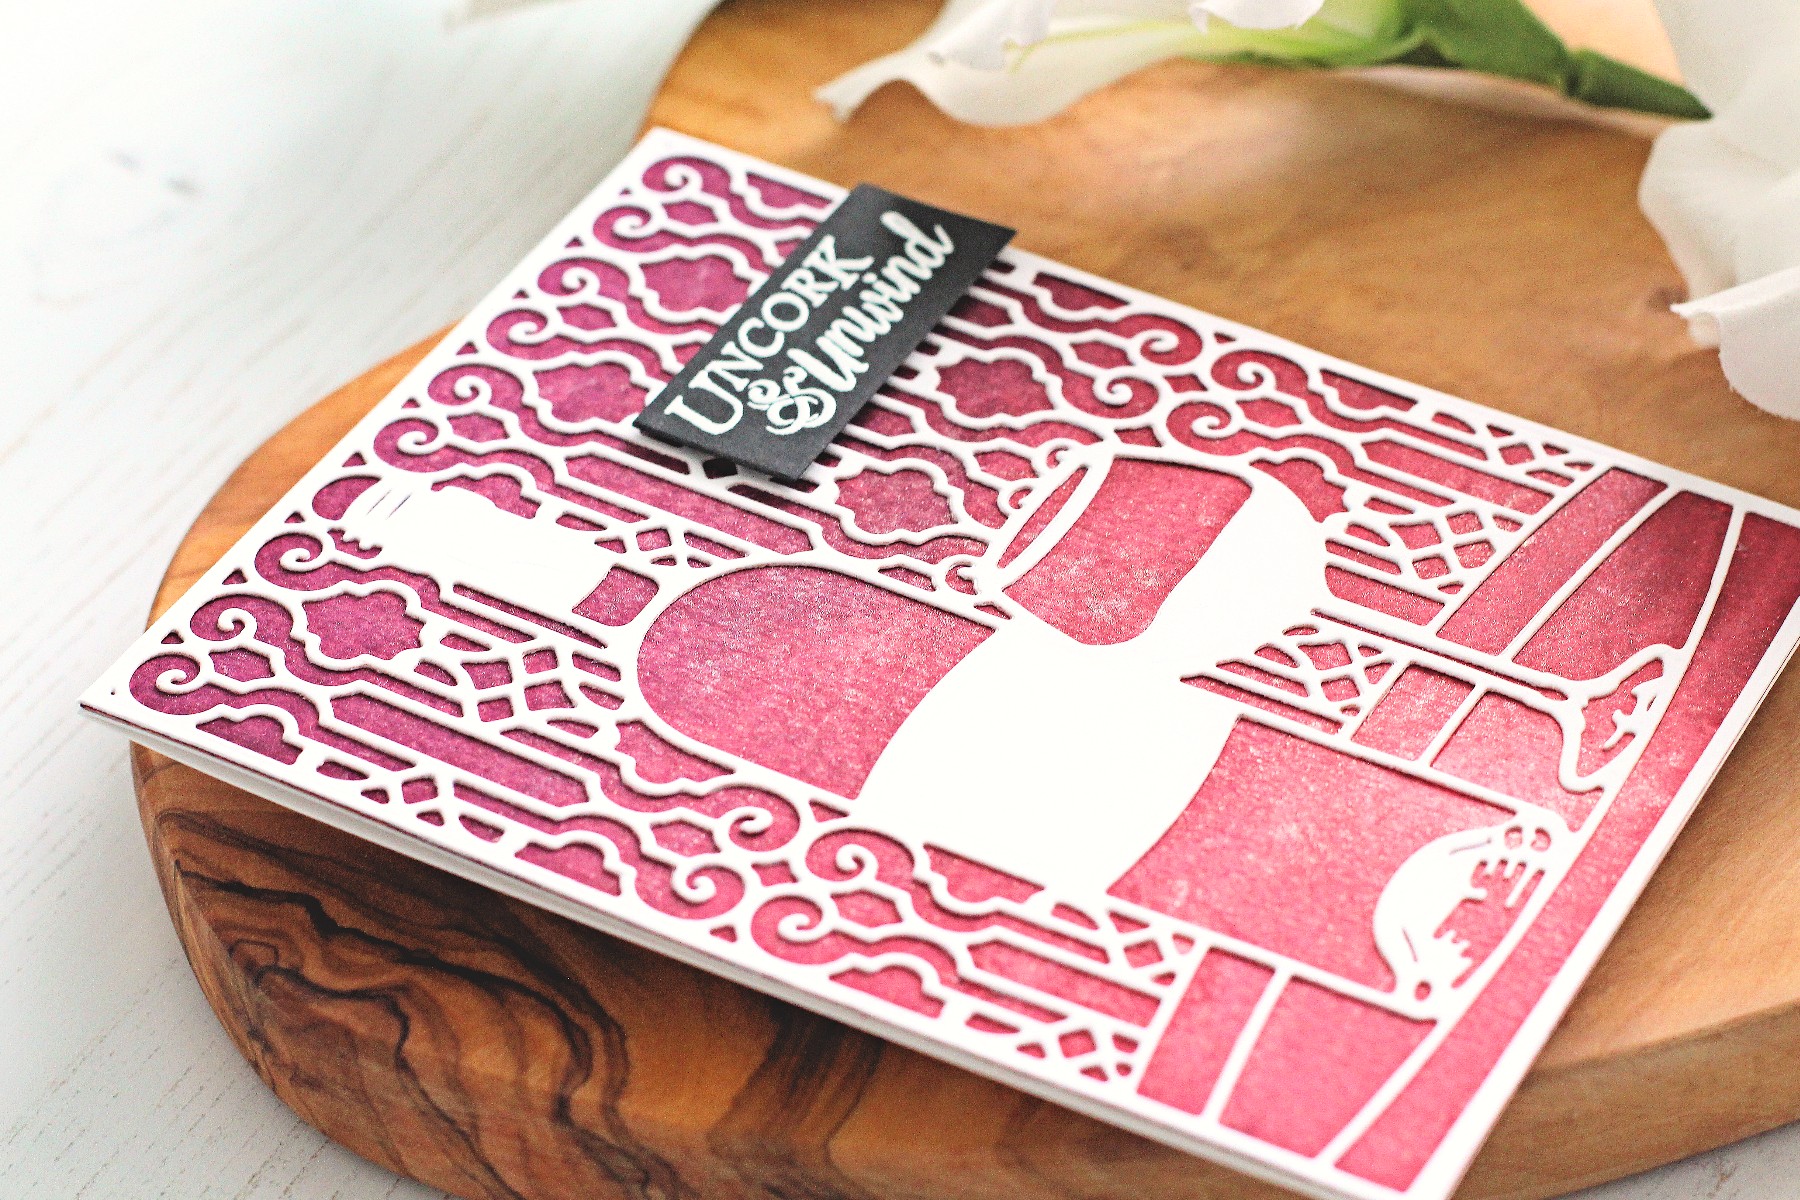
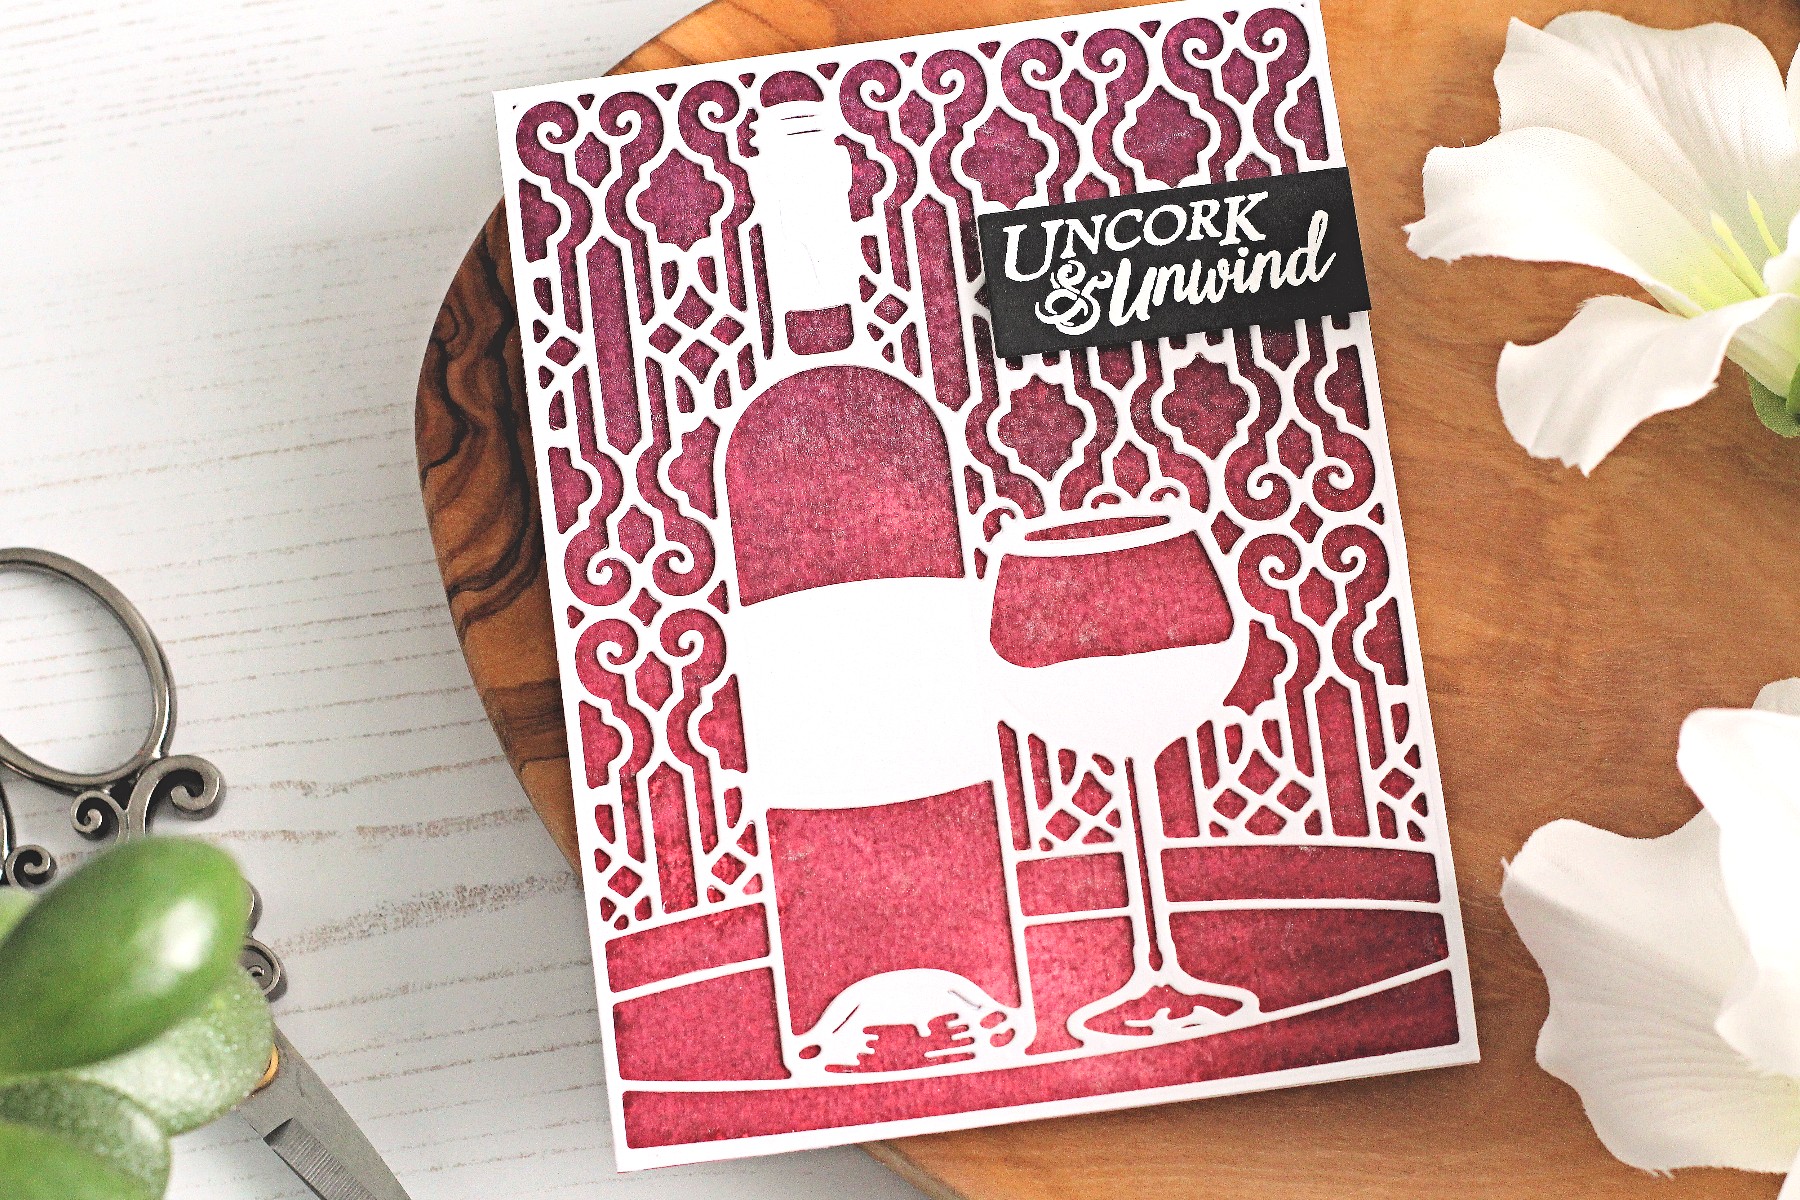
I started my card off by die-cutting the Time for Wine A2 Card Front Die. I cut this from a panel of 5.5” x 4.25” white cardstock. I used just the main die for this, but in the set, there is also a frame die that will cut an A2 card panel for you. Using the Tool ‘N One, I popped out all of the pieces from inside the die cut and used the piercing end to get rid of any stray card fibers left from die cutting.

Spellbinders Wine Country collection by Stacey Caron - Inspiration | Uncork & Unwind Card with Michelle Short featuring S5-346 Time for Wine, SDS-135 Barrel of Sentiments,  PE-100 Platinum 6 Die Cutting and Embossing Machine,  T-001 Tool ‘N One #spellbinders #diecutting #handmadecard #neverstopmaking

I then created my background. I took a piece of watercolour paper and using a direct to paper technique, I applied Aged Mahogany and Seedless Preserves Distress Inks to the panel. I sprayed the piece heavily with shimmer spray and set aside to dry. Whilst it was drying, I stamped the sentiment. I took the sentiment from the Barrel of Sentiments set and stamped this using Versamark Ink on to black cardstock. I applied white embossing powder and heat set. This was then cut in to a strip using a craft knife and ruler.

Spellbinders Wine Country collection by Stacey Caron - Inspiration | Uncork & Unwind Card with Michelle Short featuring S5-346 Time for Wine, SDS-135 Barrel of Sentiments,  PE-100 Platinum 6 Die Cutting and Embossing Machine,  T-001 Tool ‘N One #spellbinders #diecutting #handmadecard #neverstopmaking

Once the background was dry, I adhered it with tape runner to an A2 white card base. I then added the frame piece on top with liquid glue. To finish off, I added the sentiment strip with foam tape. I really love how the background sparkles against the white frame!

Spellbinders Supplies:

Other supplies:

Papertrey Ink Stamper’s Select White Cardstock, Papertrey Ink True Black Cardstock, Versamark Ink Pad, Hero Arts White Embossing Powder, Tim Holtz Watercolor cardstock, Tim Holtz Aged Mahogany Distress Ink, Tim Holtz Seedless Preserves Distress Ink, Tsukineko Sheer Shimmer Craft Spray – Sparkle. Thank you so much for stopping by today, I hope you have enjoyed seeing my cards using the Wine Country Collection the last two days. Have a great day!

Leave a comment

Your email will not be published. Please note, comments need to be approved before they are published.


  • HOW TO USE PRESS PLATES WITH MULTIPLE INKS | CREATE YOUR WAY HOLIDAY, BPR-050, BPI-049, BPI-003

    BP-001

    How to Use Multiple Ink Colors with BetterPress Registration Plates

    Create a colorful Christmas card while learning how to apply multiple ink colors to BetterPress registration plates. In this detailed tutorial, you’ll use the Festive Evergreens Registration Press + Foil Plate & Die Set to press a holiday doorway scene in three colors, combining the built-in registration system with a simple masking technique. The registration template positions the coordinating plates so each layer aligns with...

  • How to Make a Colorful Foiled Butterfly Card with Glimmer II

    BP-351

    How to Make a Colorful Foiled Butterfly Card with Glimmer II

    Combine hot foiling, alcohol-marker coloring, ink blending, and dimensional shaping to create a colorful butterfly card that sparkles from every angle. In this step-by-step tutorial, you’ll learn how to foil detailed butterflies and a floral background with the Glimmer II Hot Foil System, add bold color, and shape the butterfly wings for a realistic raised effect. The Bright Butterflies and Thanks In Bloom Press +...

  • How to Heat Emboss with BetterPress Plates: Snowman Christmas Card

    BP-001

    How to Heat Emboss with BetterPress Plates: Snowman Christmas Card

    BetterPress plates can do more than create letterpress impressions and hot-foiled designs. In this detailed Christmas card tutorial, you’ll learn how to apply clear sticky ink to a BetterPress plate and use white embossing powder to produce a crisp, heat-embossed snowflake background. The tutorial also covers pressing and die cutting a sentiment, assembling three detailed snowmen, and arranging the finished elements on an A2 card....