Posted by Michelle Short
on March 27, 2019

Hello there, Michelle here and today I am sharing a card using the Birthday Cake Stamp & Cut set. This is a wonderful set that can be used in lots of different ways and today, I thought that I would emboss the image on to vellum and pair it with a bright background.
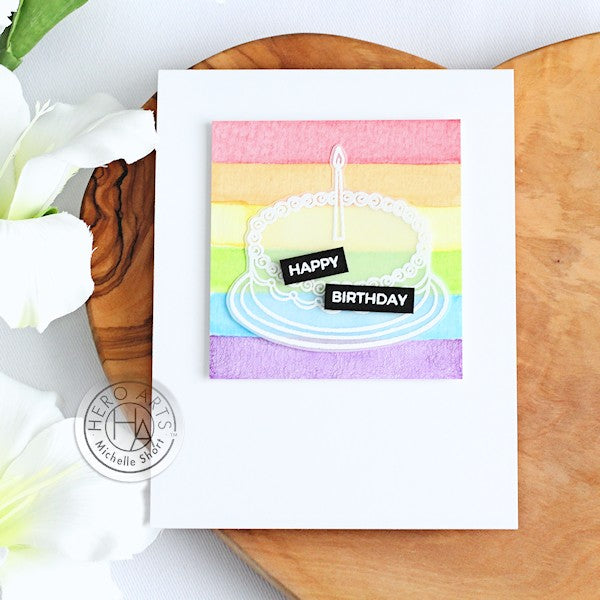
I started off by creating the background piece. I took a sheet of watercolor paper and using a flat brush created lines of colour in rainbow order. I used Liquid Watercolors in Strawberry, Orange, Dandelion, Leaf, Deep Ocean and Purple. I let each of the colours dry before adding the next line of colour underneath. Once dry, the piece was cut down and added to a top folding card base with foam tape.
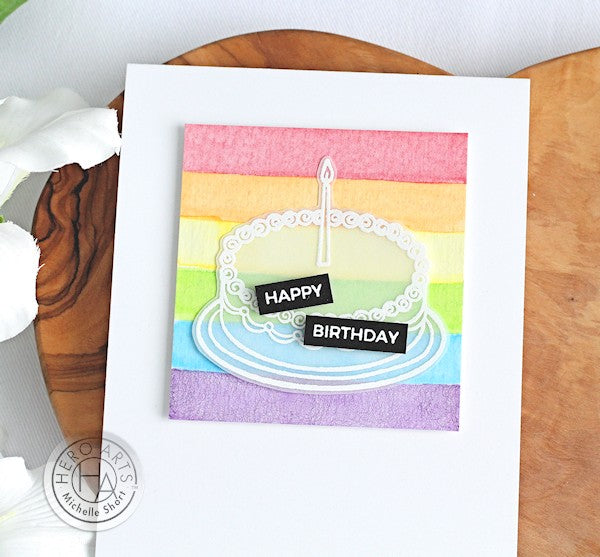
I took the candle from the Birthday Cake Stamp & Cut set and stamped this on to vellum using Versamark Ink. I applied White Detail Embossing Powder and heat set. I masked the candle off and then stamped the cake over the top so it looks like there is one candle on the top of the cake. The mask was removed and the cake heat embossed. There are dies in the set but because I wanted the image to be whole, with the candle, I decided to fussy cut the image out with scissors.
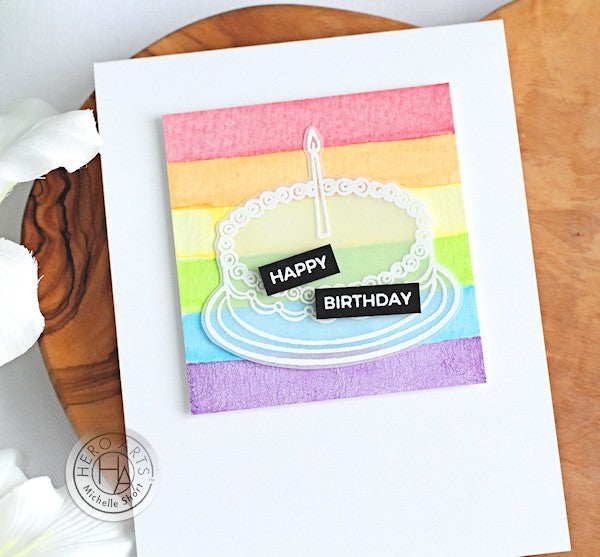
I took the sentiments from the Mix & Match Compliments set and stamped these on to Pitch Black Cardstock using Versamark Ink. I applied the same white detail embossing powder and heat set. They were cut in to strips and added to the vellum cake with foam tape. I then applied glue to the back of the cake, only where it would be covered by the sentiment strips, and adhered this on top of the background piece.
I really like the look of the vellum cake with the rainbow background behind. Thanks so much for stopping by today, happy stamping!
























































































13 comments
Love this!
Oh wow, this is super-sweet! what a lovely look with the main image on vellum — going to try this technique for sure! Thanks for the inspiration!
Thank you Judy! Michelle applied Precision Glue to the cake underneath the two sentiment strips so that it would be concealed.
Pretty! Love the color background and the beautiful white embossing on vellum!
Lovely card and idea. What did you use to adhere the vellum so the adhesive wouldn’t show?