Blooming Garden Inspiration | Layered Cards with Melissa
on April 14, 2018

Blooming Garden Inspiration | Layered Cards with Melissa

Hi again everyone! Melissa Phillips here with you today sharing a couple of cards created with the gorgeous Blooming Garden Collection designed by Marisa Job.
Blooming Garden Collection by Marisa Job Inspiration | Layered Cards by Melissa Phillips for Spellbinders using S3-335 Rose Buds, S4-914 Side Floral Panel, S4-916 Blooming Rose dies #spellbinders #neverstopmaking #diecutting #handmadecard

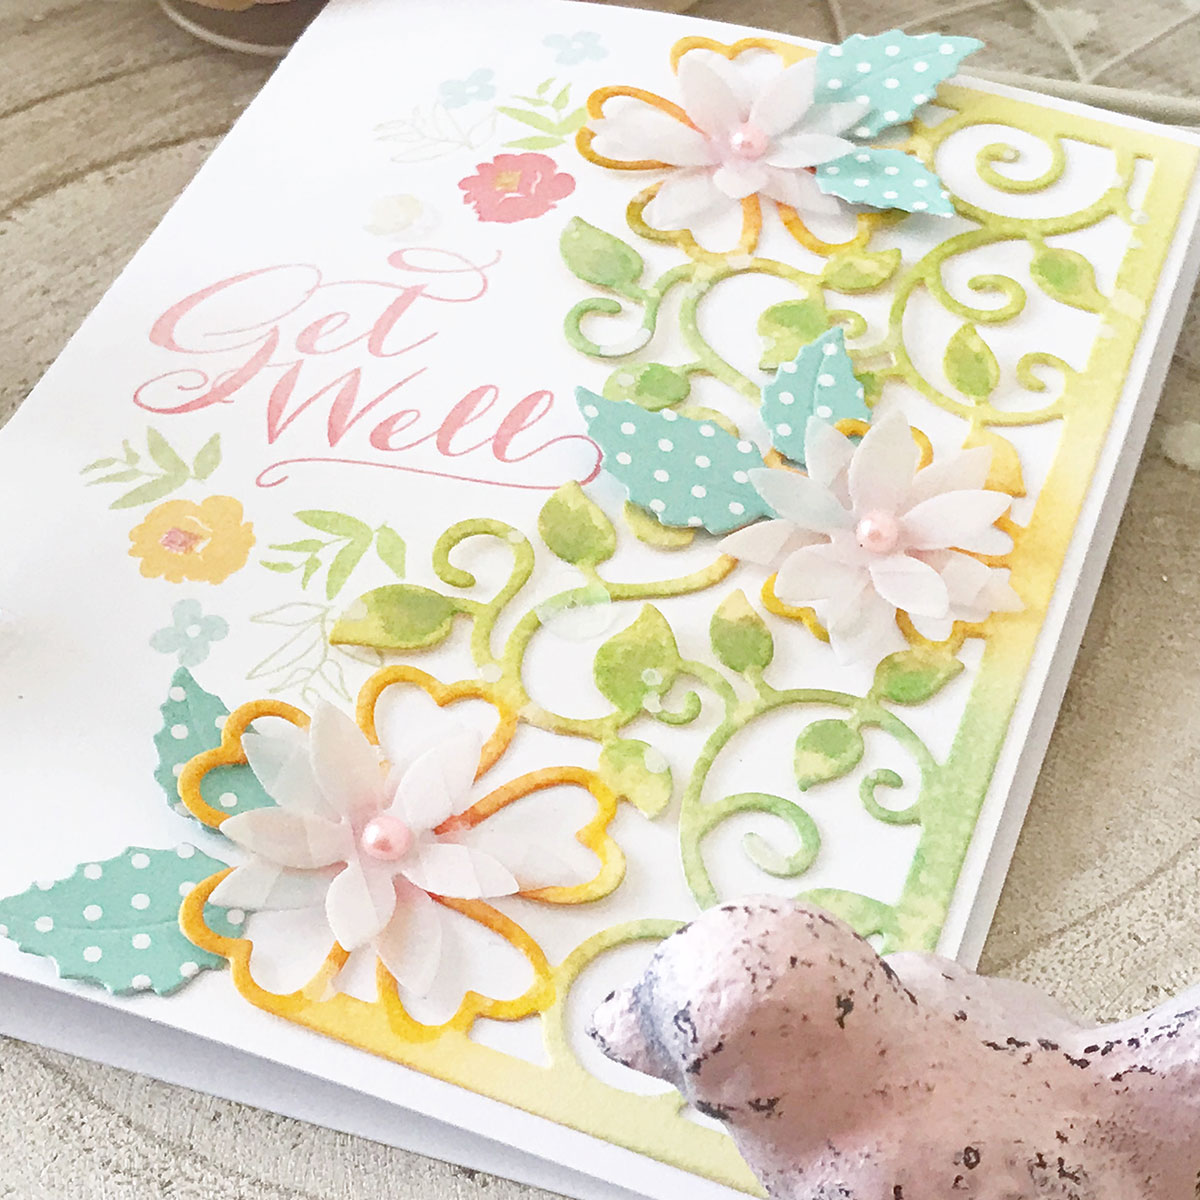
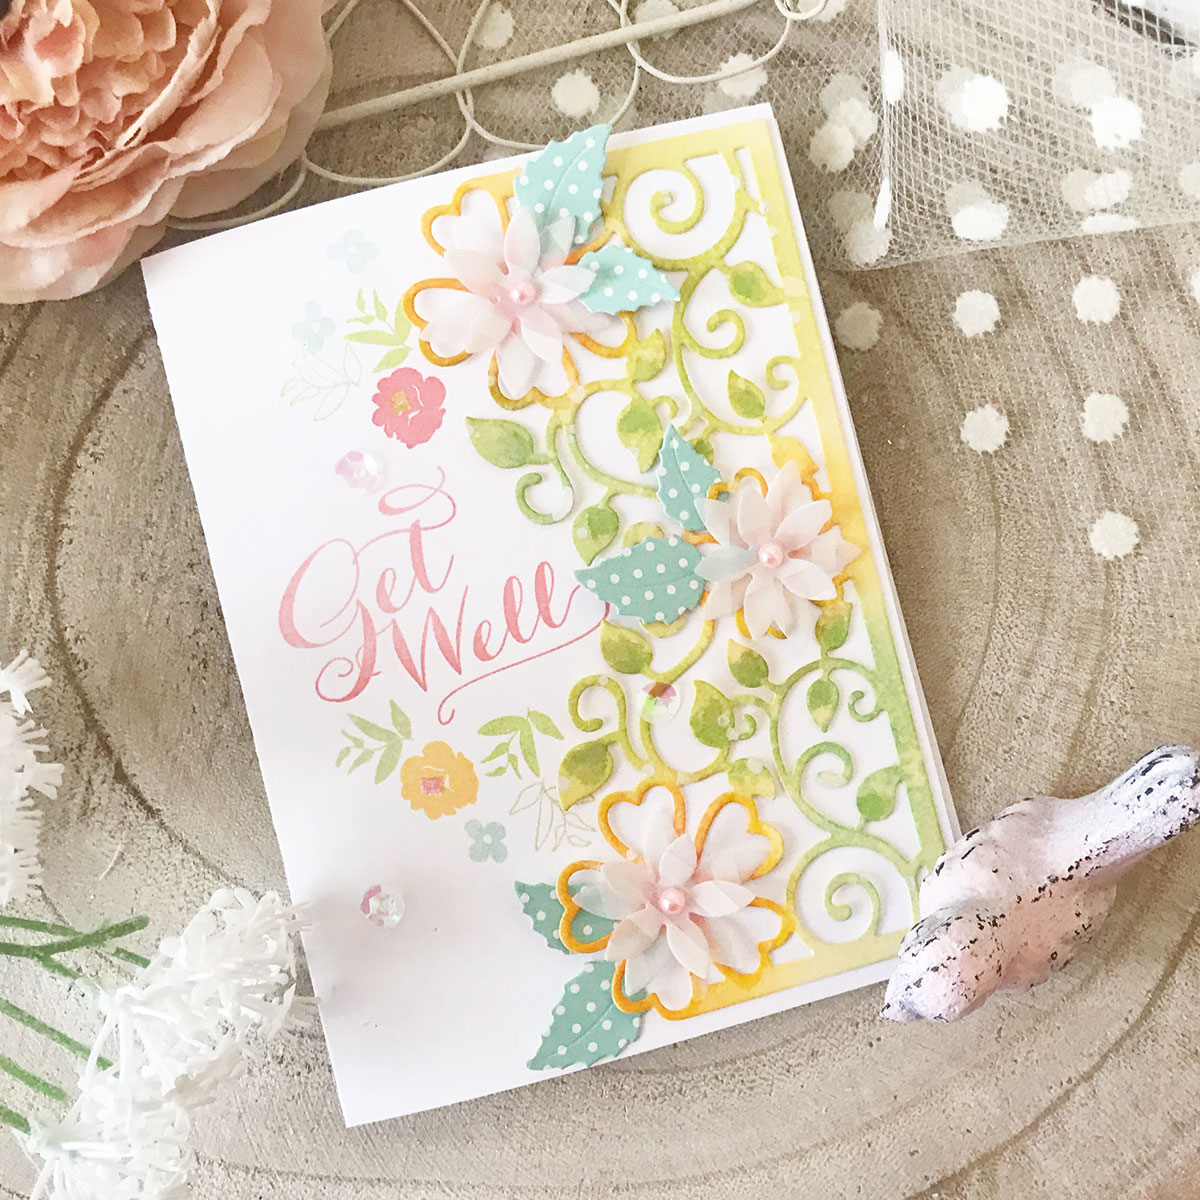
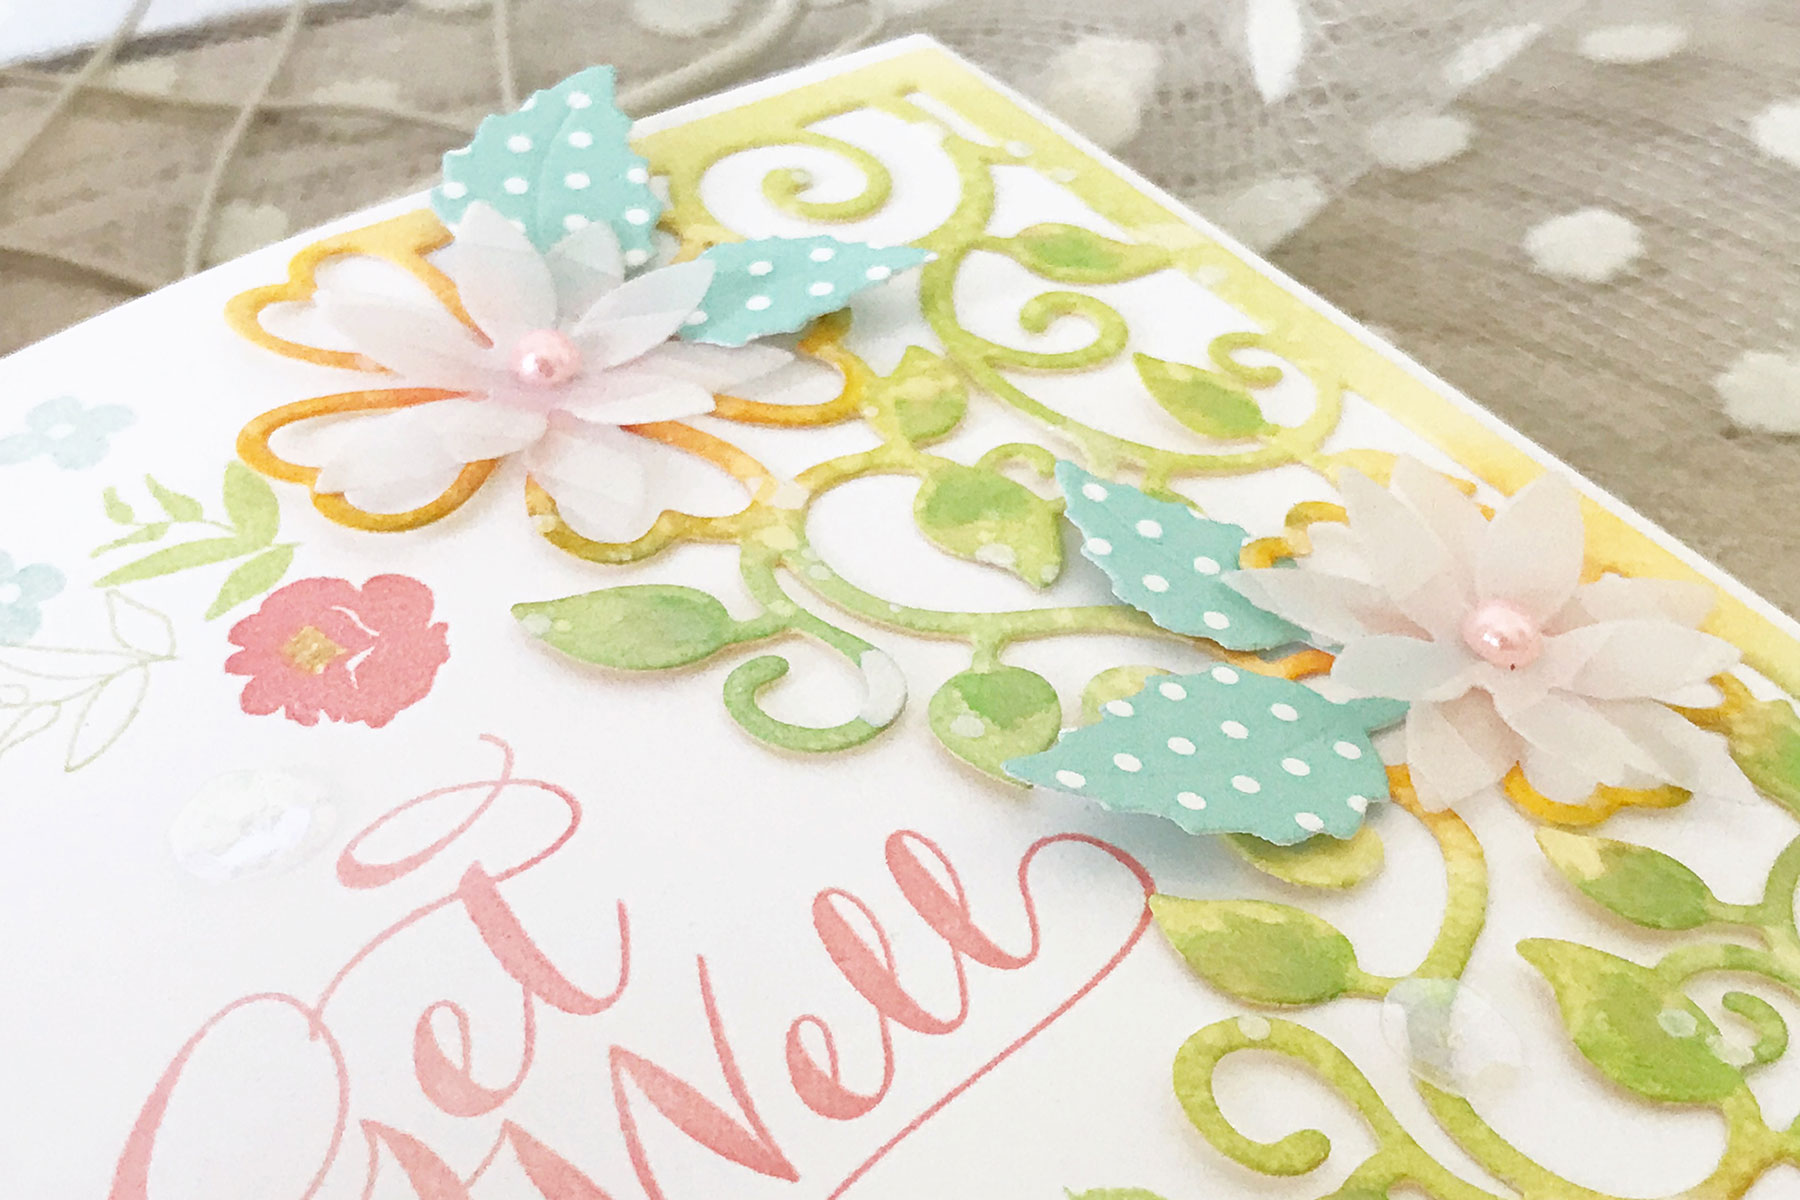
I’ve used the beautiful Side Floral Panel die on both of my cards.  On this first card, I die cut it from yellow cardstock and then added color to the flowers and vines by sponging on ink.

Blooming Garden Collection by Marisa Job Inspiration | Layered Cards by Melissa Phillips for Spellbinders using S3-335 Rose Buds, S4-914 Side Floral Panel, S4-916 Blooming Rose dies #spellbinders #neverstopmaking #diecutting #handmadecard

After adding color to my die cut, I spritzed it with water and let the colors blend a bit.  I then added dimension by using vellum and die cutting flowers using the Rose Buds die.

Blooming Garden Collection by Marisa Job Inspiration | Layered Cards by Melissa Phillips for Spellbinders using S3-335 Rose Buds, S4-914 Side Floral Panel, S4-916 Blooming Rose dies #spellbinders #neverstopmaking #diecutting #handmadecard

I then used patterned paper and die cut leaves for my vellum flowers using the Blooming Rose.  Before adhering the finished panel to my card, I stamped my sentiment along with a few flowers and then attached my panel down the right side.

Blooming Garden Collection by Marisa Job Inspiration | Layered Cards by Melissa Phillips for Spellbinders using S3-335 Rose Buds, S4-914 Side Floral Panel, S4-916 Blooming Rose dies #spellbinders #neverstopmaking #diecutting #handmadecard

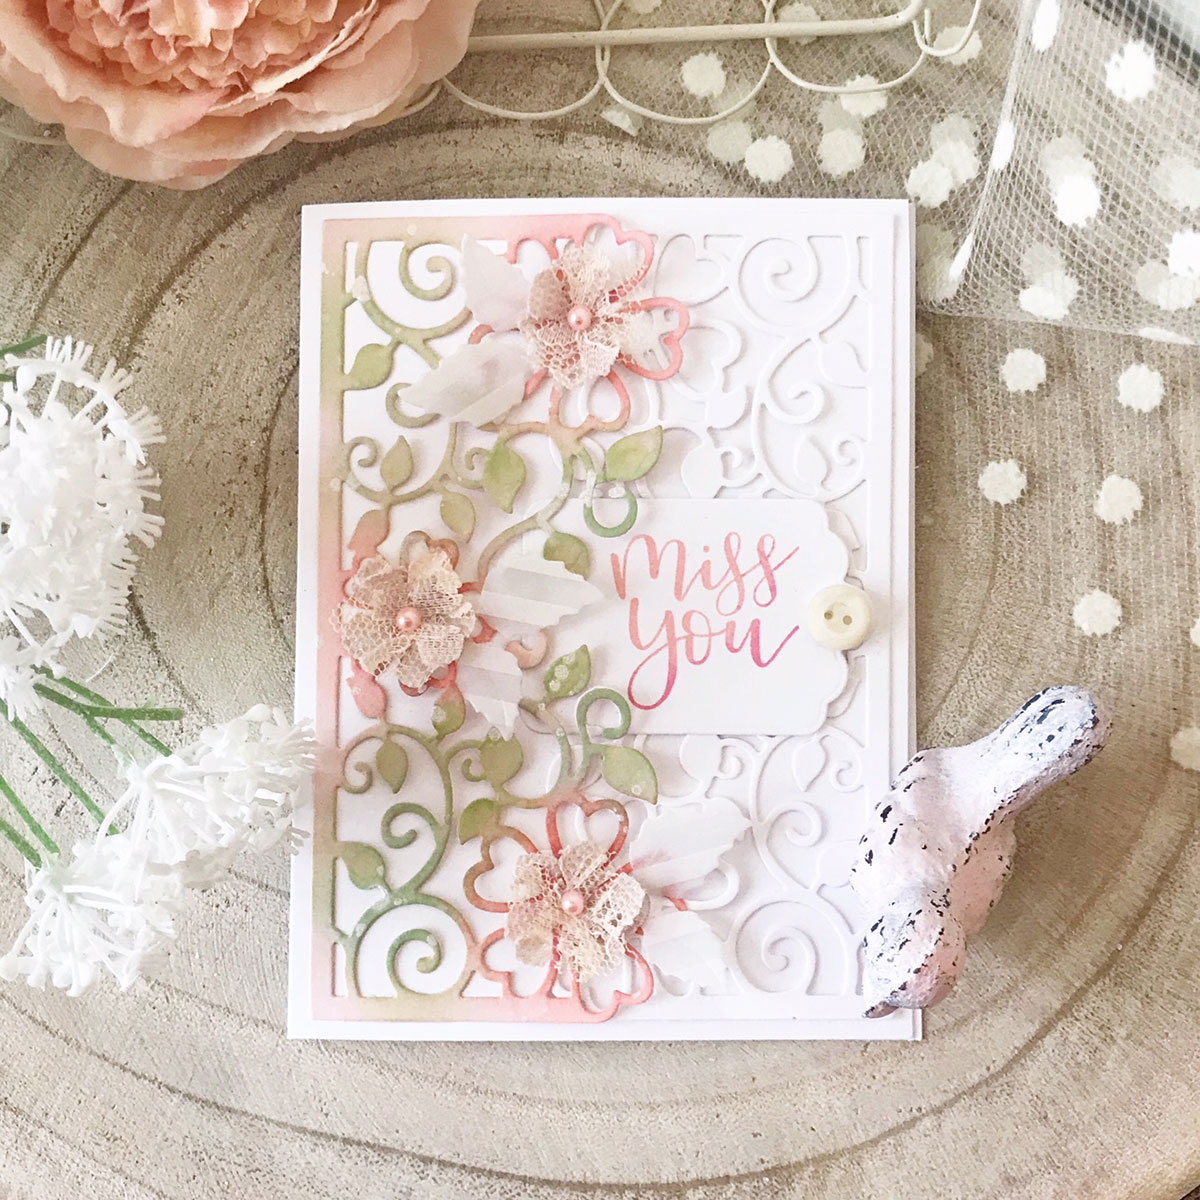
The very same Blooming Garden dies were used on my second card, this time die cutting my panel from pink cardstock .

Blooming Garden Collection by Marisa Job Inspiration | Layered Cards by Melissa Phillips for Spellbinders using S3-335 Rose Buds, S4-914 Side Floral Panel, S4-916 Blooming Rose dies #spellbinders #neverstopmaking #diecutting #handmadecard

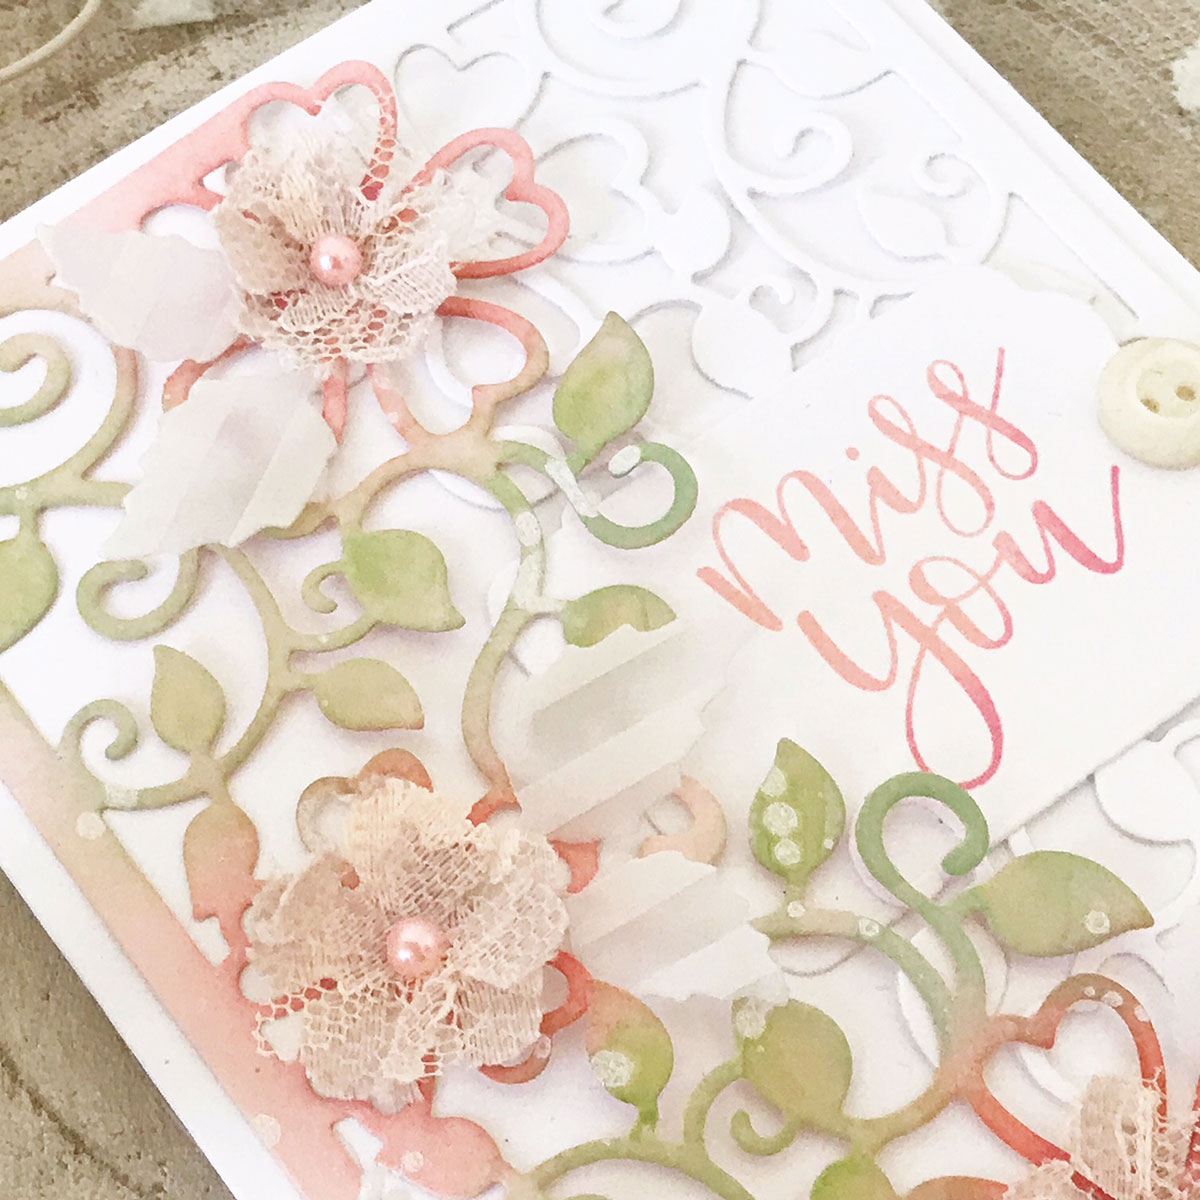
I treated my pink panel the very same way as I did in my first card.  For this card though, I die cut a second panel from white cardstock and attached the two of them to opposite sides of the card.

Blooming Garden Collection by Marisa Job Inspiration | Layered Cards by Melissa Phillips for Spellbinders using S3-335 Rose Buds, S4-914 Side Floral Panel, S4-916 Blooming Rose dies #spellbinders #neverstopmaking #diecutting #handmadecard

This time instead of using vellum for my die cut flowers, I cut them from vintage trim with my leaves cut from vellum.  I love how easily Spellbinders dies cut through many different types for materials and mediums.

Spellbinders Supplies:

Other Supplies:

Patterned paper: Papertrey Ink; Cardstock and Vellum:  Papertrey Ink; Trim:  Craft supply; Ink:  Papertrey Ink; Stamps:  Papertrey Ink; Adhesive pearls:  Kaisercraft; Sequins:  My Mind’s Eye; Adhesive:  Beacon and Tombow These dies make creating so easy and effortless, but the results always look so detailed and beautiful. Thank you for visiting! Melissa

Leave a comment

Your email will not be published. Please note, comments need to be approved before they are published.

5 comments

Marisela Delgado,

I am never surprised at the beautiful cards that Melissa makes. She never disappoints. You rock, Melissa! You are FABULOUS, girl.

Brenda Stainton,

Nice water coloring technique. It really makes the card pop. The dies are so versatile and you did wonderful job.

Brenda Stainton,

Nice water coloring technique. It really makes the card pop. The dies are so versatile and you did awonderful job.

Mary Ellen Reeder,

The dies and colors are really well done and eye catching.

Pooja,

So Beautiful !


  • HOW TO USE PRESS PLATES WITH MULTIPLE INKS | CREATE YOUR WAY HOLIDAY, BPR-050, BPI-049, BPI-003

    BP-001

    How to Use Multiple Ink Colors with BetterPress Registration Plates

    Create a colorful Christmas card while learning how to apply multiple ink colors to BetterPress registration plates. In this detailed tutorial, you’ll use the Festive Evergreens Registration Press + Foil Plate & Die Set to press a holiday doorway scene in three colors, combining the built-in registration system with a simple masking technique. The registration template positions the coordinating plates so each layer aligns with...

  • How to Make a Colorful Foiled Butterfly Card with Glimmer II

    BP-351

    How to Make a Colorful Foiled Butterfly Card with Glimmer II

    Combine hot foiling, alcohol-marker coloring, ink blending, and dimensional shaping to create a colorful butterfly card that sparkles from every angle. In this step-by-step tutorial, you’ll learn how to foil detailed butterflies and a floral background with the Glimmer II Hot Foil System, add bold color, and shape the butterfly wings for a realistic raised effect. The Bright Butterflies and Thanks In Bloom Press +...

  • How to Heat Emboss with BetterPress Plates: Snowman Christmas Card

    BP-001

    How to Heat Emboss with BetterPress Plates: Snowman Christmas Card

    BetterPress plates can do more than create letterpress impressions and hot-foiled designs. In this detailed Christmas card tutorial, you’ll learn how to apply clear sticky ink to a BetterPress plate and use white embossing powder to produce a crisp, heat-embossed snowflake background. The tutorial also covers pressing and die cutting a sentiment, assembling three detailed snowmen, and arranging the finished elements on an A2 card....