

Posted by Spellbinders Team
on March 05, 2019

Hello-hello, Spellbinders’ fans! We’re so glad you are LOVING our March kits! To bring you even more inspiration with our Card Kit of the Month products we are sharing monthly inspiration featuring Card Club Kit Extras!

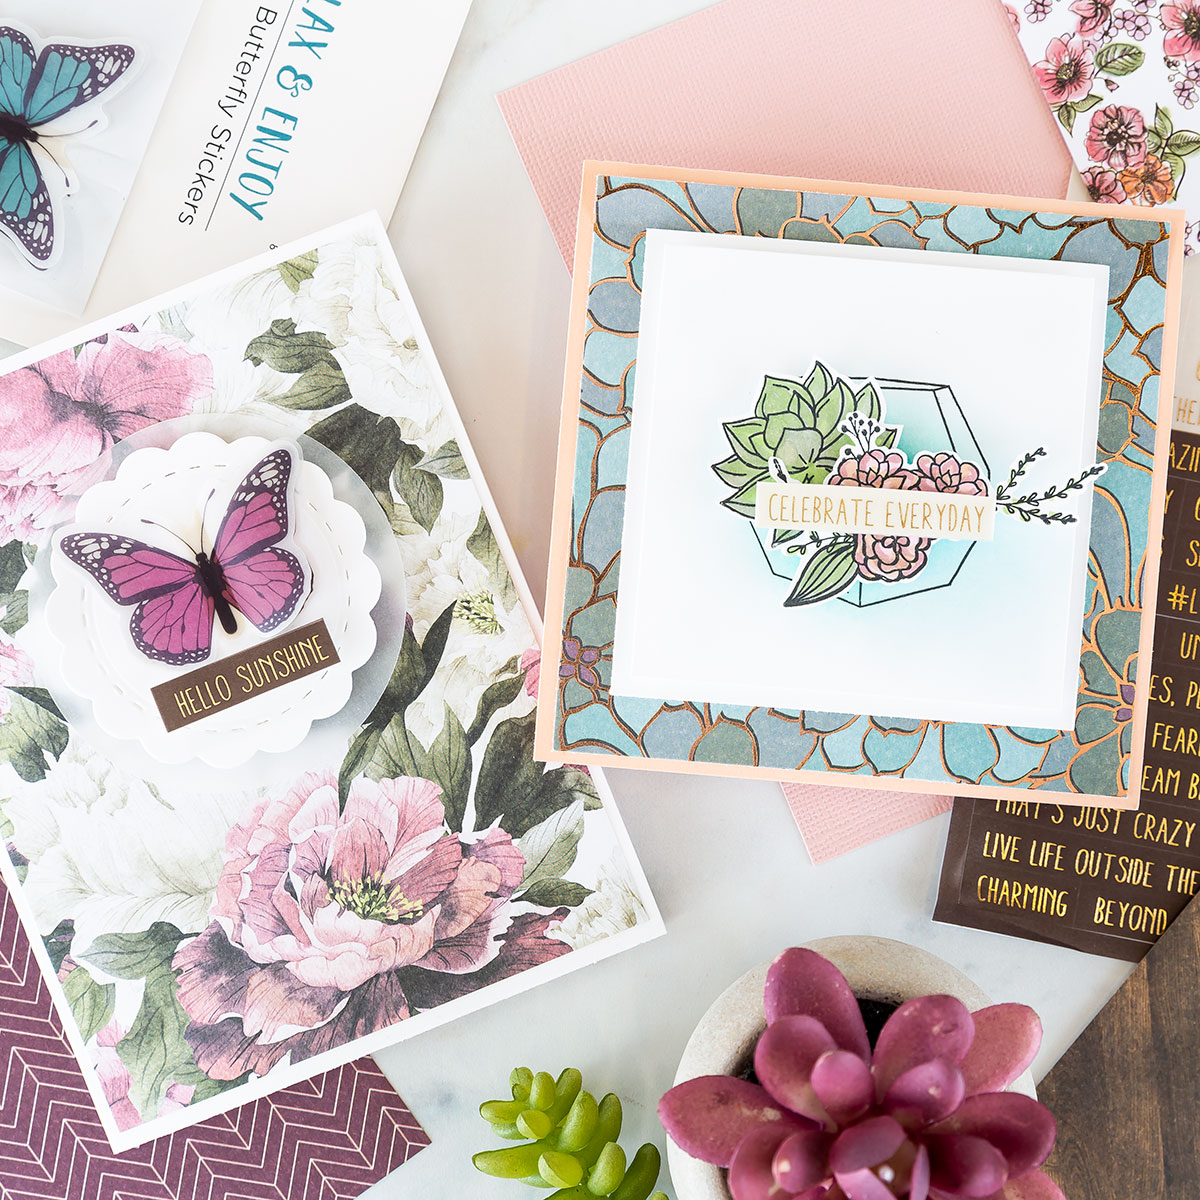
Did you know, you can get awesome extra products to go along with your Card Kit of the Month? Or maybe you are not a Club member yet, but would like to give our extras a try – you can do so here.
Create Everyday Card
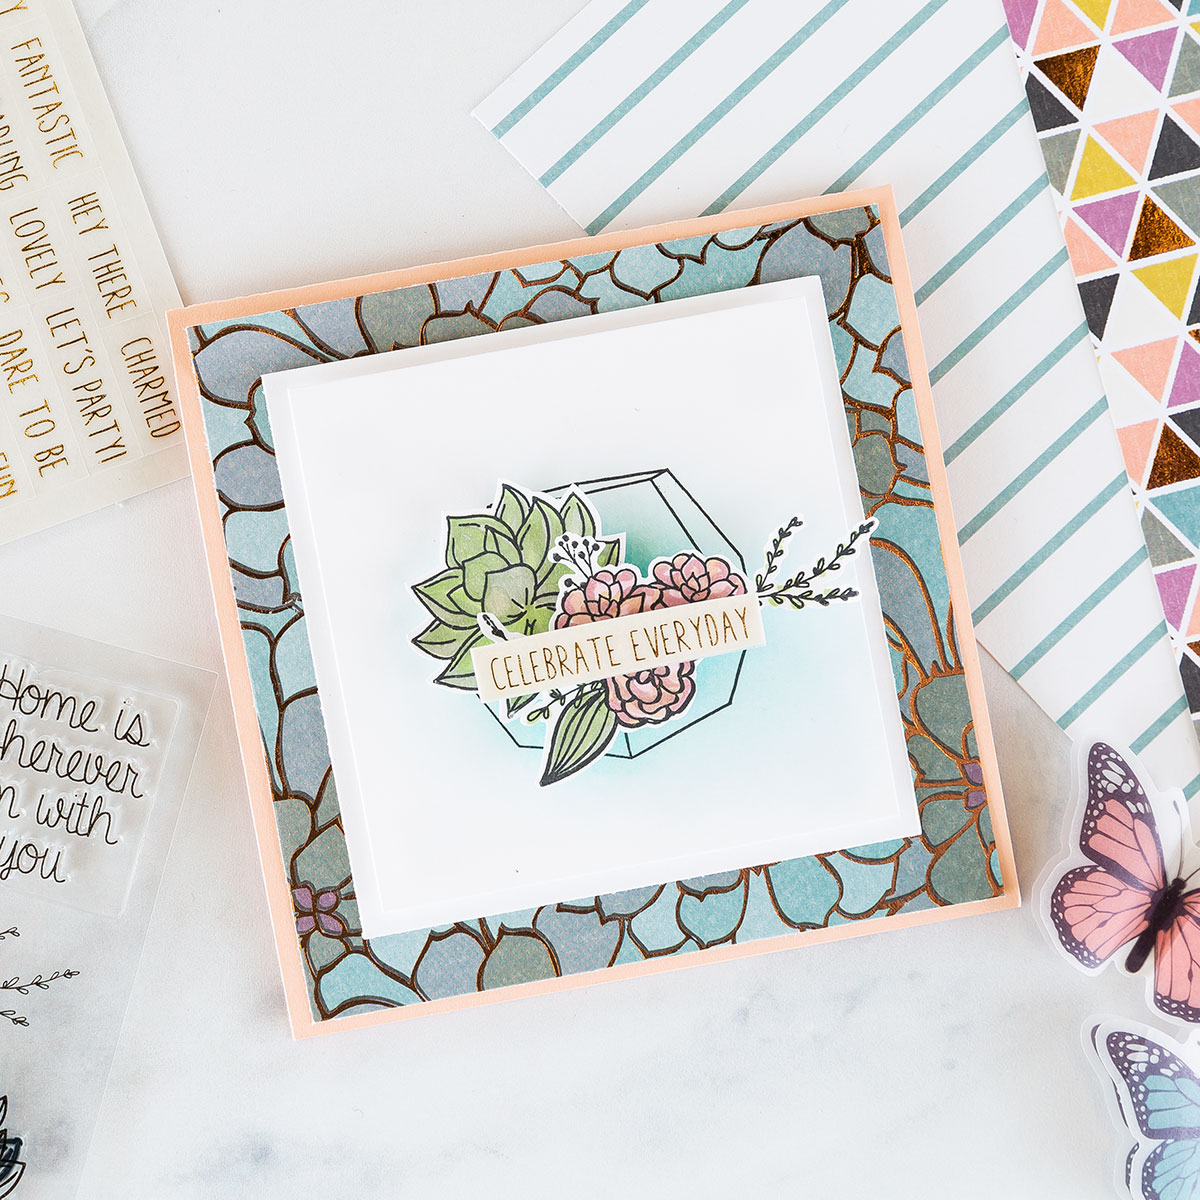
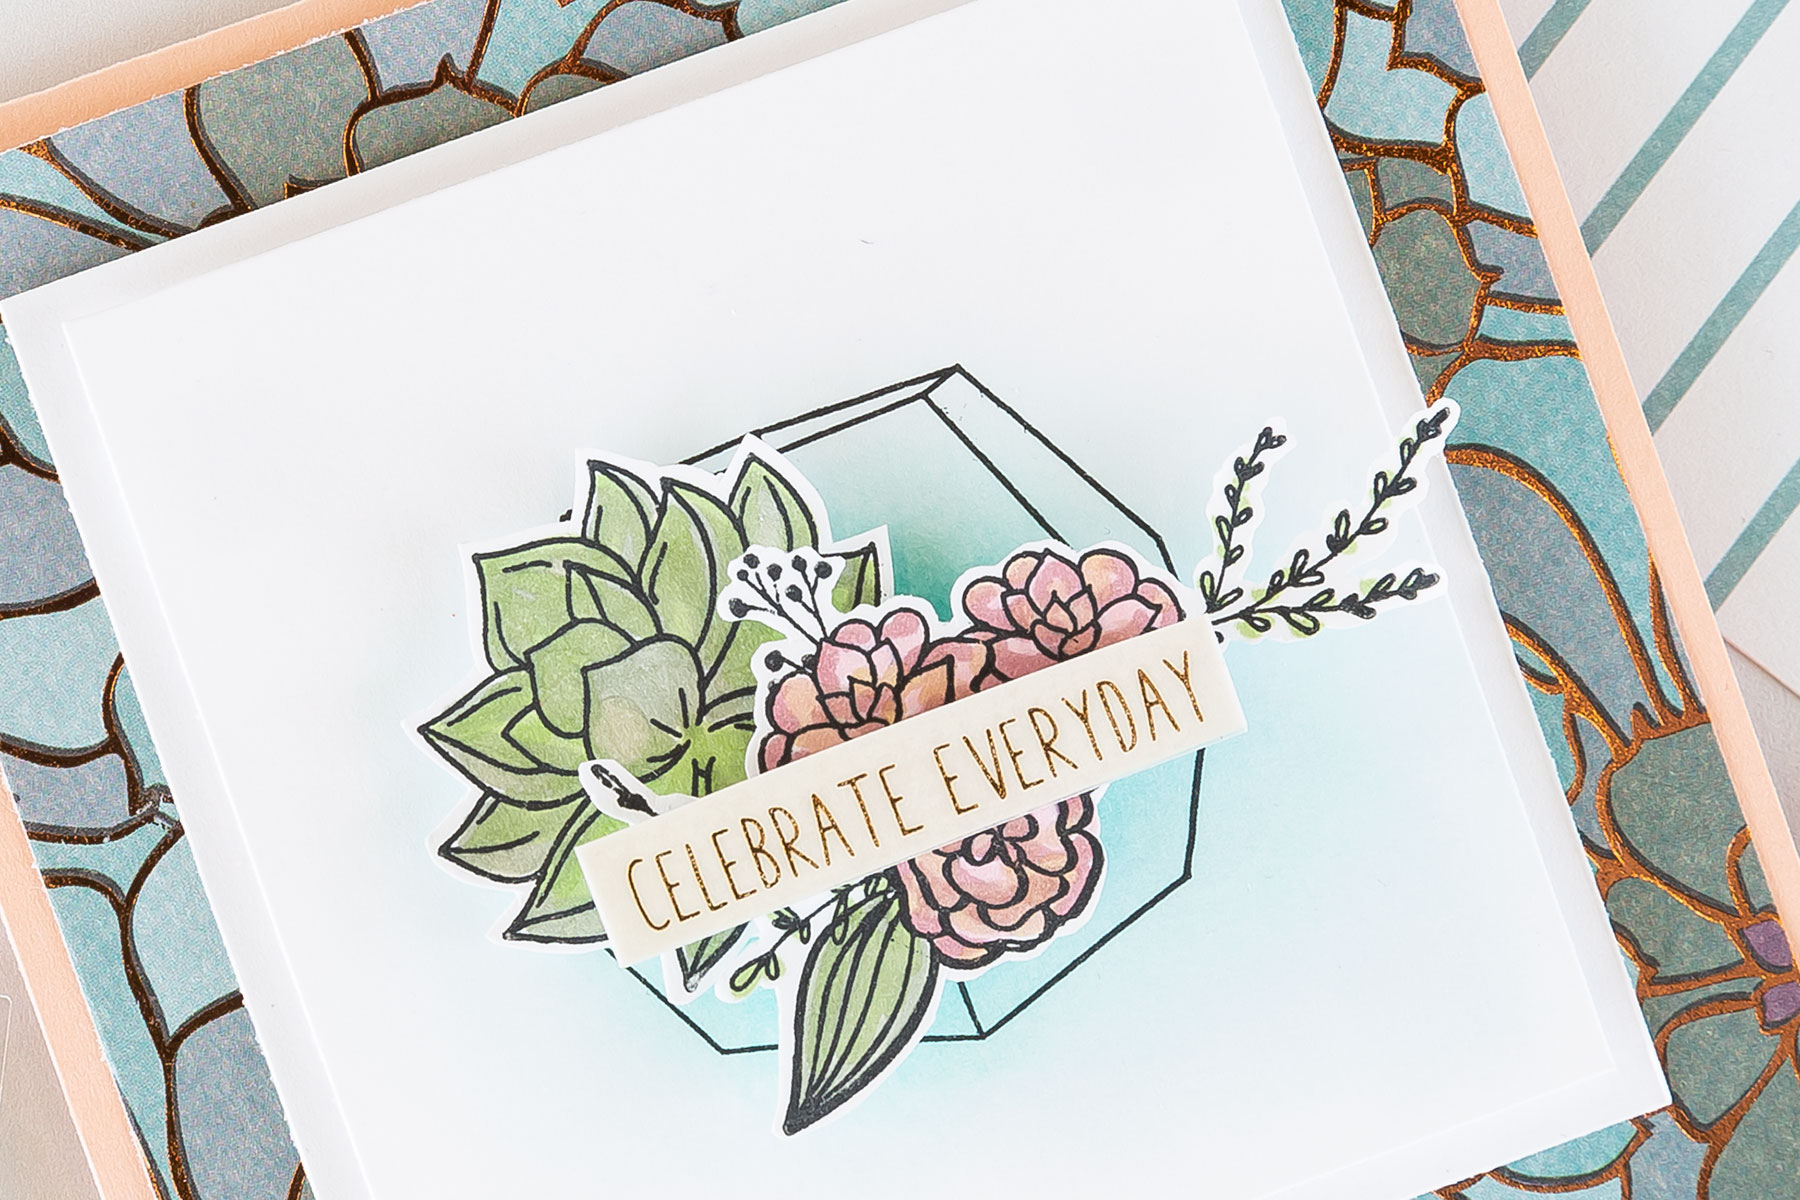
Create Everyday Card - Instructions:
- Create card base from Peaches & Cream cardstock (finished card is 4.25” X 4.25”), adhere panel of printed paper to card front.
- Sponge Cool Pool ink to 3” X 3” square of Whip Cream cardstock (stay in center of square).
- Stamp terrarium with Black Licorice ink over inked area of panel and then stamp succulent and small floral on additional piece of Whip Cream cardstock, color with markers of your choice and detail cut.
- Adhere detail cut images over terrarium with foam adhesive and also pop up sentiment sticker.
- Mat panel with Whip Cream cardstock and adhere to card front
Hello Sunshine Card
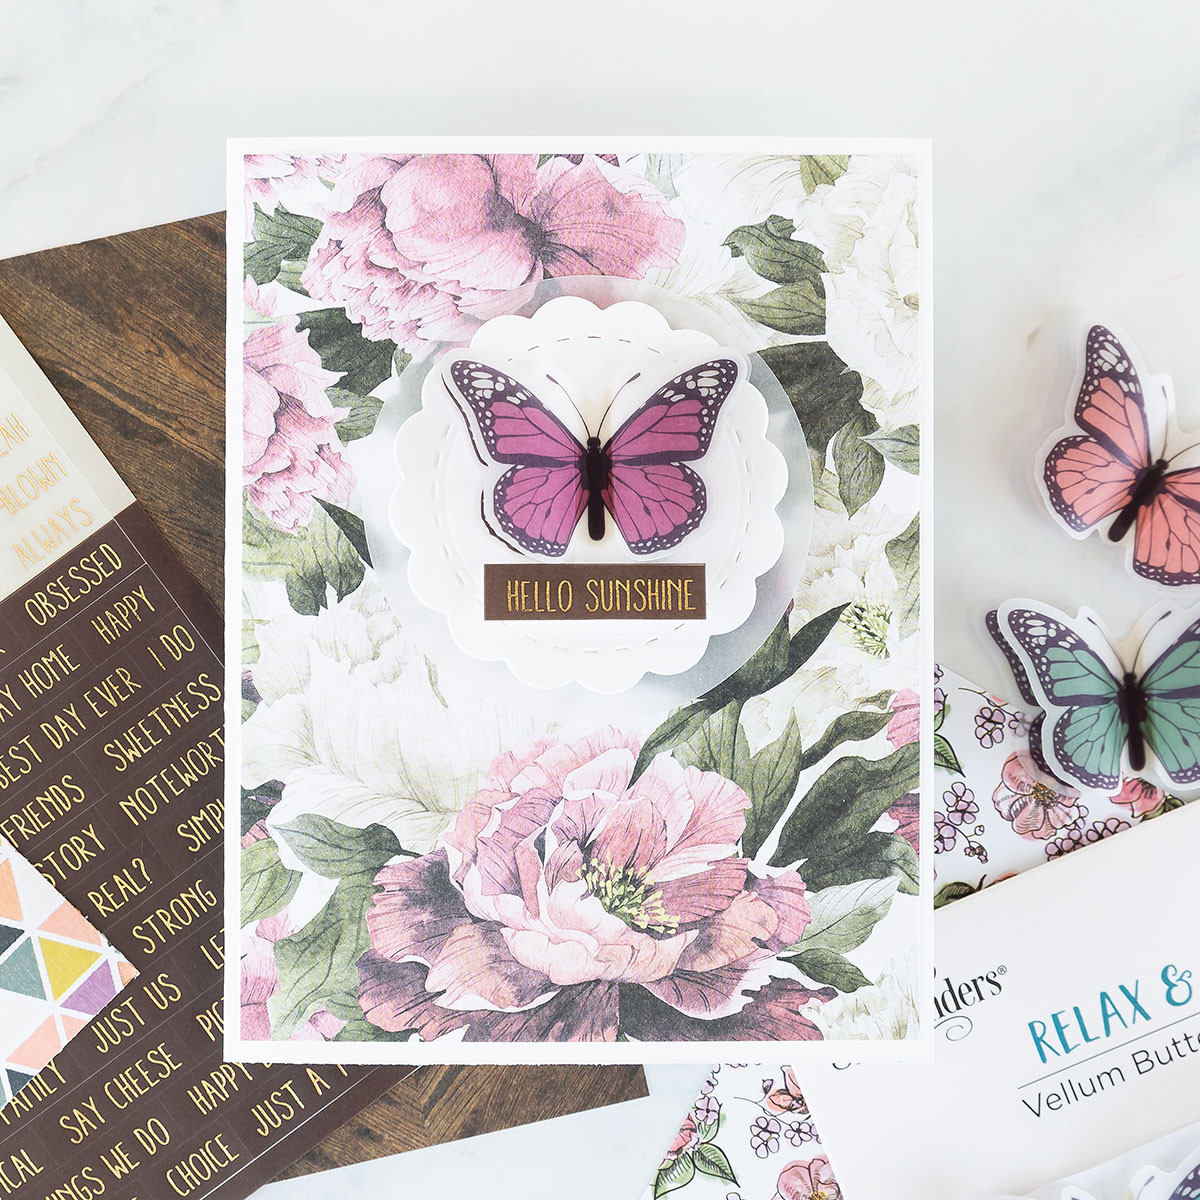
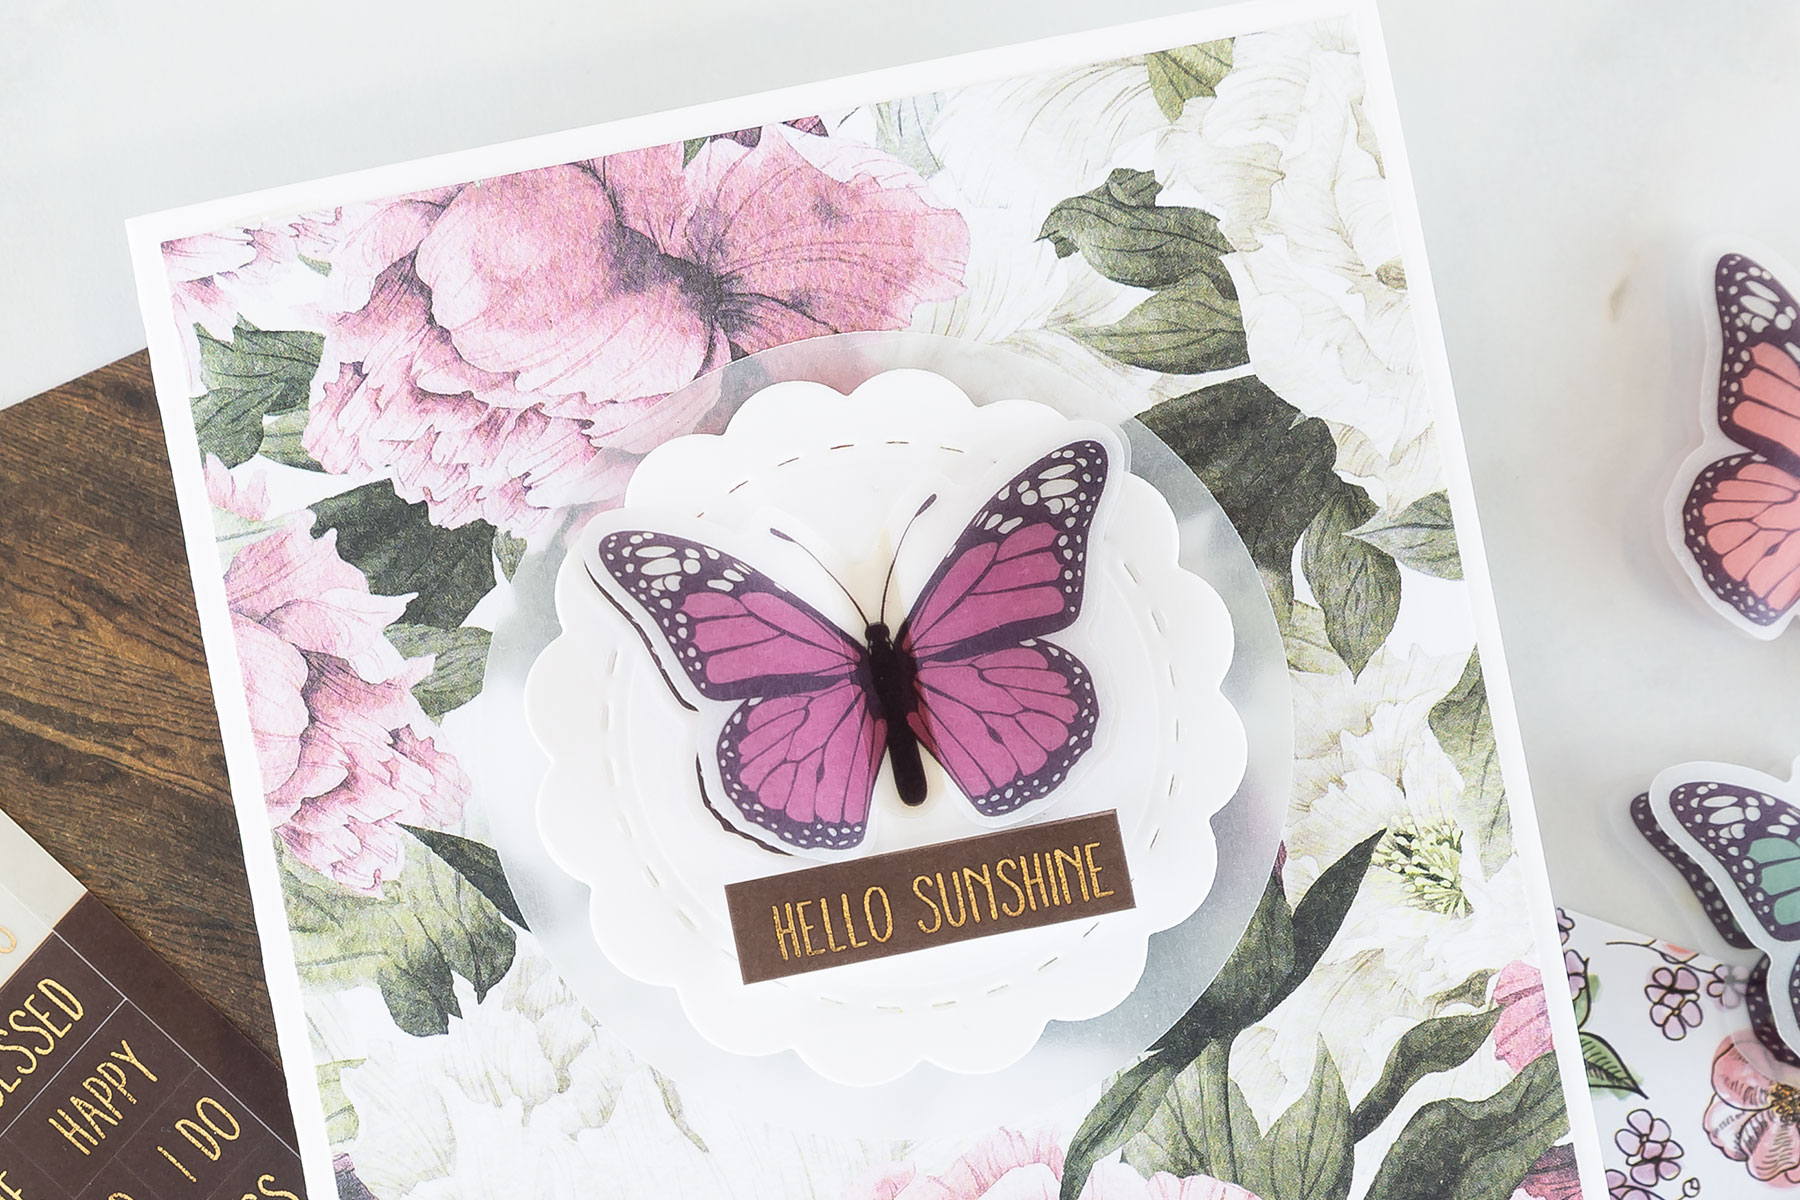
Hello Sunshine Card - Instructions:
- Create card base from Whip Cream cardstock (4.25” X 5.5” finished card size)
- Adhere panel of printed paper to card front (4” X 5.25”)
- Die cut circle from Journey Vellum; die cut scallop circle from Whip Cream cardstock using Journey Scallops.
- Adhere vellum and cardstock die cut to card front using foam adhesive
- Affix butterfly sticker to die cut and pop up sentiment sticker with foam adhesive
Spellbinders Supplies:
More Inspiration
We have more inspiration to share from our fabulous guest designers!


by Jung AhSang
Now it's your turn! What will you create using this month Card Club Kit Extras?
























































































2 comments
Unfortunately no, extras or any other store products ship separately from the Club subscriptions. At the moment the software we are using for our store prevents us from combining the two. Sorry!
Can we include any extras with our club kit to save on shipping?