Easily Create Different Scenes with One Card Layout | Scenic Snapshots Collection
on October 05, 2019

Easily Create Different Scenes with One Card Layout | Scenic Snapshots Collection

Hey there crafty friends, my name is Ashley Tucker. I am super excited that I could be a guest on the blog to share some cards with you today! I want to share with you one of the new die sets from the Scenic Snapshots collection and how it coordinates with the Santa's Workshop die set perfectly. I will also show you how all of the die sets in the Scenic Snapshots collection can be used for creating lots of unique scenes on different cards using the same basic layout.

Easily Create Different Scenes with One Card Layout | Scenic Snapshots Collection | Handmade cards by Ashley Tucker for Spellbinders

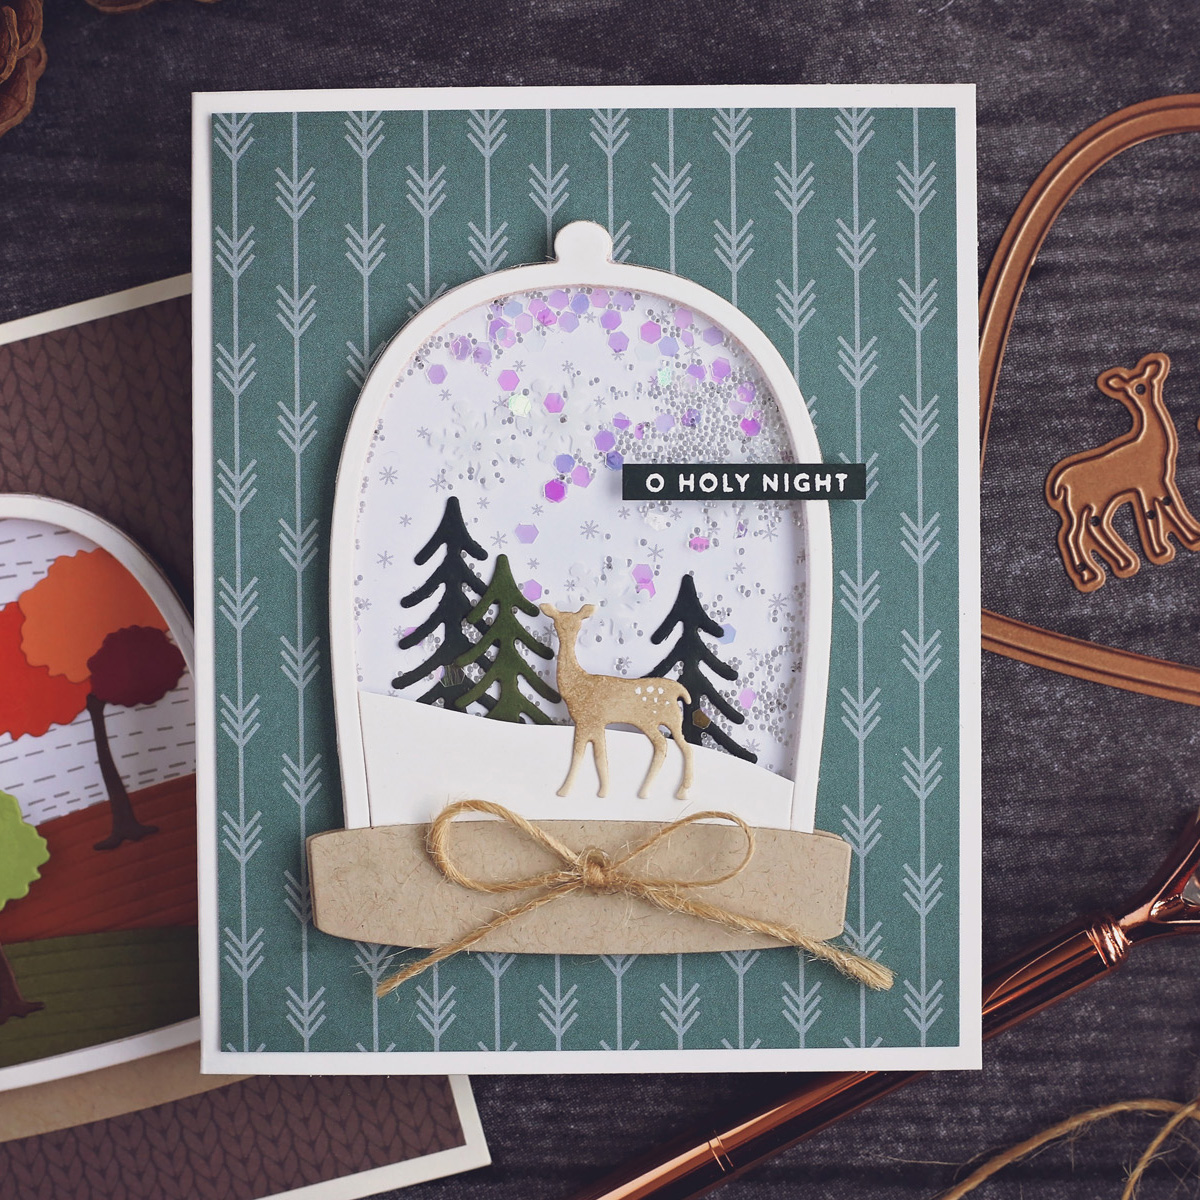
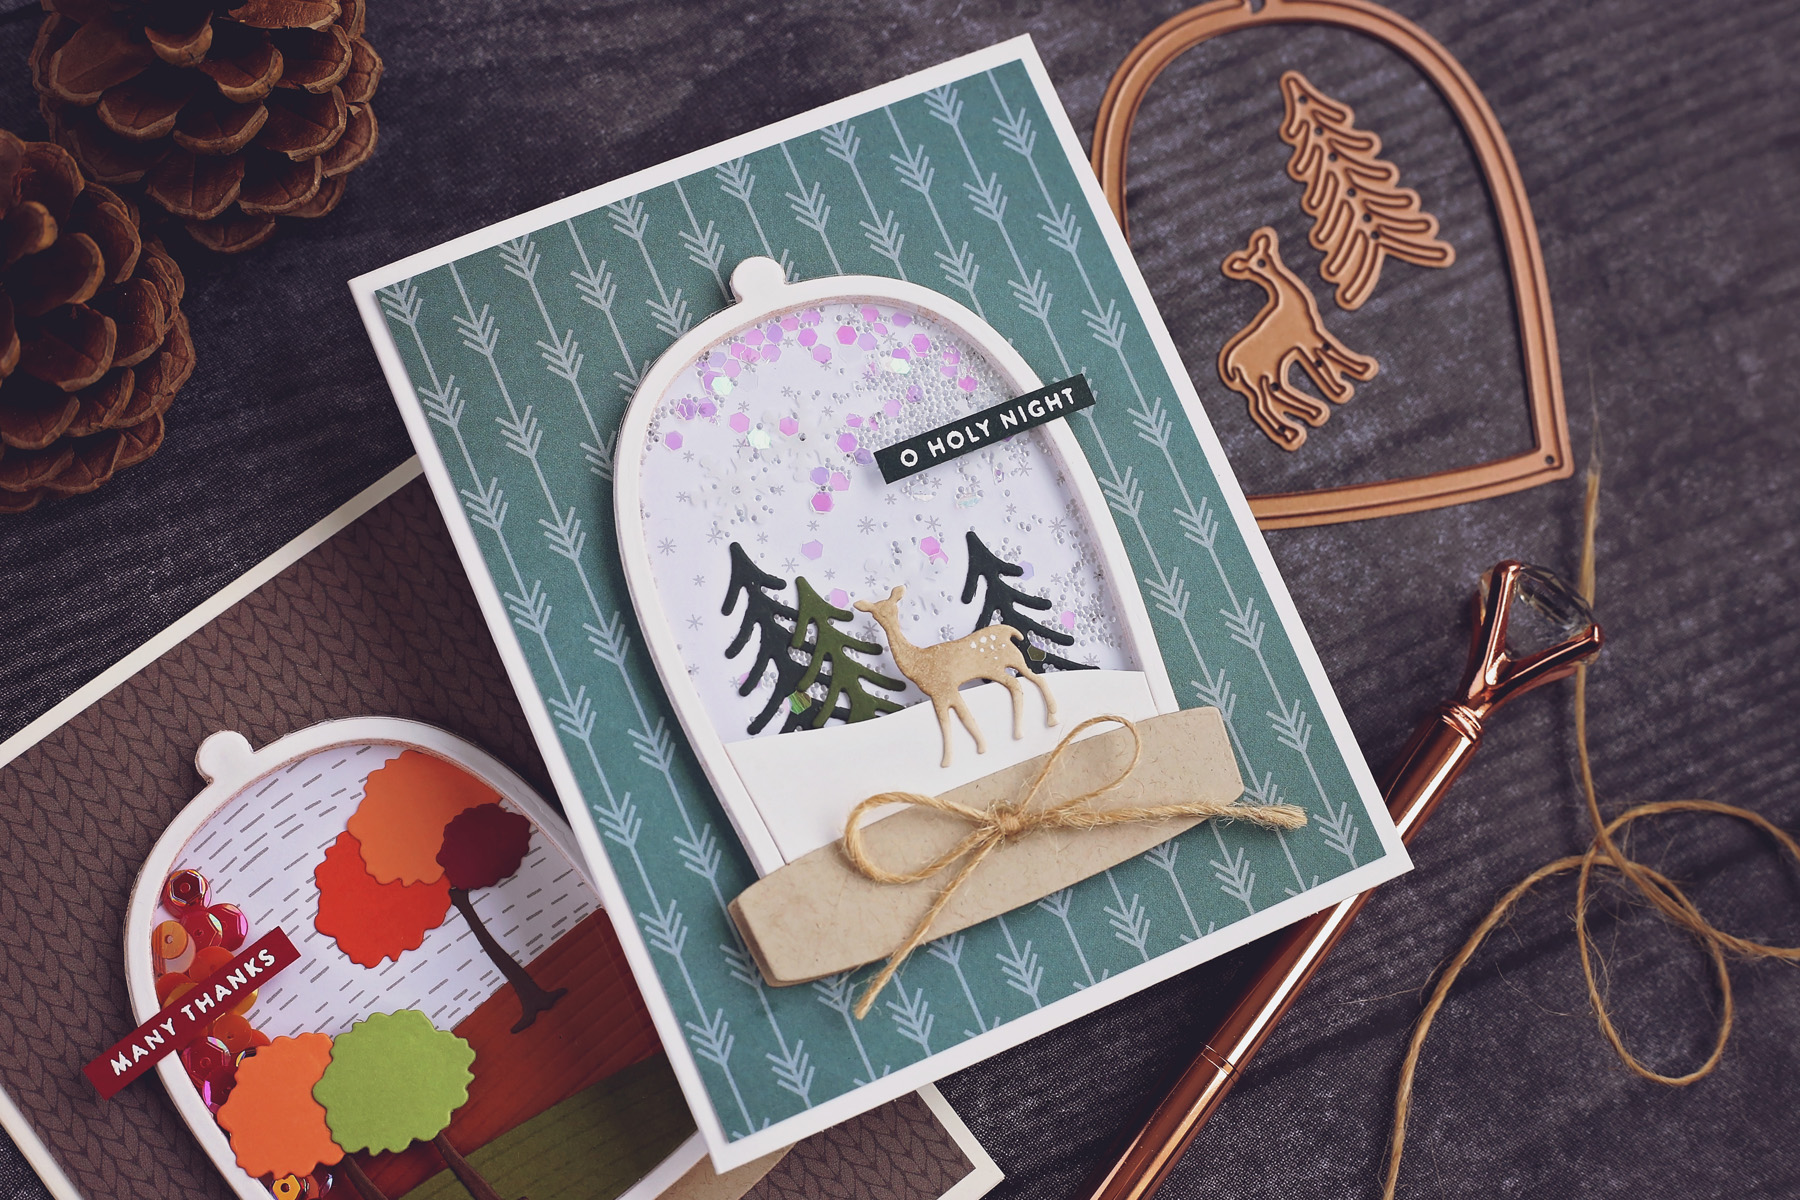
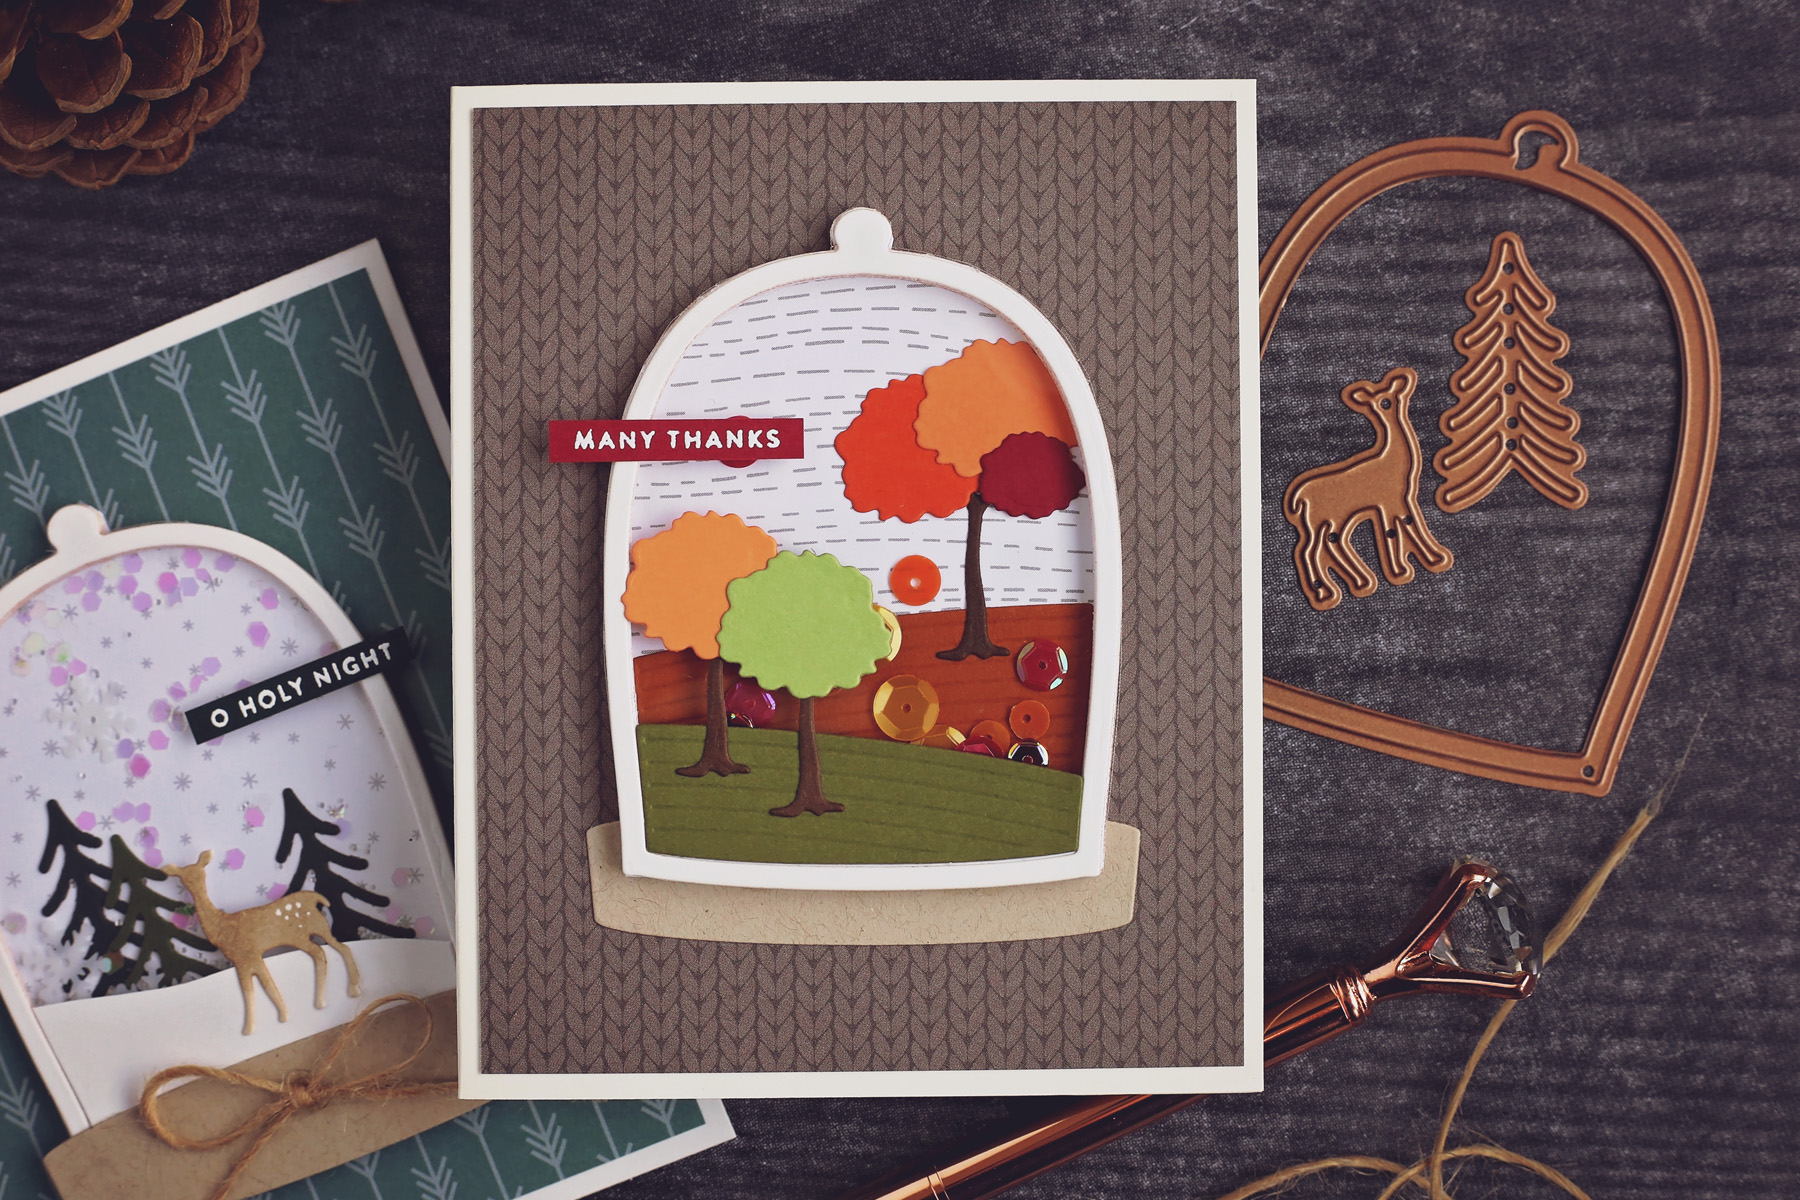
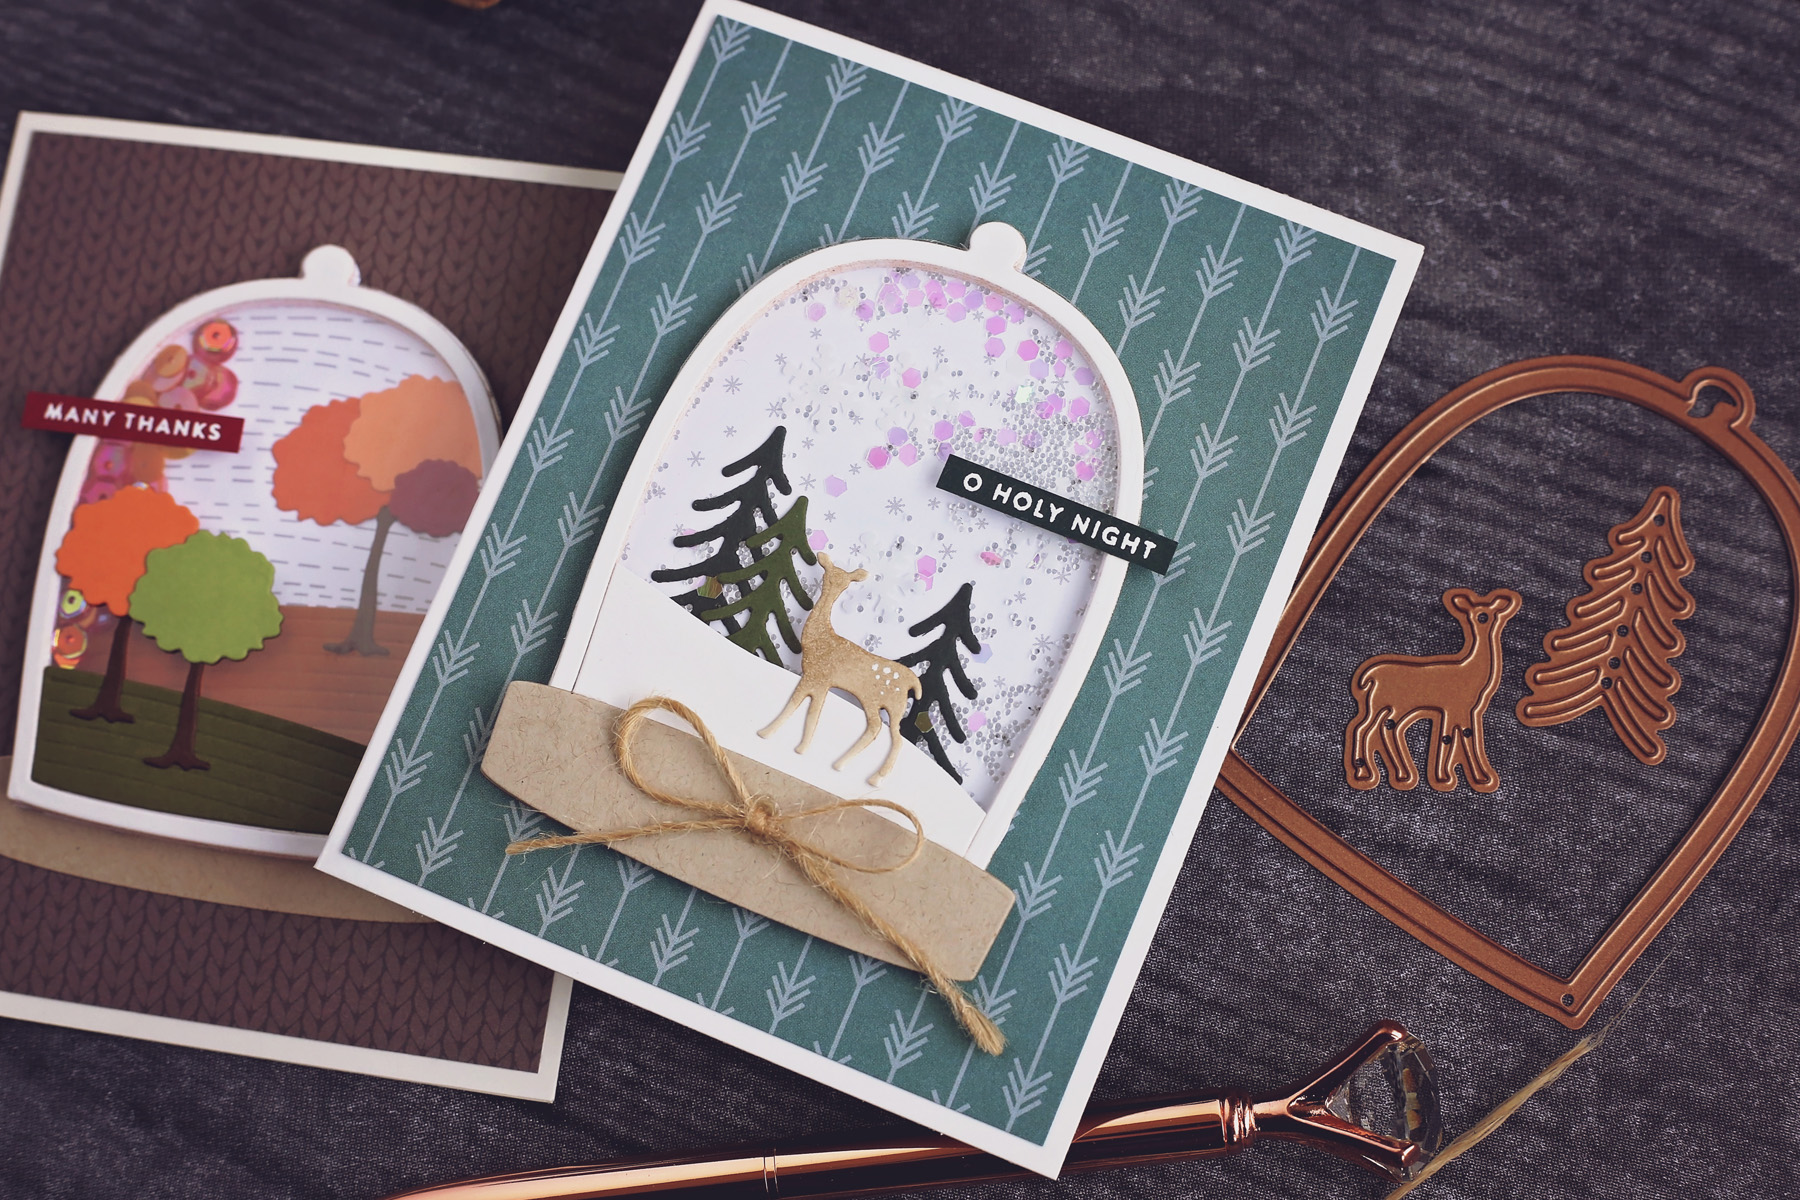
The first step for creating these cards was deciding on my layout. I sketched out a very simple layout that I would follow for both cards. I knew I wanted to turn the bell jar into a shaker (because I love me some shaker cards!) Each card would have the shaker centered, a scene inside, a small sentiment, and a patterned paper background. Even though the layouts are the same, changing the paper and the scene gives every card it's own unique feel.

Easily Create Different Scenes with One Card Layout | Scenic Snapshots Collection | Handmade cards by Ashley Tucker for Spellbinders

To create the shaker I took the bell jar die and cut a whole bunch of frames out of white cardstock. I thought that since the frame was really thin the best way to make a sturdy shaker would be to glue a bunch of the frames together into a thick piece. So I did that twice to make one shaker frame for each card. I then glued a piece of acetate to the top of the frame, trimming the excess plastic from the edges once the glue was dry. I glued one last bell frame on top over the acetate layer.

Easily Create Different Scenes with One Card Layout | Scenic Snapshots Collection | Handmade cards by Ashley Tucker for Spellbinders

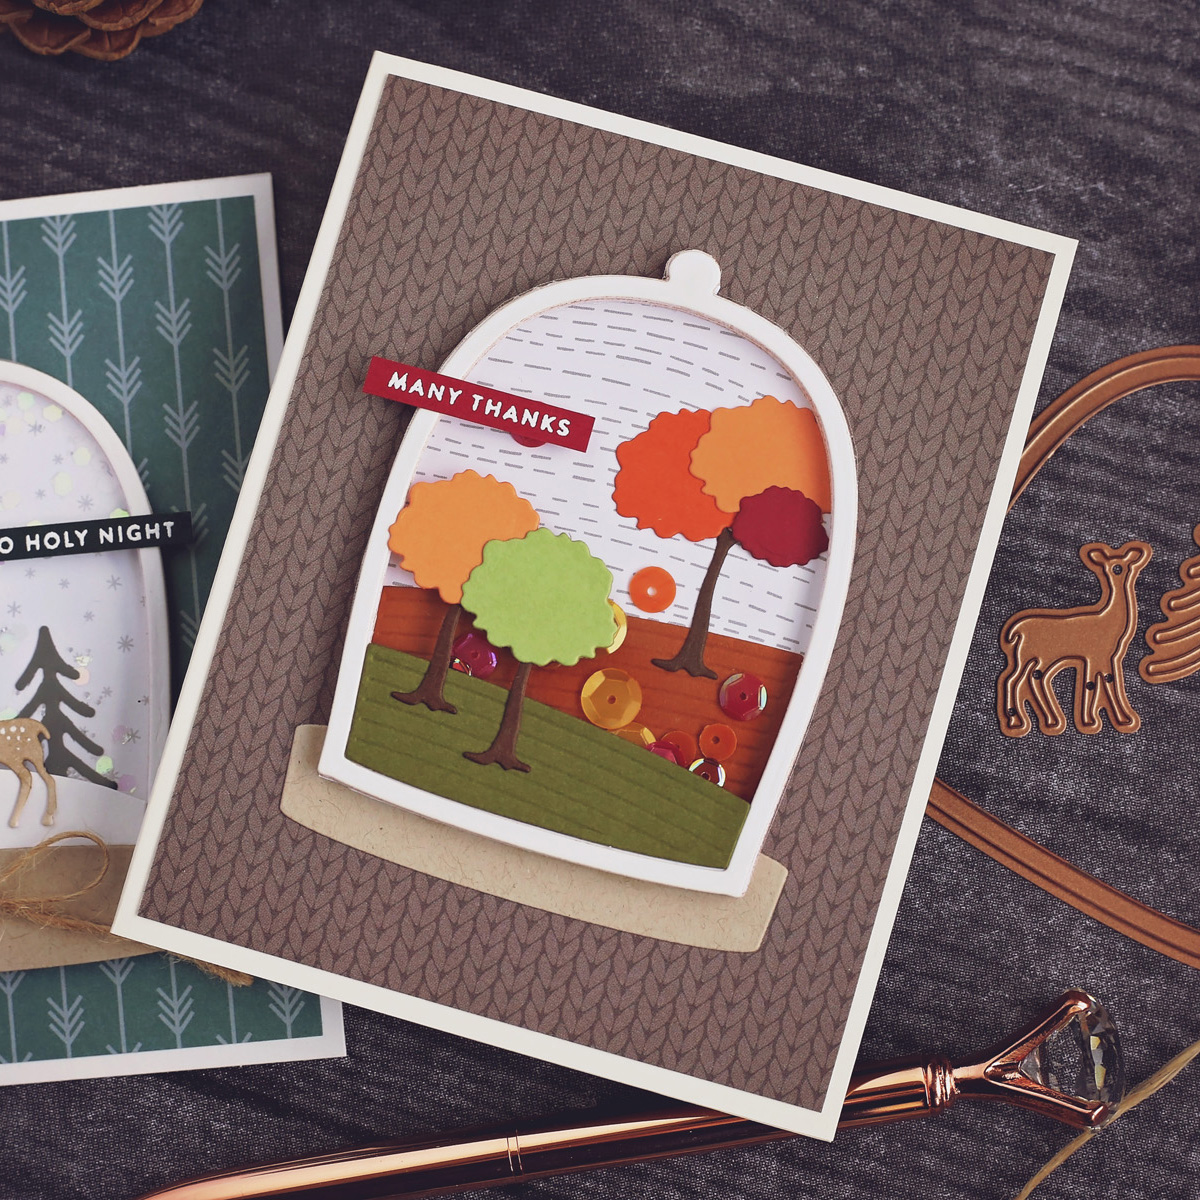
The next thing to do was to create the scenes for each shaker. You can make any scene you like, there are so many options with this collection. I decided to use some dies from the Santa's Workshop set for the first scene, and I used some from the Harvestime Snapshots for the second. I cut out all of the pieces I needed out of different colors of cardstock. I also picked out some patterned paper for the backgrounds on my two shakers.

Easily Create Different Scenes with One Card Layout | Scenic Snapshots Collection | Handmade cards by Ashley Tucker for Spellbinders

I arranged all of the pieced of my scenes to figure out the exact placement of everything. I then adhered everything in place, putting some of the pieces on the background of the shaker and some of them on the window of the shaker. I picked out some sequins and little shaker bits for each shaker, filled them up, and then closed them with the background paper.

Easily Create Different Scenes with One Card Layout | Scenic Snapshots Collection | Handmade cards by Ashley Tucker for Spellbinders

I took the die which cuts the platform for the bell jar and cut it out of Oatmeal Cookie cardstock three times. I glued one to the back of my fall themed shaker, and one to the back and front of my winter themed shaker. I also glued a cute little twine bow to the front of the winter shaker using Journey Glaze. For my card bases I decided to go with a non-traditional size of 4x5. I made two card bases out of white cardstock and then glued some patterned paper on the front of each. I adhered the shakers to the centers of each card base.

Easily Create Different Scenes with One Card Layout | Scenic Snapshots Collection | Handmade cards by Ashley Tucker for Spellbinders

I picked out some small sentiments and embossed them with white embossing powder on different colors of cardstock to match with their cards. I then cut them into tiny strips and glued them on the bell so that they hang off the side just a little bit. I decided to place the sentiments on different sides of the bell for each card because I felt they balanced better with the designs that way. Using a white gel pen I added some dots to the deer on the winter card. With that my cards were finished. These were really fun to put together and I think it would be really cool to make a set of them with scenes from every season!

Easily Create Different Scenes with One Card Layout | Scenic Snapshots Collection | Handmade cards by Ashley Tucker for Spellbinders

Spellbinders Supplies:

Other supplies

Patterned Paper, Dark Green Cardstock, Acetate, Liquid Adhesive, Tape Glider, Twine, White Gel Pen, Sequins, Glitter, Micro Pearls, Paper Trimmer, Scissors/ Thank you so much for stopping by with me today! I hope that you enjoyed the card designs and that they inspired you. Please come by and visit me at my blog or on my YouTube channel sometime! Happy crafting!

Leave a comment

Your email will not be published. Please note, comments need to be approved before they are published.

1 comment

Annie Morand,

Very pretty cards! Thanks for the Layout ideas :)


  • How to Make a Foiled Ornament Christmas Card

    BP-001

    How to Make a Foiled Ornament Christmas Card

    Looking for a festive Christmas card that combines hot foiling, stenciling, and letterpress techniques? This colorful holiday project features a softly shaded ornament, a pressed sentiment, layered arch panels, and shimmering gold snowflakes. The Tied With Cheer BetterPress plate and stencil set makes it easy to coordinate the ornament imagery and greeting, while the Winter Peace plate creates an elegant foiled background. In this step-by-step...

  • HOW TO USE PRESS PLATES WITH MULTIPLE INKS | CREATE YOUR WAY HOLIDAY, BPR-050, BPI-049, BPI-003

    BP-001

    How to Use Multiple Ink Colors with BetterPress Registration Plates

    Create a colorful Christmas card while learning how to apply multiple ink colors to BetterPress registration plates. In this detailed tutorial, you’ll use the Festive Evergreens Registration Press + Foil Plate & Die Set to press a holiday doorway scene in three colors, combining the built-in registration system with a simple masking technique. The registration template positions the coordinating plates so each layer aligns with...

  • How to Make a Colorful Foiled Butterfly Card with Glimmer II

    BP-351

    How to Make a Colorful Foiled Butterfly Card with Glimmer II

    Combine hot foiling, alcohol-marker coloring, ink blending, and dimensional shaping to create a colorful butterfly card that sparkles from every angle. In this step-by-step tutorial, you’ll learn how to foil detailed butterflies and a floral background with the Glimmer II Hot Foil System, add bold color, and shape the butterfly wings for a realistic raised effect. The Bright Butterflies and Thanks In Bloom Press +...