Elegant 3D Vignettes Inspiration | Ornamental Arch Card with Melissa
on February 17, 2018

Elegant 3D Vignettes Inspiration | Ornamental Arch Card with Melissa

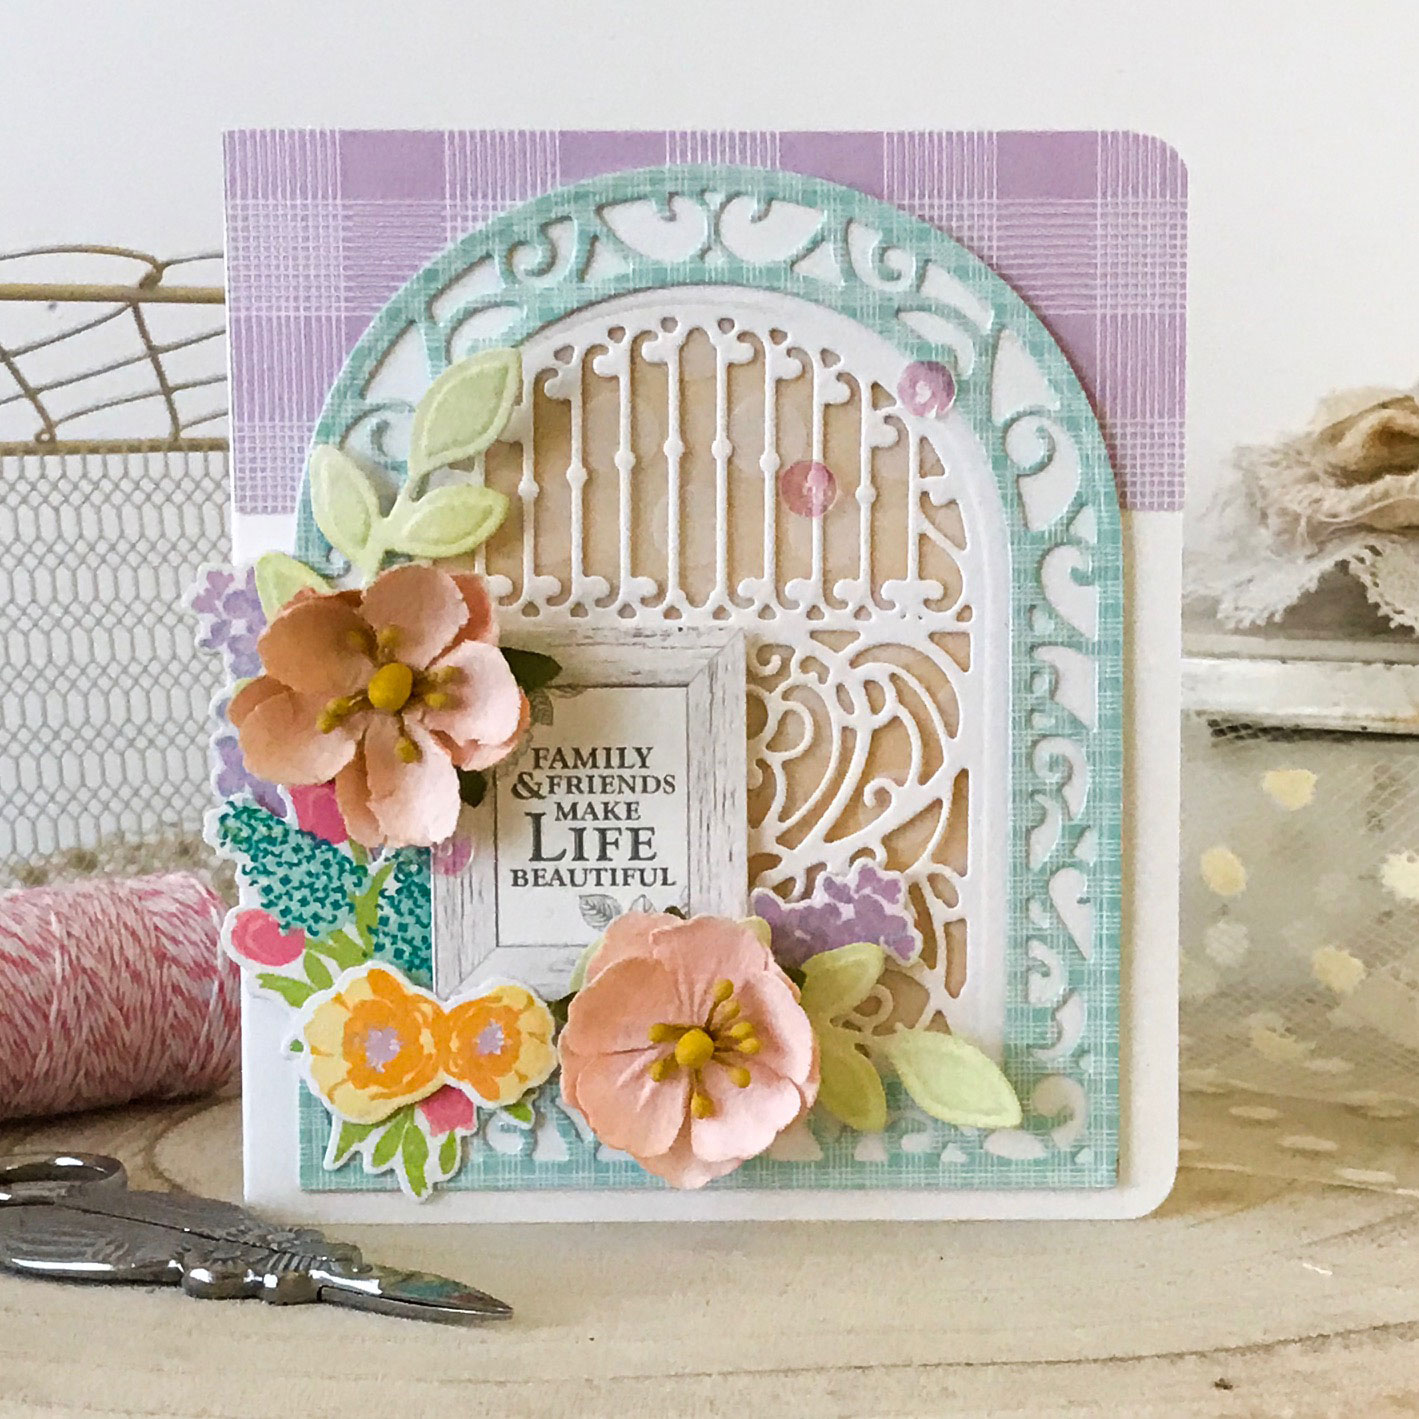
Hello! Melissa Phillips here with you today and I have the pleasure of sharing a project using some of the beautiful Elegant 3D Vignettes Dies from Becca Feeken.  These dies are truly breathtaking!
Elegant 3D Vignettes collection by Becca Feeken Inspiration | Ornamental Arch Card with Melissa Phillips using S5-340 Ornamental Arch, S4-867 Cinch and Go Flowers III dies #spellbinders #diecutting #handmadecard #neverstopmaking

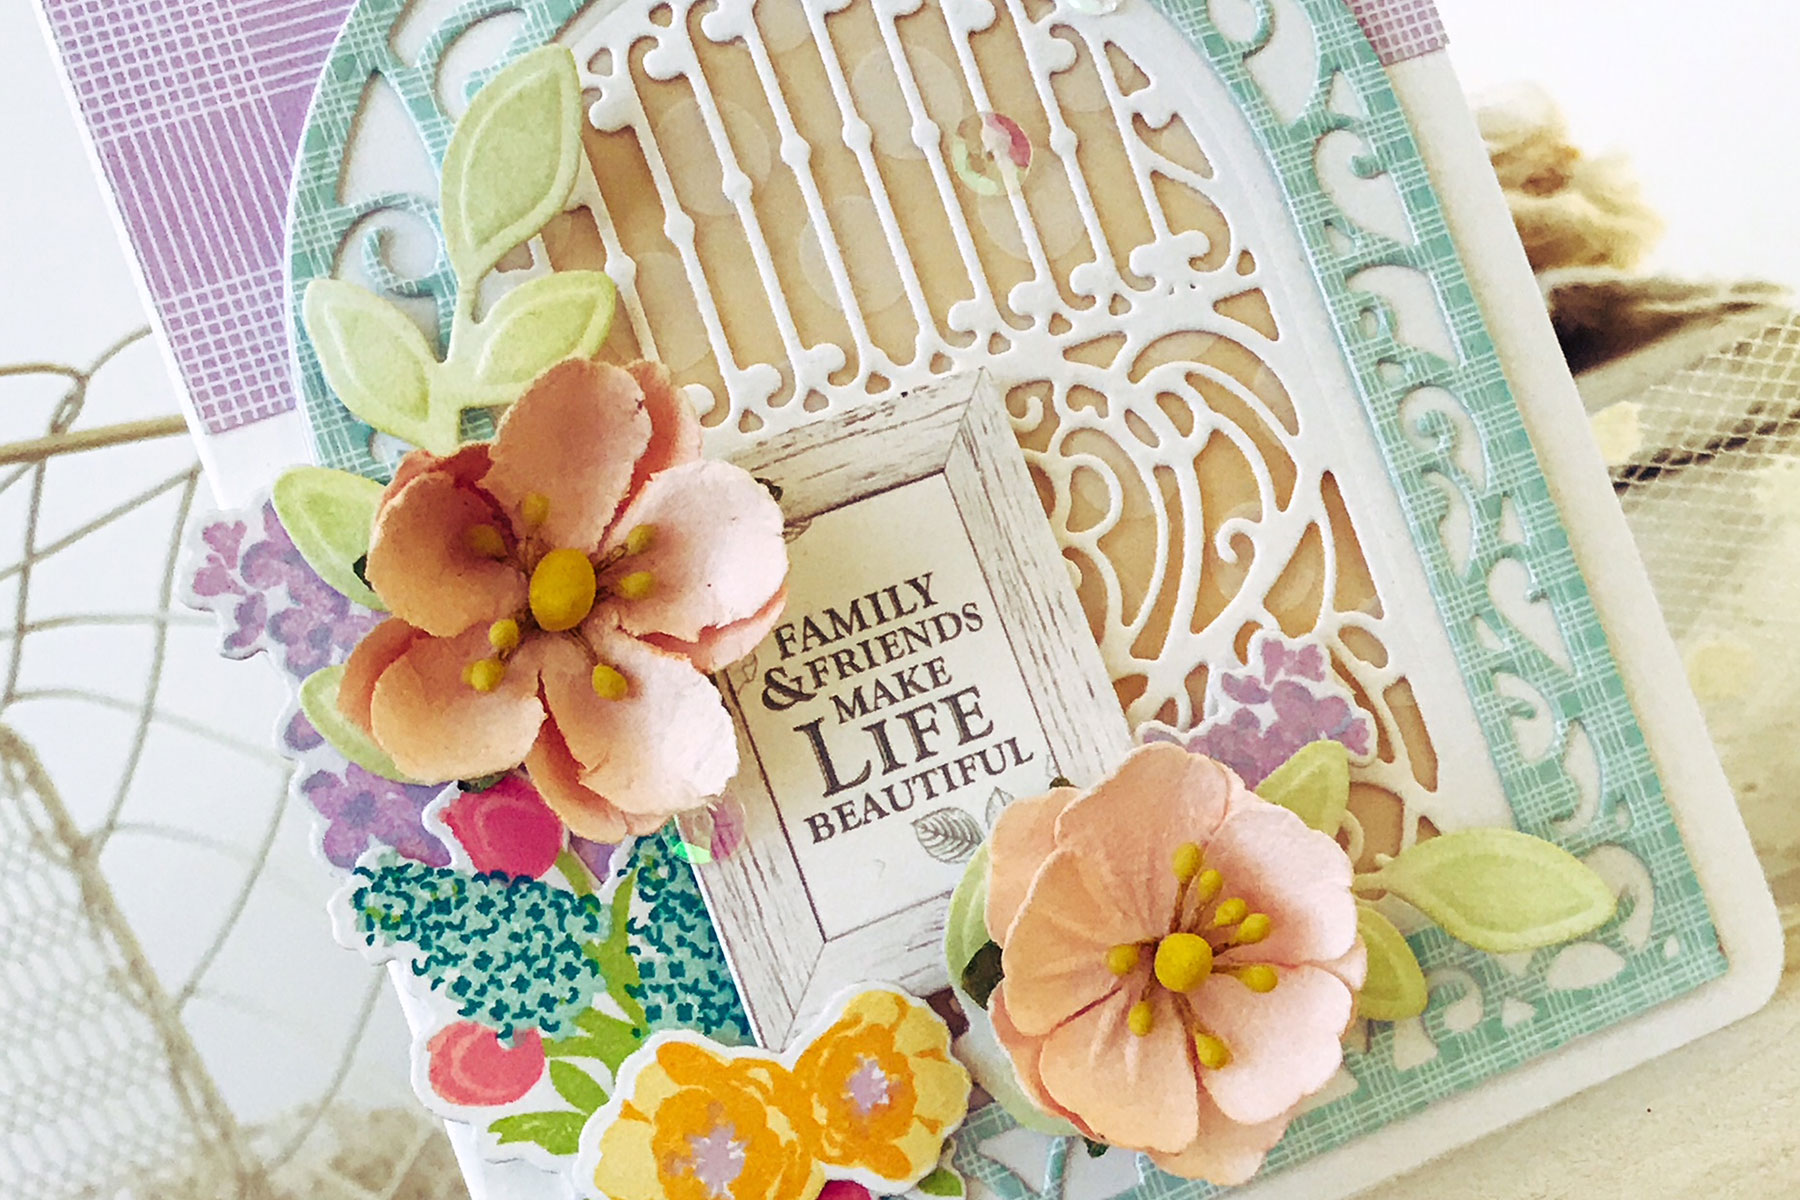
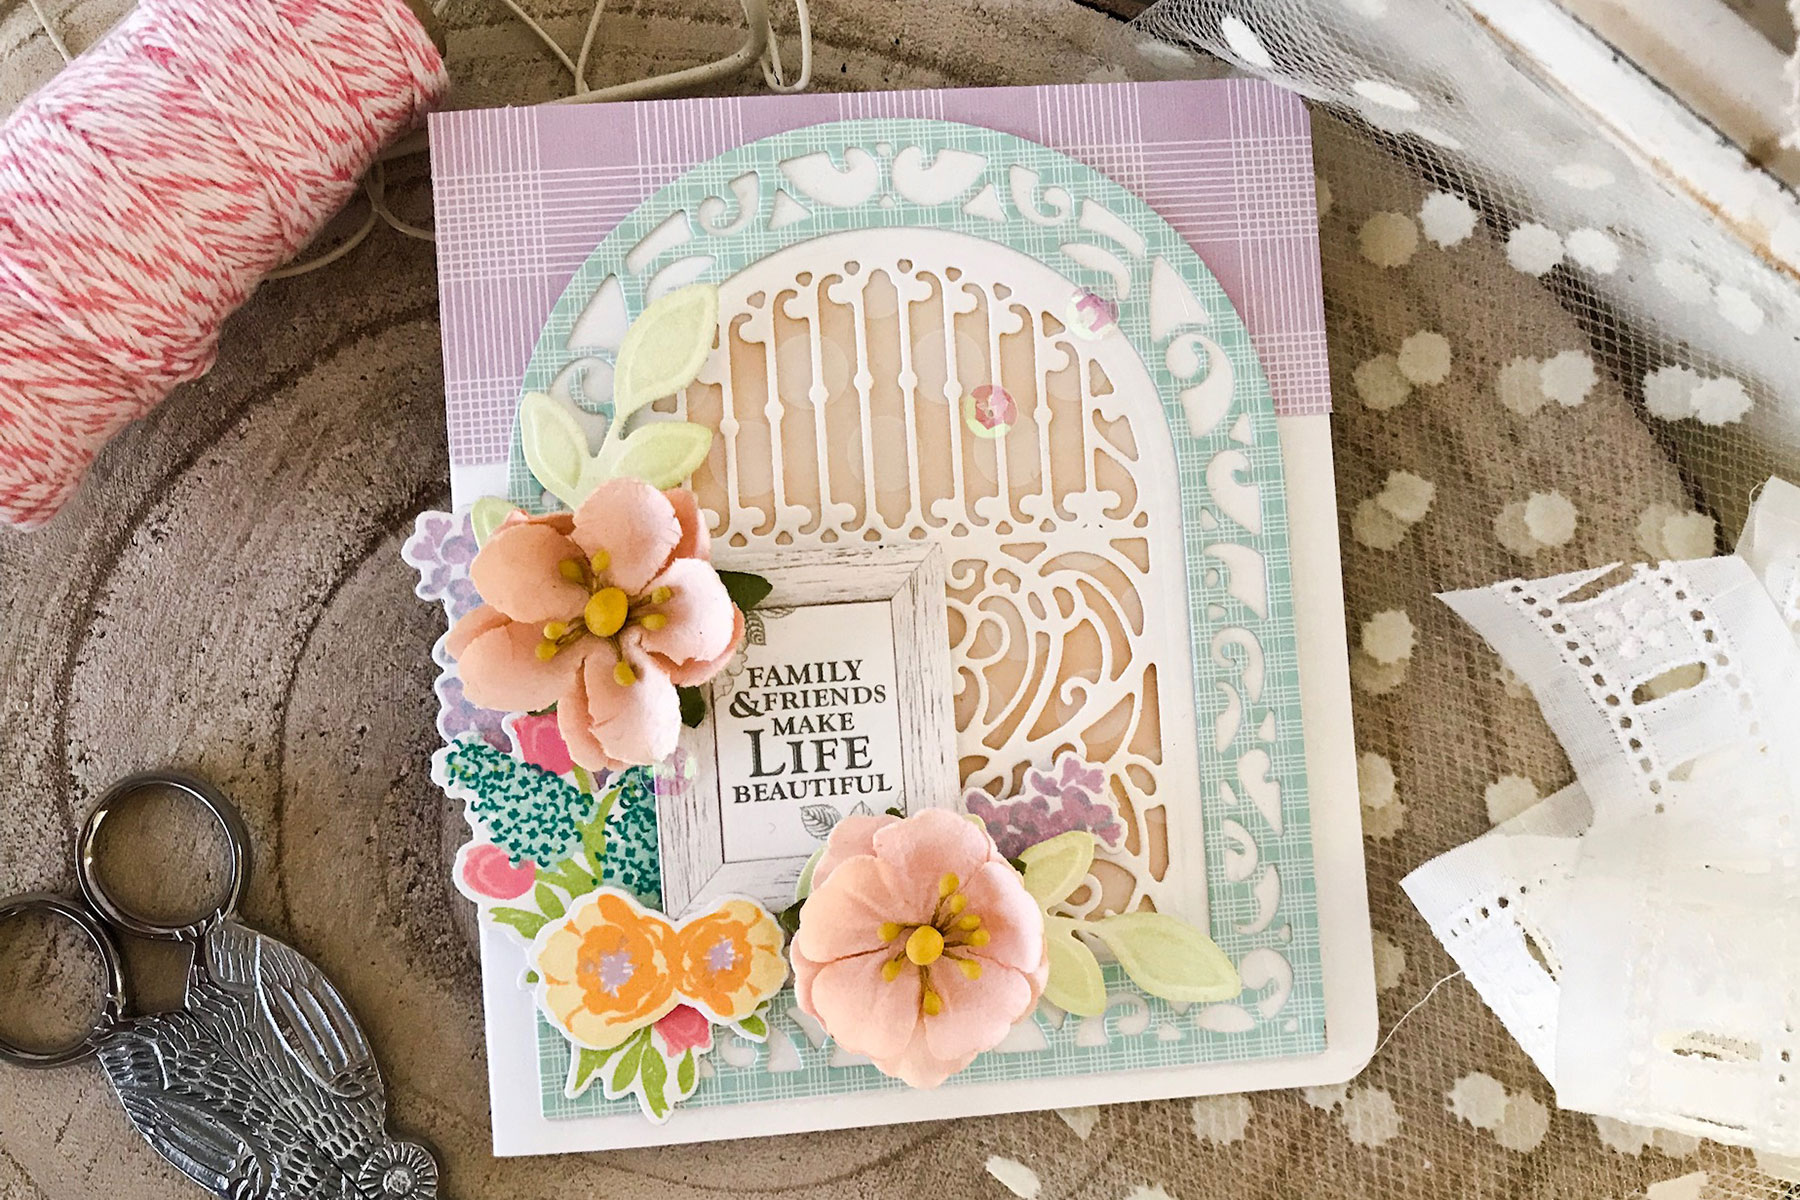
I created a card using the Ornamental Arch die set.  These dies are so versatile, allowing you to take your card from simple and basic, to very detailed and layered.

Elegant 3D Vignettes collection by Becca Feeken Inspiration | Ornamental Arch Card with Melissa Phillips using S5-340 Ornamental Arch, S4-867 Cinch and Go Flowers III dies #spellbinders #diecutting #handmadecard #neverstopmaking

Layers are one of my must-have items on each card I create, so these 3D Vignette dies are a dream to work with.  In the background, I die cut a pale yellow arch, followed by a vellum arch.  These form the background, behind my more intricate layers of white and aqua blue.

Elegant 3D Vignettes collection by Becca Feeken Inspiration | Ornamental Arch Card with Melissa Phillips using S5-340 Ornamental Arch, S4-867 Cinch and Go Flowers III dies #spellbinders #diecutting #handmadecard #neverstopmaking

These lovely arched layers create a focal point that can stand on its own, I simply embellished with a couple paper flowers, some stamping, and my sentiment.  I accented my flowers with vines cut using the Cinch and Go Flowers III  dies.

Elegant 3D Vignettes collection by Becca Feeken Inspiration | Ornamental Arch Card with Melissa Phillips using S5-340 Ornamental Arch, S4-867 Cinch and Go Flowers III dies #spellbinders #diecutting #handmadecard #neverstopmaking

Spellbinders Supplies:

Other Supplies:

Patterned paper:  My Favorite Things and Papertrey Ink; Cardstock:  Bazzill Basics; Flowers:  Prima; Stamps:  Papertrey Ink; Ink:  Papertrey Ink;  Sentiment:  Kaisercraft;  Adhesive:  Beacon and Tombow I can’t wait to share more projects using the delightful 3-D Vignette dies in the coming weeks.  They’re irresistible! Melissa

Leave a comment

Your email will not be published. Please note, comments need to be approved before they are published.


  • HOW TO USE PRESS PLATES WITH MULTIPLE INKS | CREATE YOUR WAY HOLIDAY, BPR-050, BPI-049, BPI-003

    BP-001

    How to Use Multiple Ink Colors with BetterPress Registration Plates

    Create a colorful Christmas card while learning how to apply multiple ink colors to BetterPress registration plates. In this detailed tutorial, you’ll use the Festive Evergreens Registration Press + Foil Plate & Die Set to press a holiday doorway scene in three colors, combining the built-in registration system with a simple masking technique. The registration template positions the coordinating plates so each layer aligns with...

  • How to Make a Colorful Foiled Butterfly Card with Glimmer II

    BP-351

    How to Make a Colorful Foiled Butterfly Card with Glimmer II

    Combine hot foiling, alcohol-marker coloring, ink blending, and dimensional shaping to create a colorful butterfly card that sparkles from every angle. In this step-by-step tutorial, you’ll learn how to foil detailed butterflies and a floral background with the Glimmer II Hot Foil System, add bold color, and shape the butterfly wings for a realistic raised effect. The Bright Butterflies and Thanks In Bloom Press +...

  • How to Heat Emboss with BetterPress Plates: Snowman Christmas Card

    BP-001

    How to Heat Emboss with BetterPress Plates: Snowman Christmas Card

    BetterPress plates can do more than create letterpress impressions and hot-foiled designs. In this detailed Christmas card tutorial, you’ll learn how to apply clear sticky ink to a BetterPress plate and use white embossing powder to produce a crisp, heat-embossed snowflake background. The tutorial also covers pressing and die cutting a sentiment, assembling three detailed snowmen, and arranging the finished elements on an A2 card....