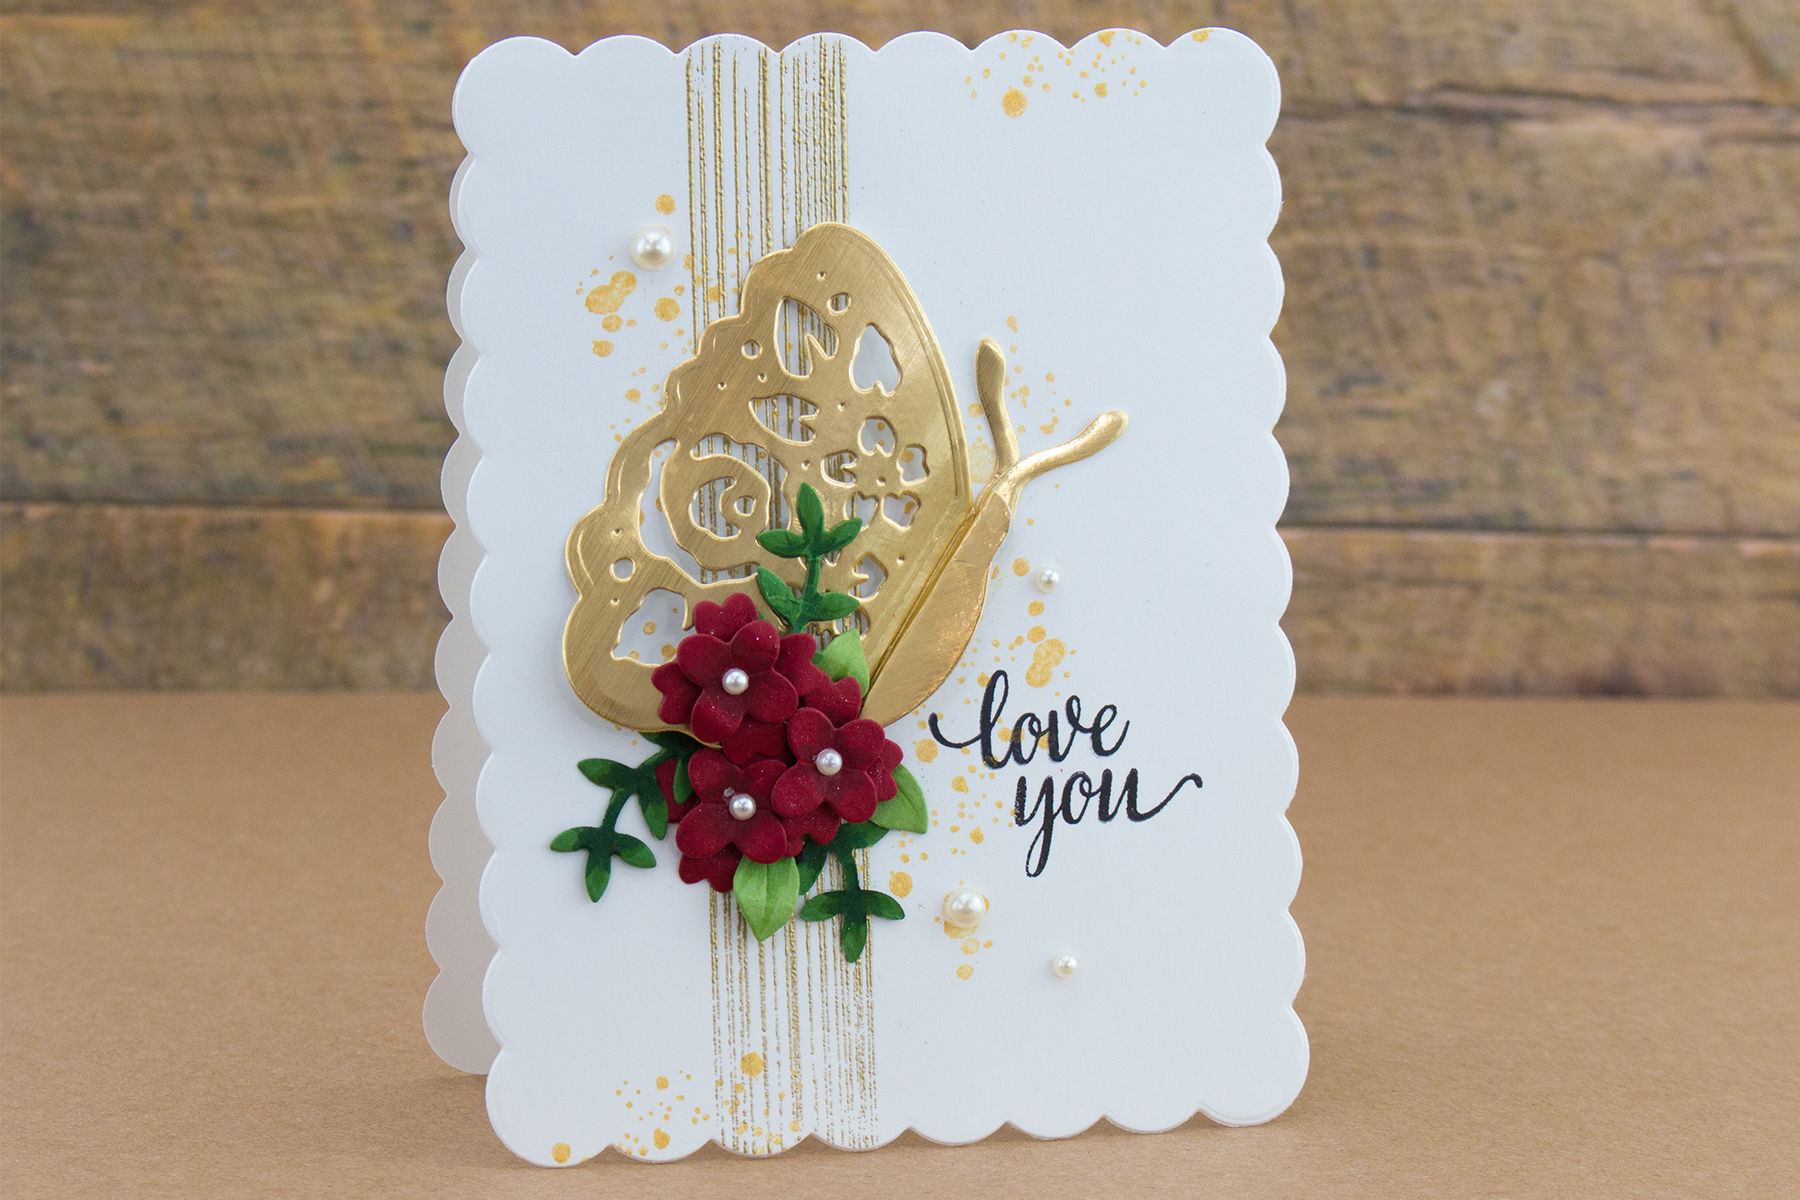
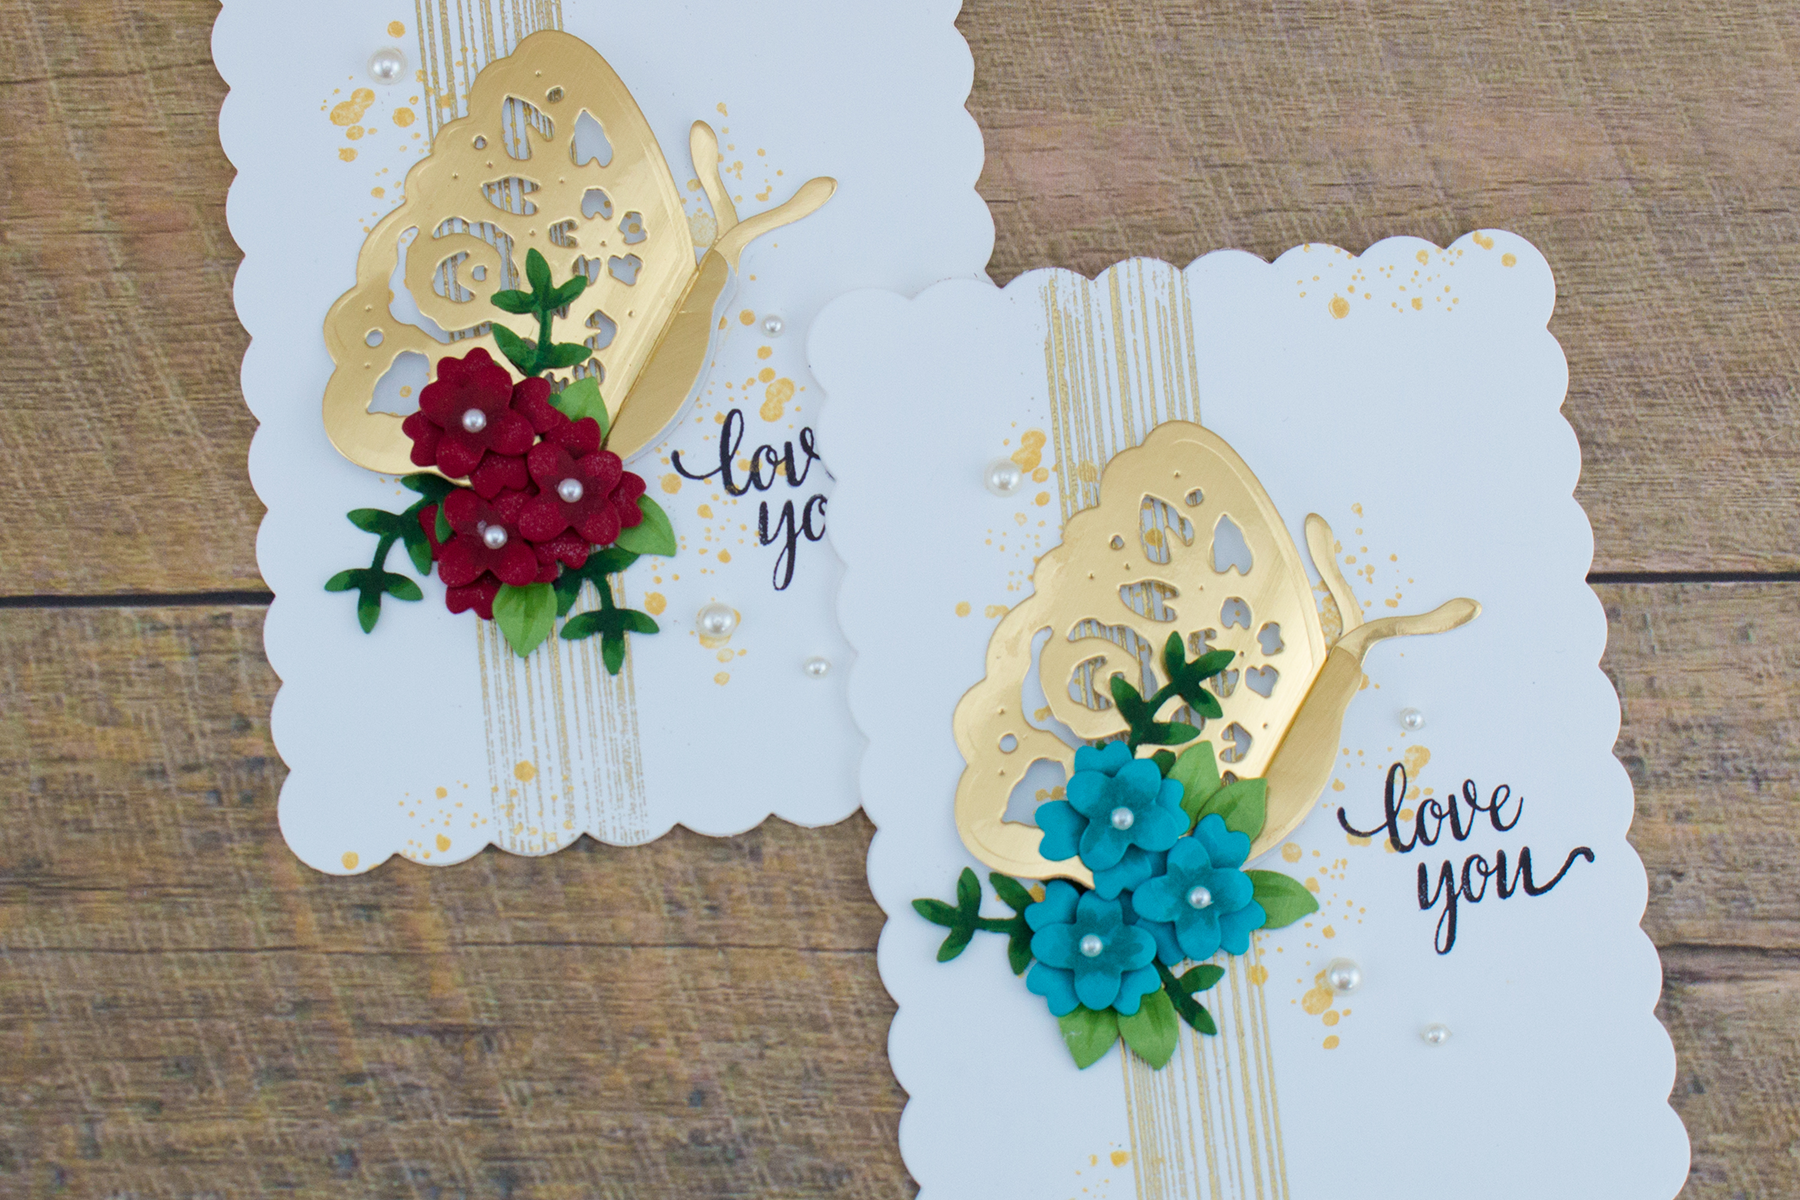
Flower Garden Inspiration | Botanical Butterfly Card with Cynde. Video
Hey folks! This is Cynde Whitlow and I’m from
The Pink Envelope
. Thanks so much for stopping by! I’m here today to share a video, where I show you how I make two very easy cards using some lovely dies from the
Flower Garden Collection
by
Sharyn Sowell
. I simply adore the
Botanical Butterfly dies.
From the moment I saw it, I knew I had to use gold cardstock.
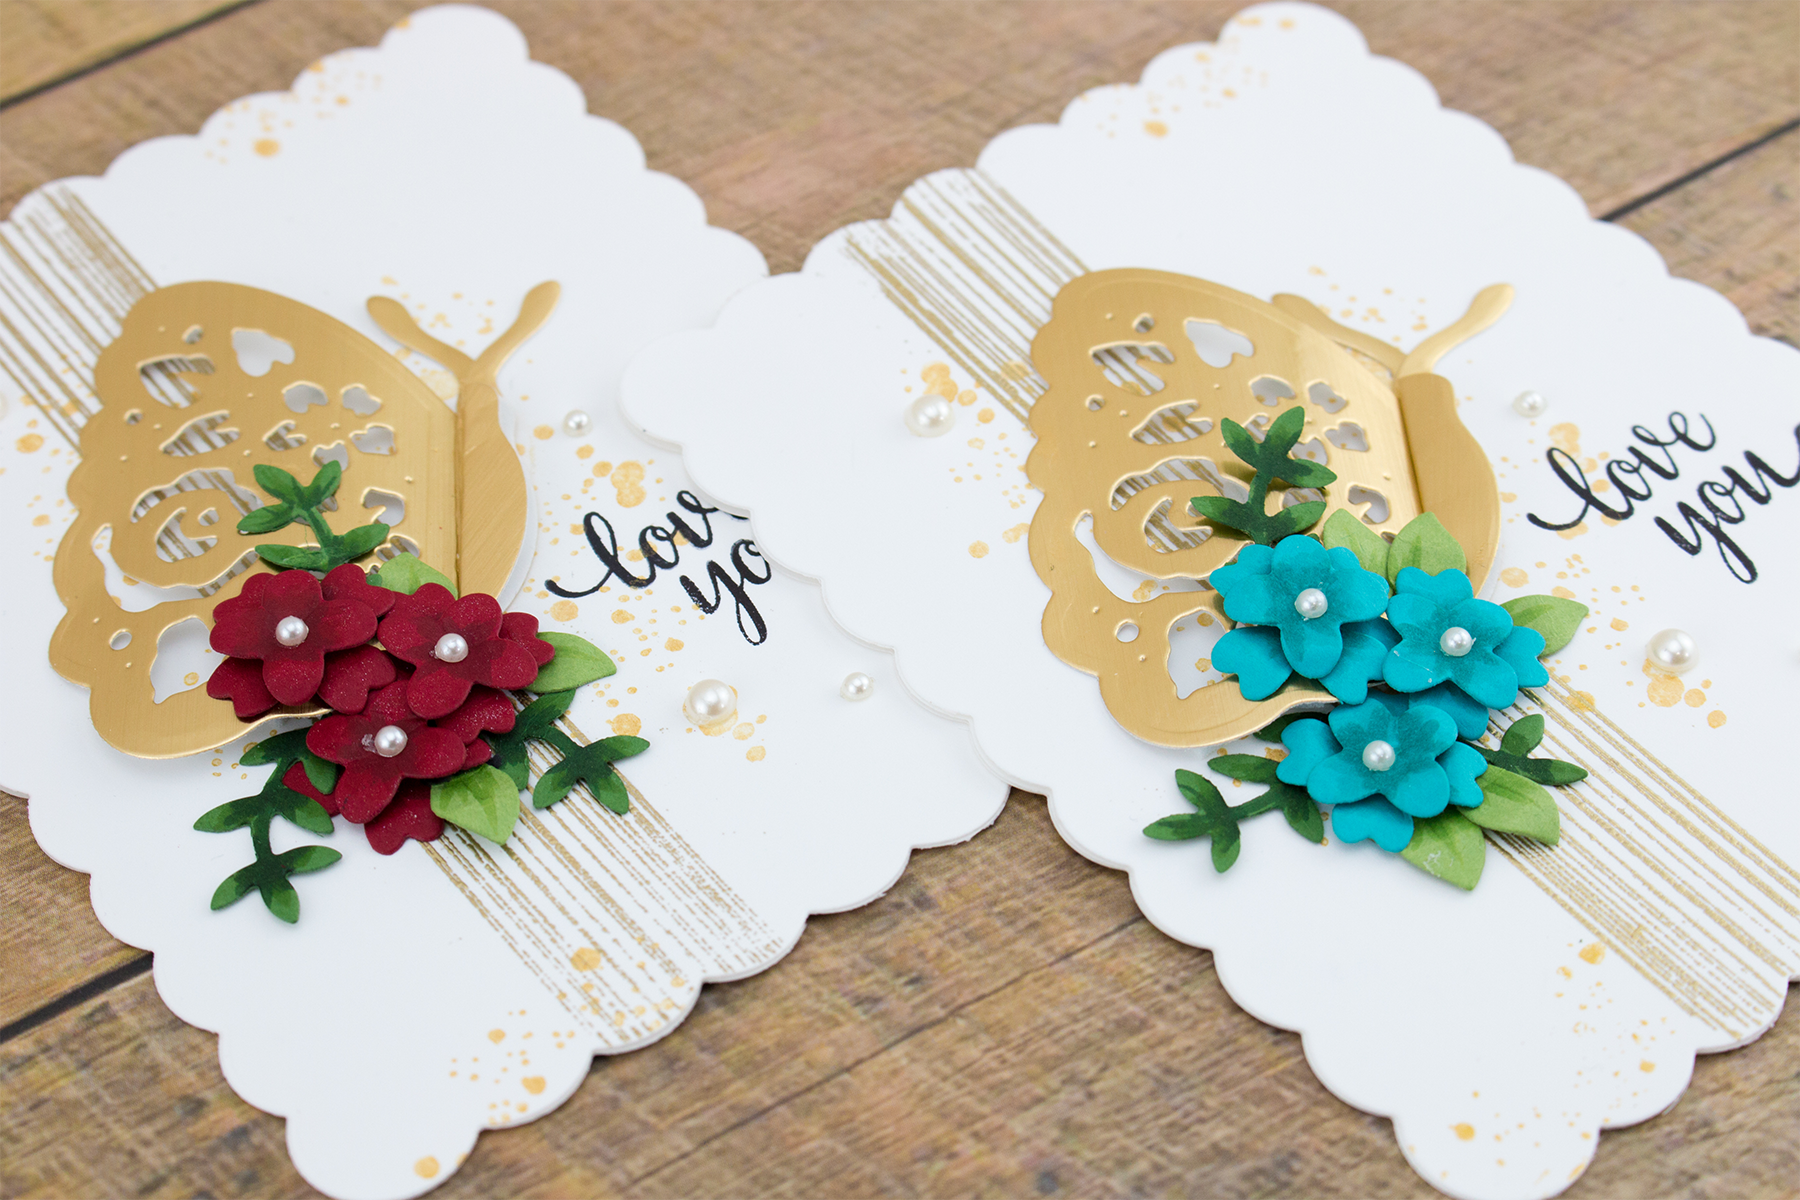
I started by making shaped cards using the frame die from the
Floral Panel Card Die Set
. Then I die cut the butterfly from the
Botanical Butterfly Die Set
in gold cardstock. I used stamps to create my the “splatters” on my card panel, but you could totally use gold paint and a paint brush to add them if you like.
The Bird On Cherry Branch Die Set
has some really sweet flowers so I die cut those as well, but I cut them in colored cardstocks. The color combinations are endless folks, but I thought red and blue-green were prefect pairs with the gold.
Next, I shaped the flowers with a stylus and added dimensional foam tape in between the layers to build them up.
I added all of the little flowers and leaves around the bottom of the butterfly and added some pearls to the center of the flowers and the panel to finish it off.
Video Tutorial
Watch the video tutorial below or on
YouTube
to learn how to make this project.
My Favorite Things Brushed Gold Cardstock, Simon Says Stamp Schoolhouse Red Cardstock, Simon Says Stamp Green Apple Cardstock, Lawn Fawn Noble Fir Cardstock, Gina K Designs Red Velvet Cardstock, Versamark Ink, Hero Arts Gold Embossing Powder, Delicata Gold Ink, Hero Arts For You Stamp Set, Wplus9 Black Dye Ink, Dimensional Foam Tape, Double Sided Adhesive, Self Adhesive Pearls, Craft Pick, Craft Stylus.
That’s it folks! I truly hope you enjoyed my cards today! I look forward to using more of the Flower Garden Collection. Thanks again so much for stopping by!
Until next time!
Combine hot foiling, alcohol-marker coloring, ink blending, and dimensional shaping to create a colorful butterfly card that sparkles from every angle. In this step-by-step tutorial, you’ll learn how to foil detailed butterflies and a floral background with the Glimmer II Hot Foil System, add bold color, and shape the butterfly wings for a realistic raised effect. The Bright Butterflies and Thanks In Bloom Press +...

BetterPress plates can do more than create letterpress impressions and hot-foiled designs. In this detailed Christmas card tutorial, you’ll learn how to apply clear sticky ink to a BetterPress plate and use white embossing powder to produce a crisp, heat-embossed snowflake background. The tutorial also covers pressing and die cutting a sentiment, assembling three detailed snowmen, and arranging the finished elements on an A2 card....
Create a bright, modern card while learning how to use the negative foil left behind after hot foiling. In this step-by-step tutorial, you’ll foil the detailed Windows with a View design, use a solid plate to reverse foil the remaining image, and turn selected windows into dimensional embellishments. An ink-blended striped background, BetterPress sentiment, and sparkling gems complete the design. This project is ideal for...