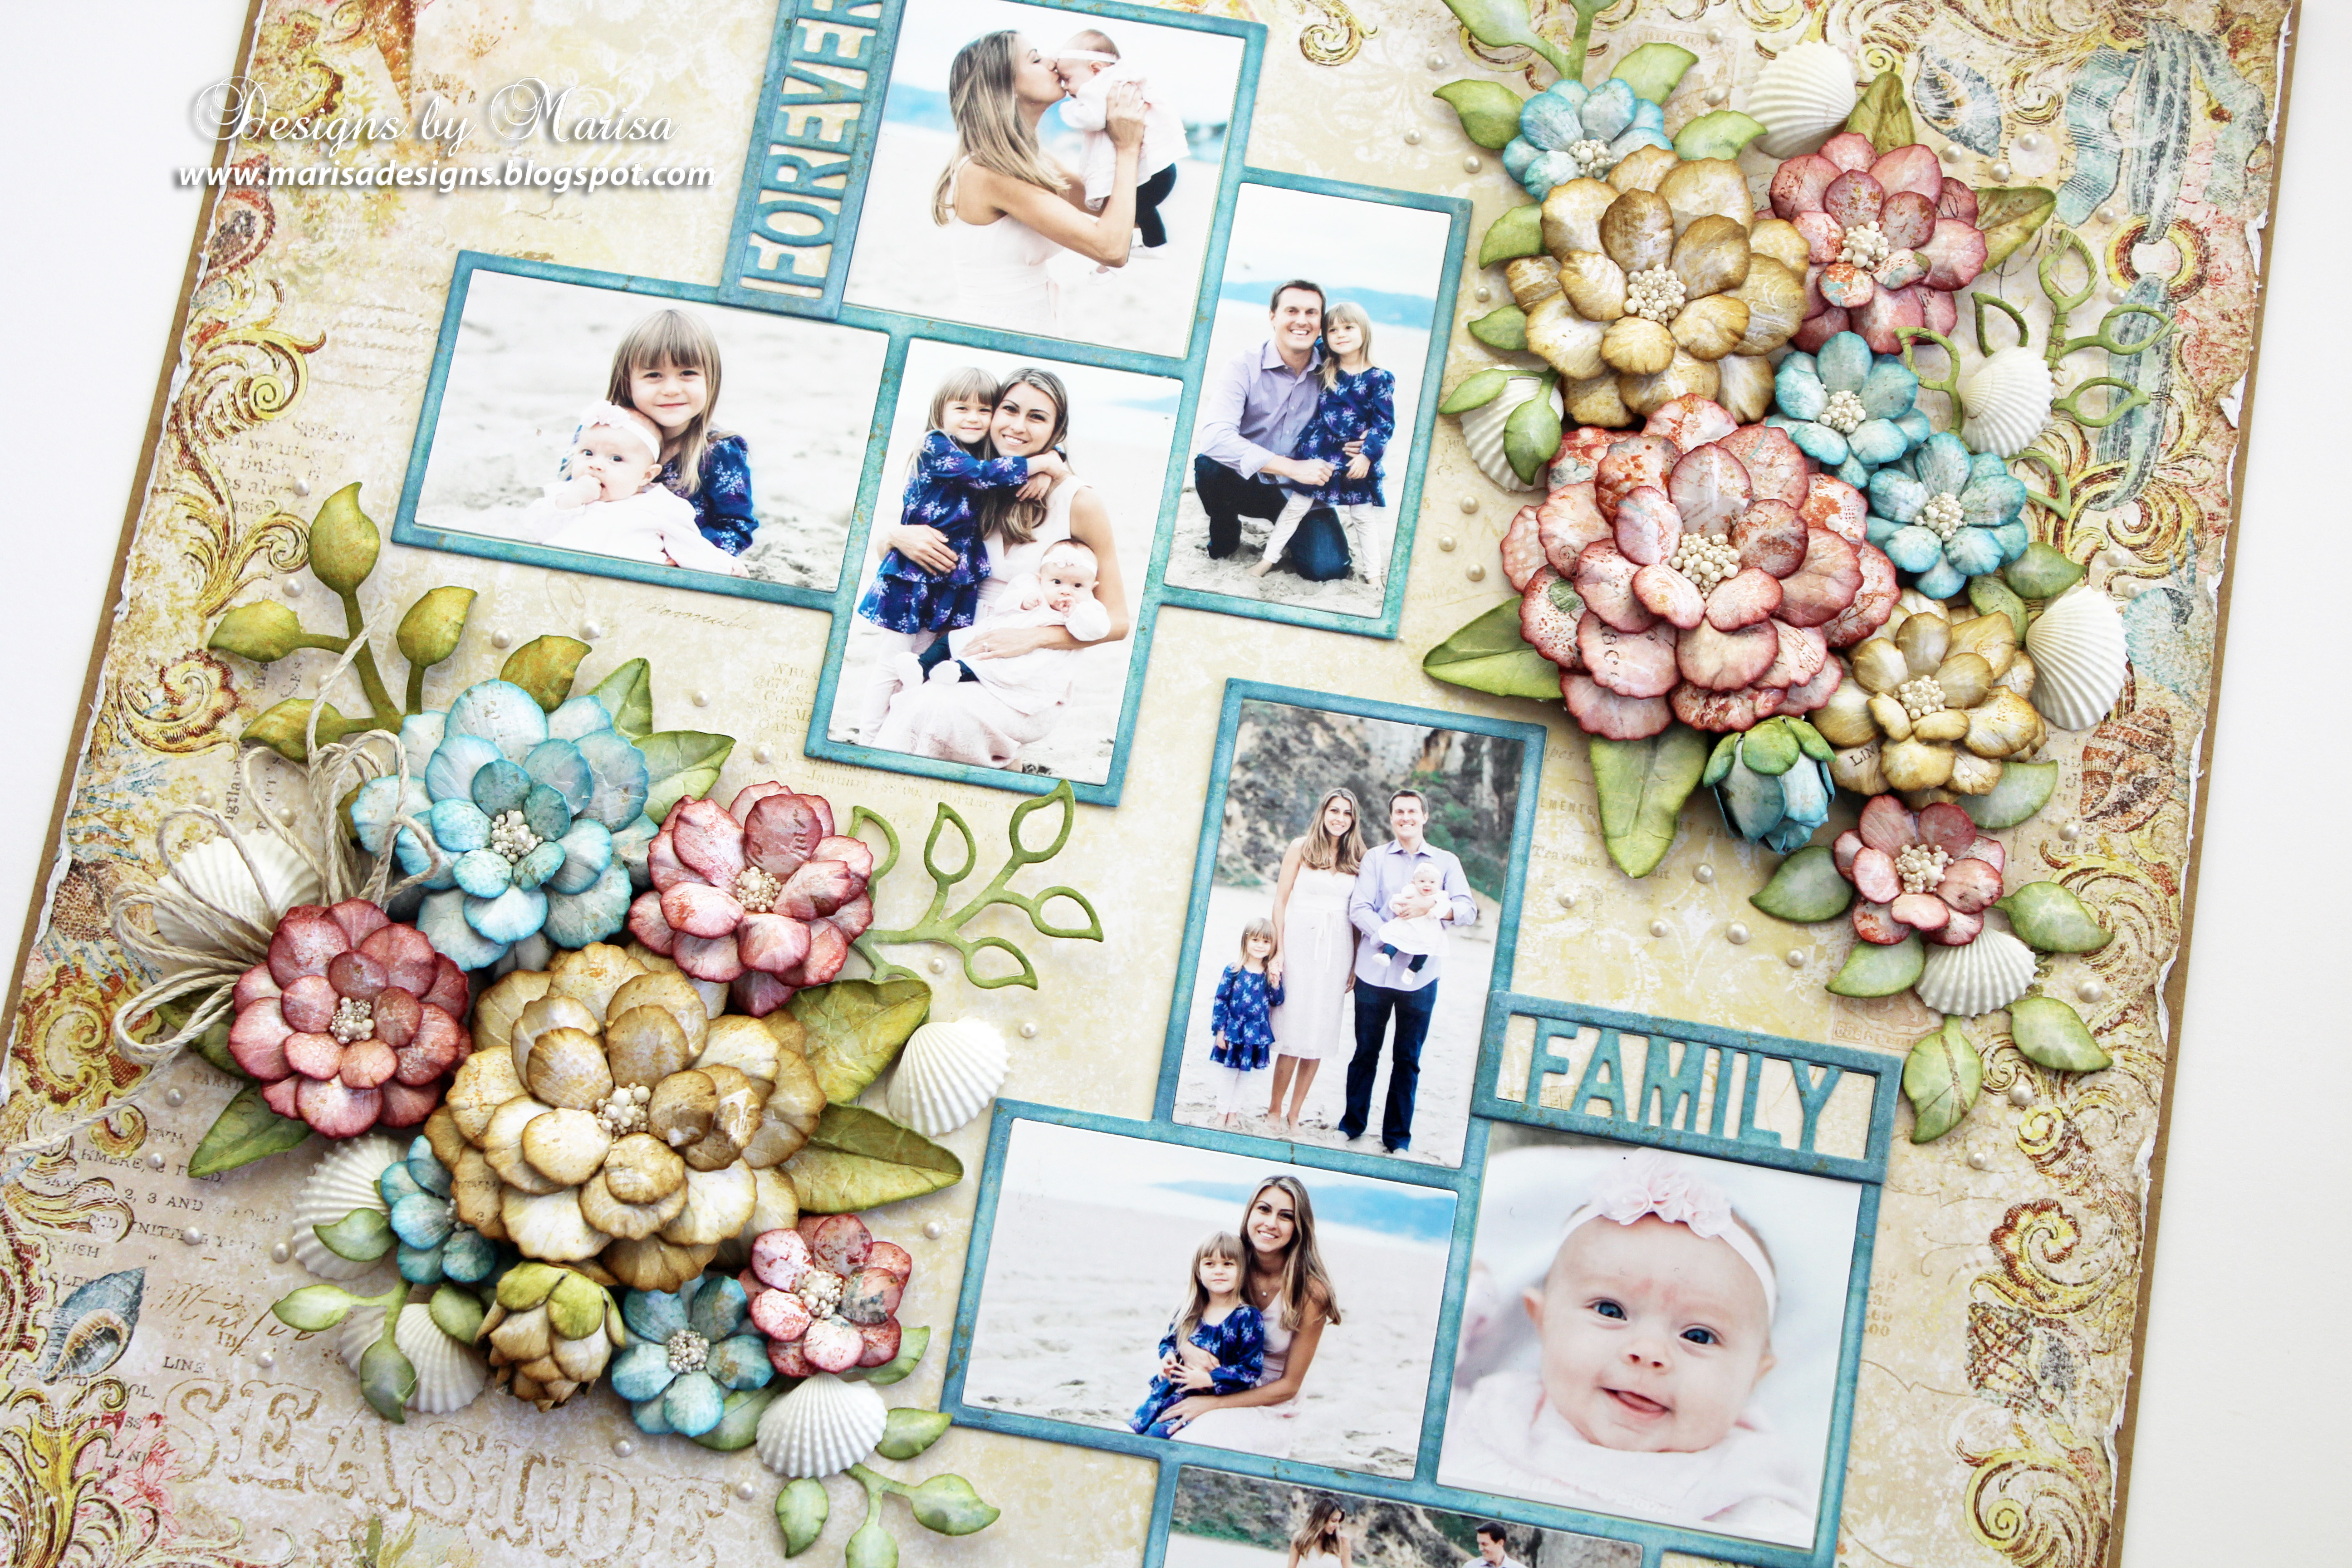
Forever Family Layout by Marisa Job
on October 24, 2017

Forever Family Layout by Marisa Job

Hello friends! I’m Marisa Job and I am so happy to be here today to show you how to make this family layout. This layout was very simple to make using 3 die sets from my new Timeless Heart Collection. The frames were created with Friends and Family Frames die set, the flowers were created with Textured Flowers die set and for the leaves I used Layered Leaf Vines die set.
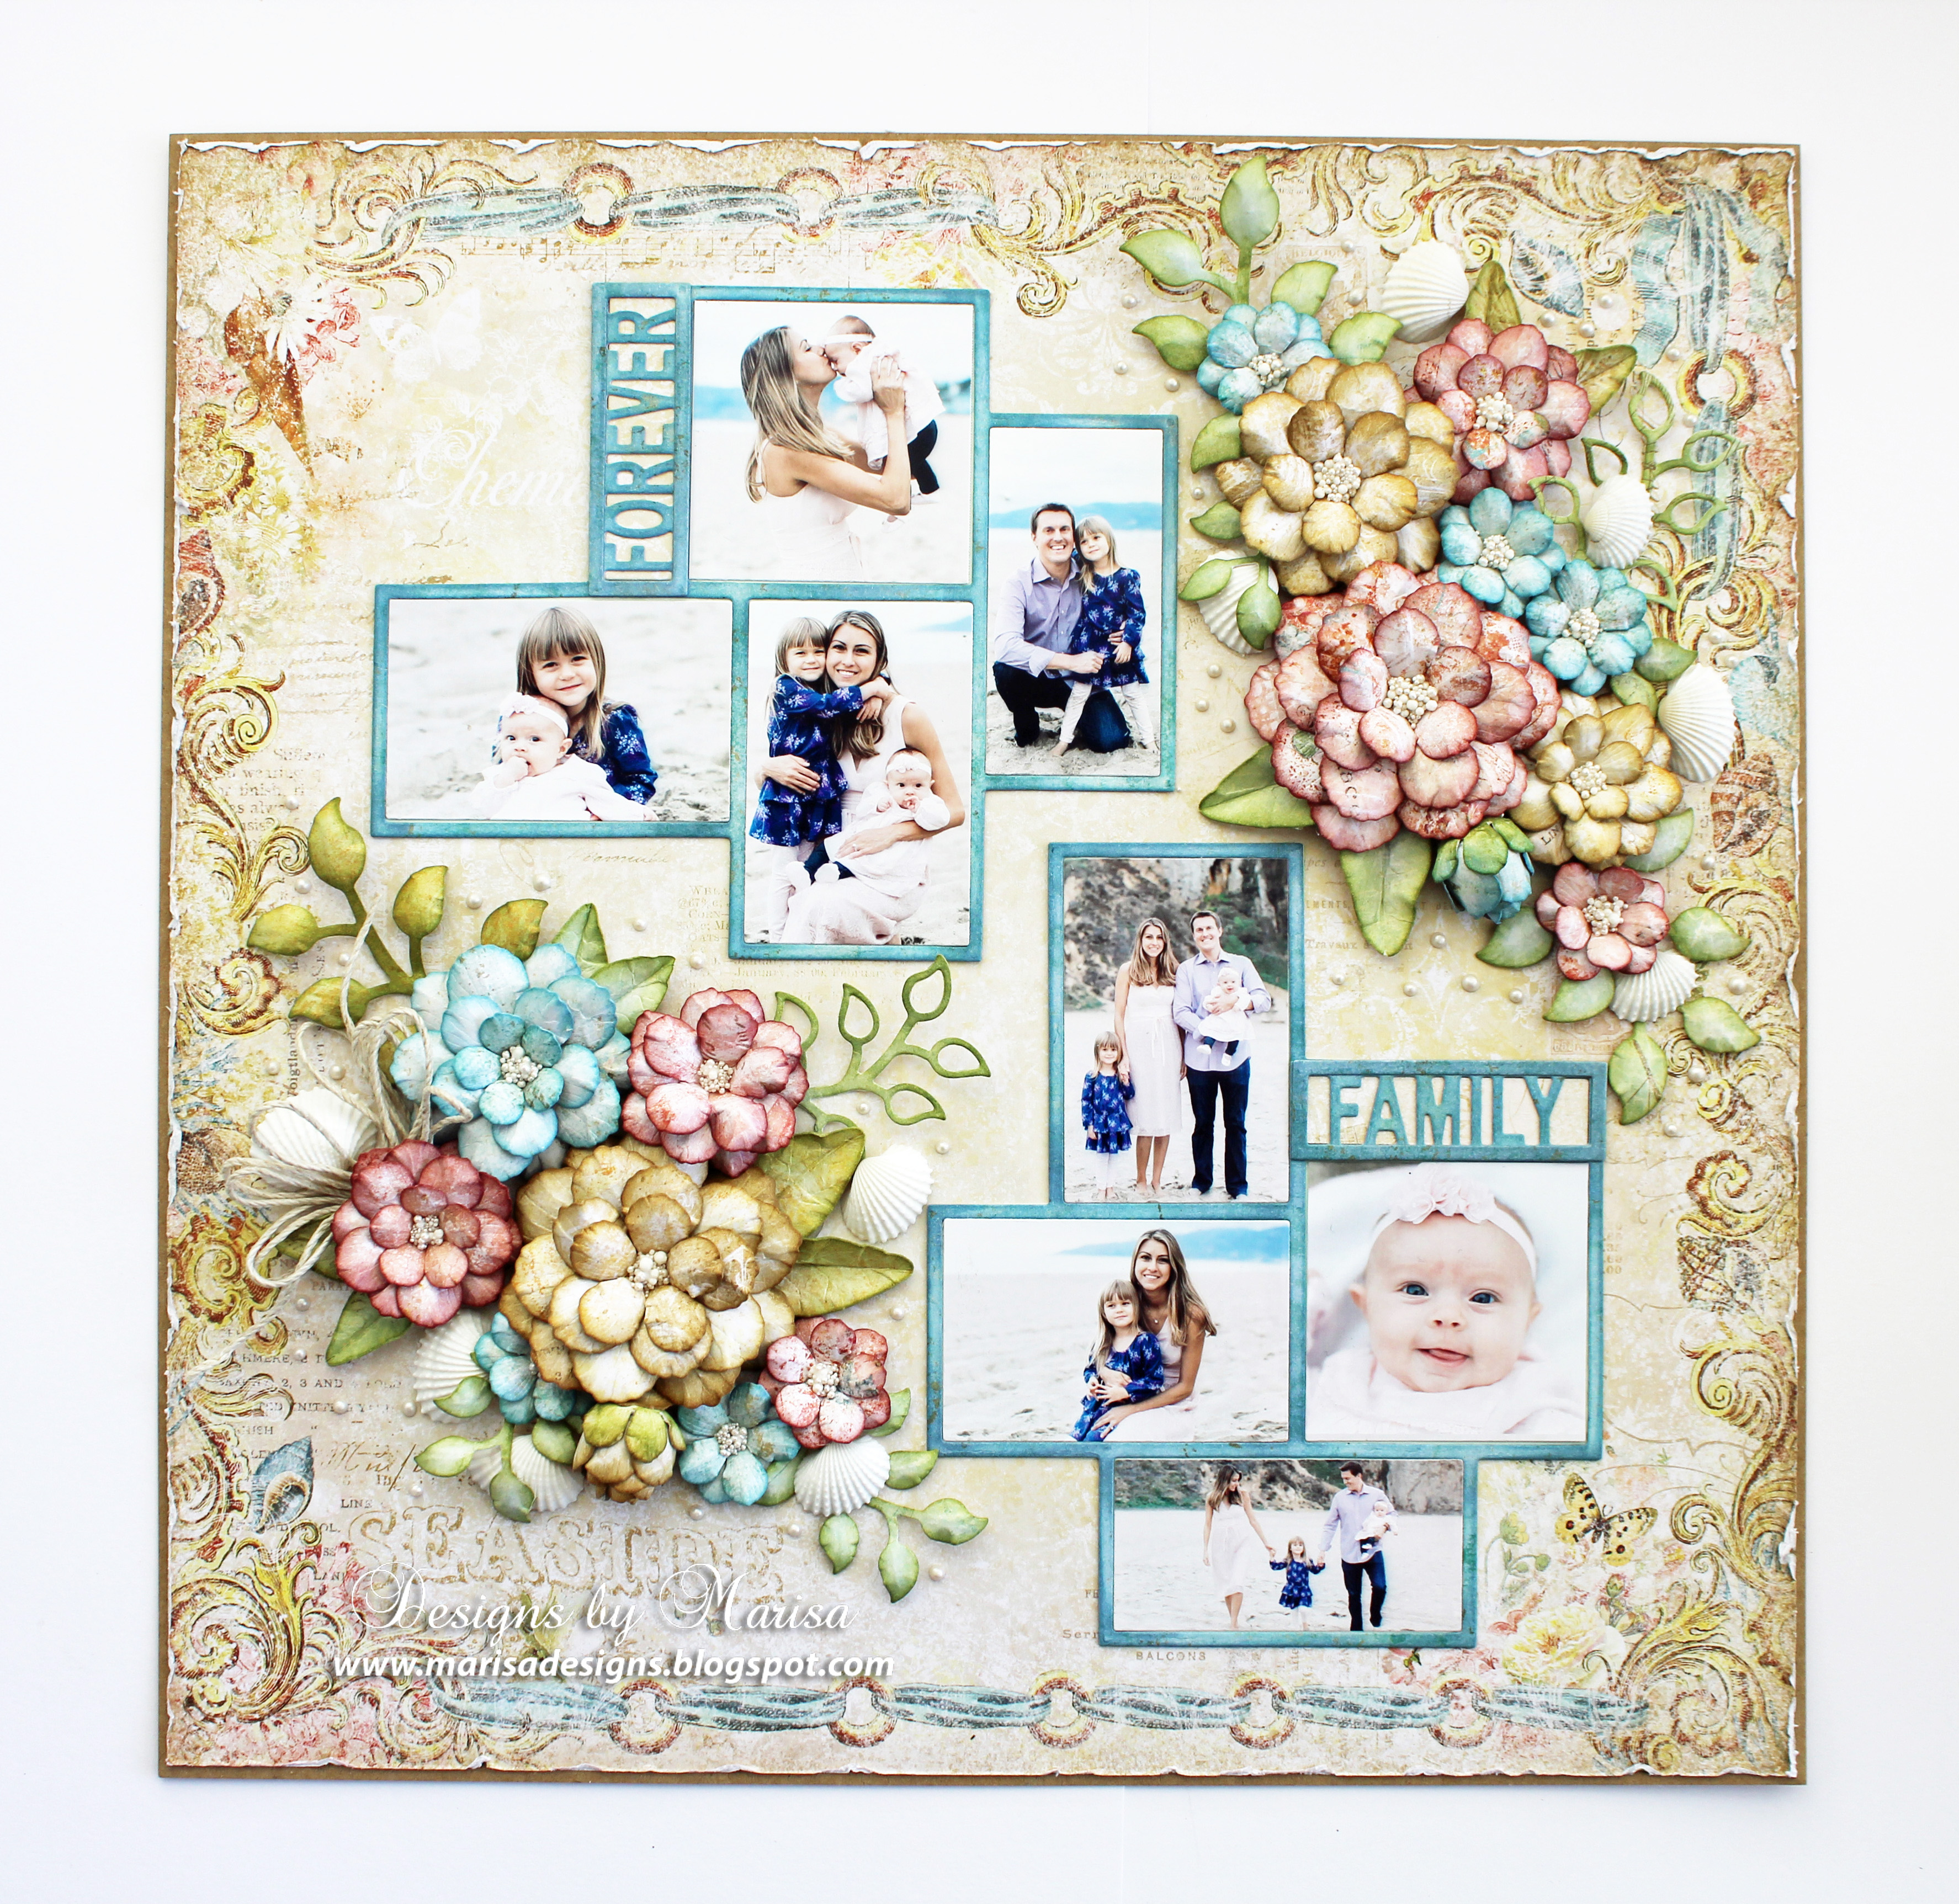
Forever Family Layout by Marisa Job for Spellbinders

Instructions:

  1. Die cut 2 picture frames with Friends and Family Frames die set from designer cardstock. Die cut words “Family” and “Forever” from designer cardstock.

Forever Family Layout by Marisa Job for Spellbinders

  1. Die cut family pictures using the same frame from Friends and Family Frames die set.
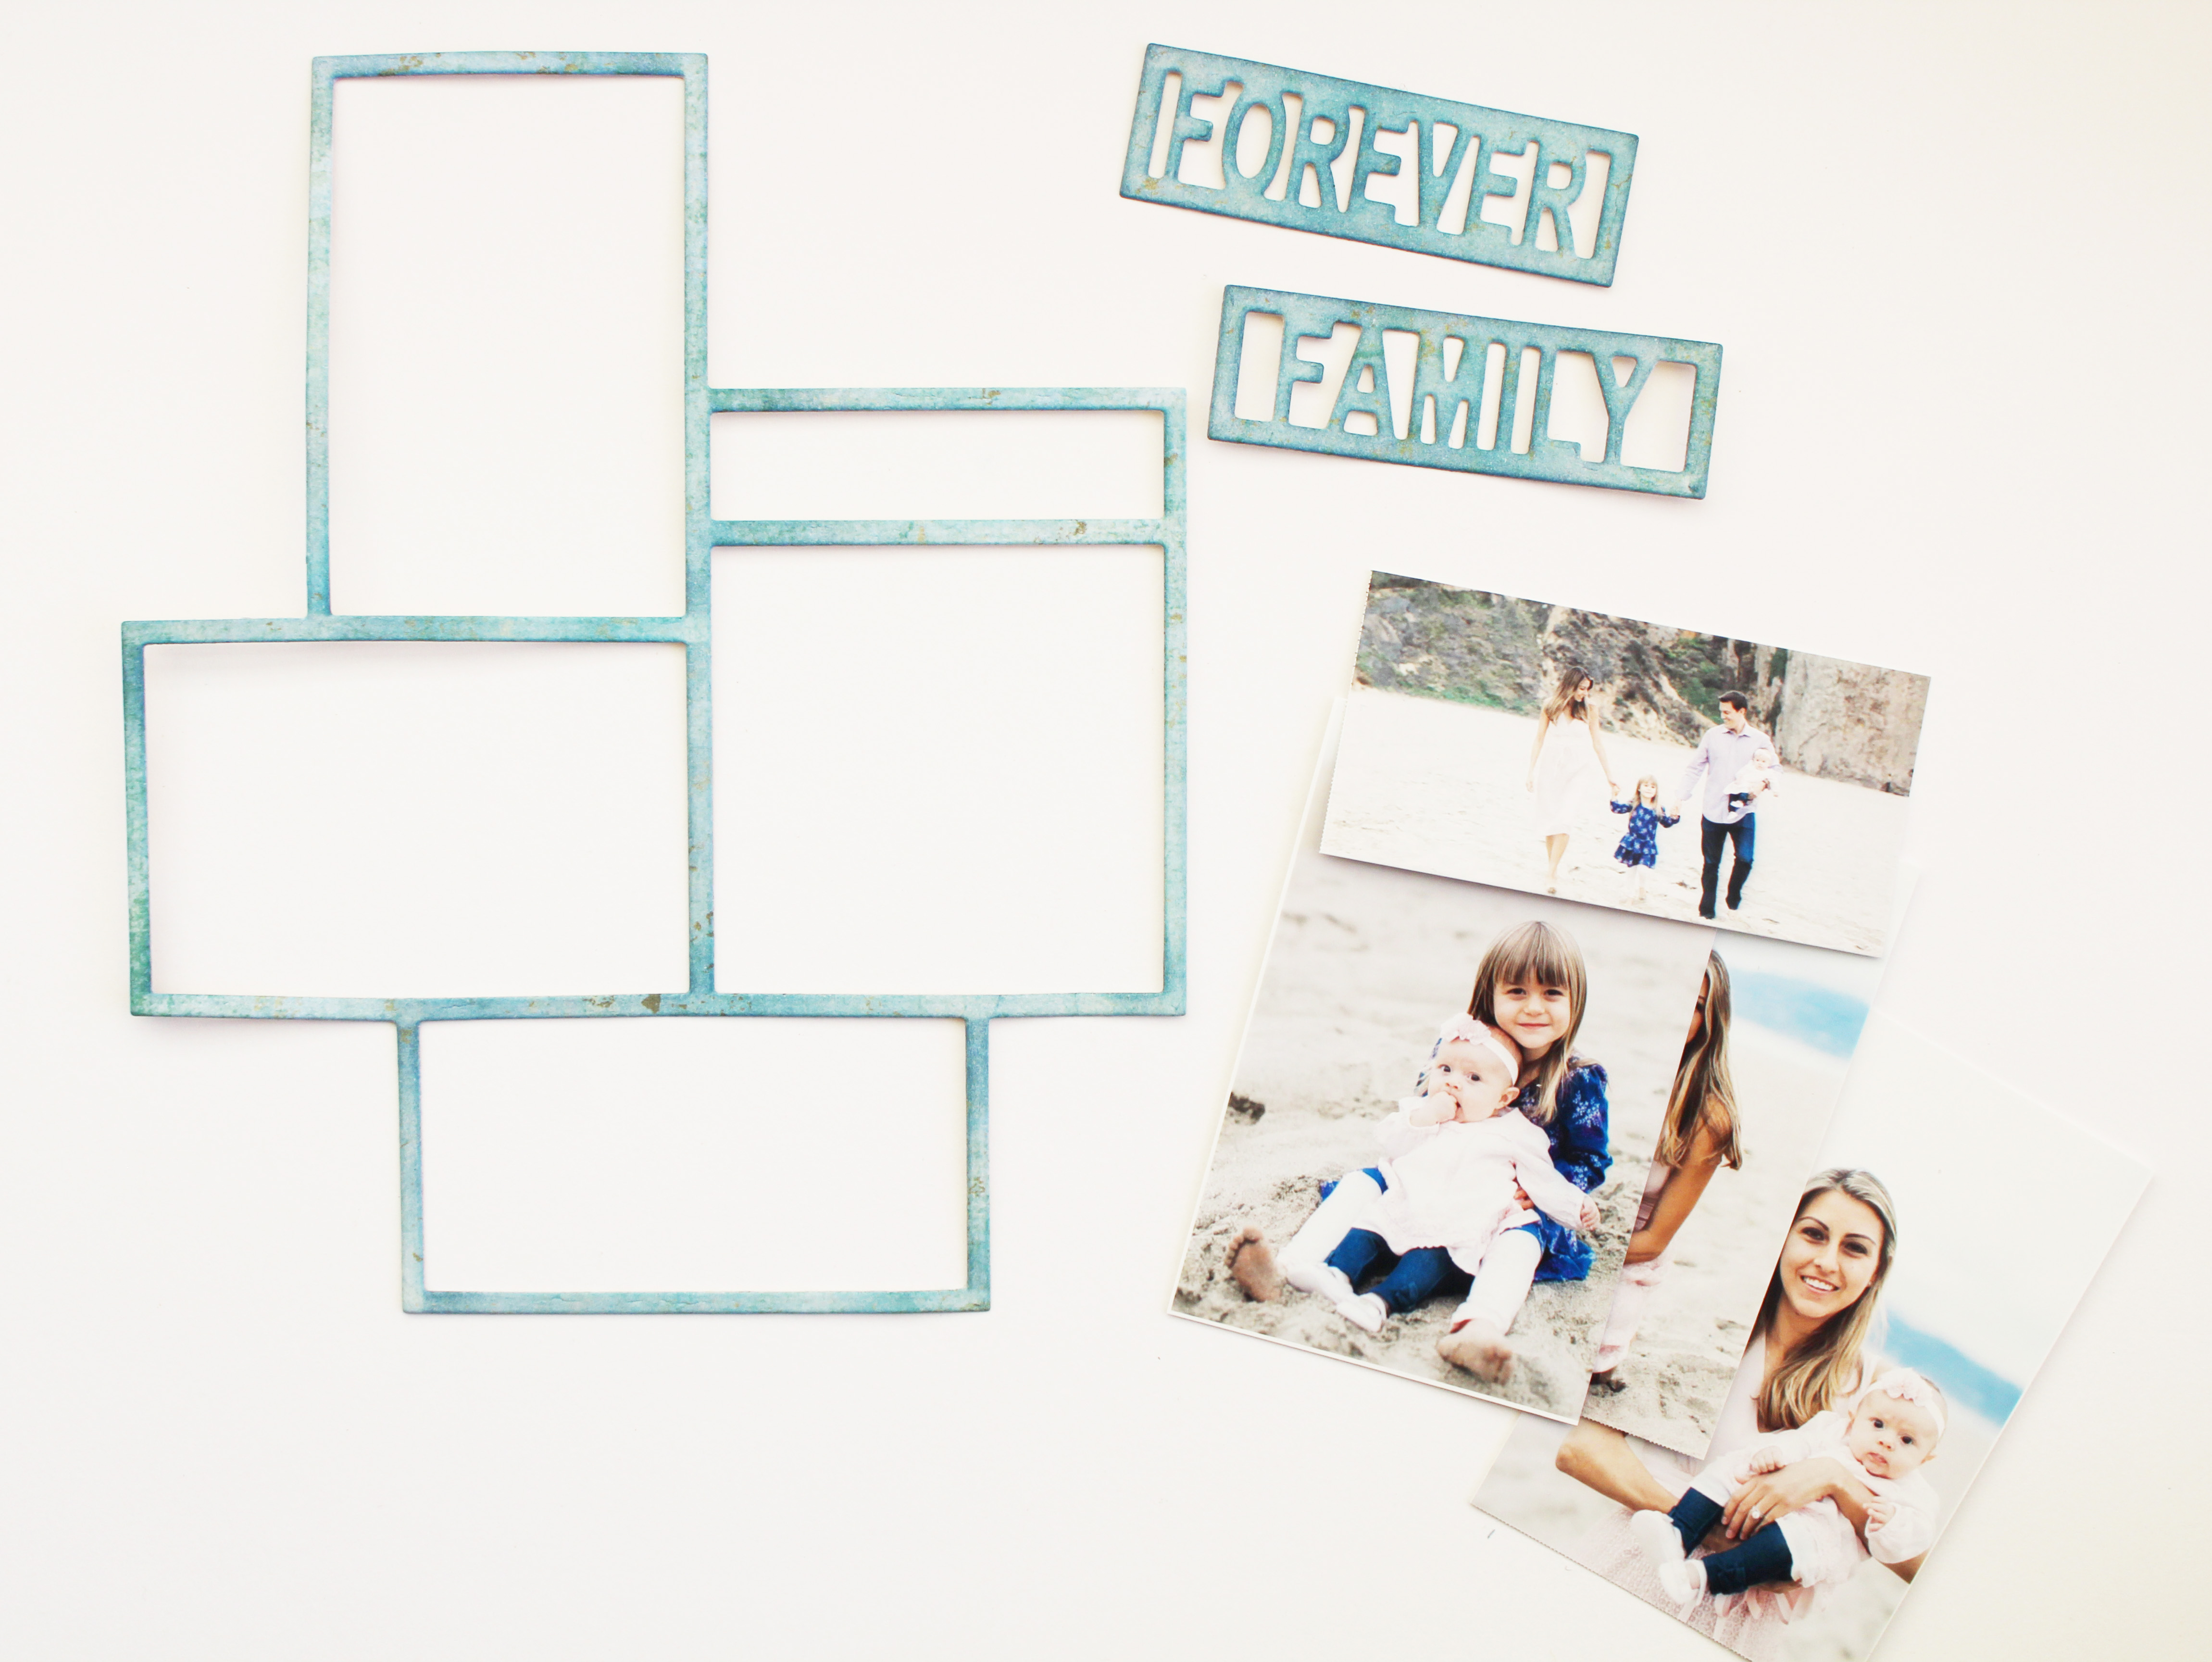
Forever Family Layout by Marisa Job for Spellbinders

  1. Glue frames to 12” x 12” designer cardstock. Adhere pictures inside frames using tape runner. Adhere words “Family” and “Forever” to frame as pictured below. You can distress the edges of the 12” x 12” cardstock if you would like.

Forever Family Layout by Marisa Job for Spellbinders

  1. Die cut multiple flowers with Textured Flowers die set from designer cardstock. Color edges with Distress Inks using Tool ‘N One and Foam Applicators and then shape flowers with Stylus Tips for Tool N’ One.
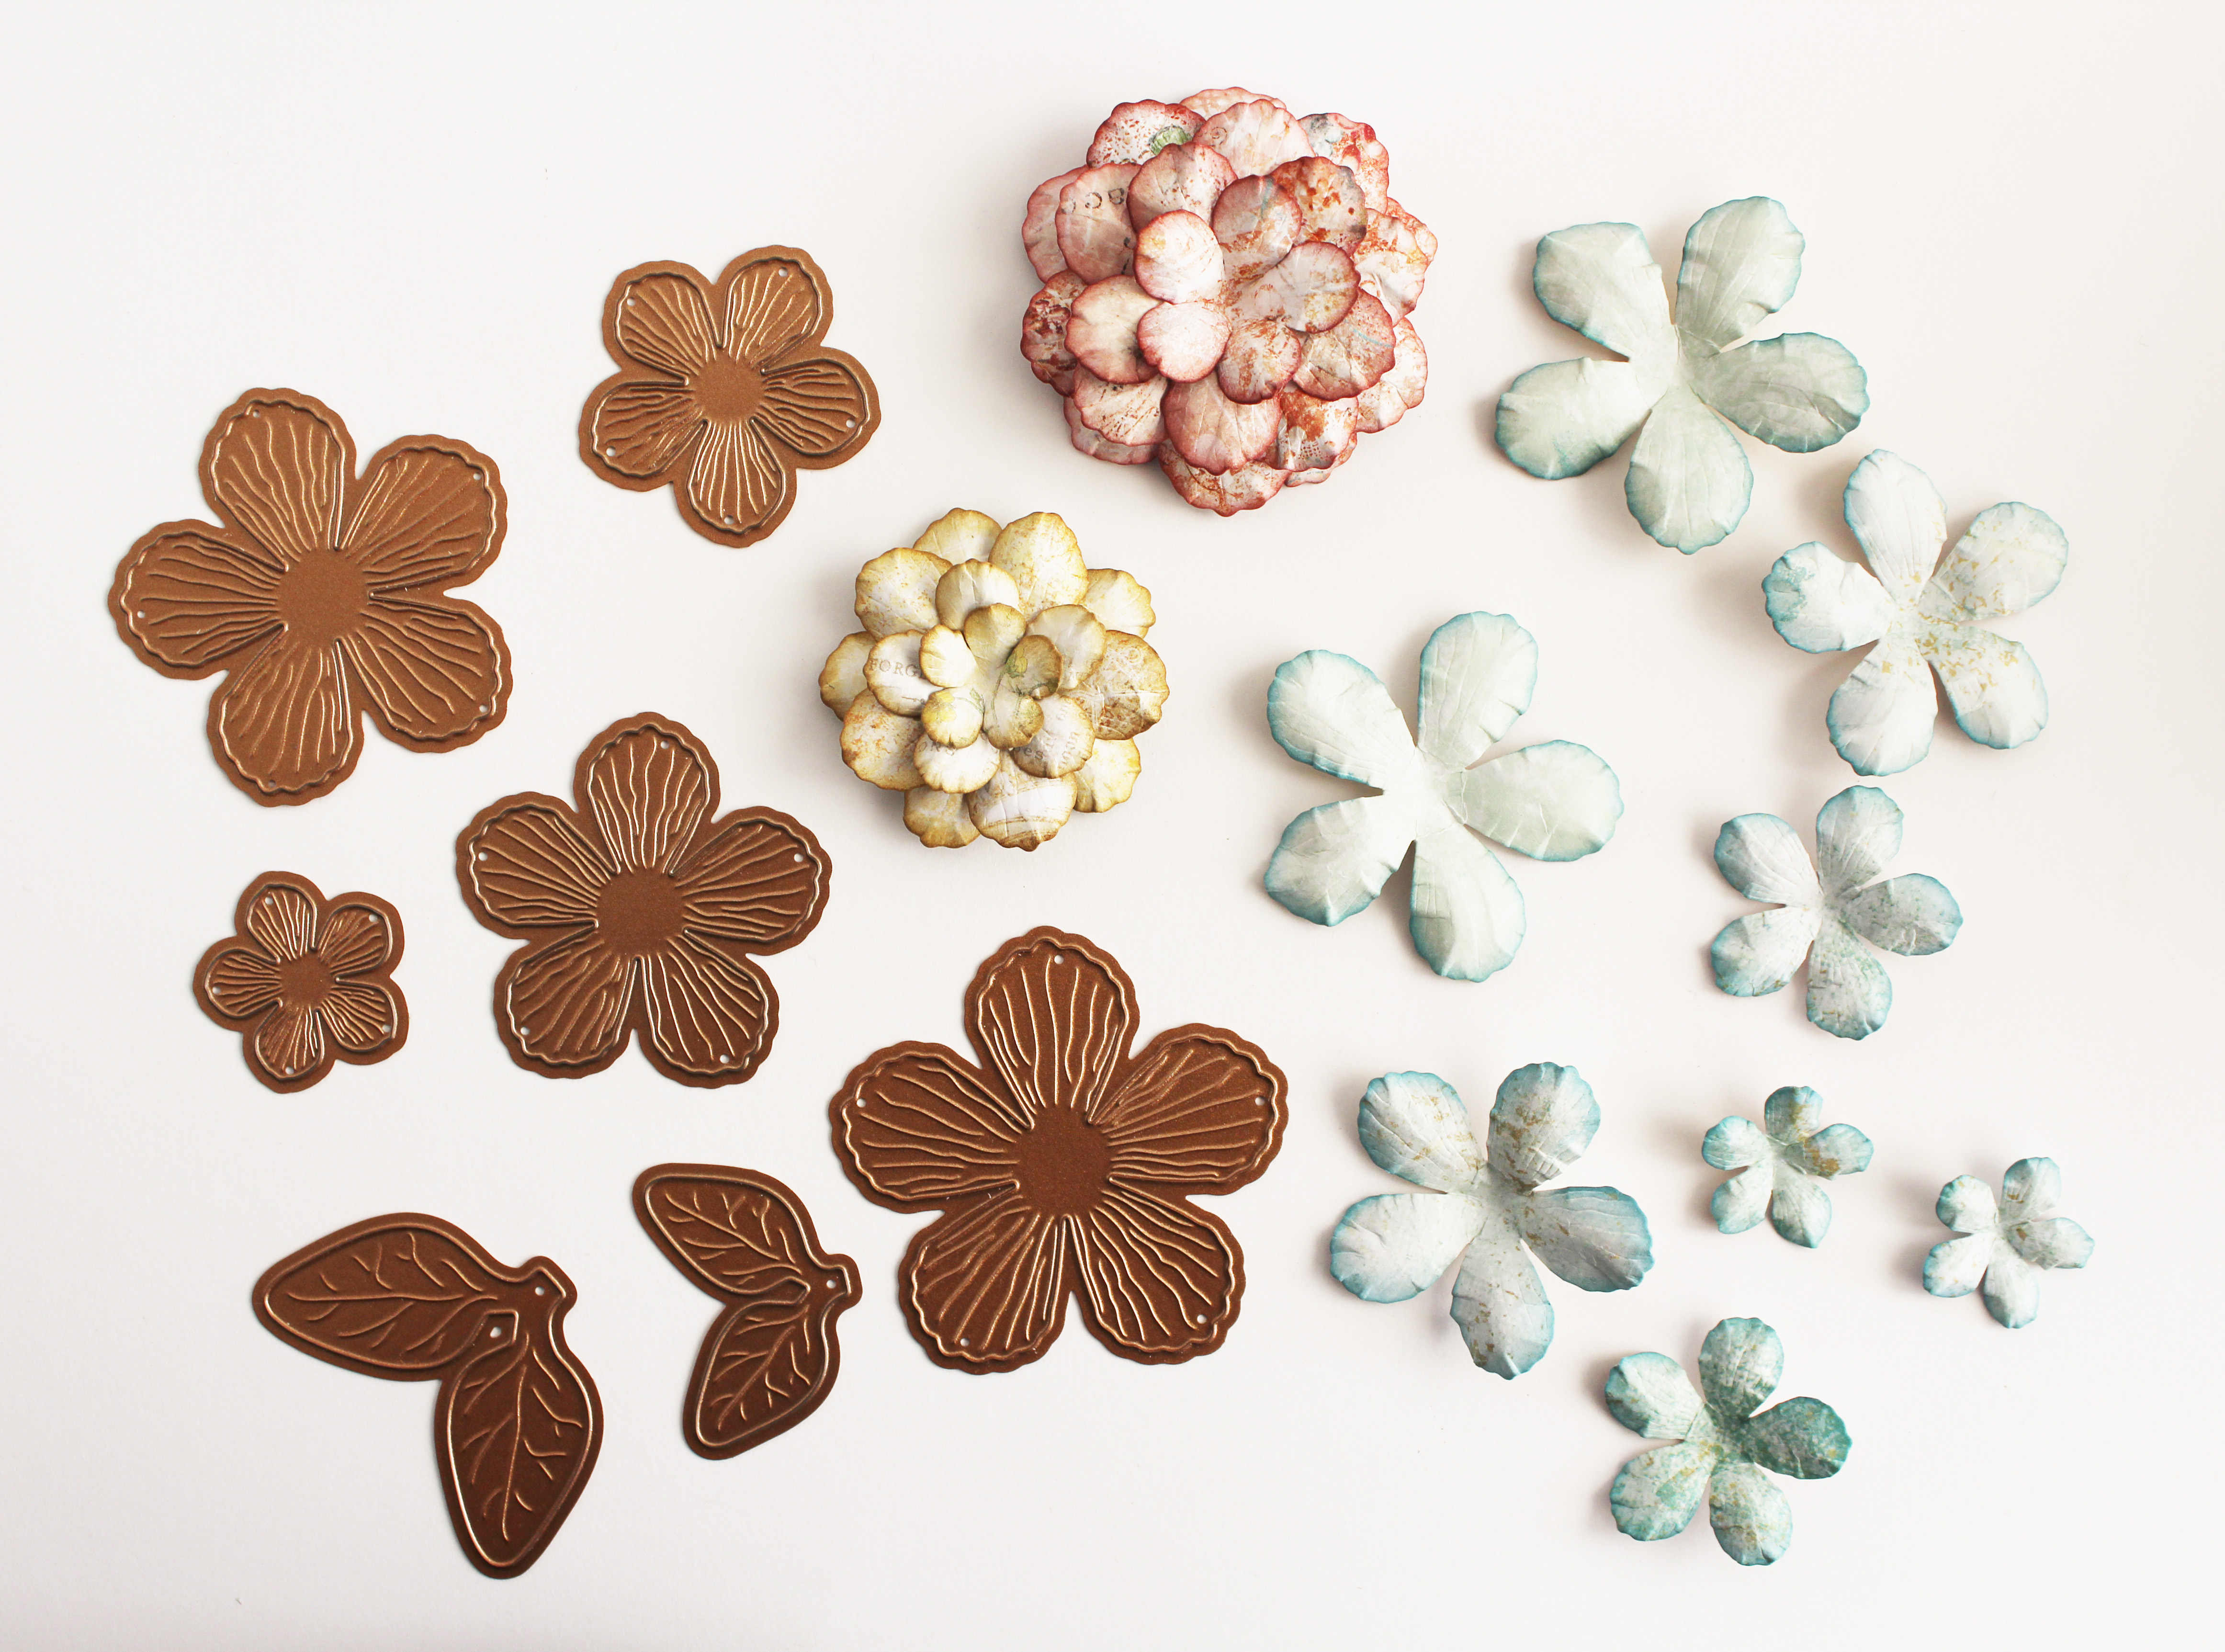
Forever Family Layout by Marisa Job for Spellbinders

  1. Die cut leaves with Layered Leaf Vines die set from designer cardstock. Color edges with Distress Inks using Tool ‘N One and Foam Applicators and then shape leaves with Stylus Tips for Tool N’ One.
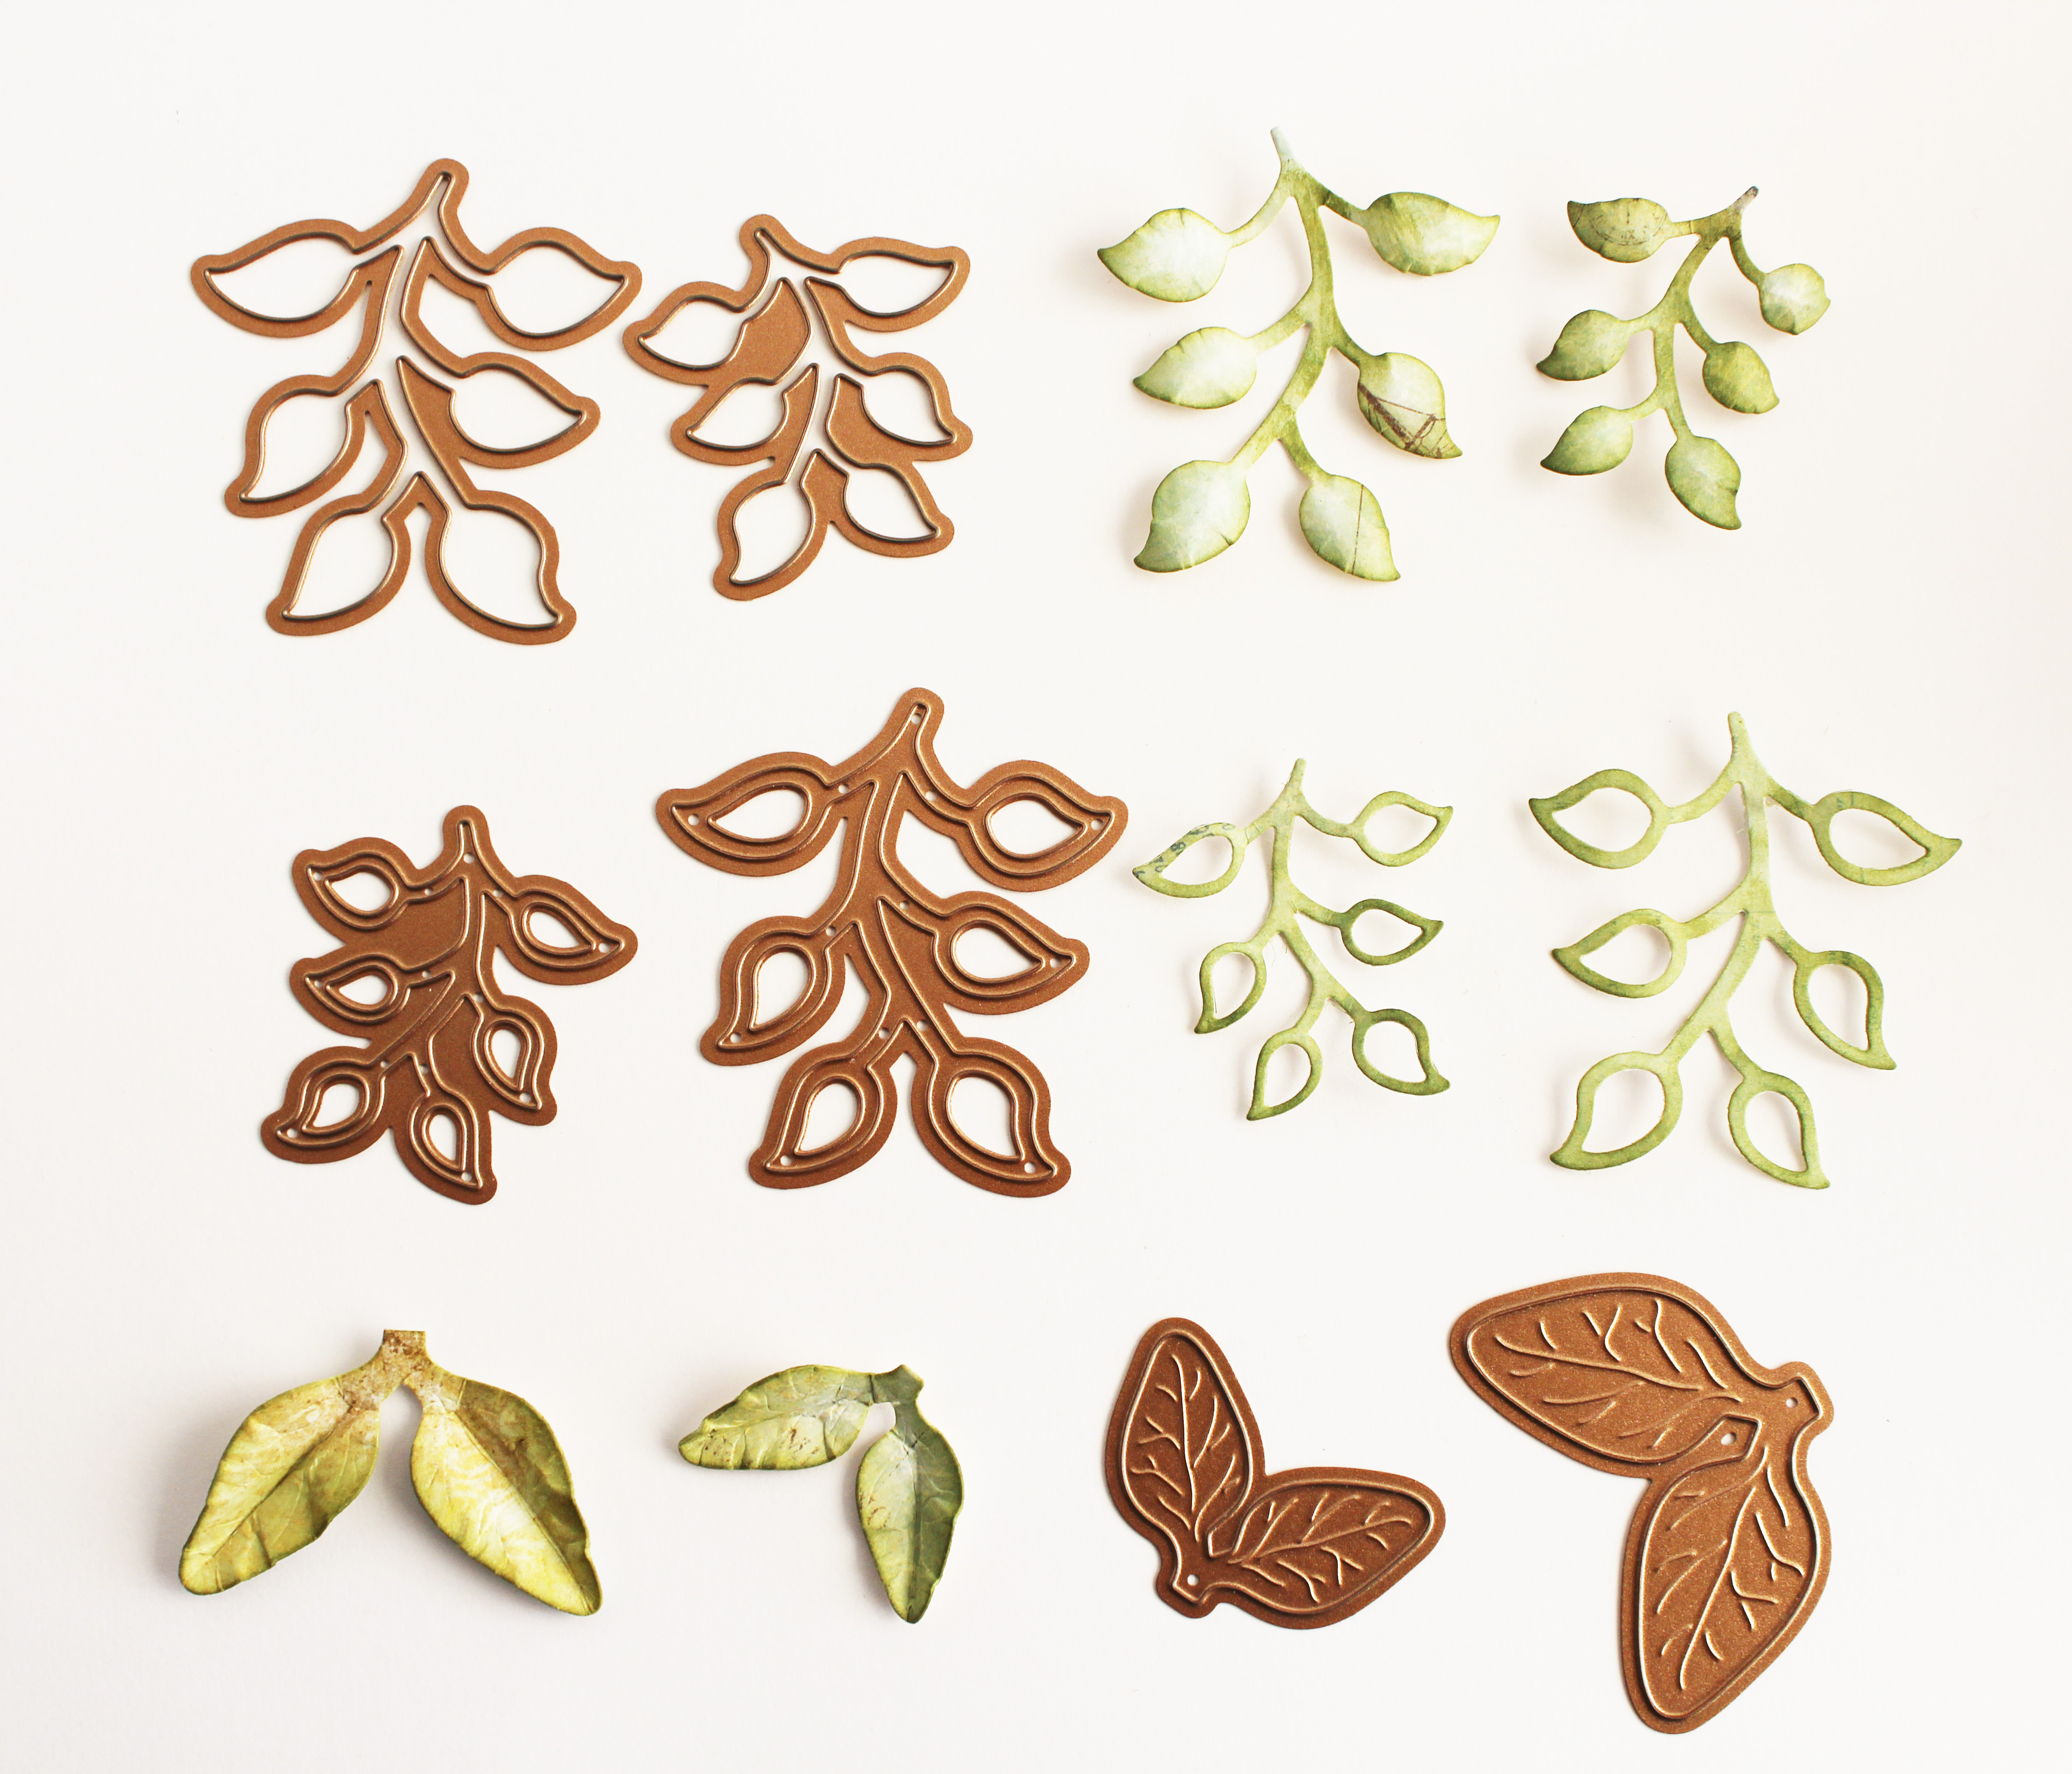
Forever Family Layout by Marisa Job for Spellbinders

  1. Layer petals together to form flowers and then adhere to layout. Embellish center of flowers with micro-beads. Glue leaves under flowers as pictured below.
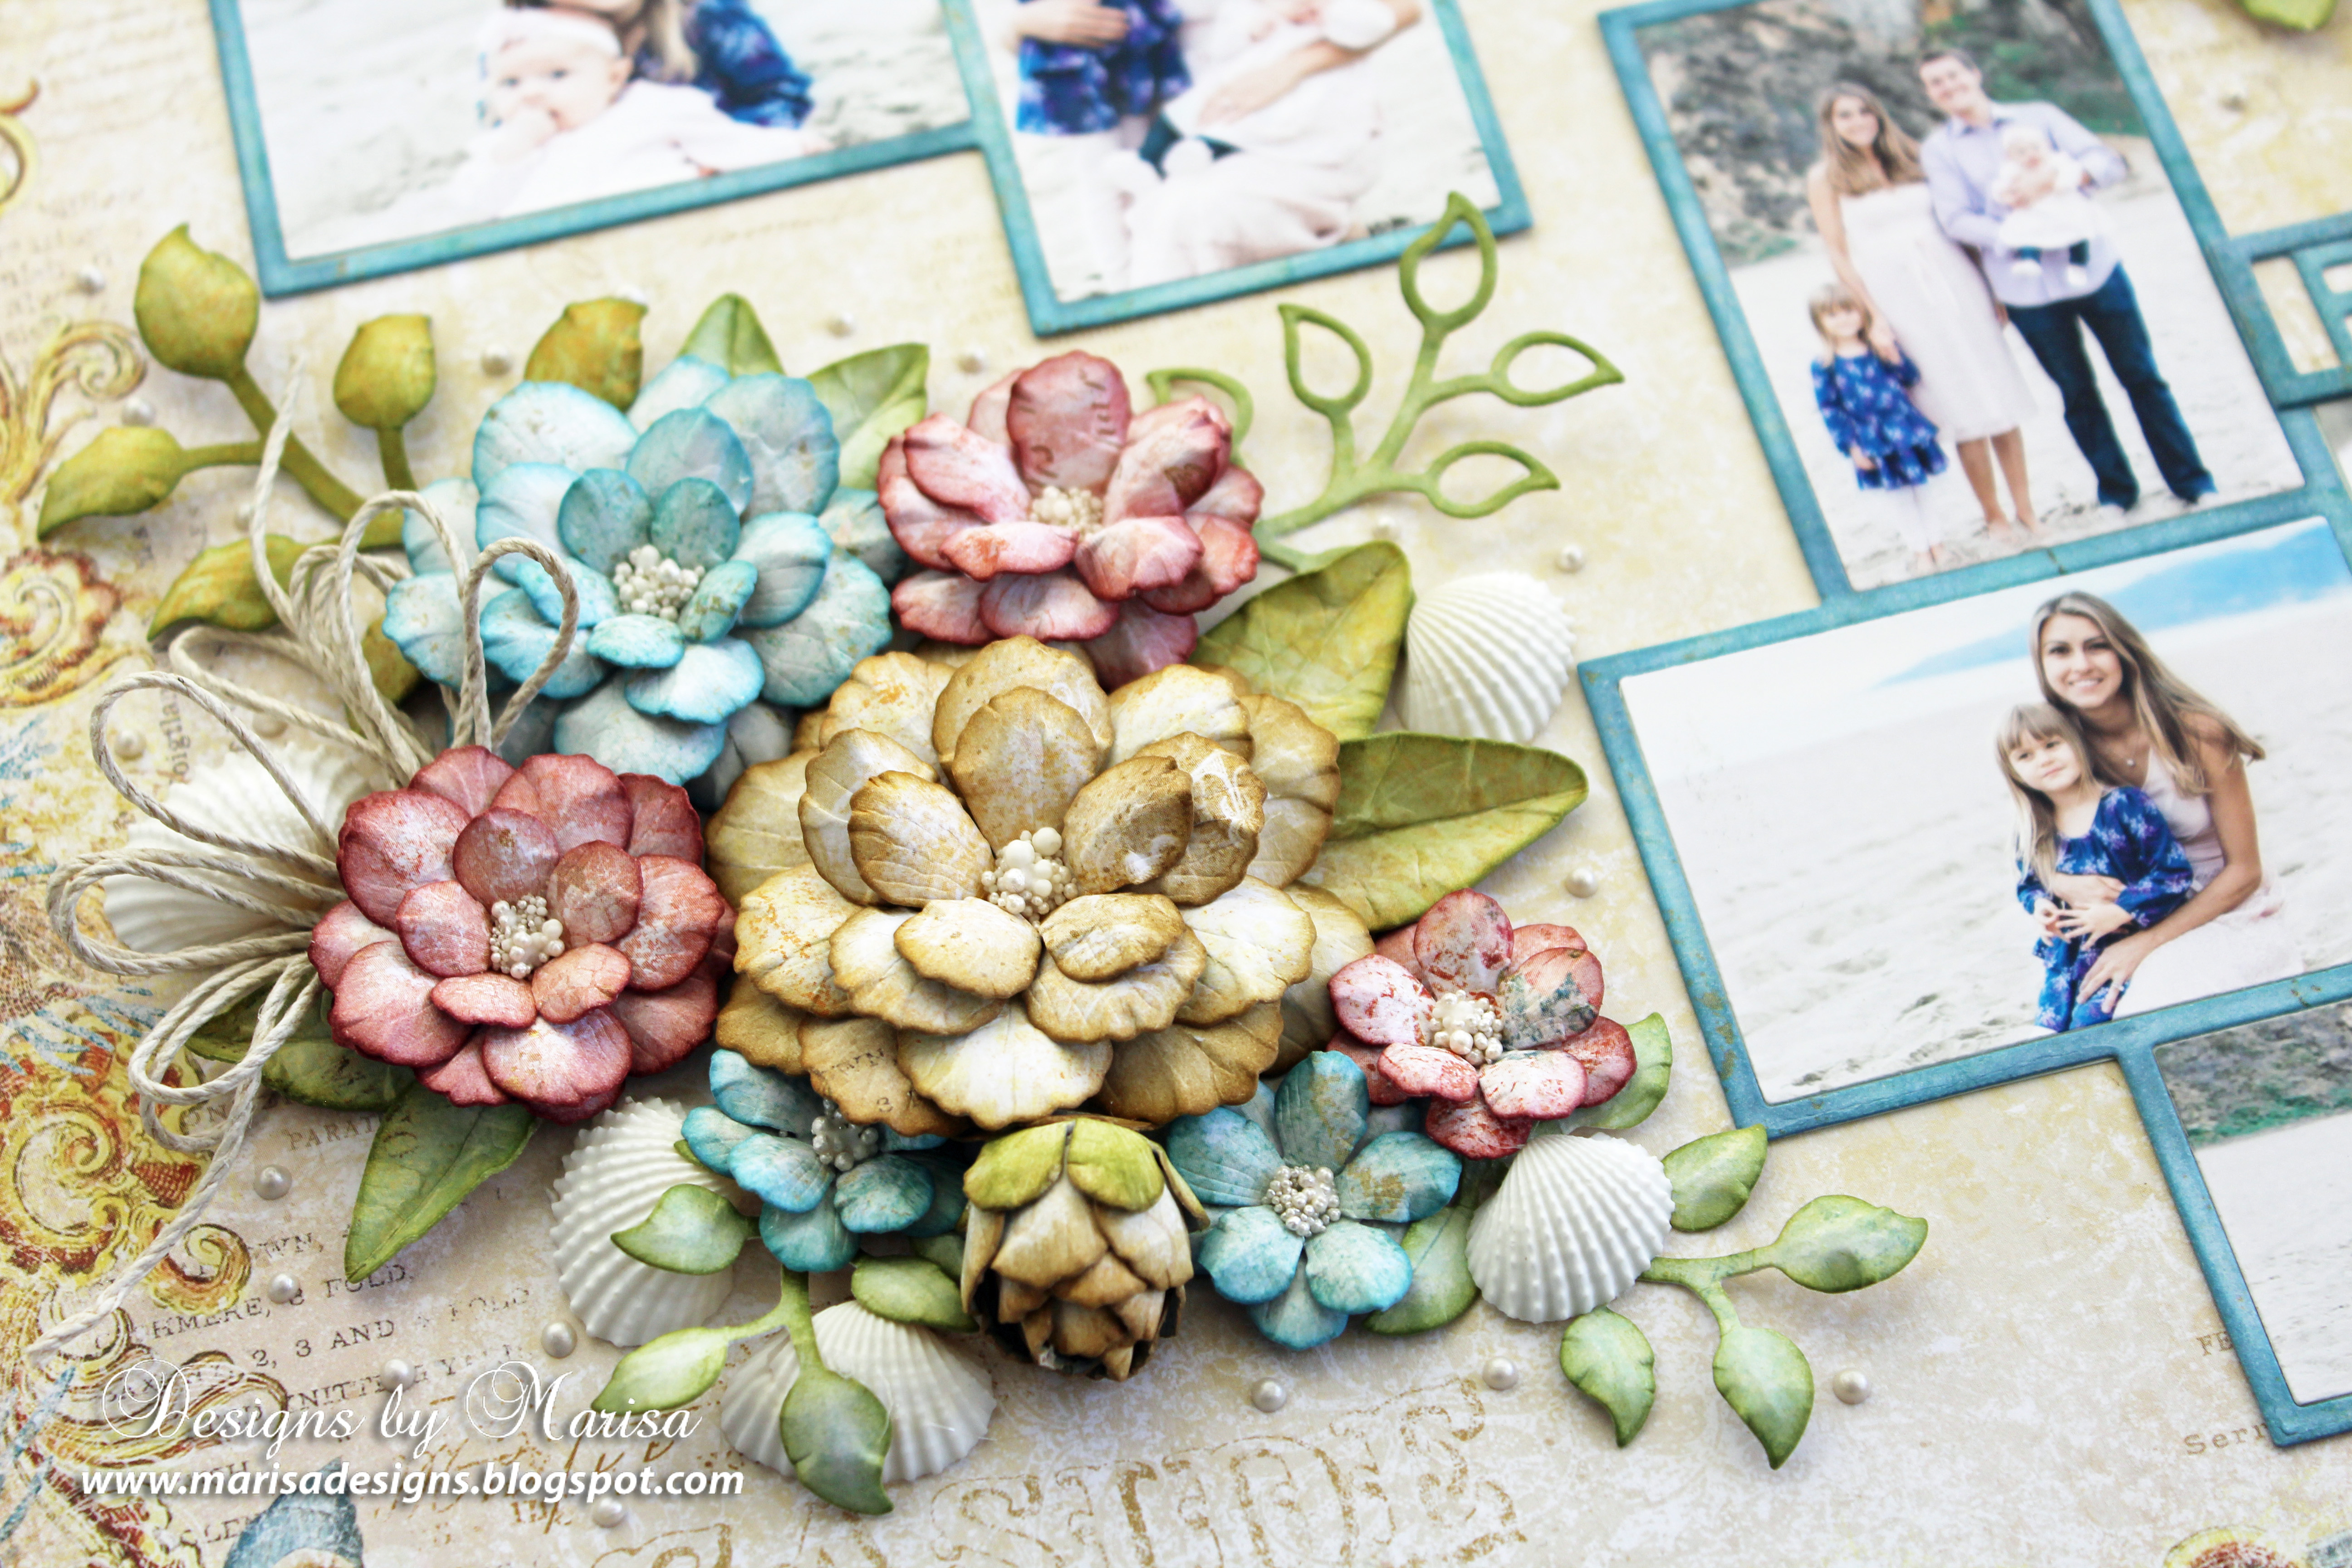
Forever Family Layout by Marisa Job for Spellbinders

  1. Make a bow with twine and adhere to layout. Glue shells next to flowers and then create small beads with Nuvo Crystal Drops around flowers and leaves.
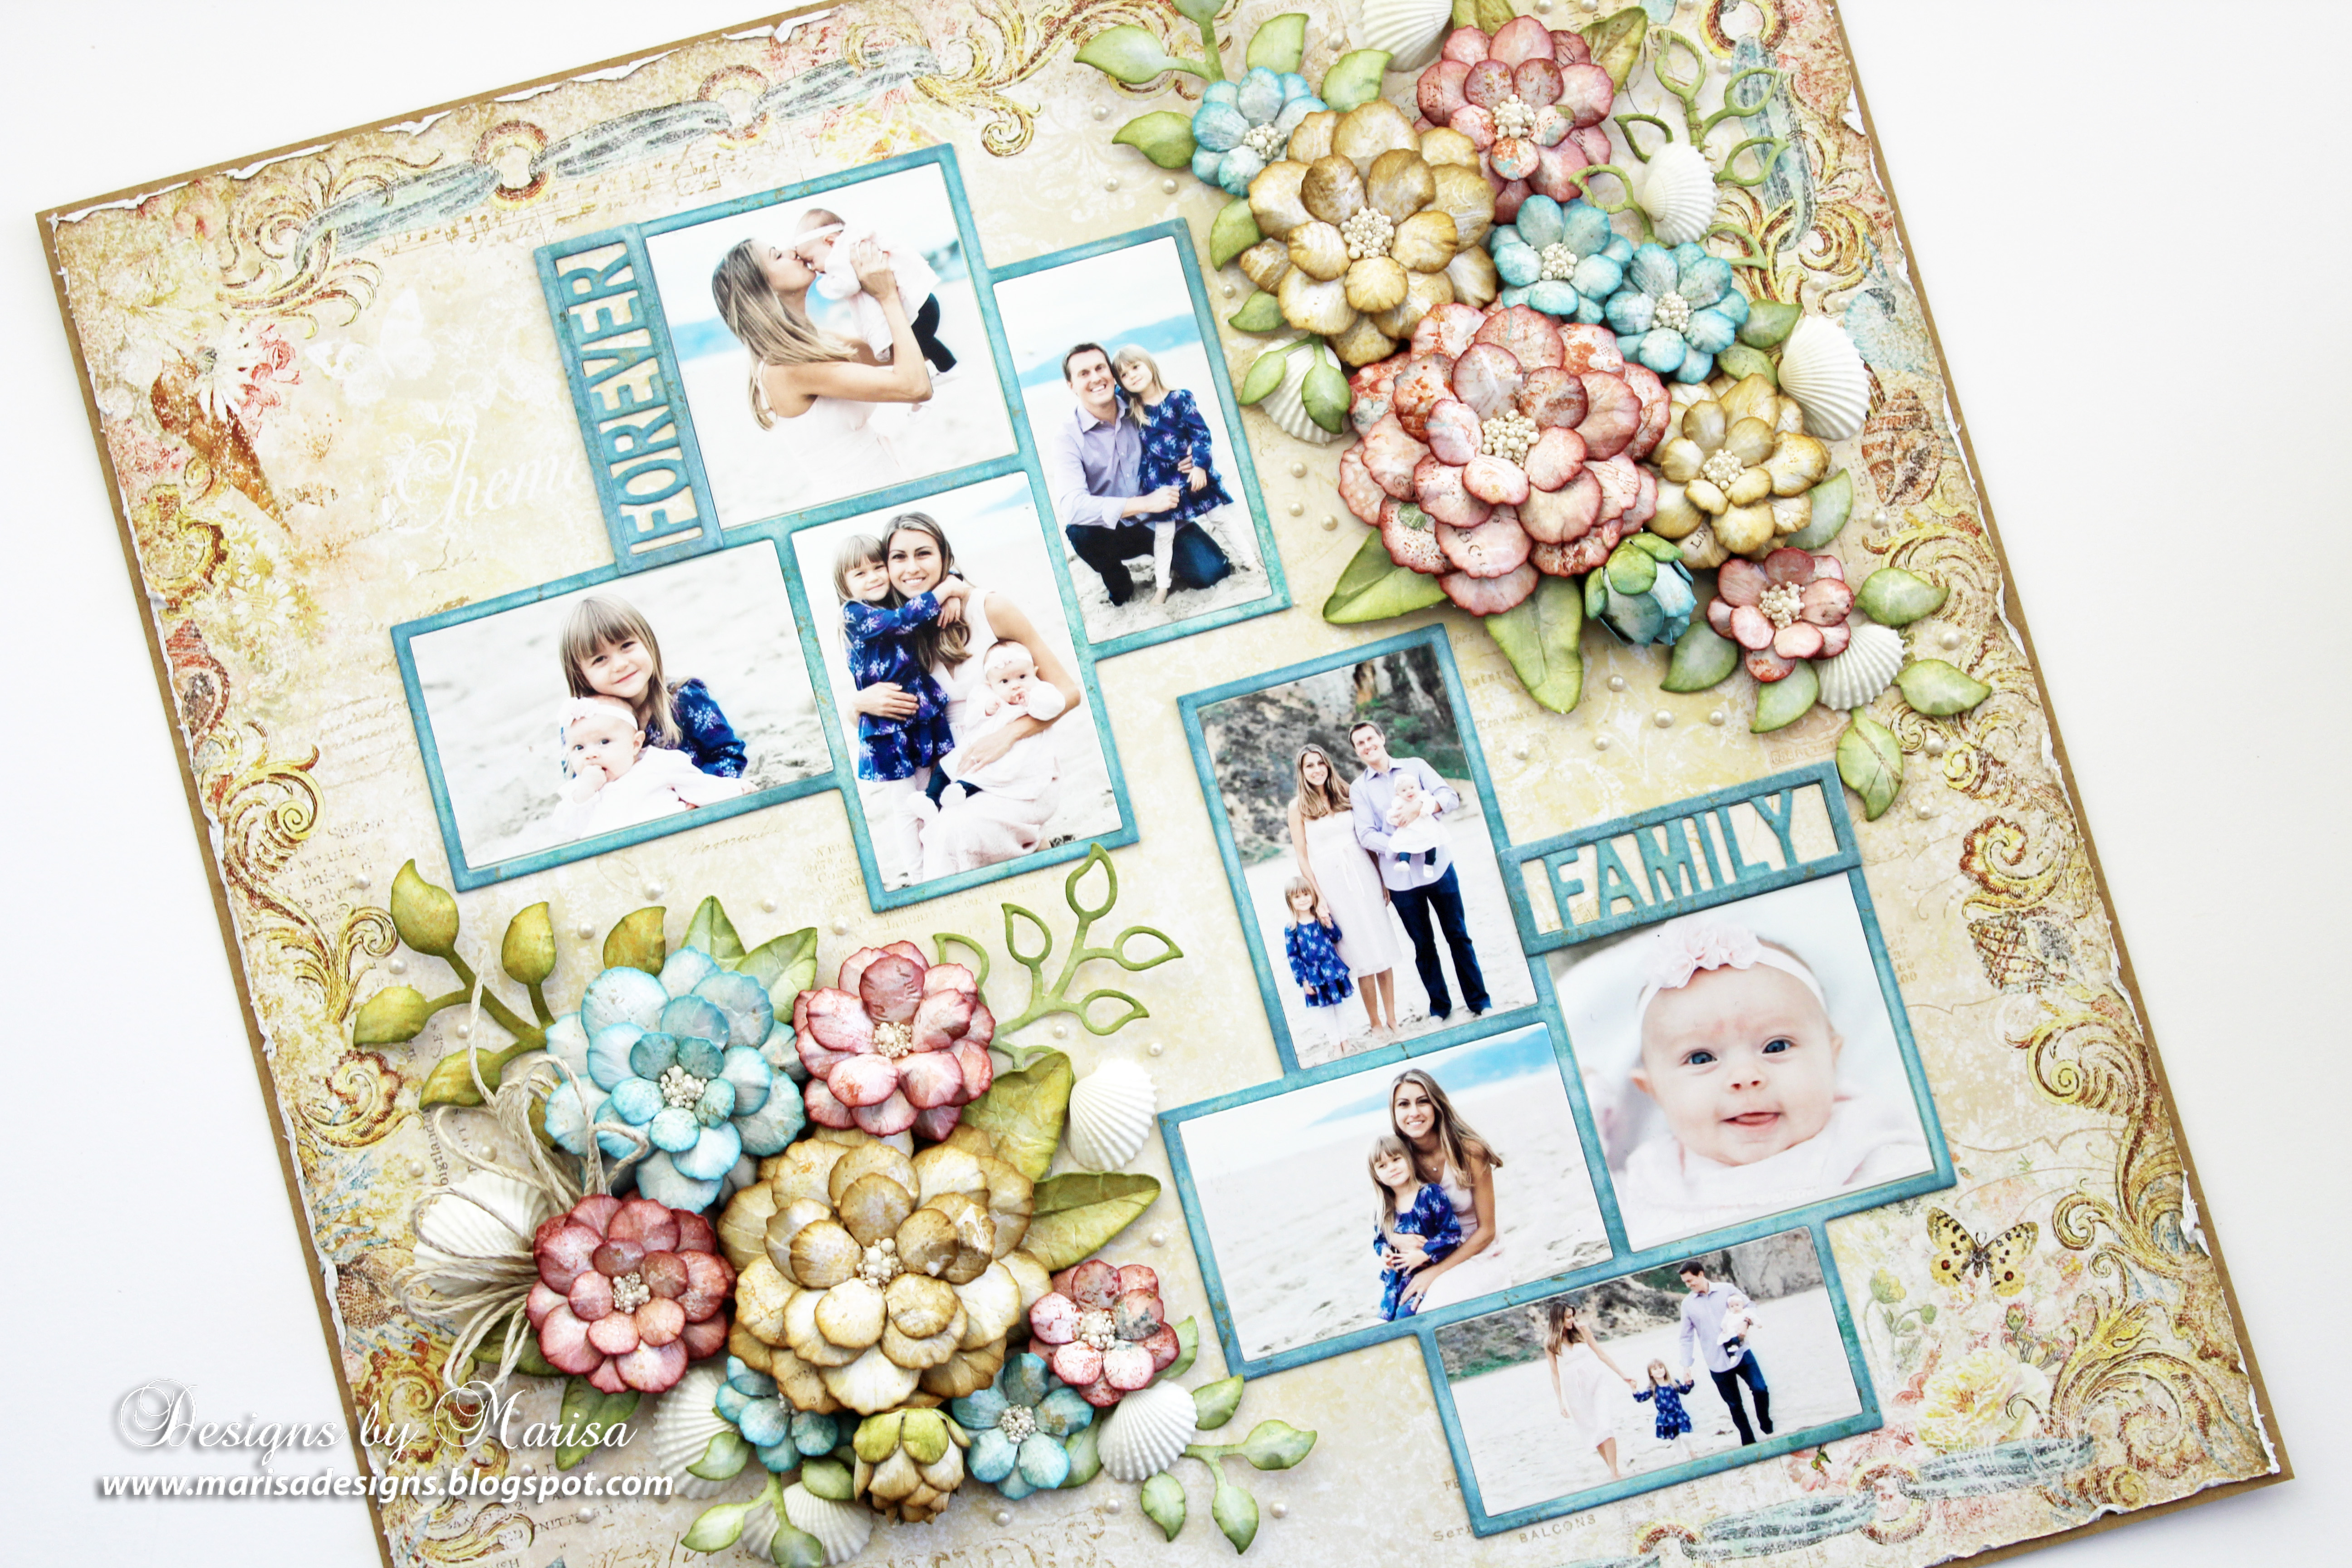
Forever Family Layout by Marisa Job for Spellbinders

Spellbinders Supplies:

 Other Supplies: Blue Fern Studios – Seaside Collage Paper Collection, Ranger Distress Inks (Peeled Paint, Brushed Corduroy, Stormy Sky, and Aged Mahogany), Nuvo Crystal Drops – Ivory Seashell, Micro-beads, Twine, Shells.

Forever Family Layout by Marisa Job for Spellbinders

I hope you feel inspired to create a family picture layout using these die sets. Feel free to leave me a comment below and let me know if you have any questions. Thanks for visiting and have a wonderful week! Marisa Job www.marisadesigns.blogspot.com

Leave a comment

Your email will not be published. Please note, comments need to be approved before they are published.


  • HOW TO USE PRESS PLATES WITH MULTIPLE INKS | CREATE YOUR WAY HOLIDAY, BPR-050, BPI-049, BPI-003

    BP-001

    How to Use Multiple Ink Colors with BetterPress Registration Plates

    Create a colorful Christmas card while learning how to apply multiple ink colors to BetterPress registration plates. In this detailed tutorial, you’ll use the Festive Evergreens Registration Press + Foil Plate & Die Set to press a holiday doorway scene in three colors, combining the built-in registration system with a simple masking technique. The registration template positions the coordinating plates so each layer aligns with...

  • How to Make a Colorful Foiled Butterfly Card with Glimmer II

    BP-351

    How to Make a Colorful Foiled Butterfly Card with Glimmer II

    Combine hot foiling, alcohol-marker coloring, ink blending, and dimensional shaping to create a colorful butterfly card that sparkles from every angle. In this step-by-step tutorial, you’ll learn how to foil detailed butterflies and a floral background with the Glimmer II Hot Foil System, add bold color, and shape the butterfly wings for a realistic raised effect. The Bright Butterflies and Thanks In Bloom Press +...

  • How to Heat Emboss with BetterPress Plates: Snowman Christmas Card

    BP-001

    How to Heat Emboss with BetterPress Plates: Snowman Christmas Card

    BetterPress plates can do more than create letterpress impressions and hot-foiled designs. In this detailed Christmas card tutorial, you’ll learn how to apply clear sticky ink to a BetterPress plate and use white embossing powder to produce a crisp, heat-embossed snowflake background. The tutorial also covers pressing and die cutting a sentiment, assembling three detailed snowmen, and arranging the finished elements on an A2 card....