Glimmer Hot Foil Inspiration | Hot Foil Card Trio with Janette Kausen
Posted by Spellbinders Team on February 19, 2019

Glimmer Hot Foil Inspiration | Hot Foil Card Trio with Janette Kausen

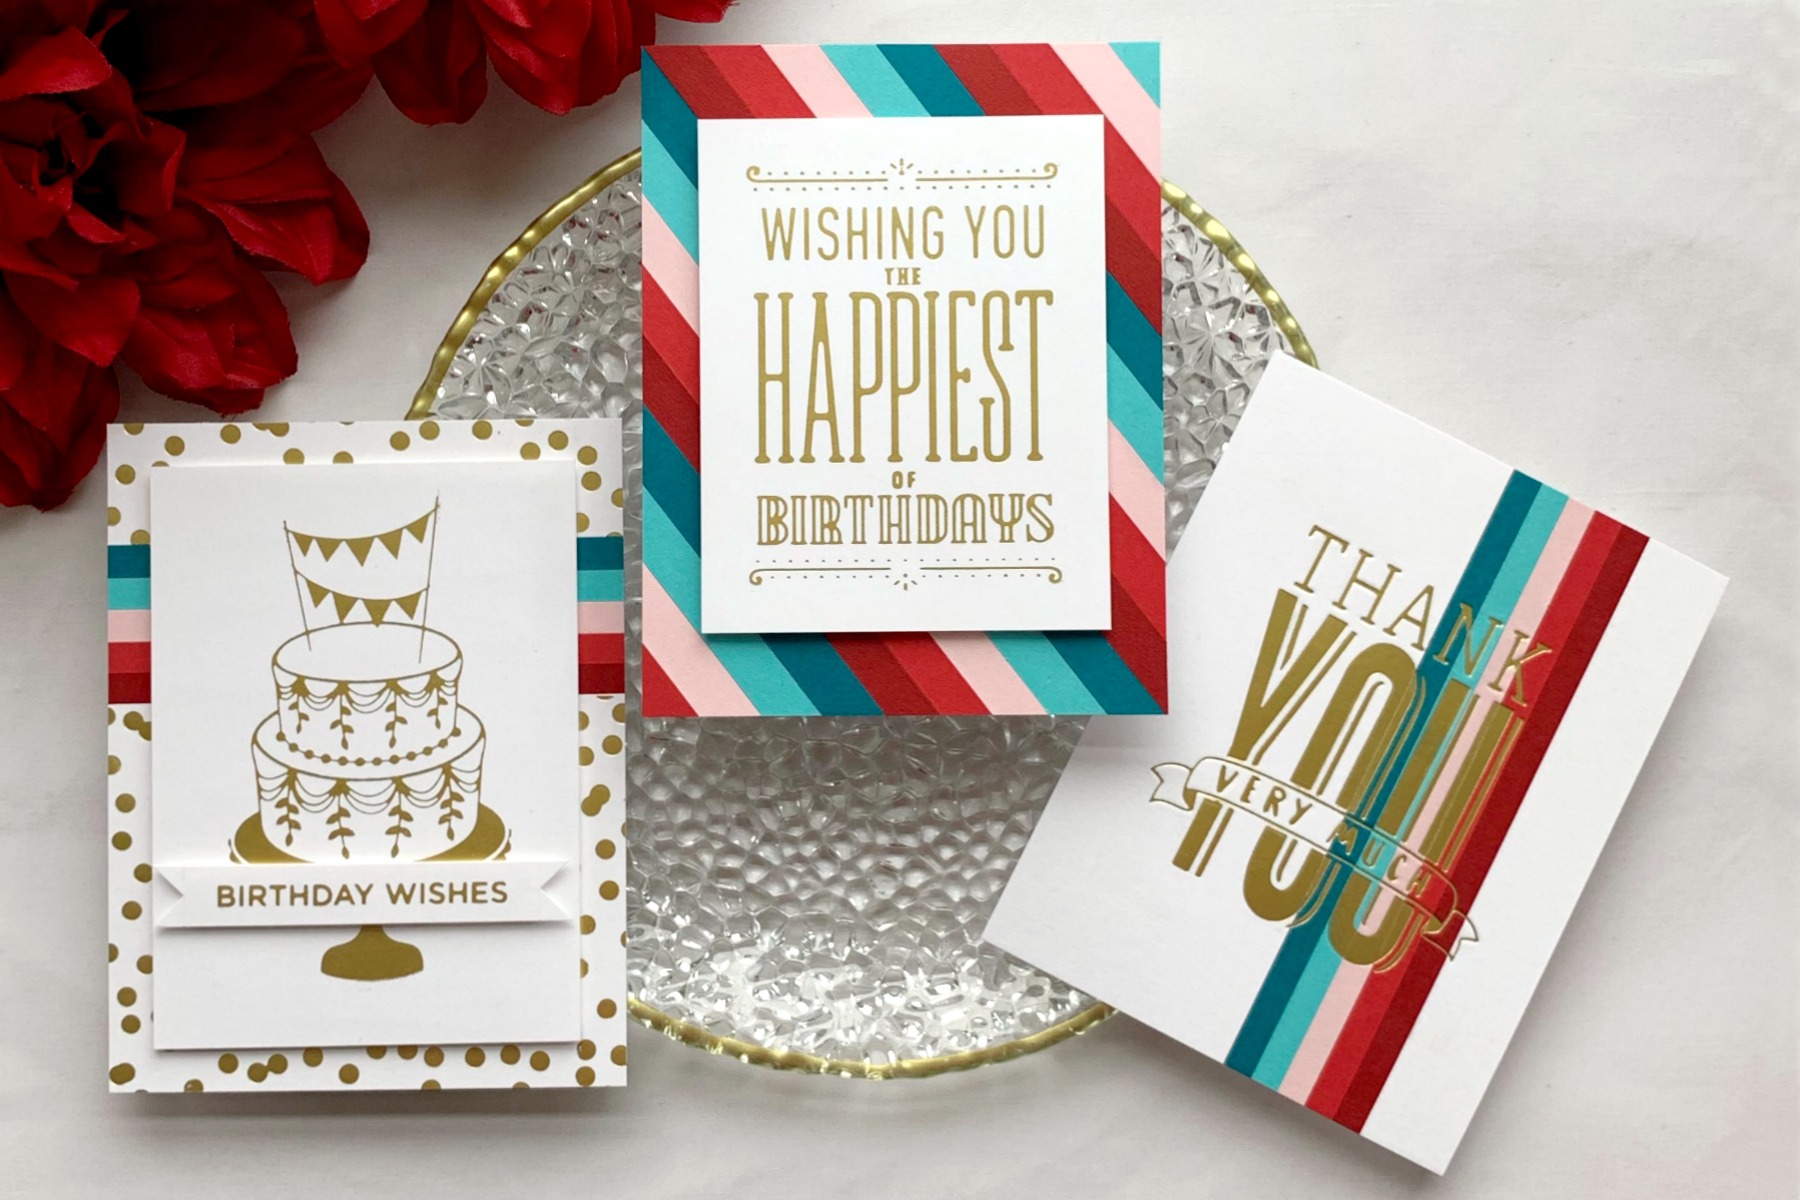
Hello and welcome! Janette Kausen here guesting once again for Spellbinders! I am excited to be here and thrilled to share my newest projects with you! I’ve created three cards with a similar technique and feel, each with Glimmer Hot Foil as a focal point.
Spellbinders Glimmer Hot Foil Inspiration | Hot Foil Card Trio with Janette Kausen

Keeping ideas simple is a great way to complete several cards without having to reinvent the wheel with each go. When a design works and you love it, keep it going with slight modifications to keep it fresh. When you’ve completed a set, you’ve got several cards ready to go for your stash or to gift!

Spellbinders Glimmer Hot Foil Inspiration | Hot Foil Card Trio with Janette Kausen

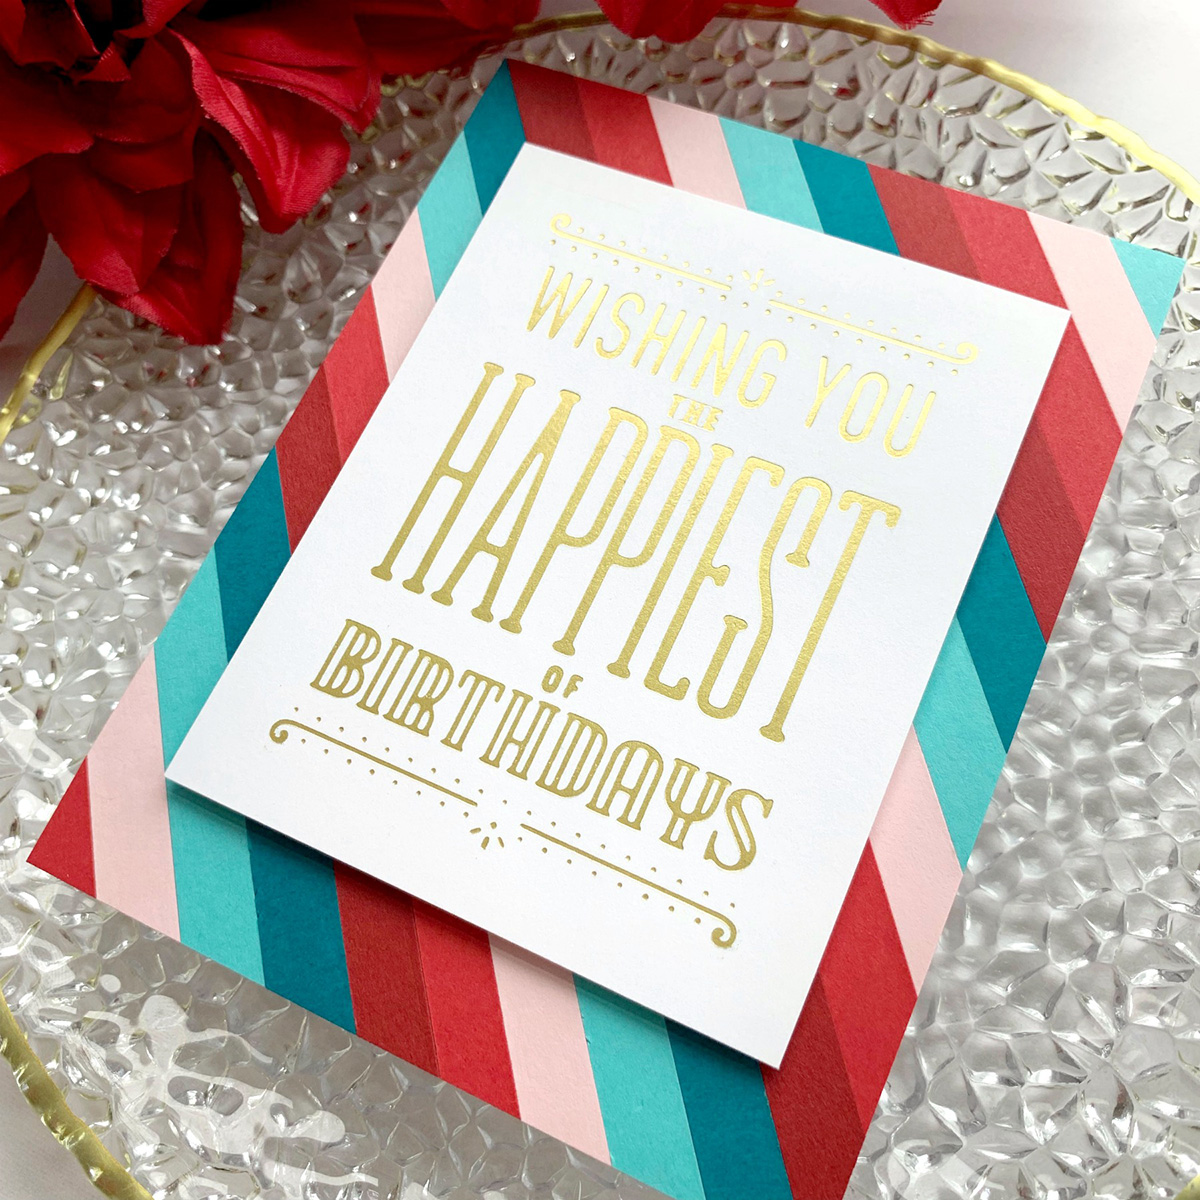
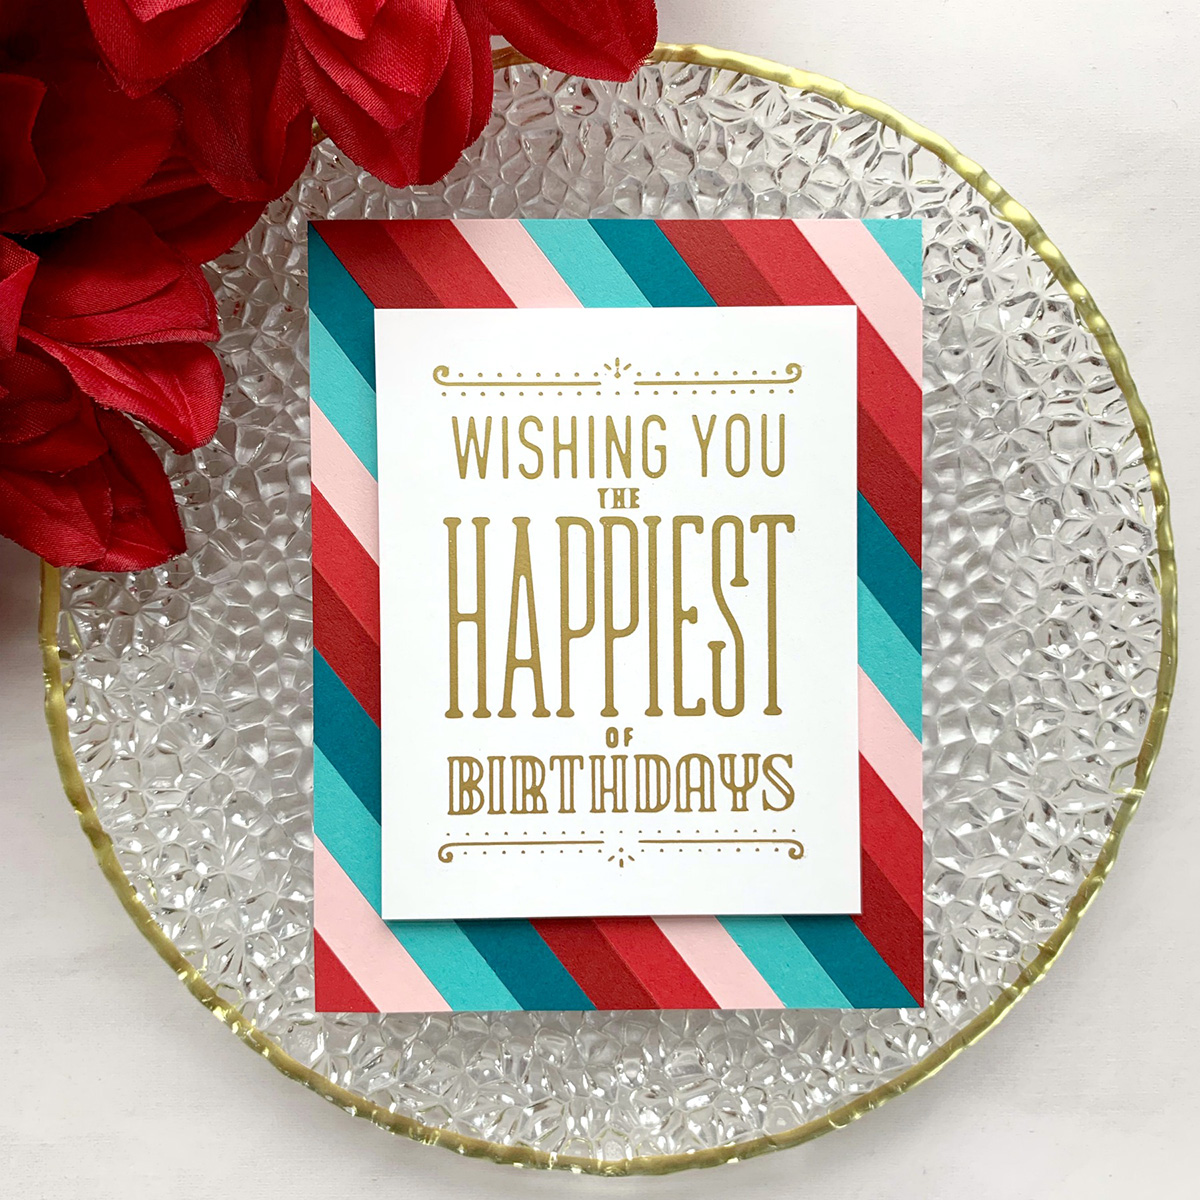
I began creating this A2 trio with a bright bold background to really make the foiled sentiment pop. Cut cardstock into 3/8 inch strips. Apply a paper backed dry tape adhesive to cardstock. Leaving release paper in place, trim to 4 ¼” x 5 ½”. (Note: a similar colored cardstock will hide any possible gaps between the paper strips.)

Spellbinders Glimmer Hot Foil Inspiration | Hot Foil Card Trio with Janette Kausen

Remove release paper and adhere bright strips diagonally corner to corner, butting them together, building out. When complete, flip panel to back and trim along cardstock backing panel. Glimmer Hot Foil Happiest Birthday in Matte Gold, trim and adhere in place with dimensional adhesive.

Spellbinders Glimmer Hot Foil Inspiration | Hot Foil Card Trio with Janette Kausen

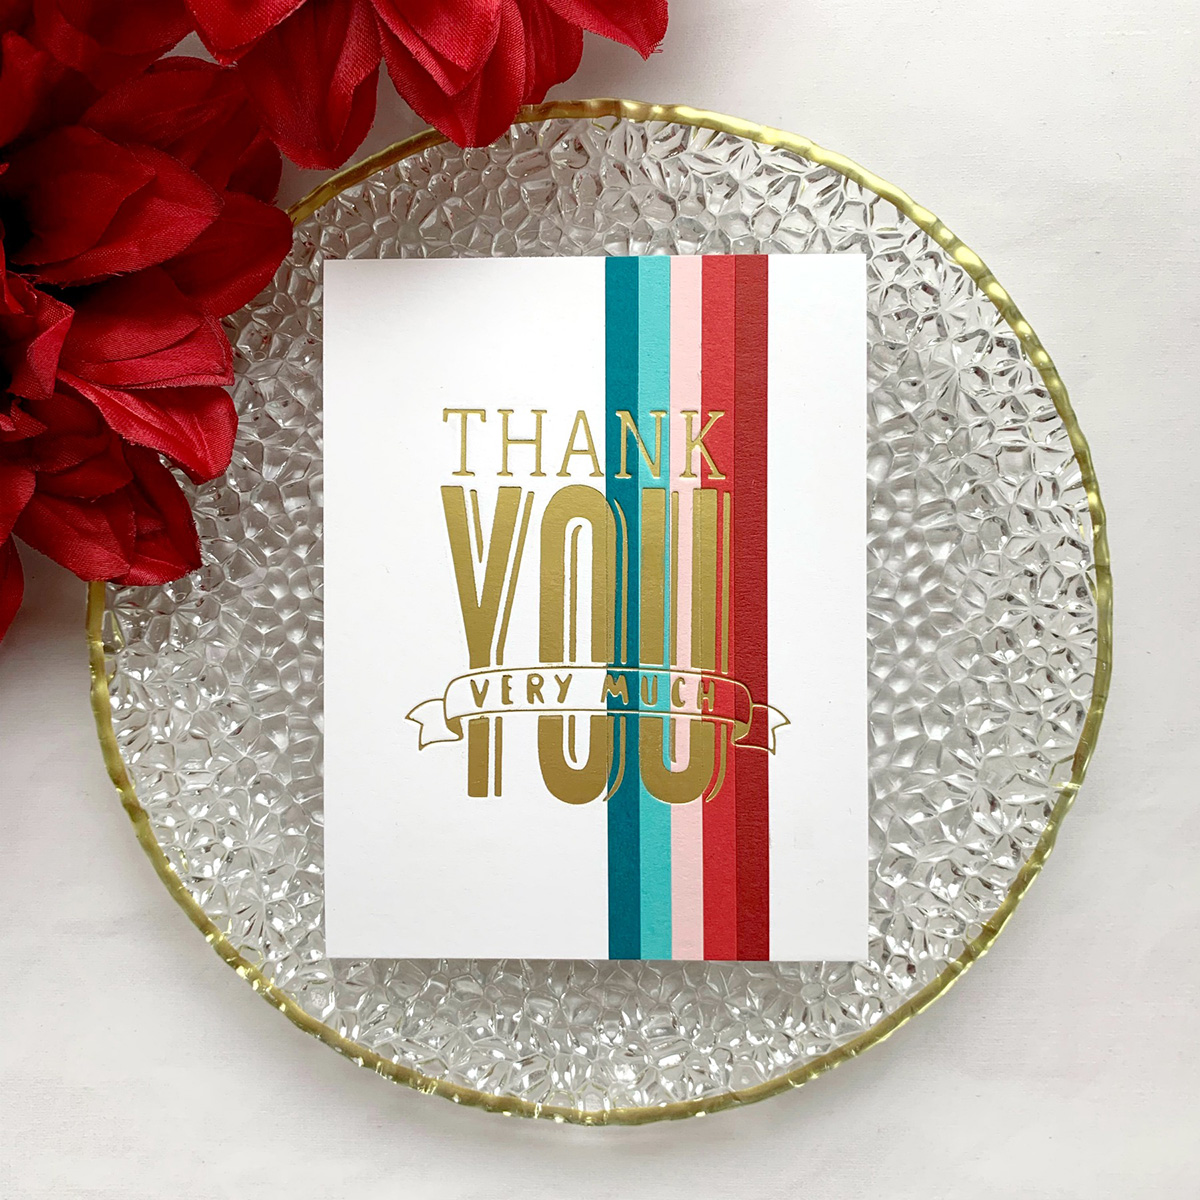
Repeat steps to create dry tape adhesive backing panel. This time apply ¼” bright cardstock strips vertically. Adhere white cardstock to each side, flip to back and trim along backing panel as a guideline.

Spellbinders Glimmer Hot Foil Inspiration | Hot Foil Card Trio with Janette Kausen

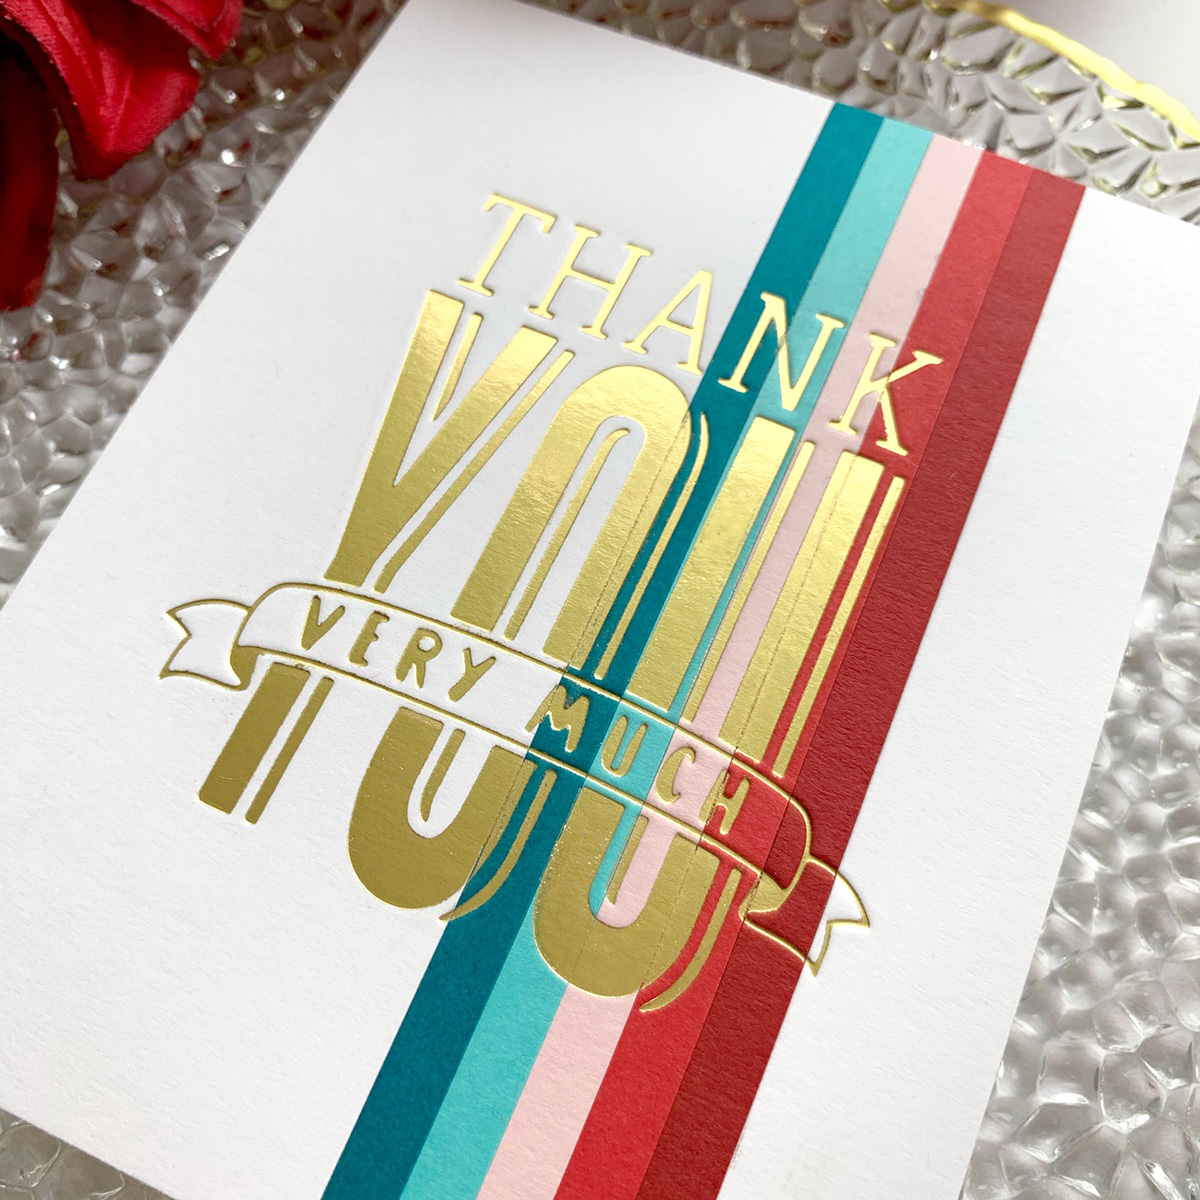
Using the grid lines on the Glimmer Hot Foil System base plate, center Thank You Very Much Glimmer Hot Foil Plate. Place Matte Gold foil dull side up over plate and carefully center striped panel in place. Complete sandwich, adding an extra scratch paper shim if necessary, to allow a complete foil transfer to the paper strips.

Spellbinders Glimmer Hot Foil Inspiration | Hot Foil Card Trio with Janette Kausen

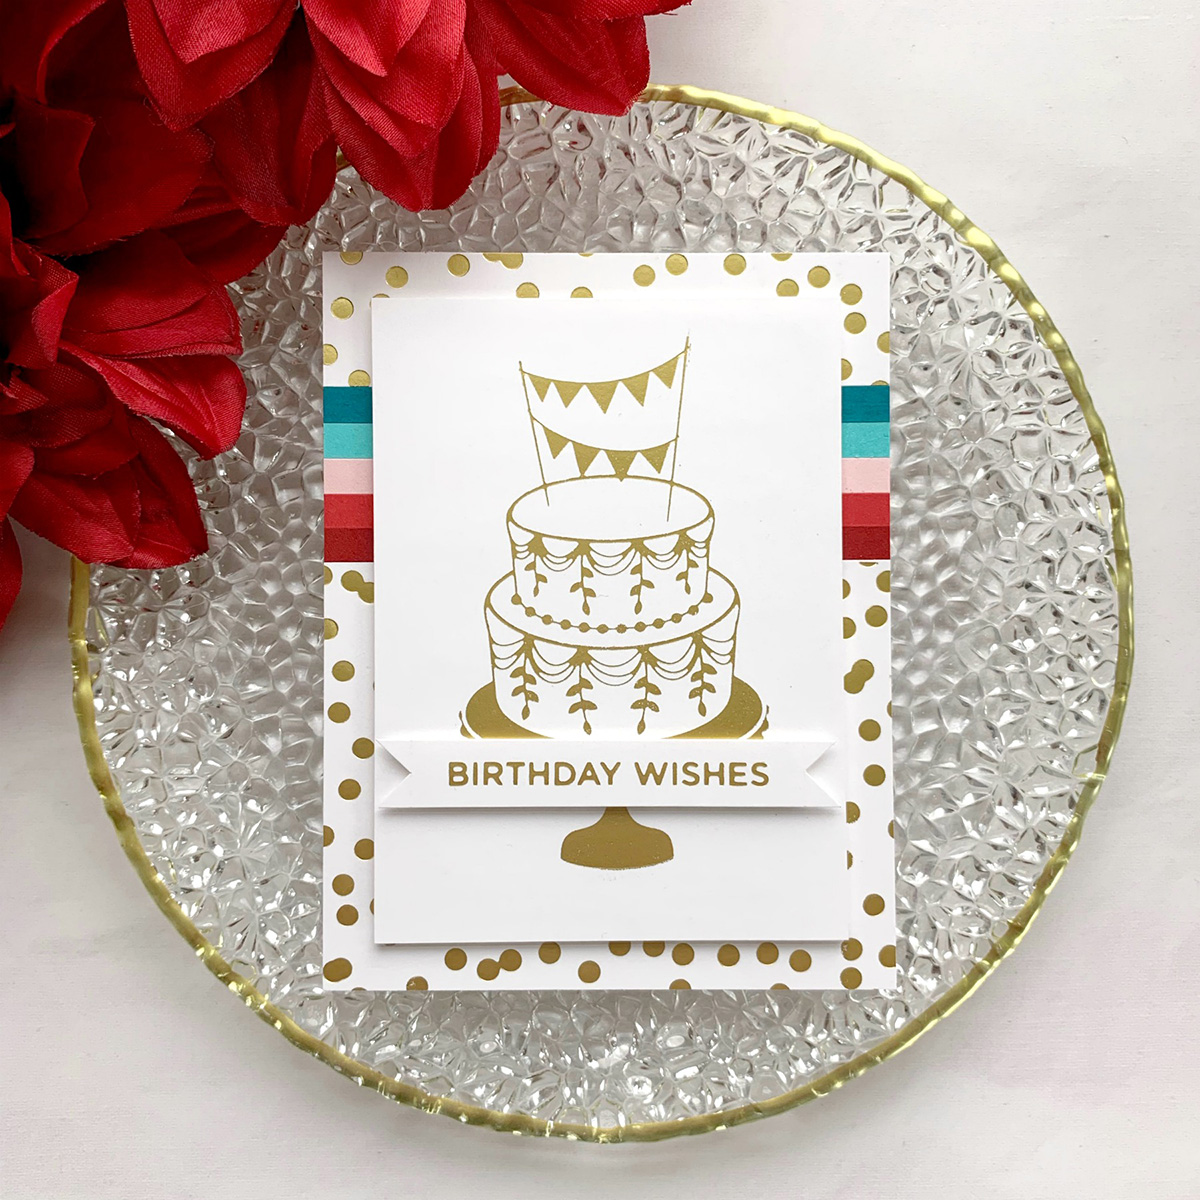
Again, create dry tape adhesive backing panel. This time align cardstock strips horizontally. Add a Scattered Dot Pattern foil design, again in Matte Gold, to basic white cardstock. Adhere to either side of the stripes and flip to trim off excess from the back.

Spellbinders Glimmer Hot Foil Inspiration | Hot Foil Card Trio with Janette Kausen

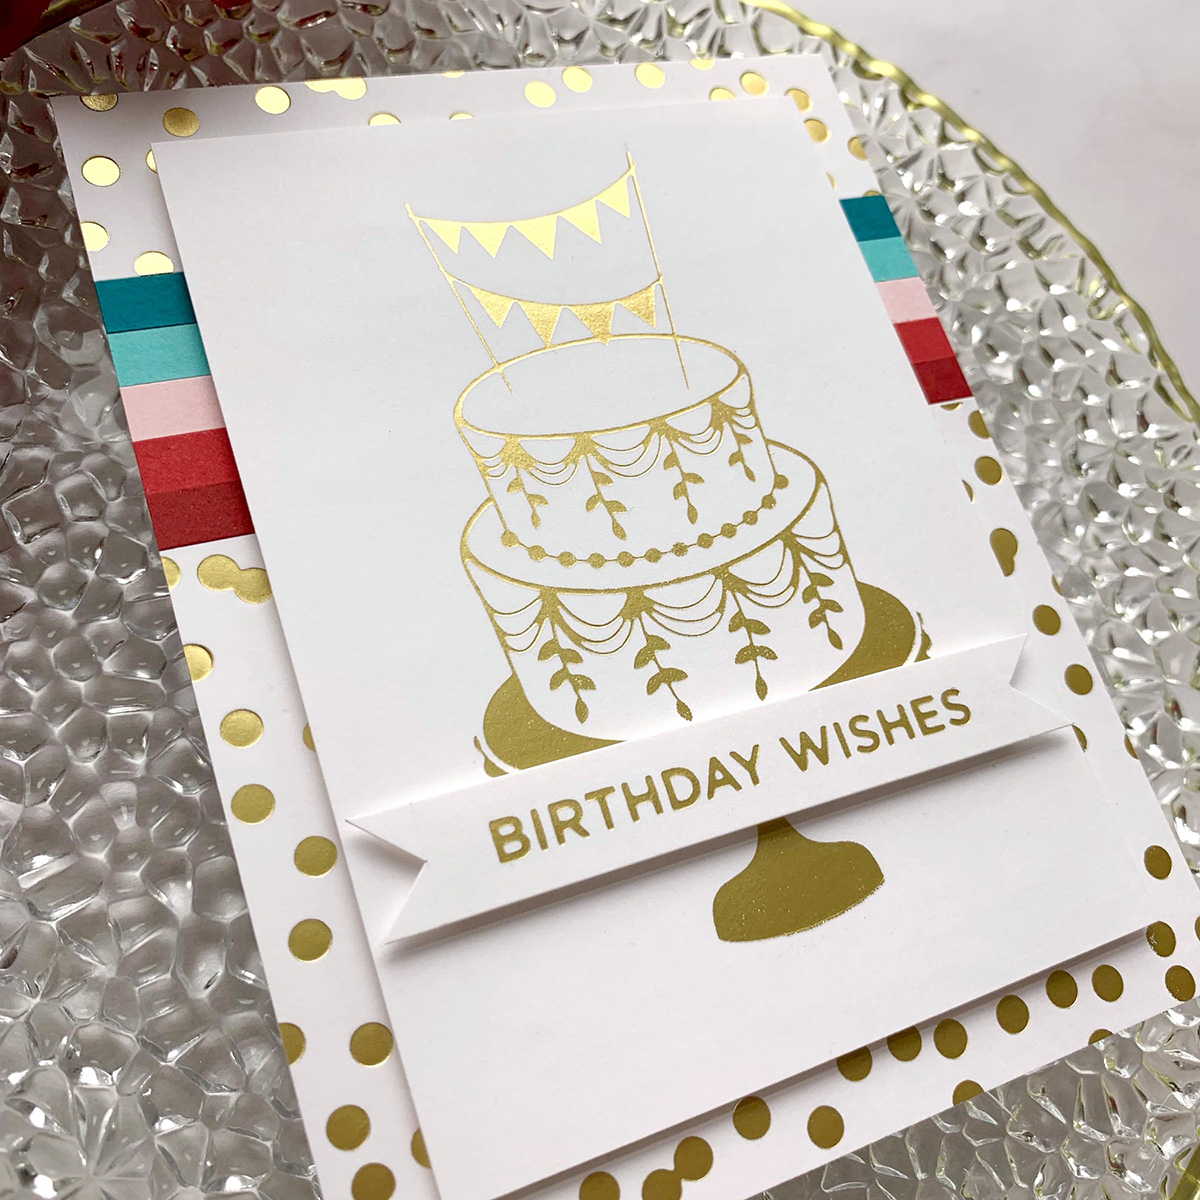
Matte Gold foil Tiered Cake Glimmer Plate and Everyday Sentiment II, “Birthday Wishes,” onto white cardstock. Trim cake down to 3 ¼” x 4 ½” and pop in place with dimensional adhesive. Trim down birthday sentiment cutting banner details on sides. Pop this in place with dimensional adhesive, as well. Adhere each to an A2 folded card base and give. Give a set as a gift or post individually as happy mail. Really, who doesn’t smile when they receive a handmade card in the mailbox? Foiling Tip: more heating time and pressure do not create a better transfer. I have had my best success by accurately using the built-in timer and light pressure when passing though the Platinum 6 Die Cutting & Embossing Machine.

Spellbinders Supplies:

Other Supplies:

Hero Arts cardstock, Be Creative tape, 3M foam tape. Thank you for visiting today and thank you to Spellbinders for the invitation to guest! It’s been a pleasure. I have enjoyed sharing more about the Glimmer Hot Foil System with you! If you’ve been inspired to create, be sure to tag #Spellbinders and #NeverStopMaking on social media! XO, Janette

2 comments

Love the color strips and of course the foil makes each one very special! So shiny and bright!

Evelyn Burton,

Awesome cards !!

Pooja,

Leave a comment

Please note, comments need to be approved before they are published.


  • August 2026 Clear Stamp + Die of the Month Preview & Tutorials – Trick or Snark

    Spellbinders Blog

    August 2026 Clear Stamp + Die of the Month Preview & Tutorials – Trick or Snark

    Our August 2026 Clear Stamp & Die of the Month preview & tutorials are here! Join the Clear Stamp & Die of the Month Club and receive an expertly designed clear stamp and coordinating die set each month, complete with inspiration. Plus, members get store savings, extra deals, gifts, and more. This stamp set features made-in-the-USA stamps from high-quality photopolymer for clear, crisp impressions. Our stamps...

  • August 2026 Embossing Folder of the Month Preview & Tutorials – Happy Jacks

    Spellbinders Blog

    August 2026 Embossing Folder of the Month Preview & Tutorials – Happy Jacks

    Our July 2026 2D Embossing Folder of the Month preview & tutorials are here! Exclusive 2D Embossing Folder adds texture and dimension to any project. Size will generally be 5.5" x 8.5" and can be used to make slimline, 5" x 7", and a variety of sized projects. Spellbinders Monthly Clubs are exclusively designed by our in-house creative team, curated with care, and delivered with...

  • August 2026 Stencil of the Month Preview & Tutorials – Peek-a-Boo

    Spellbinders Blog

    August 2026 Stencil of the Month Preview & Tutorials – Peek-a-Boo

    Our August 2026 Stencil of the Month Club preview & tutorials are here! Here’s a look at the design for this month – Holiday Harmony: Please note, new Subscription Sign-Up Window will now open on the 6th of each month and close on the 27th (once existing club members subscriptions have been processed.) If there is additional inventory remaining, then they will be made available for...