Glimmer Hot Foil System | Letterpress Techniques for Holiday Cards. Video
Posted by Yana Smakula on October 11, 2018

Glimmer Hot Foil System | Letterpress Techniques for Holiday Cards. Video

Hello Spellbinders' fans! This is Yana Smakula and in this blog post & video tutorial I will show you how you can create a beautiful Letterpressed Holiday cards using our new Spellbinders Glimmer Hot Foil system. I’ll talk about best papers to use and will share several tips and tricks with you in this video.
Spellbinders Glimmer Hot Foil System | Letterpress Techniques for Holiday Cards #glimmerhotfoilsystem #spellbindersglimmer #letterpress #neverstopmaking #spellbinders

If you are new to the Glimmer Hot Foil system be sure to watch our Introductory video and Basics of Foiling video to learn more. Letterpress technique is very hard to show on camera or on photos, but it displays beautifully in real life, there’s nothing out there quite like it. Letterpress is different from embossing or debossing as it leaves the back side of you paper completely flat. Letterpress is a popular technique used in business cards and also wedding invitations. We’re excited to bring letterpress to cardmaking.

Spellbinders Glimmer Hot Foil System | Letterpress Techniques for Holiday Cards #glimmerhotfoilsystem #spellbindersglimmer #letterpress #neverstopmaking #spellbinders

When you combine foiling and letterpressing the order in which you do things matters. It is best to foil first and letterpress later as foiling over a letterpresses image will not give you optimal results. It’s best to use specialty paper for letterpress such as watercolor or letterpress paper. If you don’t have either of those you can still letterpress with our Glimmer Hot Foil system and plates on regular smooth cardstock. It’s best to use 110 lb cardstock or thicker for great results.

Spellbinders Glimmer Hot Foil System | Letterpress Techniques for Holiday Cards #glimmerhotfoilsystem #spellbindersglimmer #letterpress #neverstopmaking #spellbinders

Instructions:

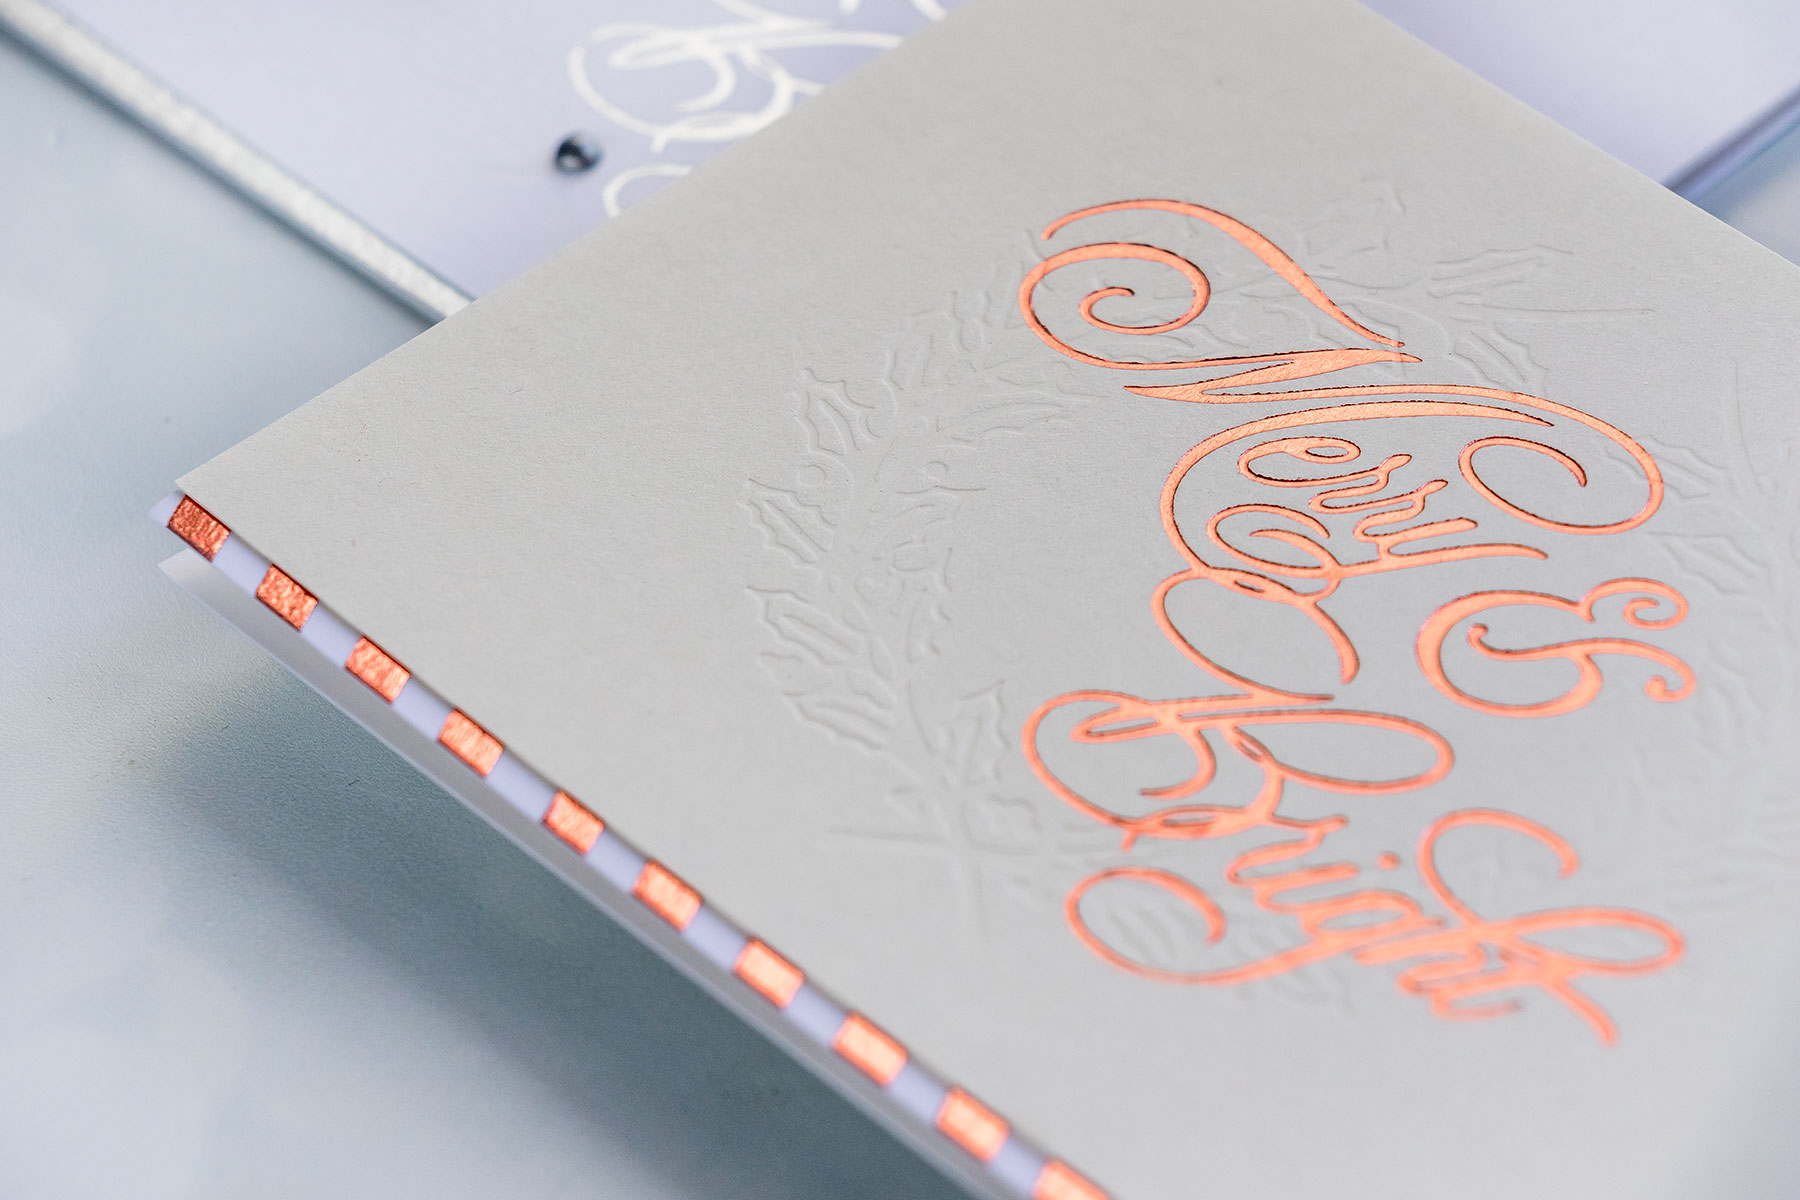
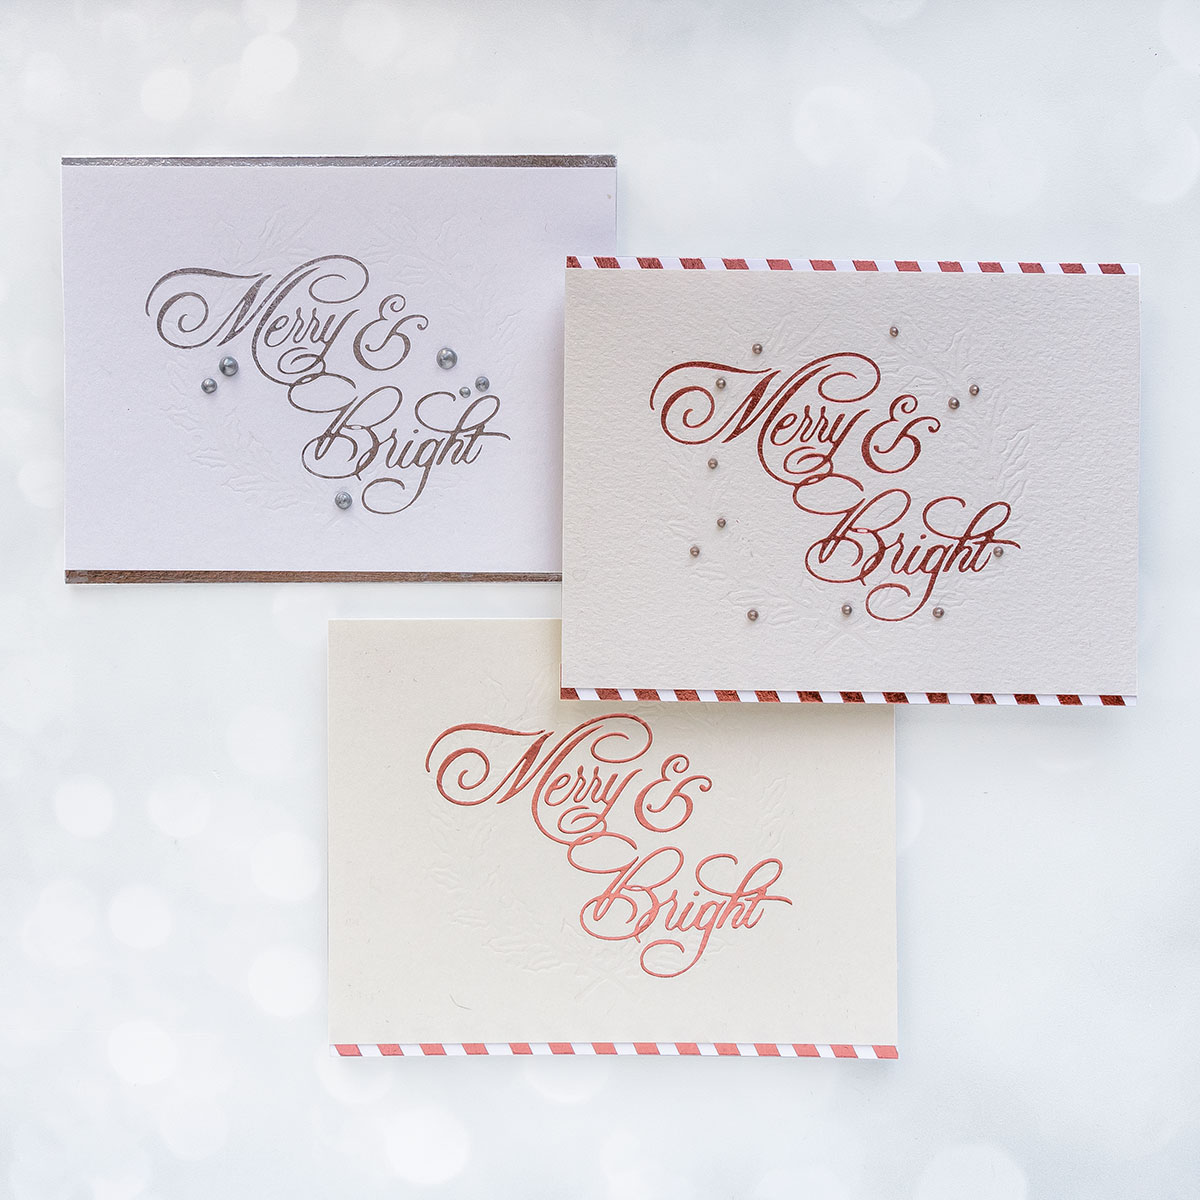
  • Hot Foil Merry & Bright in Silver foil on  letterpress paper before I adding lettepressing.
  • Letterpess the Wreath. To do so first position  Wreath Glimmer Hot Foil plate on  foiled panel and secure place using small pieces of low tack tape. Be careful to not place the low tack tape over your foiled design as the tape will lift up the foil.
  • Use  regular shims that come with Glimmer machine and also a cardstock shim for better results. Send through your die cut machine to letterpress.
  • Adhere your foiled and letterpressed panels onto A2 white top folding card bases,
  • Embellish with liquid pearls.

VIDEO TUTORIAL

Watch video tutorial below or on Youtube to learn how to make this project: We hope you enjoyed this video tutorial and will give this idea a try!

Spellbinders Supplies:

Leave a comment

Please note, comments need to be approved before they are published.


  • Spellbinders Beginners Blog Post Series - Common Cardmaking Mistakes (and How to Fix Them)

    Beginner’s Guide to Cardmaking

    Common Cardmaking Mistakes and How to Fix Them: A Beginner's Guide

    Mistakes happen to every cardmaker, from beginners to experienced crafters. This comprehensive guide shares practical solutions for fixing common cardmaking mistakes, including stamping, die cutting, foiling, BetterPress, ink blending, stenciling, coloring, heat embossing, and more, so you can confidently rescue your handmade cards instead of starting over.

  • How to make a Polar Bear Christmas Card with Alcohol Markers, HUR93909, S7-291, S5-619

    CS-8-100

    How to make a Polar Bear Christmas Card with Alcohol Markers

    Hello, cardmaking friends! It’s Mona Tóth here, and I’m so happy to be back on the Spellbinders blog. Today, I’m sharing a Christmas step-by-step card tutorial featuring the Polar Friends Stamp and Die Set by Simon Hurley. This card was inspired by the Christmas advertisements I remember seeing on television when I was a child in the 1990s. They often featured polar bears surrounded by...

  • Interactive Scrapbook Layout Using the Turn the Page Collection by Esther Glas, SCSP-037, SCSE-054, SCSE-039, SCSR-016, E3D-186, STP-279, SDS-232, S2-473, S7-298, S7-295

    E3D-186

    Interactive Scrapbook Layout Using the Turn the Page Collection by Esther Glas

    Hello, crafty friend! I’m Adrienne Boese, better known online as Alice Scraps Wonderland. I love a good interactive scrapbook page! It can be something as simple as a pocket or something more intricate like a waterfall mechanism or flips. Today, we are going to focus on one of those simple techniques - a pocket!  It’s the perfect technique to dip your toes into the interactive...