

Posted by Spellbinders Team
on June 23, 2019

Hello crafty friends! I’m Jean, a papercrafter blogging at Right as Rain. I live in the Pacific Northwest, and I’m a big fan of anything ocean-themed! I’m fascinated by all of the different takes on the ocean theme in papercrafting. I’m sharing three ocean-themed projects, along with instructions, crafted with the Hello Summer - Splash Zone Collection products. Let’s take a look.

Make Waves Card
My first card, showcasing the Sparkle Mermaid Tail Die Set, incorporates mixed media techniques.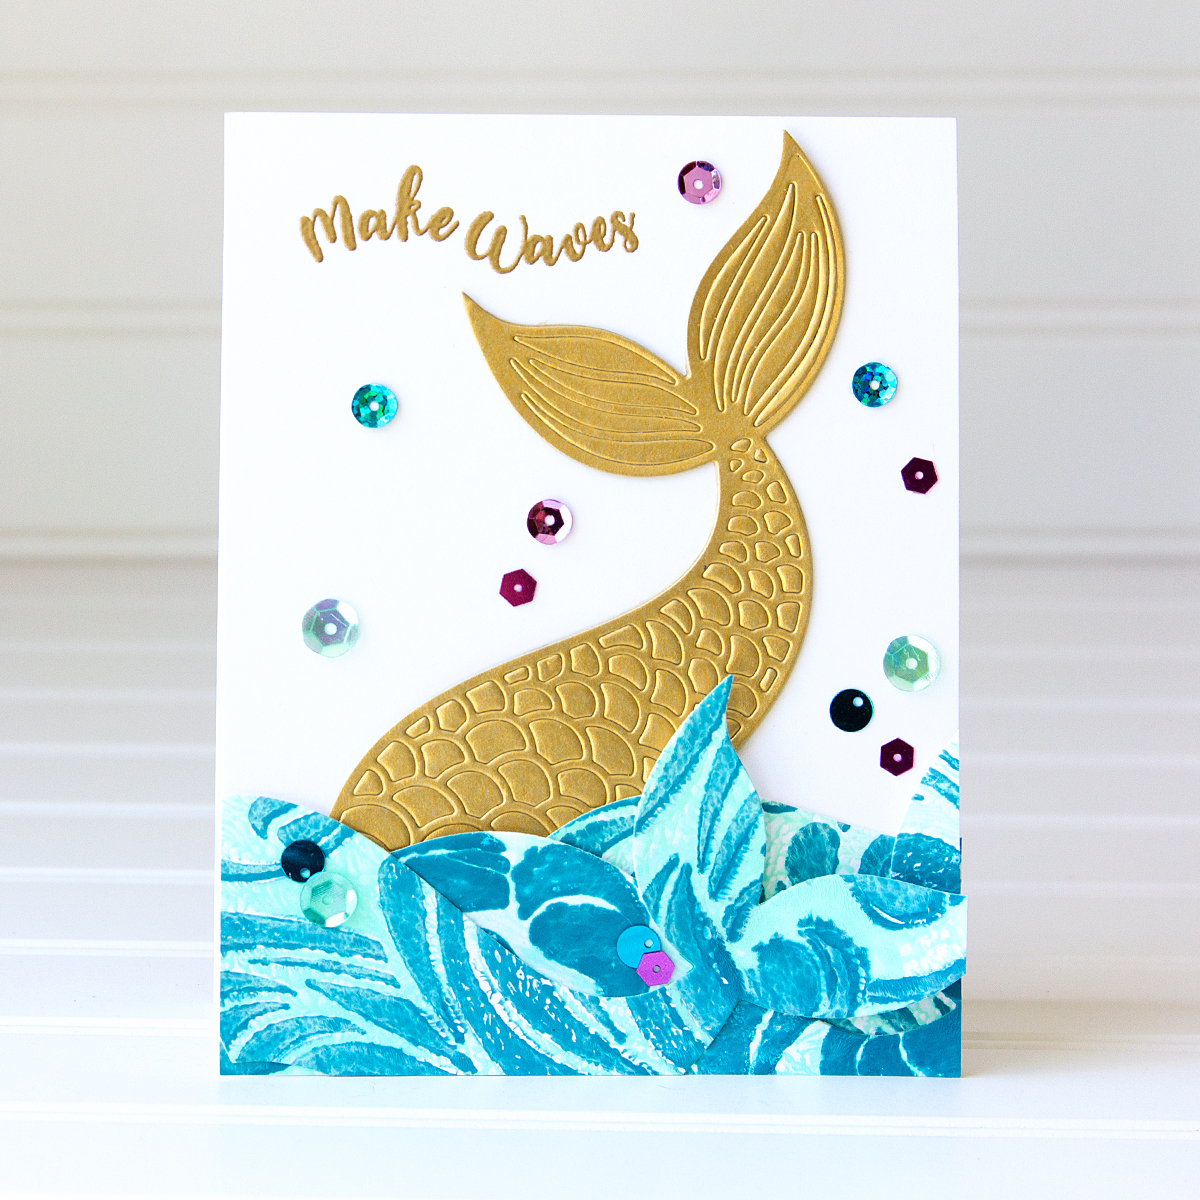
- To begin, I heat-embossed the Make Waves Stamp Set sentiment with gold powder on a Whip Cream cardstock A-2 card base.
- For the mermaid tail, I used both the detailed and outlines dies of the Sparkle Mermaid Tail set to cut Brush Gold cardstock. I cut the tail again from gold cardstock with the outline die, which I adhered to the detailed piece, leaving the scale pieces intact.
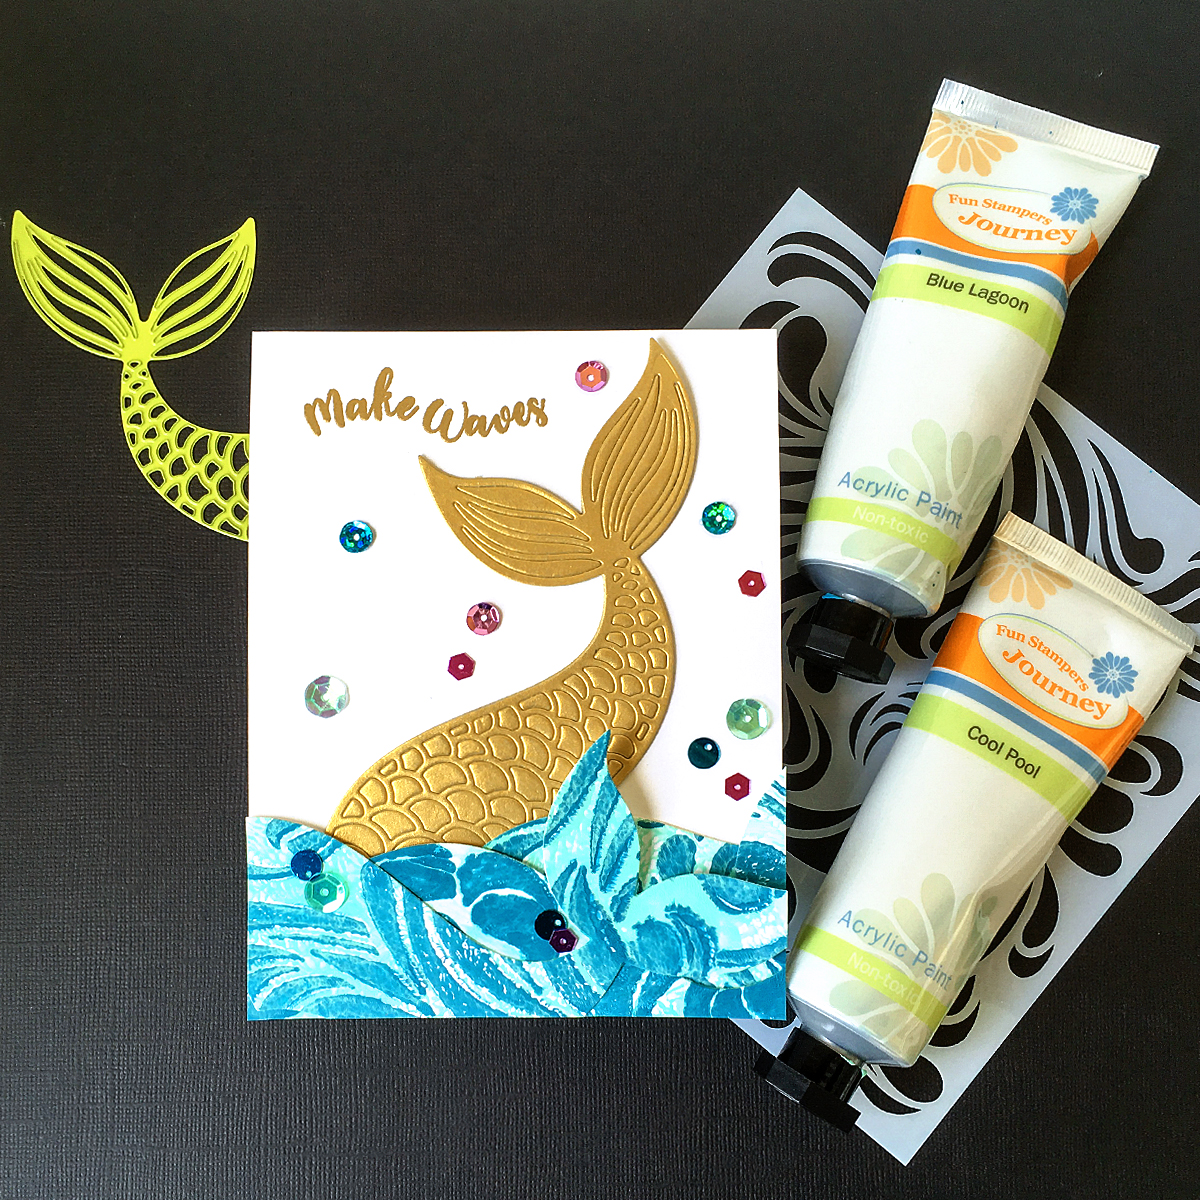
- To create the waves, I rolled Cool Pool paint on to the Gel Press with a brayer. I placed the Splash Zone Stencil down and applied Blue Lagoon paint through the stencil. I then pulled the stencil off and placed Whip Cream cardstock on to the Gel Press to pick up the paint. I repeated this process again for a second piece of stenciled cardstock.
- Once the cardstock pieces were dry, I cut them three times with the Sparkle Mermaid Tail outline die for the wave pieces.
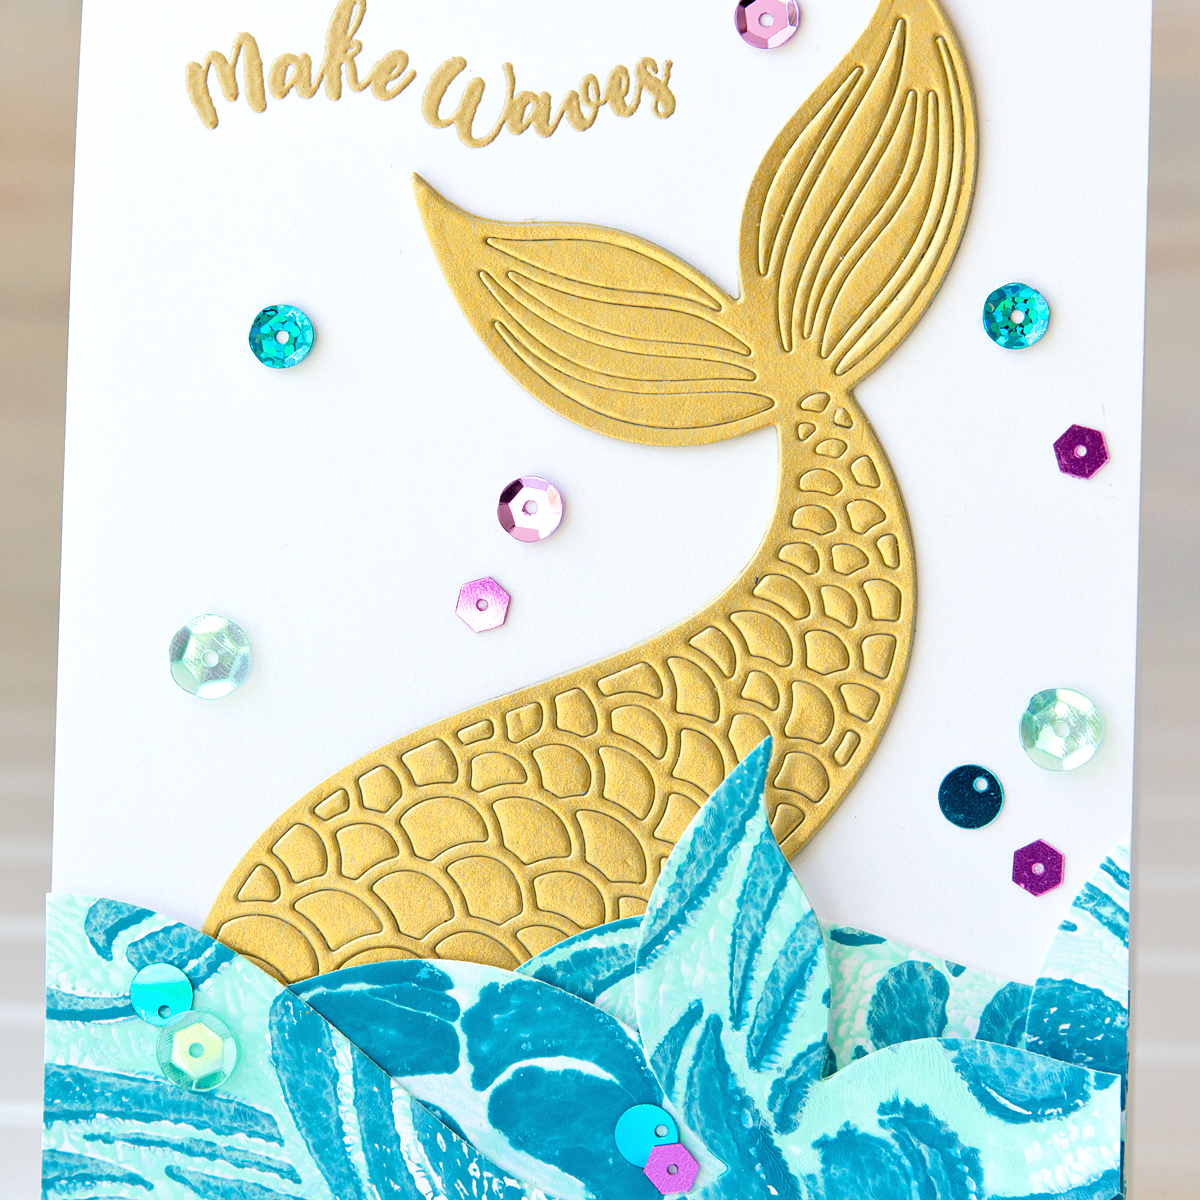
- I adhered the waves to the card front and trimmed as necessary. The tops of the waves were left unadhered.
- I added adhesive to the assembled gold tail and tucked it into the waves.
- For a finishing touch, I adhered Splash Zone Sequins to the card front.
Spellbinders Supplies:
Other Supplies
Versamark inkYou Are Jawesome Card
On my second project, I’ve used the playful Shark Attack Stamp Set with the Splash Zone Stencil. Again, I’ve incorporated mixed-media techniques for interest and texture.
- To begin, I stamped two shark images on to Whip Cream cardstock with Copic-friendly black ink. I colored the images with Copic markers and colored pencils and then I fussy cut them. (There is a coordinating die set for this stamp set as well.)
- I created a card base from Pool Play cardstock.
- I white heat-embossed the sentiment on Black Licorice cardstock and cut it with a die in the A-2 Matting Basics B Card Creator Etched Dies set.
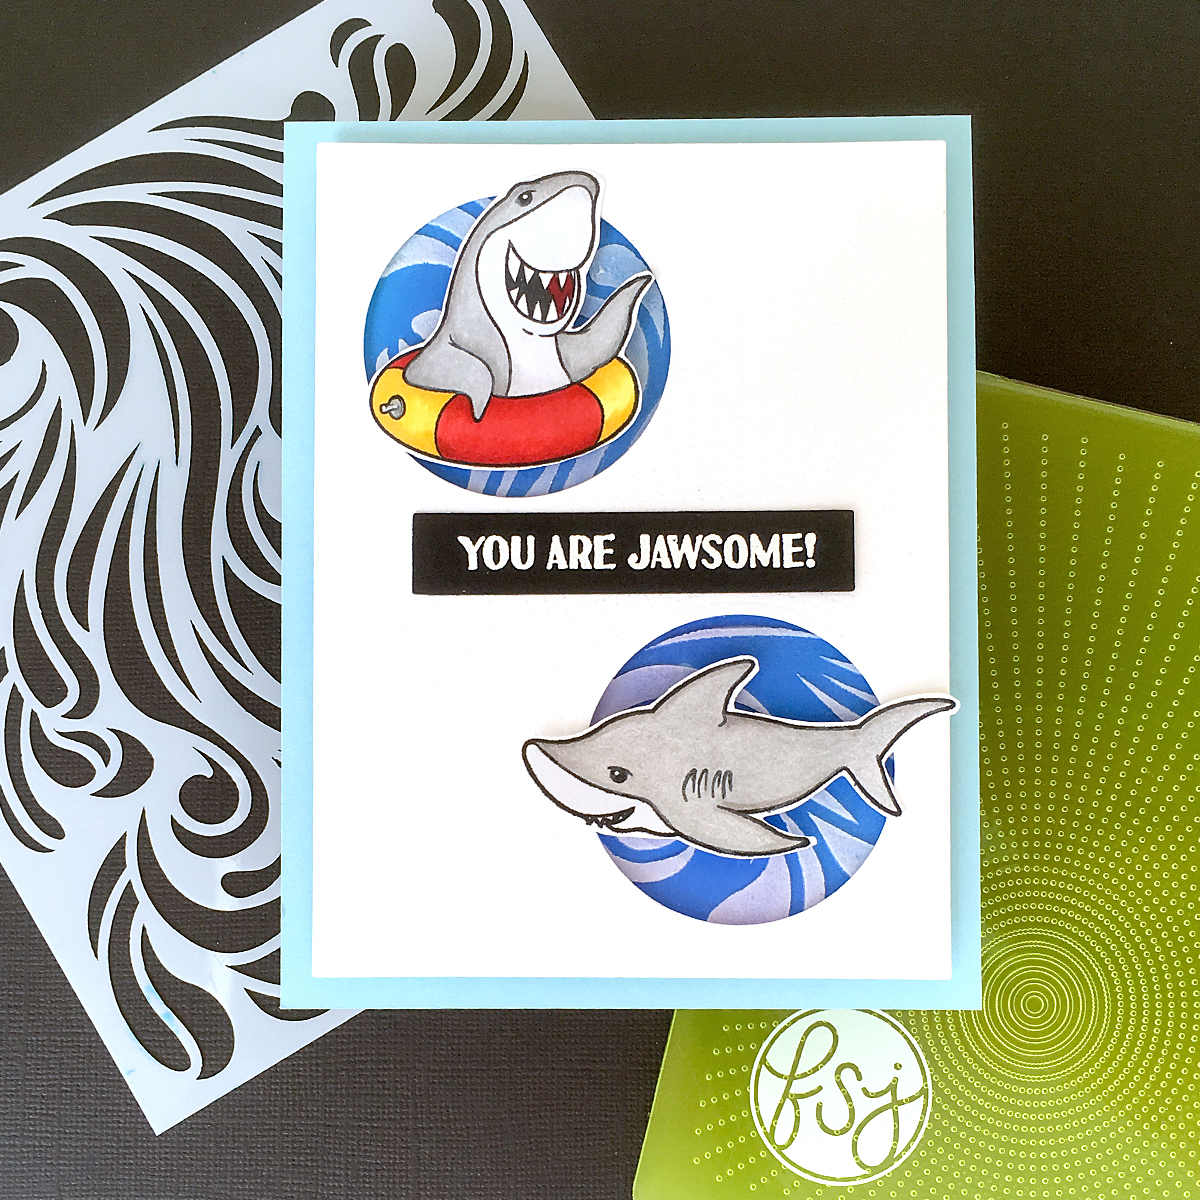
- I dry-embossed a Whip Cream cardstock rectangle, cut with a die in the A-2 Matting Basics B Card Creator Etched Dies, (rectangle measures 3 7/8" x 5 1/8"), with the Bright Days embossing folder twice. Both times, I placed the sun “center” in the corners where I would be die-cutting a circle window. While the effect is subtle, it adds texture to the project.
- I cut the circle windows with a Nestabilities Standard Circles Large die, measuring 1 7/8" in diameter. The center of the die was placed over the center of the sun for easy alignment.
- For the wave background behind the shark images, I applied Distress Oxide inks in Salty Ocean, Blueprint Sketch, and Mermaid Lagoon. I then applied modeling paste through the Splash Zone Stencil.
- Once dry, I trimmed the stenciled piece to fit behind the frame piece and attached the frame to the waves with foam adhesive.

- To finish, I added the frame piece to the card base, adhered the sentiment to the center, and popped up the colored shark images with foam adhesive.
Spellbinders Supplies:
Other Supplies
Versamark ink; Copic markers; Colored pencils; Copic-friendly black ink; Distress Oxide inks – Mermaid Lagoon, Salty Ocean, Blueprint Sketch; Foam adhesiveAhoy Card
For my final project, I combined the Sparkle Mermaid Tail Die Set with the Splash Zone Stencil on a card measuring 5 ½" square.
- To begin, I colored Whip Cream cardstock with Distress Oxide inks in Salty Ocean, Blueprint Sketch, Peacock Feathers, and Tumbled Glass. I cut the Sparkle Mermaid Tail twice from the ink-colored cardstock with the detailed and outline dies.
- I cut two tails with the outline die from Brush Gold cardstock.
- I sprayed the backs of the ink-colored detailed pieces with adhesive and added the gold pieces to the back.
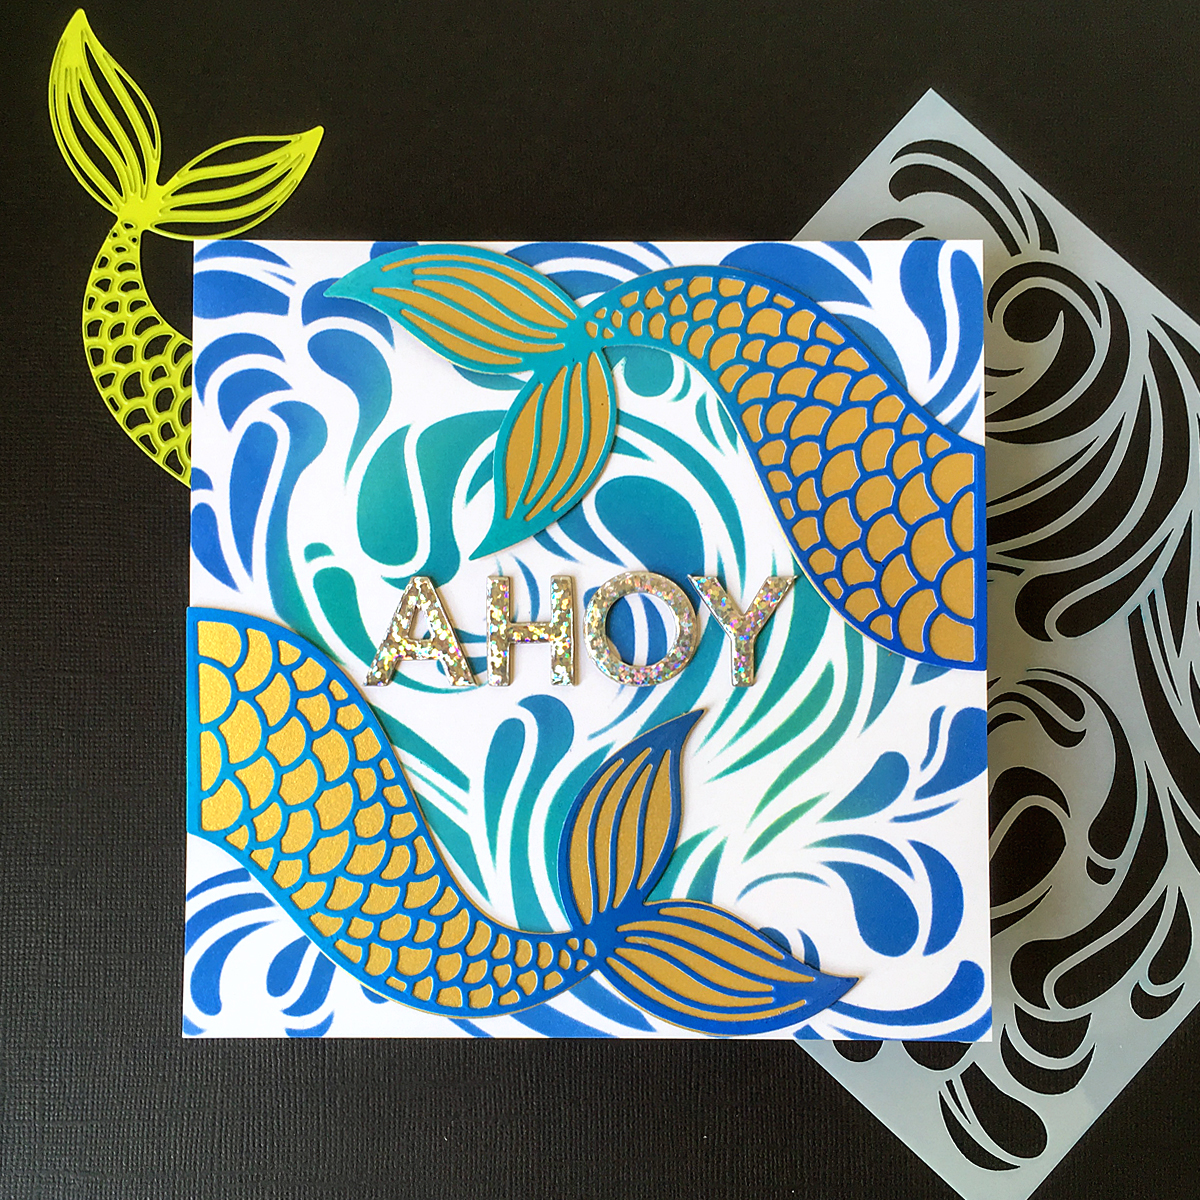
- For the background, I applied Distress Oxide inks in Salty Ocean, Blueprint Sketch, Peacock Feathers, and Tumbled Glass through the Splash Zone Stencil on Whip Cream cardstock.
- I trimmed the stenciled piece to 5 ½" square.
- I created a card base to which I added the stenciled panel.
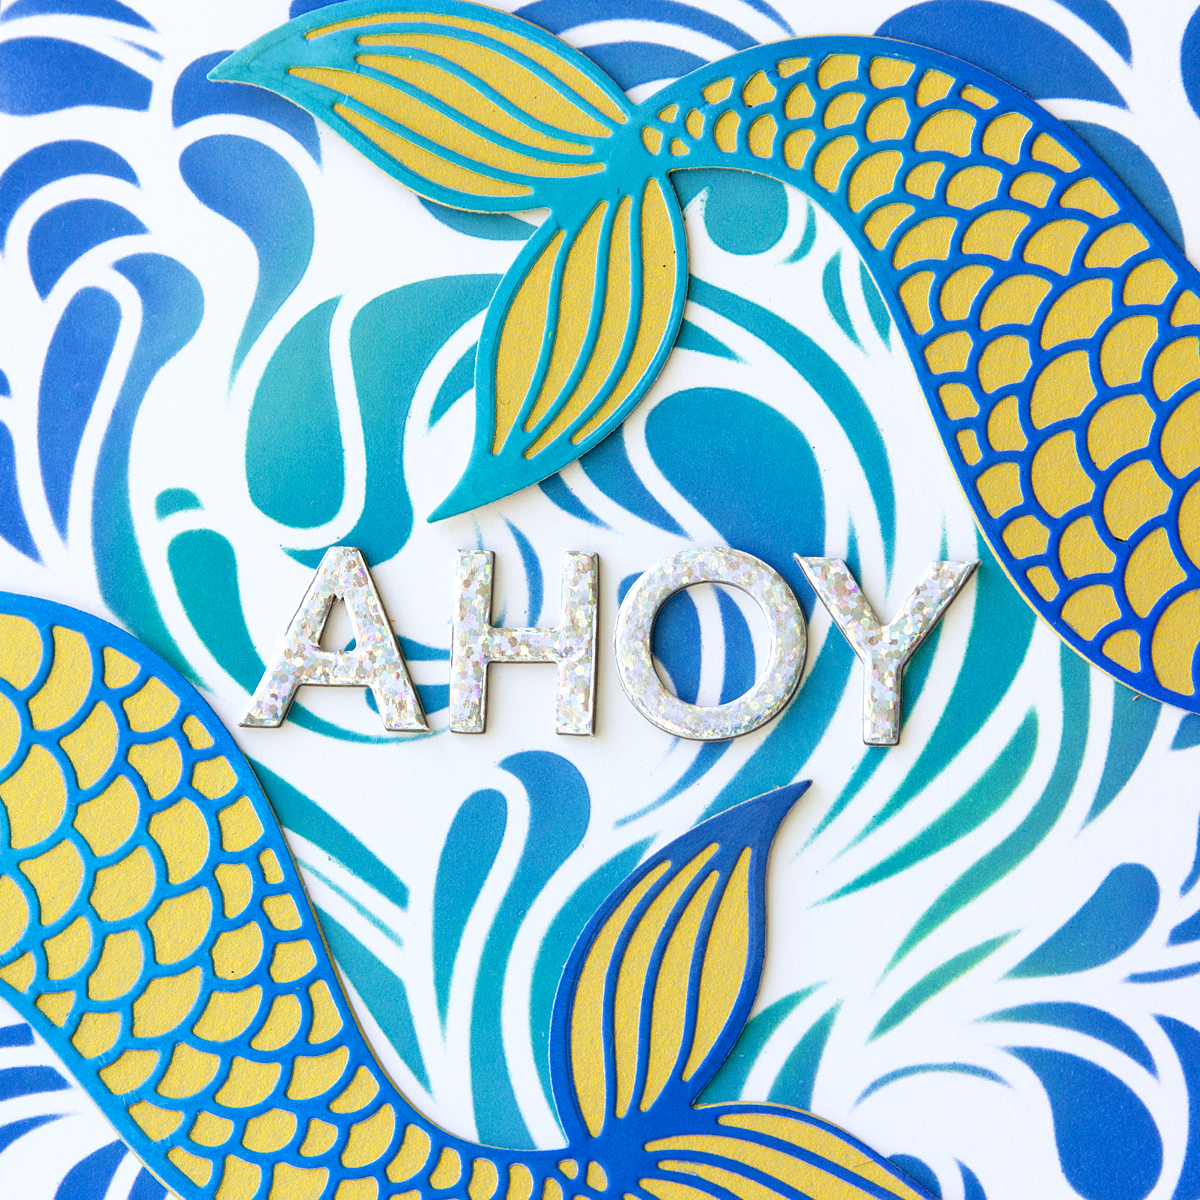
- I added the sentiment, using the Luminous Alphabet Chipboard Stickers, to the center of the stenciled panel and adhered the mermaid tails.
























































































7 comments
These cards are gorgeous! Just in time for the summer.
These cards are amazing. So many good ideas you shared to inspire me. Just love all the blue colors and the different textures. So fun!