
Jane Davenport Artomology | Creating a Quick and Colorful Bookmark with Kimball Davis
on October 02, 2018

Jane Davenport Artomology | Creating a Quick and Colorful Bookmark with Kimball Davis

Hey everybody, Kimball Davis here! I’m a digital artist by trade but I was recently introduced to Jane Davenport and have since become a big fan of her and her art supplies. I was invited to do three blog posts and I’m thrilled to share with you a few exciting products from her new Artomology collection with Spellbinders. I wanted to create something simple, colorful and fun that anyone can do, with a focus on the stamps and Squid Inks from the new line.
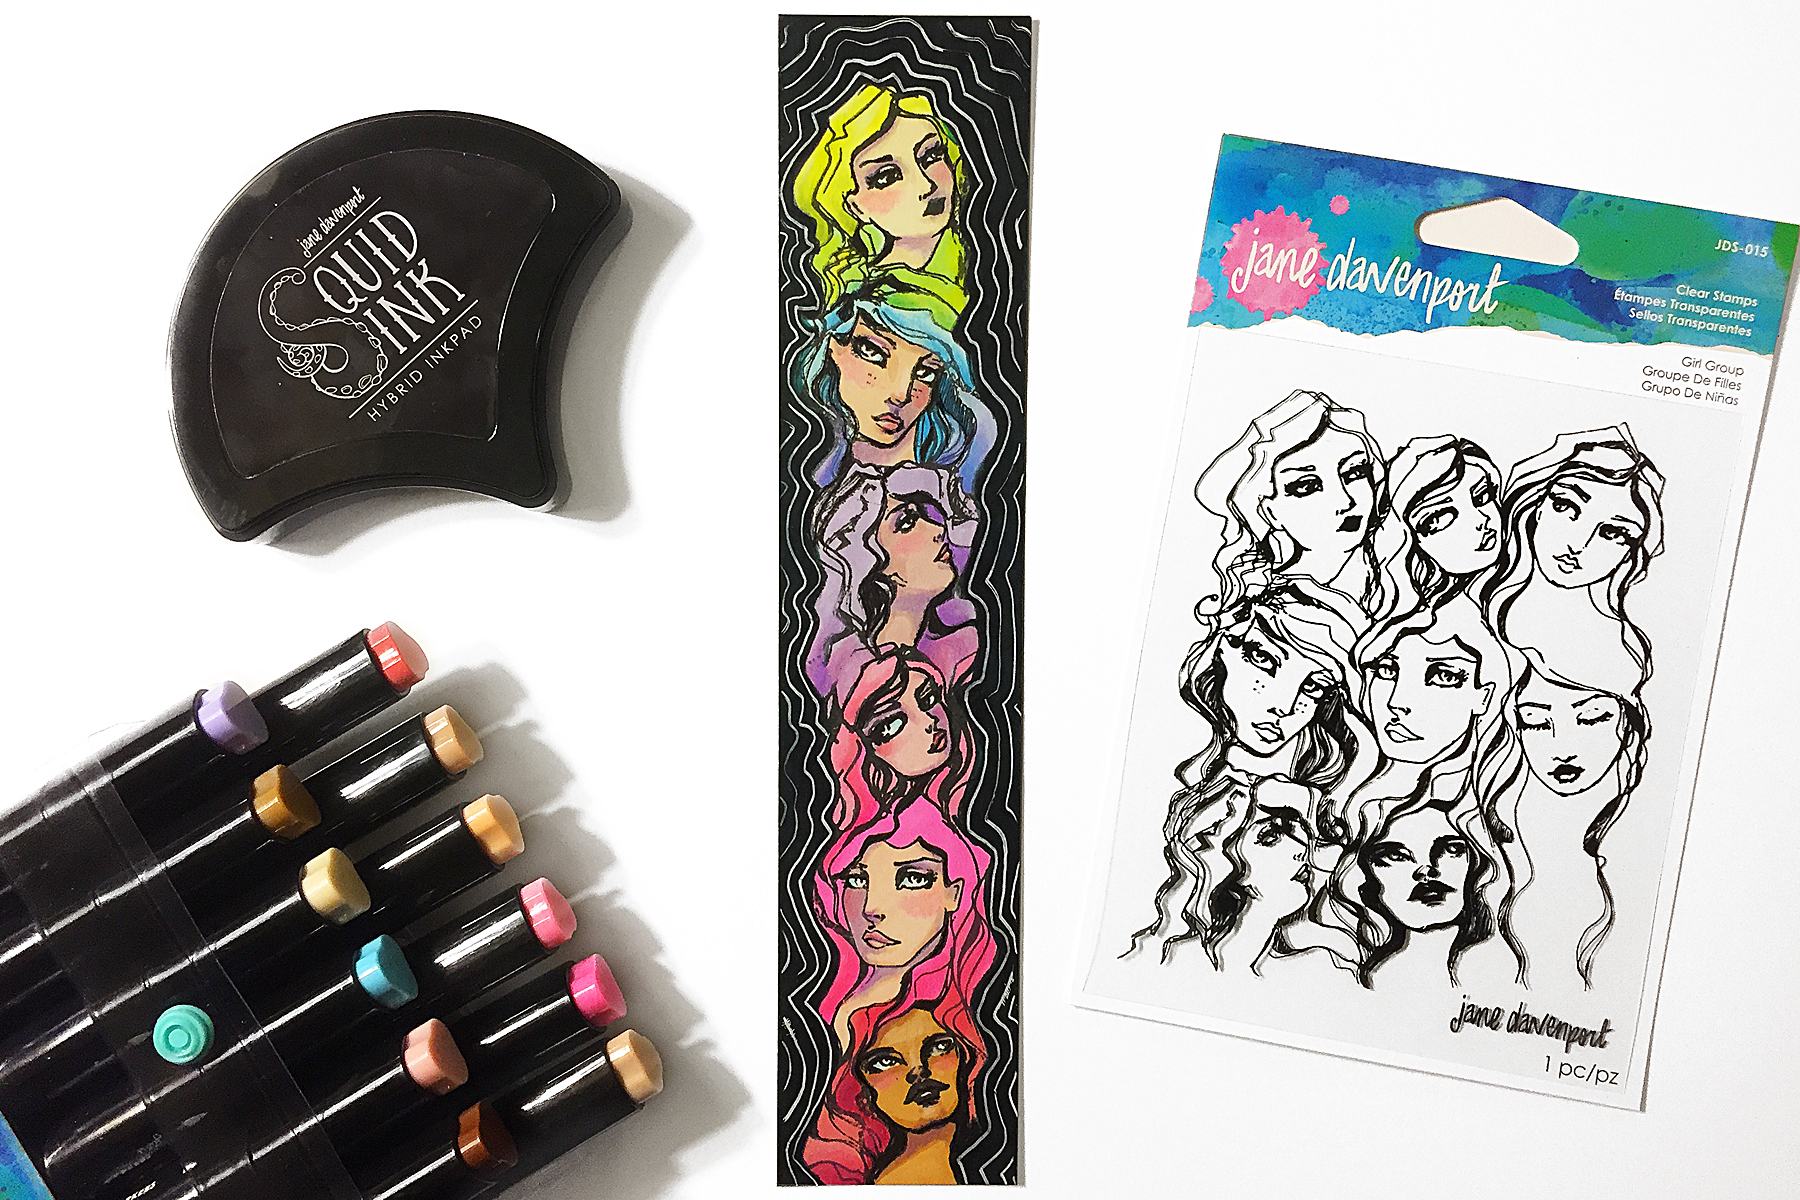
Spellbinders Jane Davenport Artomology | Creating Quick and Colorful Bookmark with Kimball Davis featuring JDS-015 Girl Group, JD-037 Squid Ink Cave Black, JD-024 Smooth Markers - Feathered Friends, JD-025 - Sooth Markers - Mermesmerizing #janedavenport #janedavenportartomology #Artomology #spellbinders #neverstopmaking #smoothmarkers #makeitwithmichaels #bookmark #DIY

Instructions:

  • Step 1 - Cut a piece of smooth Bristol board to the size of your desired bookmark; a popular size is 2x7” but you can choose any size you like.

Spellbinders Jane Davenport Artomology | Creating Quick and Colorful Bookmark with Kimball Davis featuring JDS-015 Girl Group, JD-037 Squid Ink Cave Black, JD-024 Smooth Markers - Feathered Friends, JD-025 - Sooth Markers - Mermesmerizing #janedavenport #janedavenportartomology #Artomology #spellbinders #neverstopmaking #smoothmarkers #makeitwithmichaels #bookmark #DIY

  • Step 2 - Using the Girl Group stamp with Cave Black Squid Ink, add ink to the section you want to use. In this case, I decided to stack the three girls on the left over the three in the middle to create a column of six beautiful faces. Don’t worry if you ink too much of the stamp because you can color over it with a black sharpie after it’s applied.
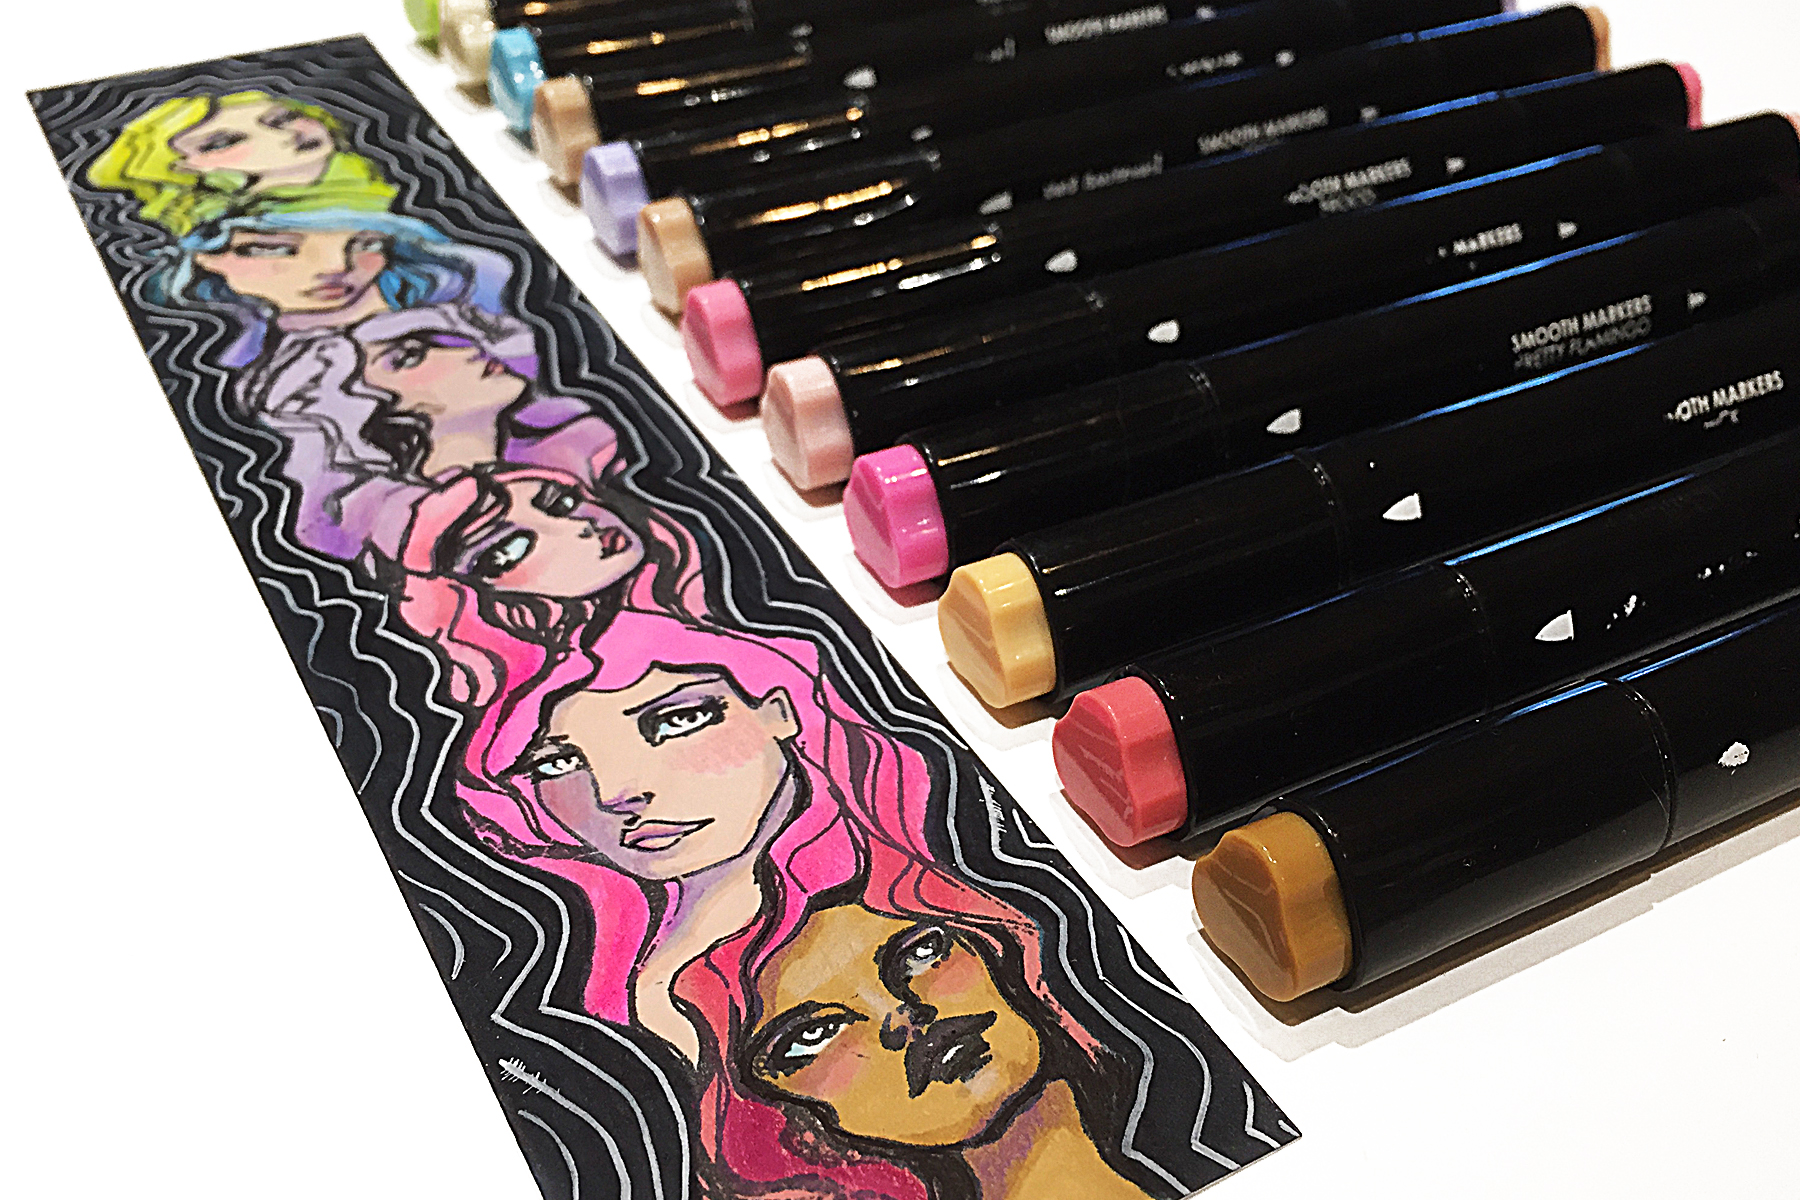
Spellbinders Jane Davenport Artomology | Creating Quick and Colorful Bookmark with Kimball Davis featuring JDS-015 Girl Group, JD-037 Squid Ink Cave Black, JD-024 Smooth Markers - Feathered Friends, JD-025 - Sooth Markers - Mermesmerizing #janedavenport #janedavenportartomology #Artomology #spellbinders #neverstopmaking #smoothmarkers #makeitwithmichaels #bookmark #DIY

  • Step 3 - Once you’re done stamping, it’s time to color with Smooth Markers. I used a different skin tone for each girl and shaded them all with the marker “Wing” from the Feathered Friends pack. I incorporated a rainbow of colors from both marker packs to create a fun gradient effect for the hair.
  • Step 4 - Colored pencils help add a touch of blush and a little more depth to the hair.
Spellbinders Jane Davenport Artomology | Creating Quick and Colorful Bookmark with Kimball Davis featuring JDS-015 Girl Group, JD-037 Squid Ink Cave Black, JD-024 Smooth Markers - Feathered Friends, JD-025 - Sooth Markers - Mermesmerizing #janedavenport #janedavenportartomology #Artomology #spellbinders #neverstopmaking #smoothmarkers #makeitwithmichaels #bookmark #DIY

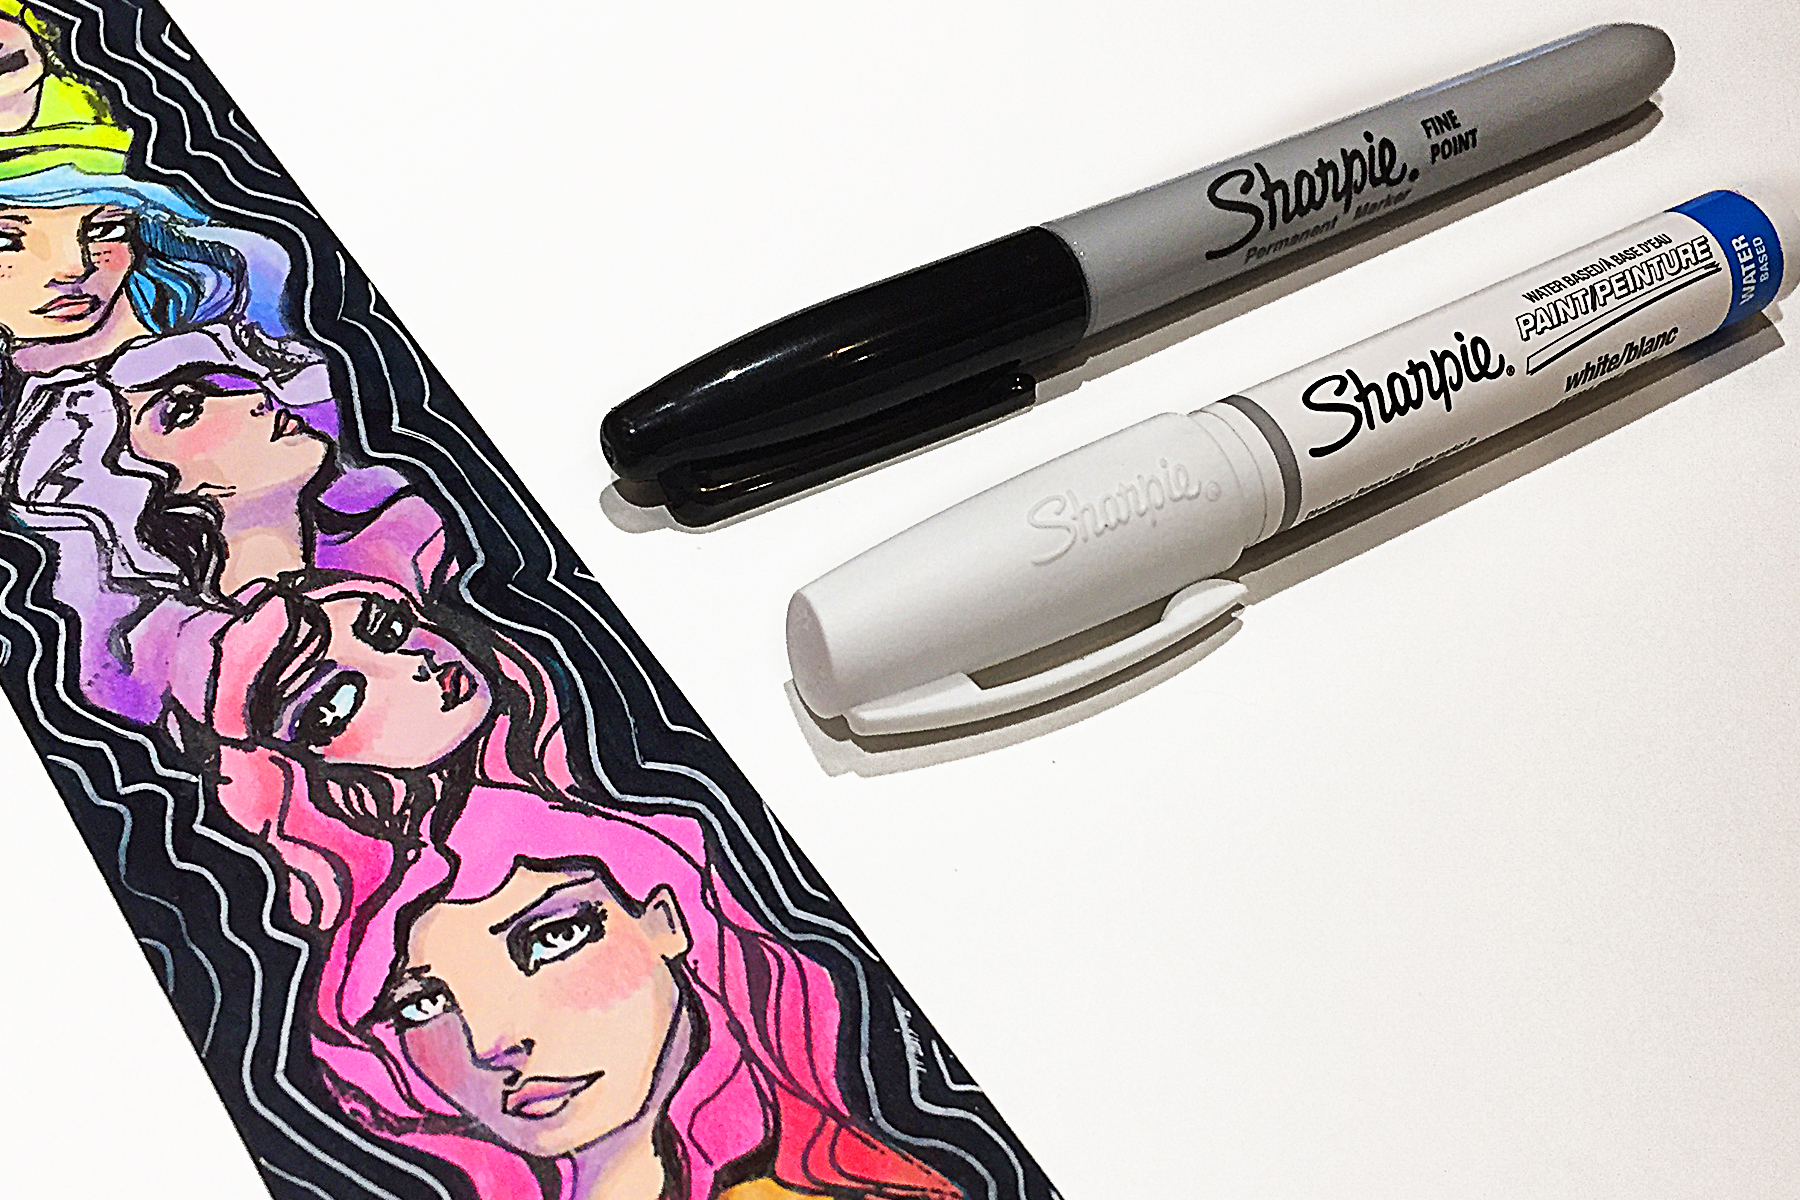
  • Step 5 - To finish the bookmark, I cleaned up the edges using a black Sharpie and added a whimsical border using an extra fine white Sharpie.

Spellbinders Supplies:

Other supplies:

Strathmore smooth bristol paper; Prismacolor premier colored pencils; Sharpie - black fine marker; Sharpie - white water based extra find point paint pen.
Spellbinders Jane Davenport Artomology | Creating Quick and Colorful Bookmark with Kimball Davis featuring JDS-015 Girl Group, JD-037 Squid Ink Cave Black, JD-024 Smooth Markers - Feathered Friends, JD-025 - Sooth Markers - Mermesmerizing #janedavenport #janedavenportartomology #Artomology #spellbinders #neverstopmaking #smoothmarkers #makeitwithmichaels #bookmark #DIY

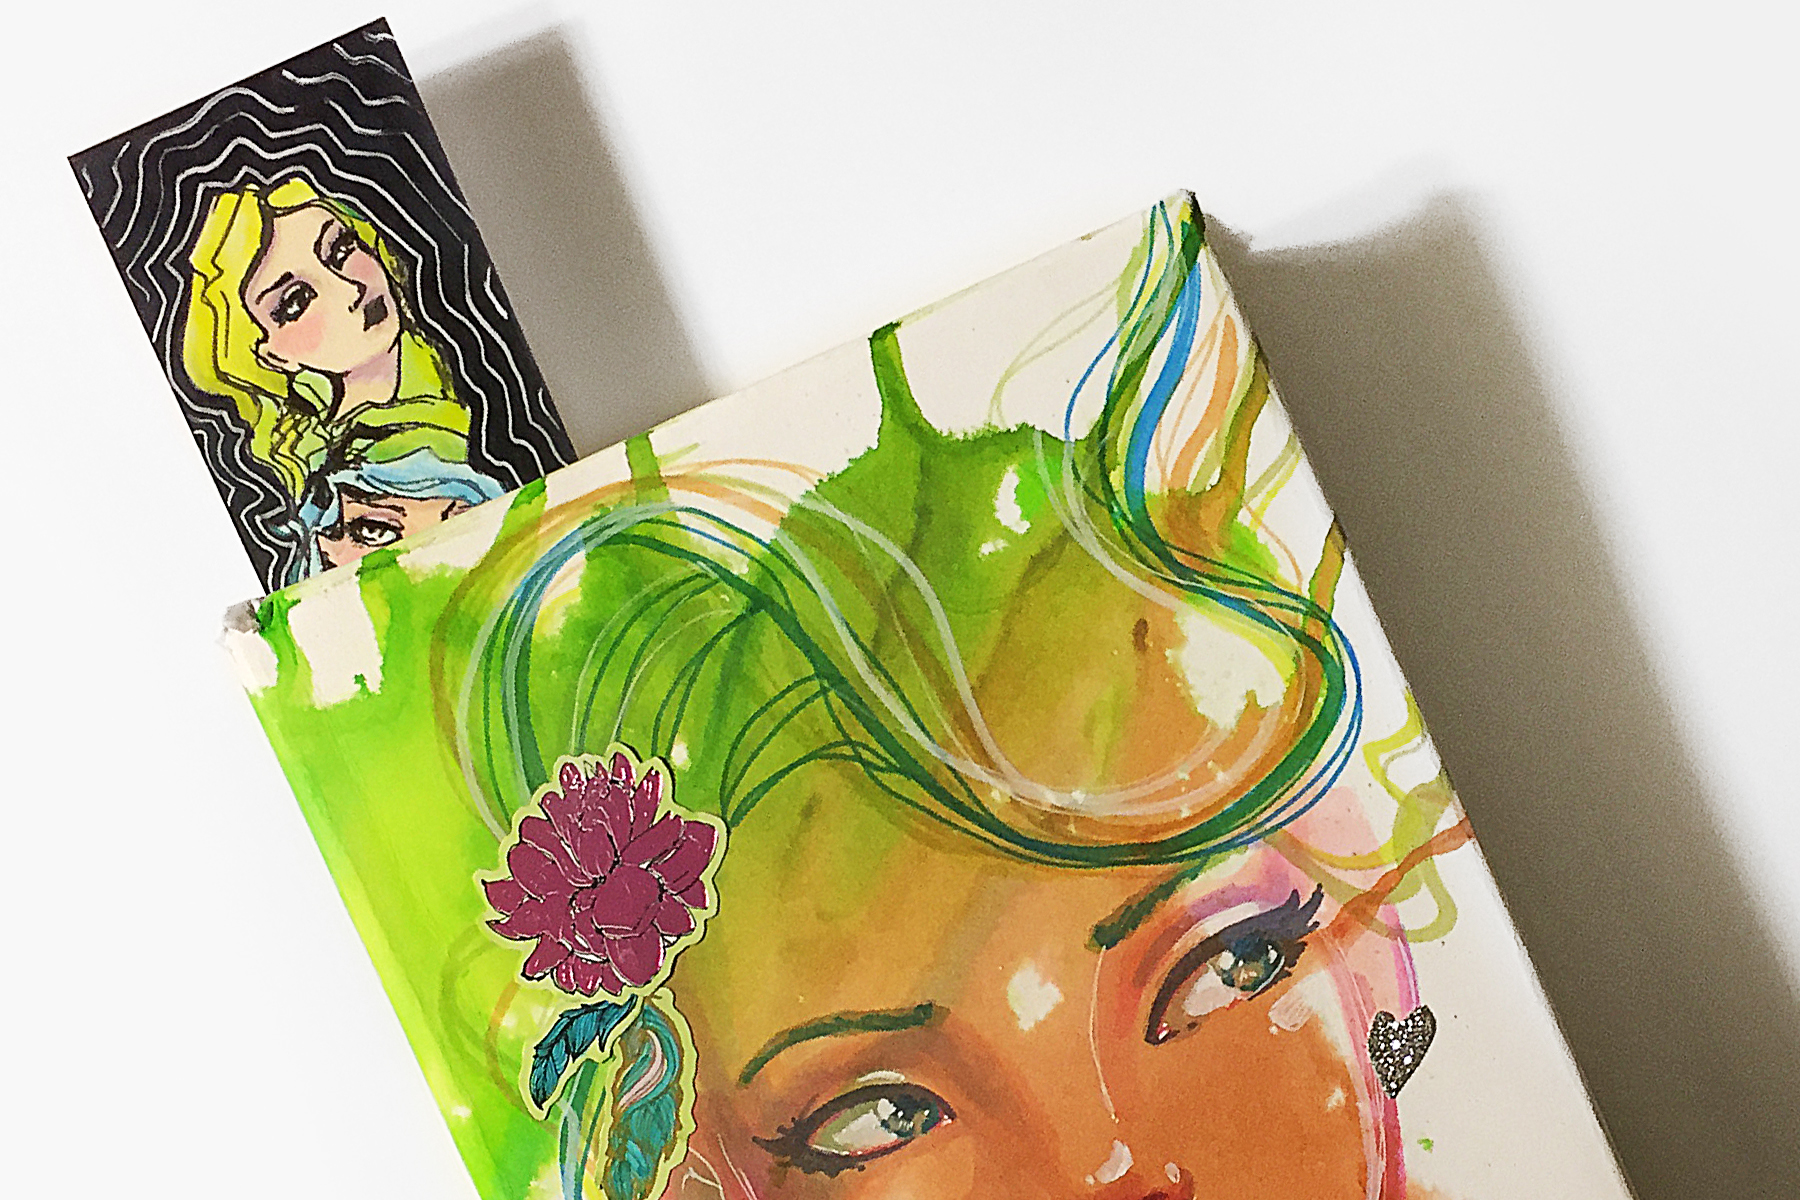
Thanks everyone for stopping by! I hope you enjoyed this short and sweet tutorial and that it motivates you to create a bookmark of your own!

Leave a comment

Your email will not be published. Please note, comments need to be approved before they are published.


  • HOW TO USE PRESS PLATES WITH MULTIPLE INKS | CREATE YOUR WAY HOLIDAY, BPR-050, BPI-049, BPI-003

    BP-001

    How to Use Multiple Ink Colors with BetterPress Registration Plates

    Create a colorful Christmas card while learning how to apply multiple ink colors to BetterPress registration plates. In this detailed tutorial, you’ll use the Festive Evergreens Registration Press + Foil Plate & Die Set to press a holiday doorway scene in three colors, combining the built-in registration system with a simple masking technique. The registration template positions the coordinating plates so each layer aligns with...

  • How to Make a Colorful Foiled Butterfly Card with Glimmer II

    BP-351

    How to Make a Colorful Foiled Butterfly Card with Glimmer II

    Combine hot foiling, alcohol-marker coloring, ink blending, and dimensional shaping to create a colorful butterfly card that sparkles from every angle. In this step-by-step tutorial, you’ll learn how to foil detailed butterflies and a floral background with the Glimmer II Hot Foil System, add bold color, and shape the butterfly wings for a realistic raised effect. The Bright Butterflies and Thanks In Bloom Press +...

  • How to Heat Emboss with BetterPress Plates: Snowman Christmas Card

    BP-001

    How to Heat Emboss with BetterPress Plates: Snowman Christmas Card

    BetterPress plates can do more than create letterpress impressions and hot-foiled designs. In this detailed Christmas card tutorial, you’ll learn how to apply clear sticky ink to a BetterPress plate and use white embossing powder to produce a crisp, heat-embossed snowflake background. The tutorial also covers pressing and die cutting a sentiment, assembling three detailed snowmen, and arranging the finished elements on an A2 card....































