

Posted by Spellbinders Team
on October 05, 2018

Hi everyone! Cindy here, sharing my third and final project using the Jane Davenport Artomology Collection.
One of the things I’ve been incorporating into my bullet journaling lately has been memory keeping, so I thought it would be fun to show you how create a journaling spread using the same colors and collection.
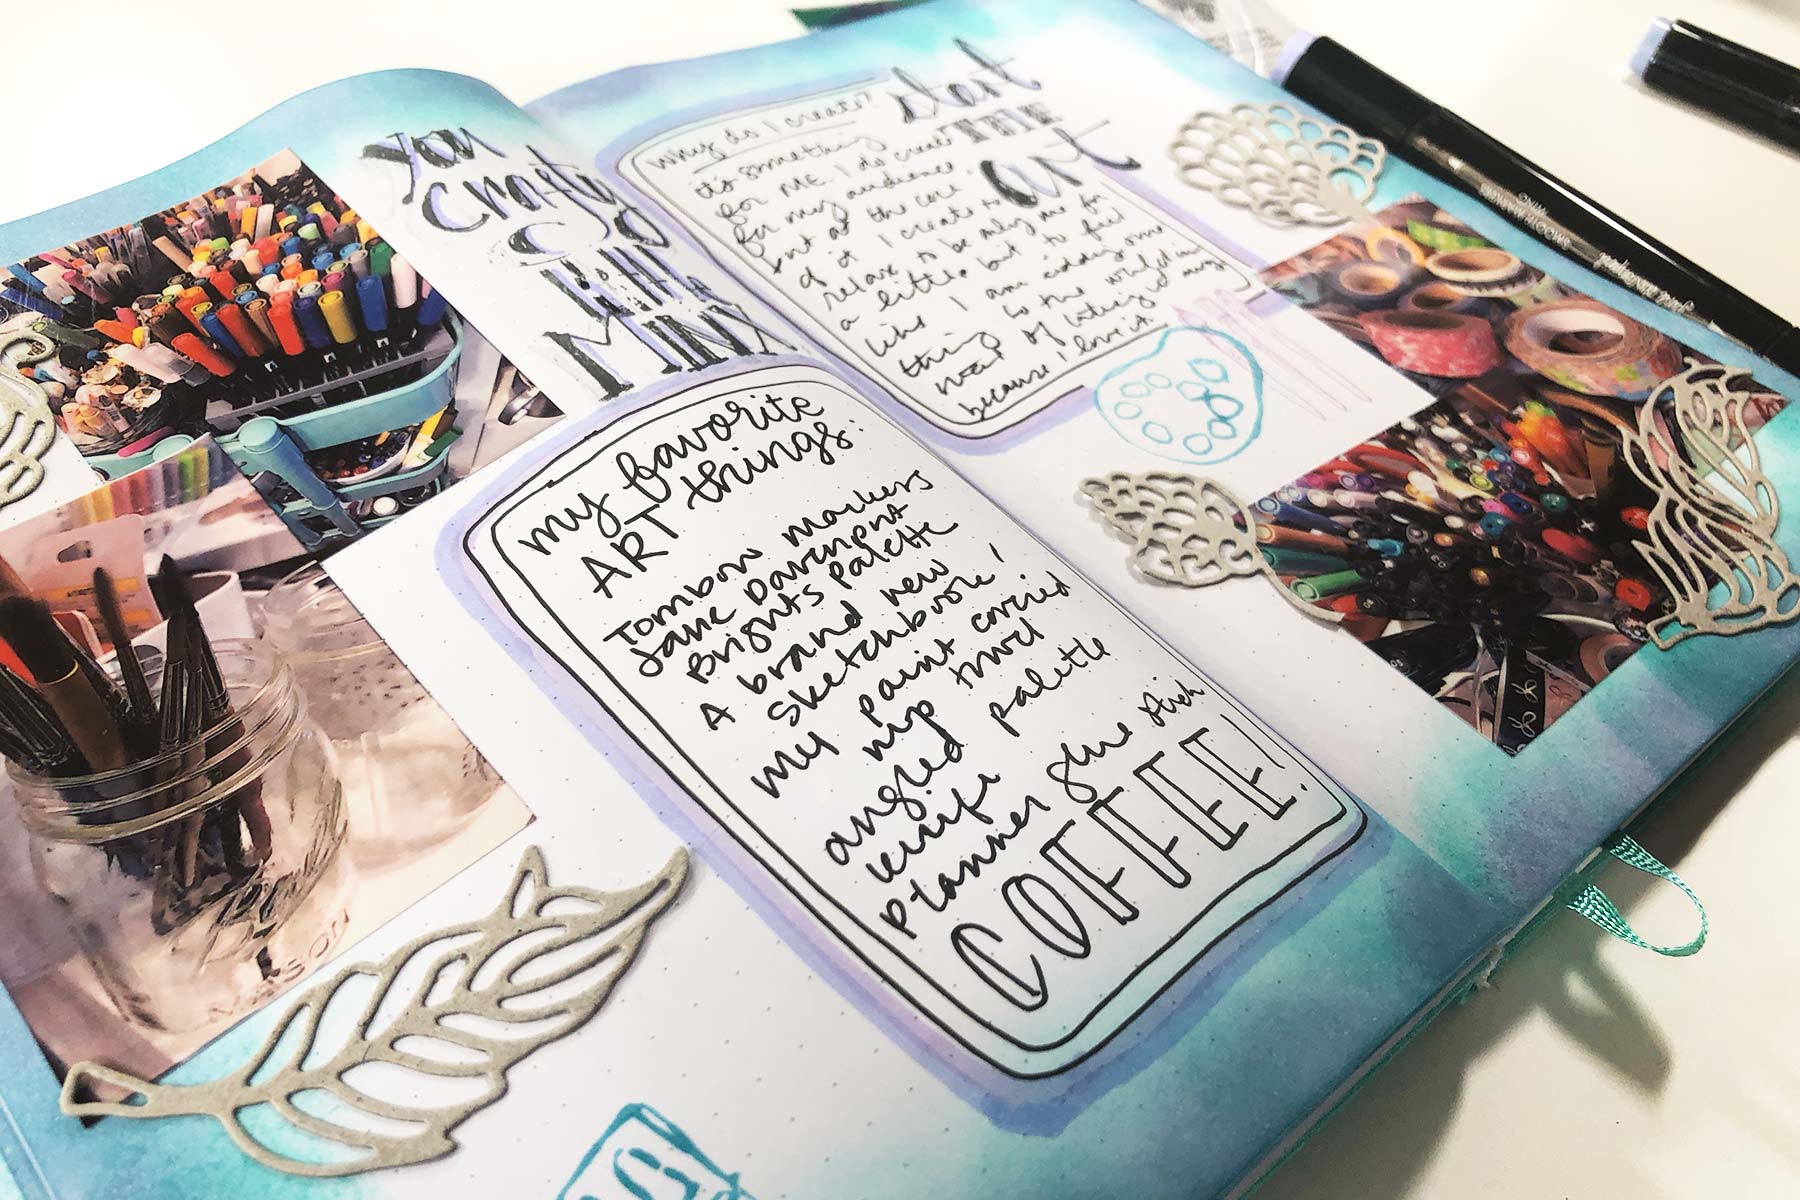
 This spread is not water themed, but I did incorporate the same colors as the other two projects. Keeping to an exact theme all month can seem limiting, but there are ways (like using the same colors or a specific element) to keep everything cohesive while mixing it up a little.
 I love using pictures in my journaling – I print them from my phone using a portable photo printer with sticker paper. I decided to use the Jane Davenport Die Cutting machine and Cutting Templates to cut some decorative elements out. As my pictures are super colorful, I decided to use chipboard for my die-cuts to keep things from looking too busy.
 I’m a little clumsy with stamping – nothing that some shadows (added with the Smooth Markers) can’t handle!
 One of the most important parts of a journaling spread is… the journaling. Make sure to leave some defined space while you are decorating so you can go back and let it all out. I emphasized these areas with the Smooth Markers to help them pop off the page.

 This spread is not water themed, but I did incorporate the same colors as the other two projects. Keeping to an exact theme all month can seem limiting, but there are ways (like using the same colors or a specific element) to keep everything cohesive while mixing it up a little.
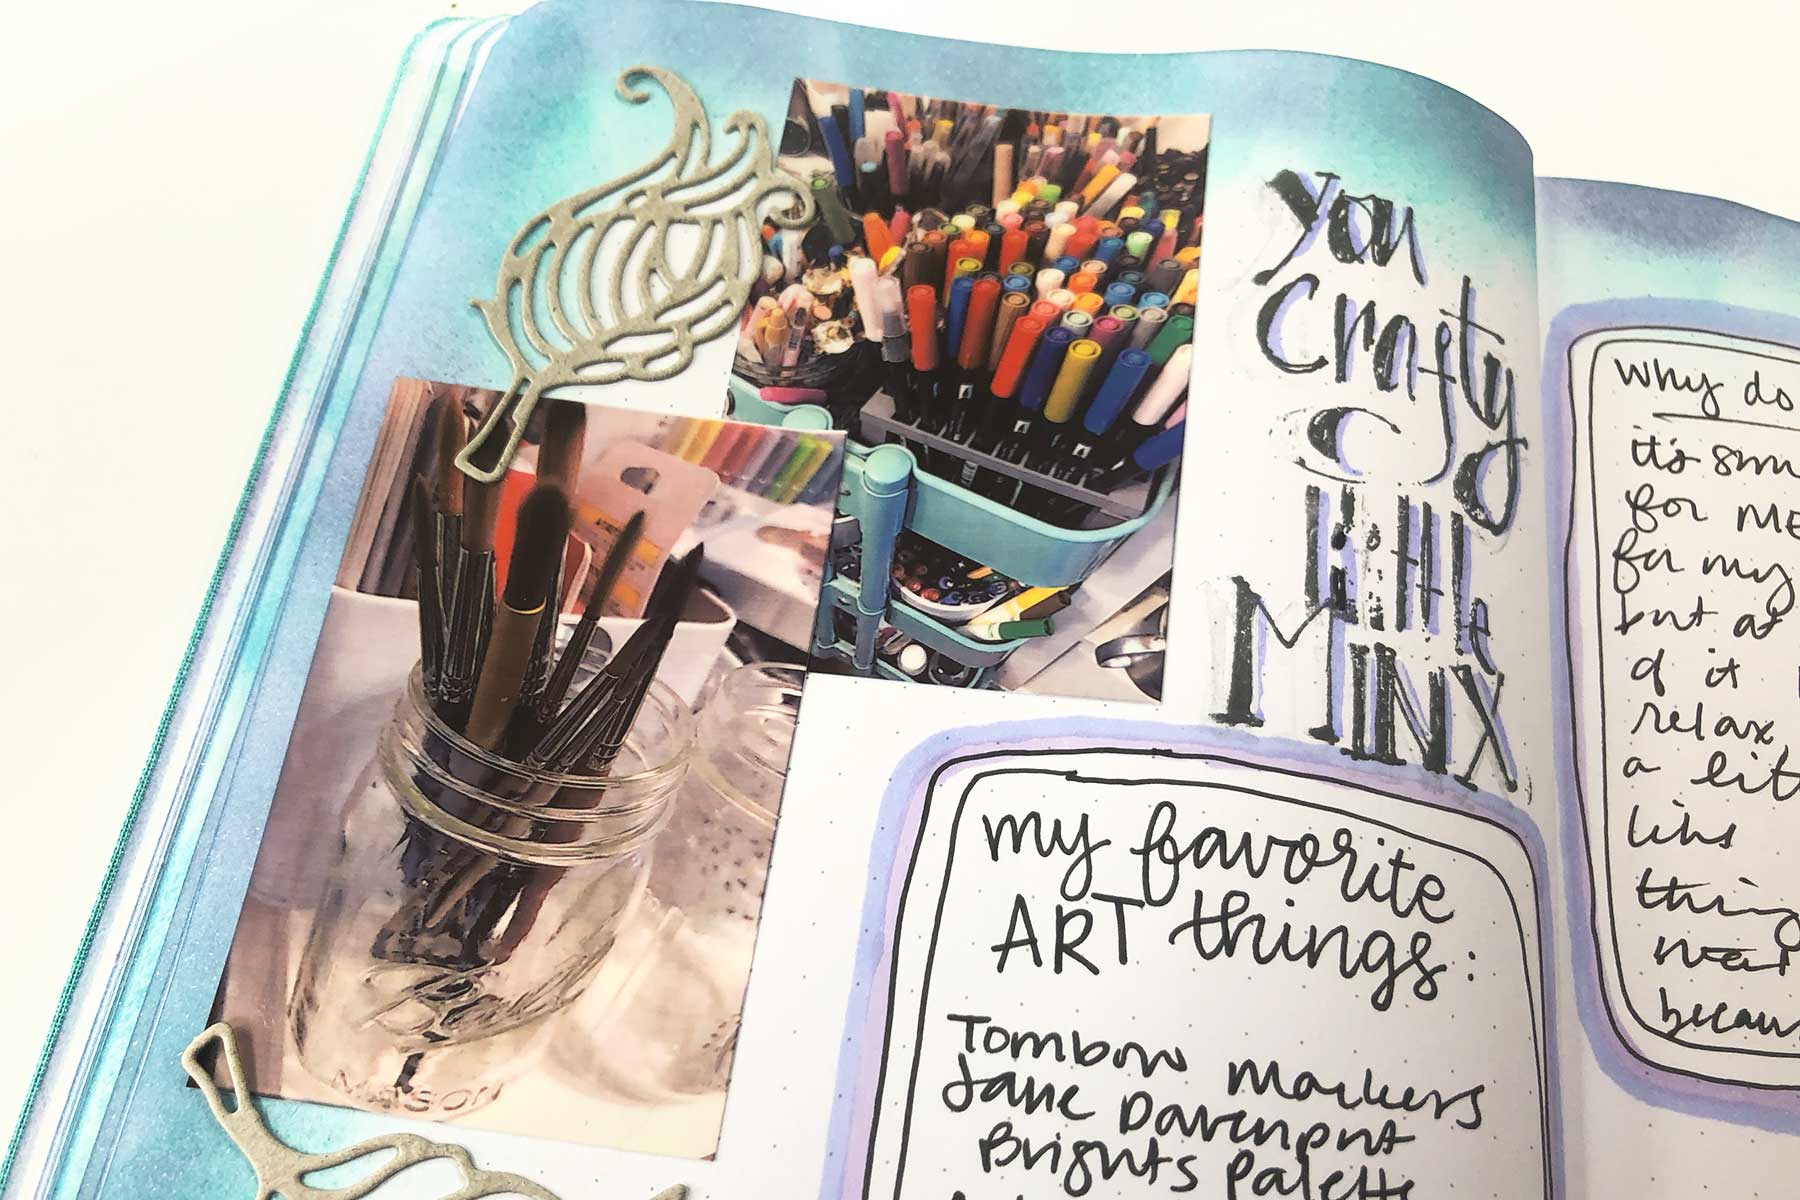 I love using pictures in my journaling – I print them from my phone using a portable photo printer with sticker paper. I decided to use the Jane Davenport Die Cutting machine and Cutting Templates to cut some decorative elements out. As my pictures are super colorful, I decided to use chipboard for my die-cuts to keep things from looking too busy.
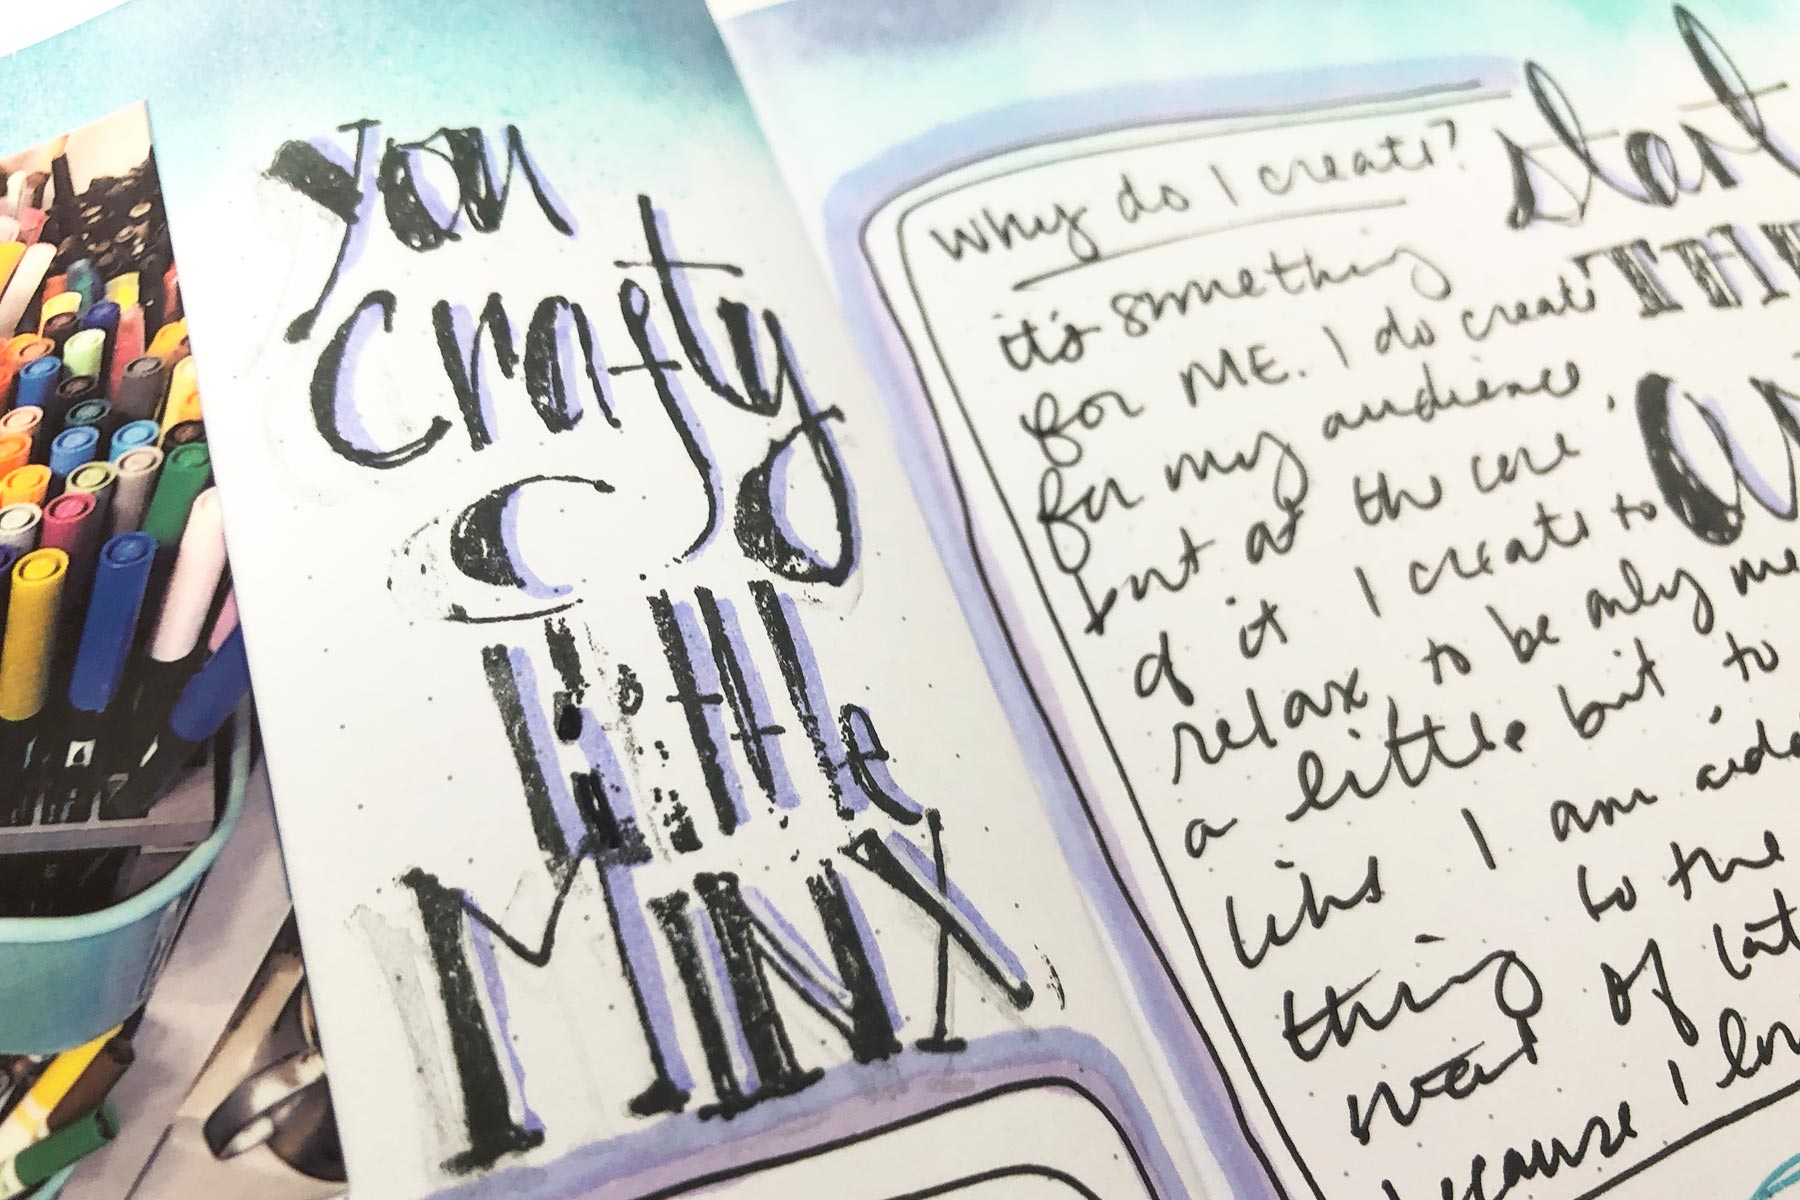 I’m a little clumsy with stamping – nothing that some shadows (added with the Smooth Markers) can’t handle!
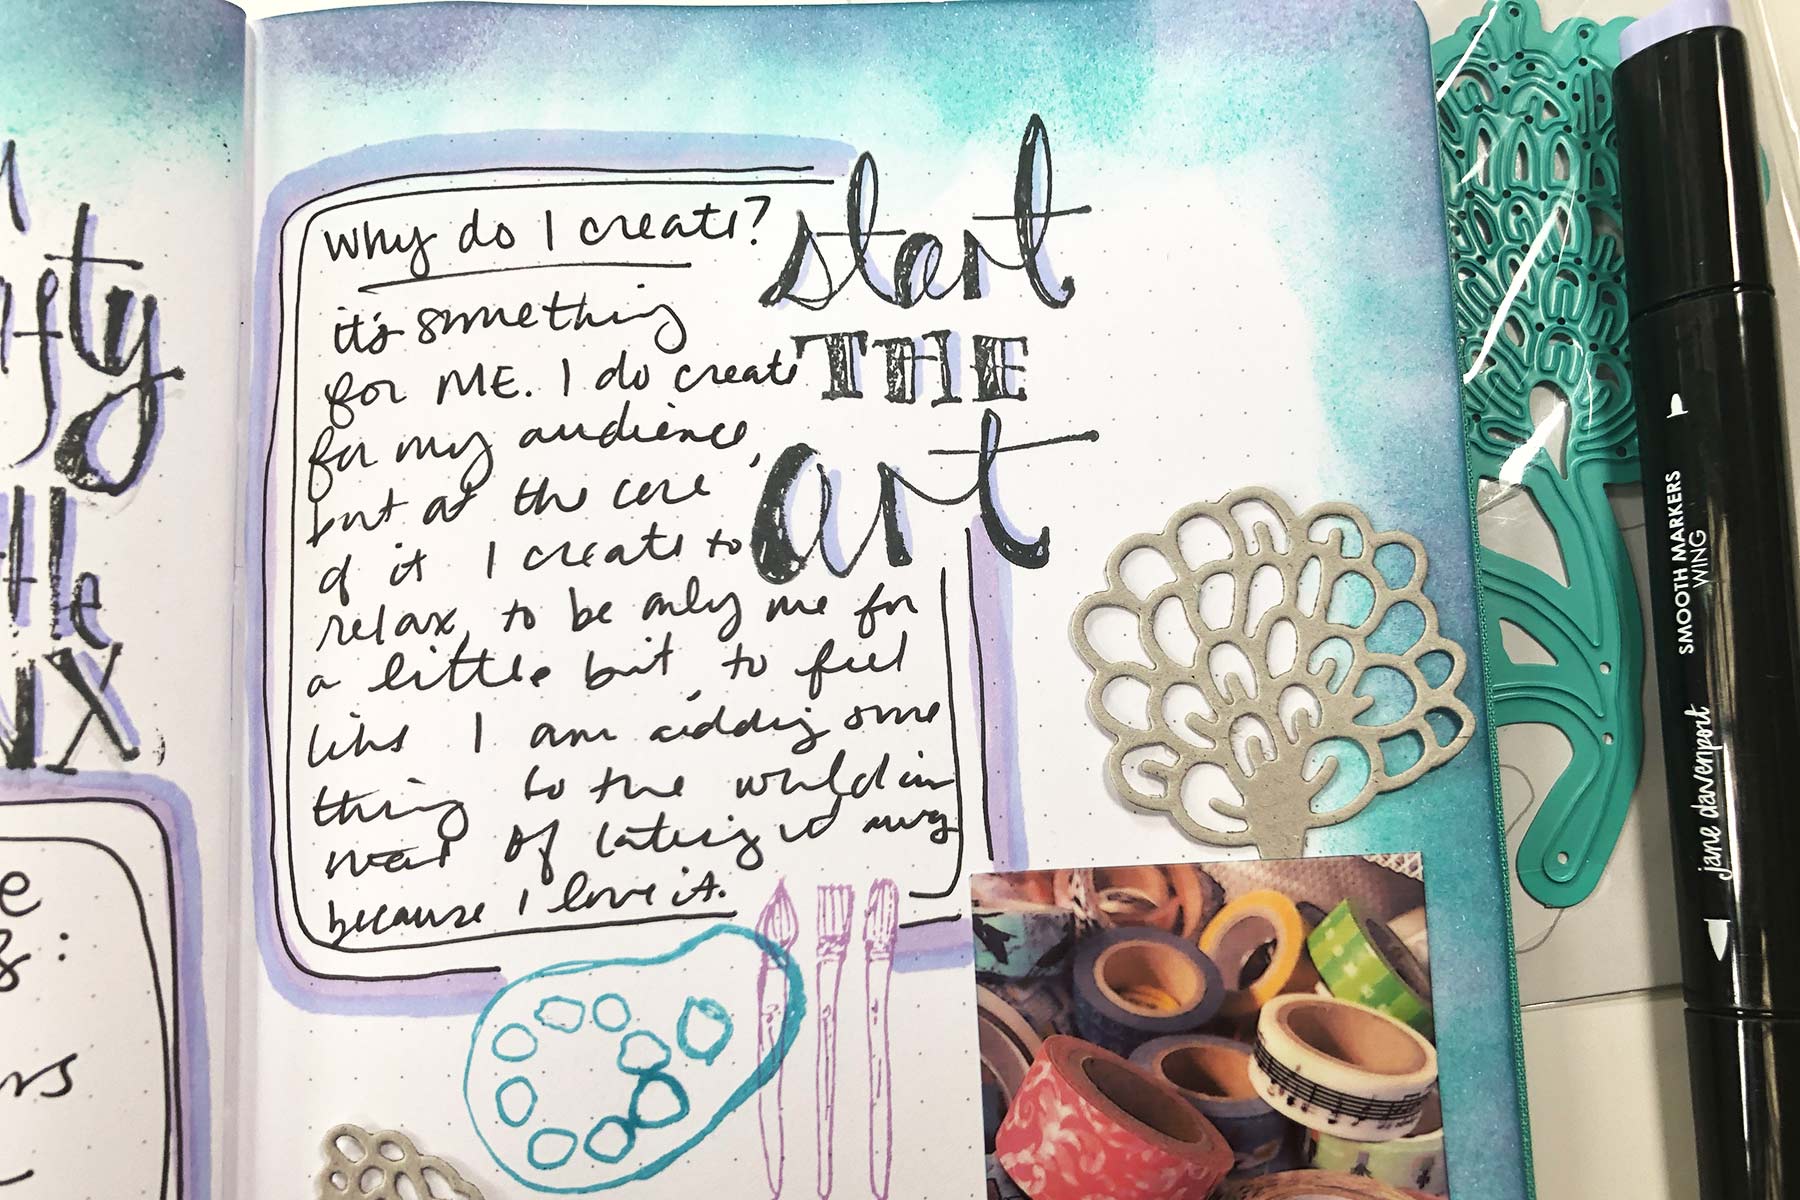 One of the most important parts of a journaling spread is… the journaling. Make sure to leave some defined space while you are decorating so you can go back and let it all out. I emphasized these areas with the Smooth Markers to help them pop off the page.
Spellbinders Supplies:
- JD-005 Squid Ink Sea Anemone
- JD-006 Squid Ink Blue Marlin
- JD-032 Squid Ink Mermaid Eyes
- JD-037 Squid Ink Cave Black
- JDS-045 Crafty Minx
- JDD-026 Fair Feathers
- JDD-003 Sea Flower
- JD-031 Deep Sea Die Cutting and Embossing Machine
- JD-024 Smooth Markers Feathered Friends
























































































2 comments
We’re sorry you are having troubles with your Tool ’n One. Please contact our Customer Support Team and they should be able to help you
PHONE: 1-888-547-0400
E-MAIL: customersupport@spellbinders.us
I purchased a tool n one about 6 months ago. 4 days ago I was using the rolling brush attachment to clear paper from a die & all the bristles fell out. How do I get a replacement?