Jane Davenport Artomology | Mixed Media Card & Journal Insert with Mayline
on October 06, 2018

Jane Davenport Artomology | Mixed Media Card & Journal Insert with Mayline

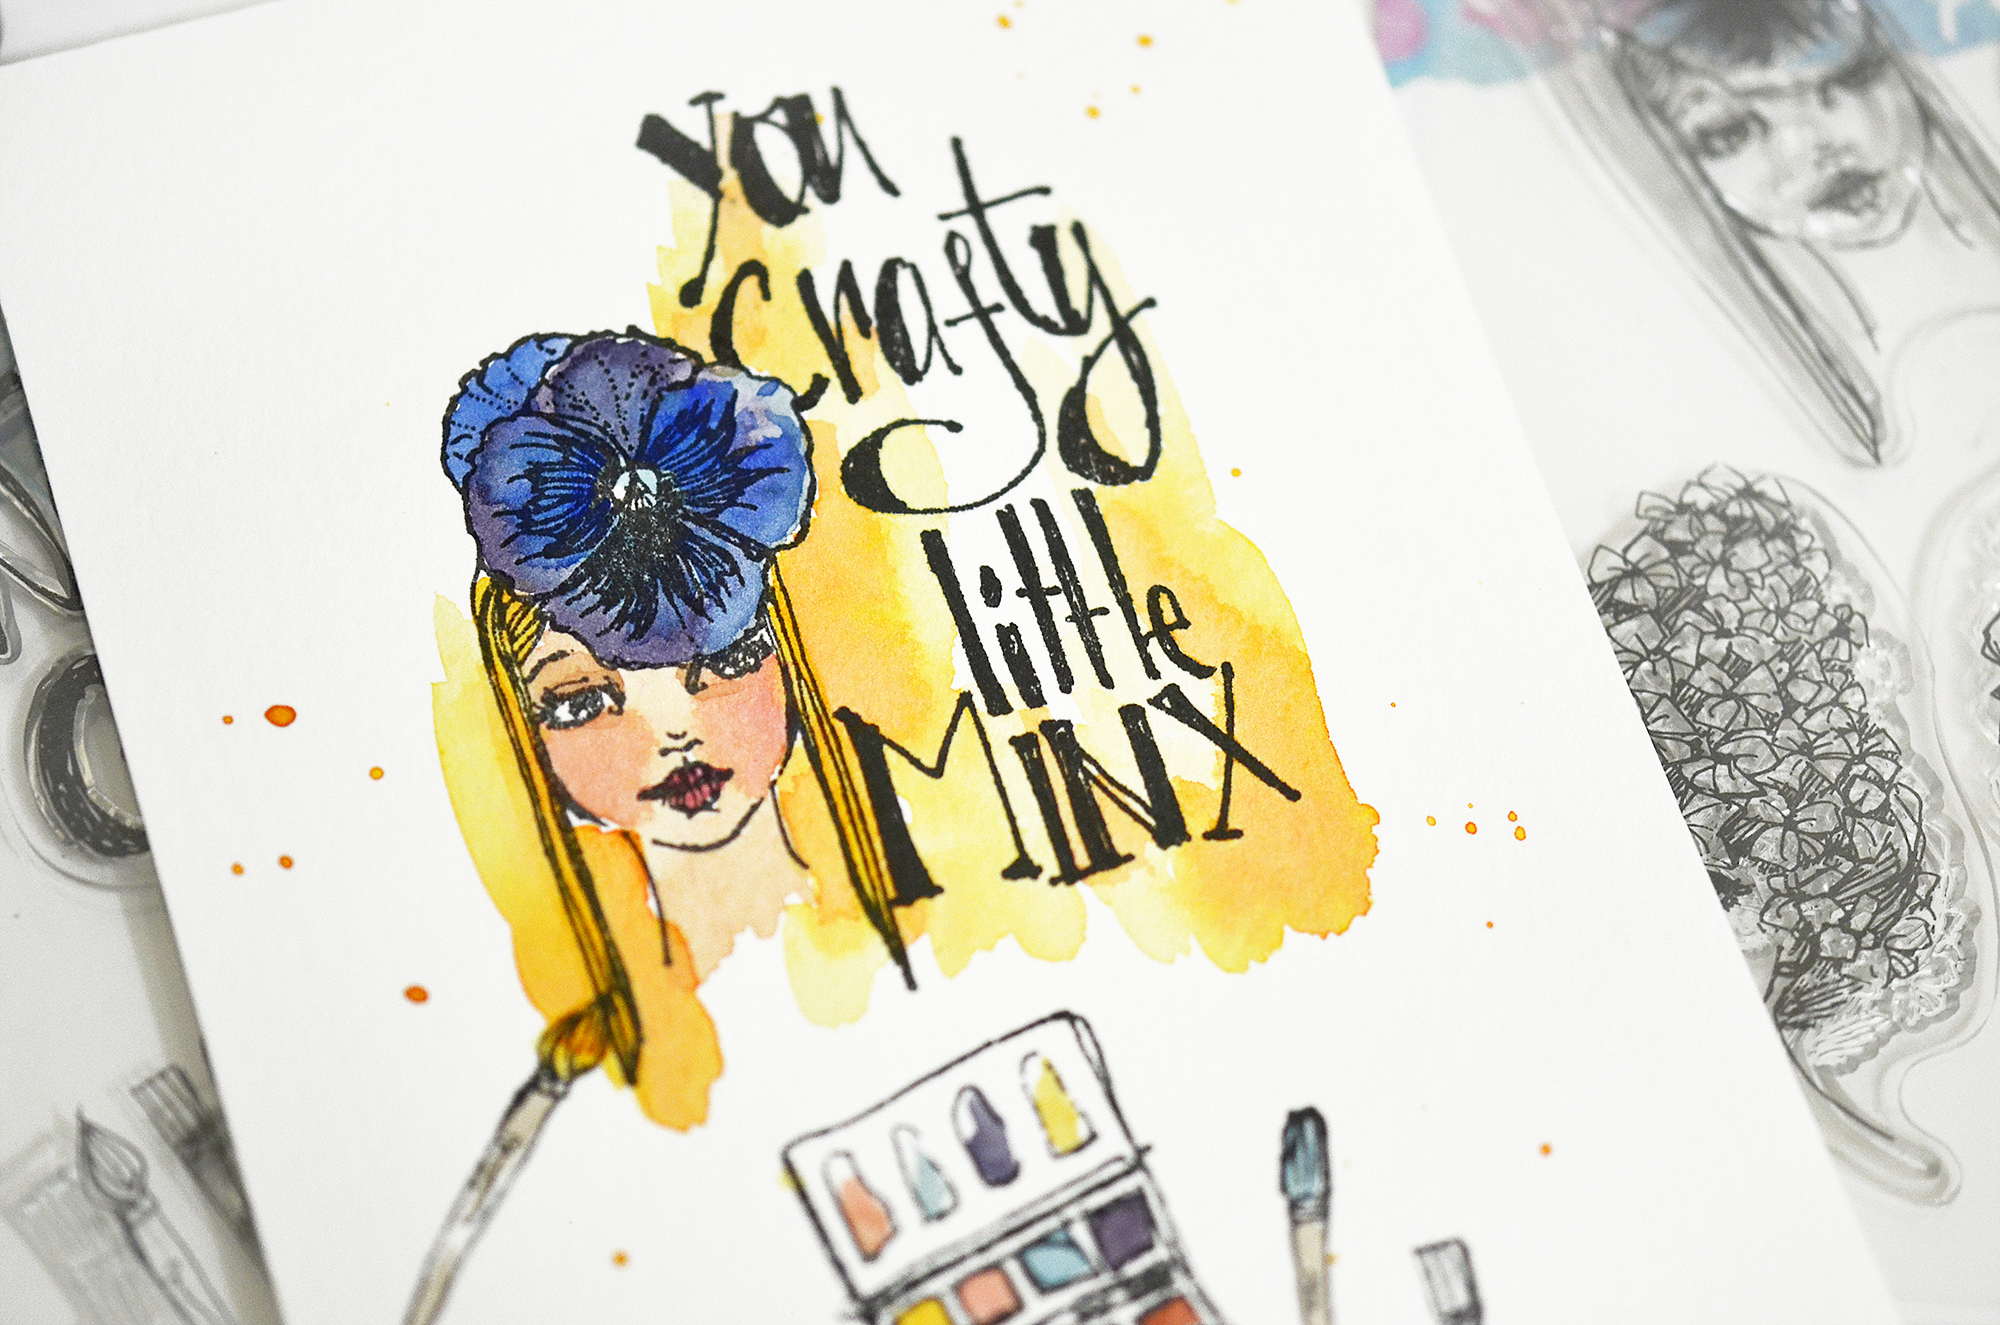
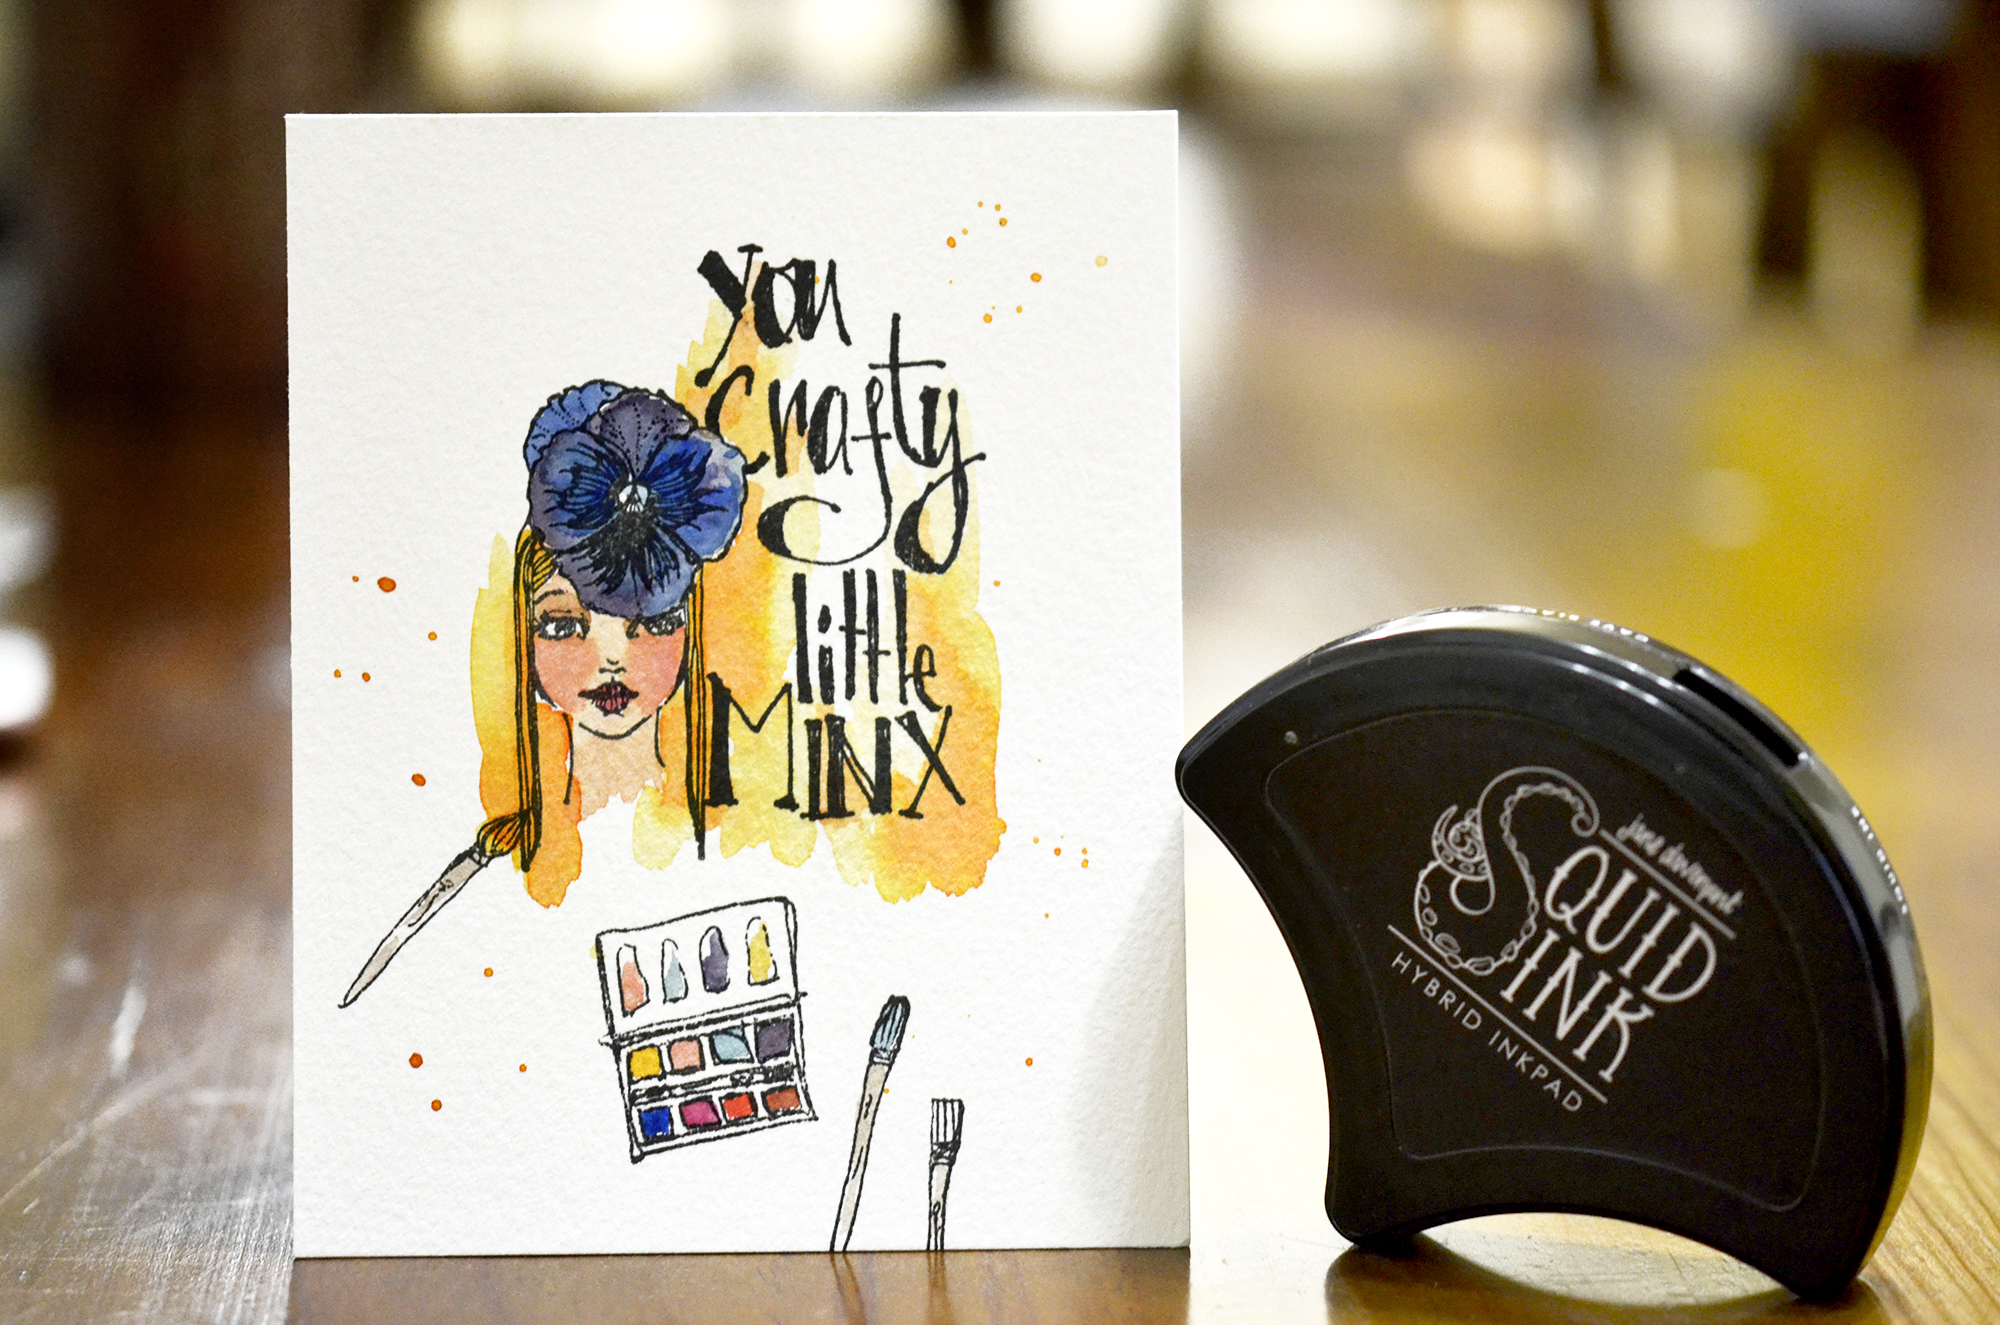
Hi! Mayline here with you again and I am excited to be sharing my second guest post on the Spellbinders blog. For today’s post, I’ve created one card and one mixed media journaling that I made for the first time.  That is why I am so excited to share this project with you. Here is my card for today:
Spellbinders Jane Davenport Artomology | Mixed Media Card & Journal Insert with Mayline  #janedavenport #janedavenportartomology #Artomology #spellbinders #neverstopmaking #smoothmarkers #makeitwithmichaels #washisheets

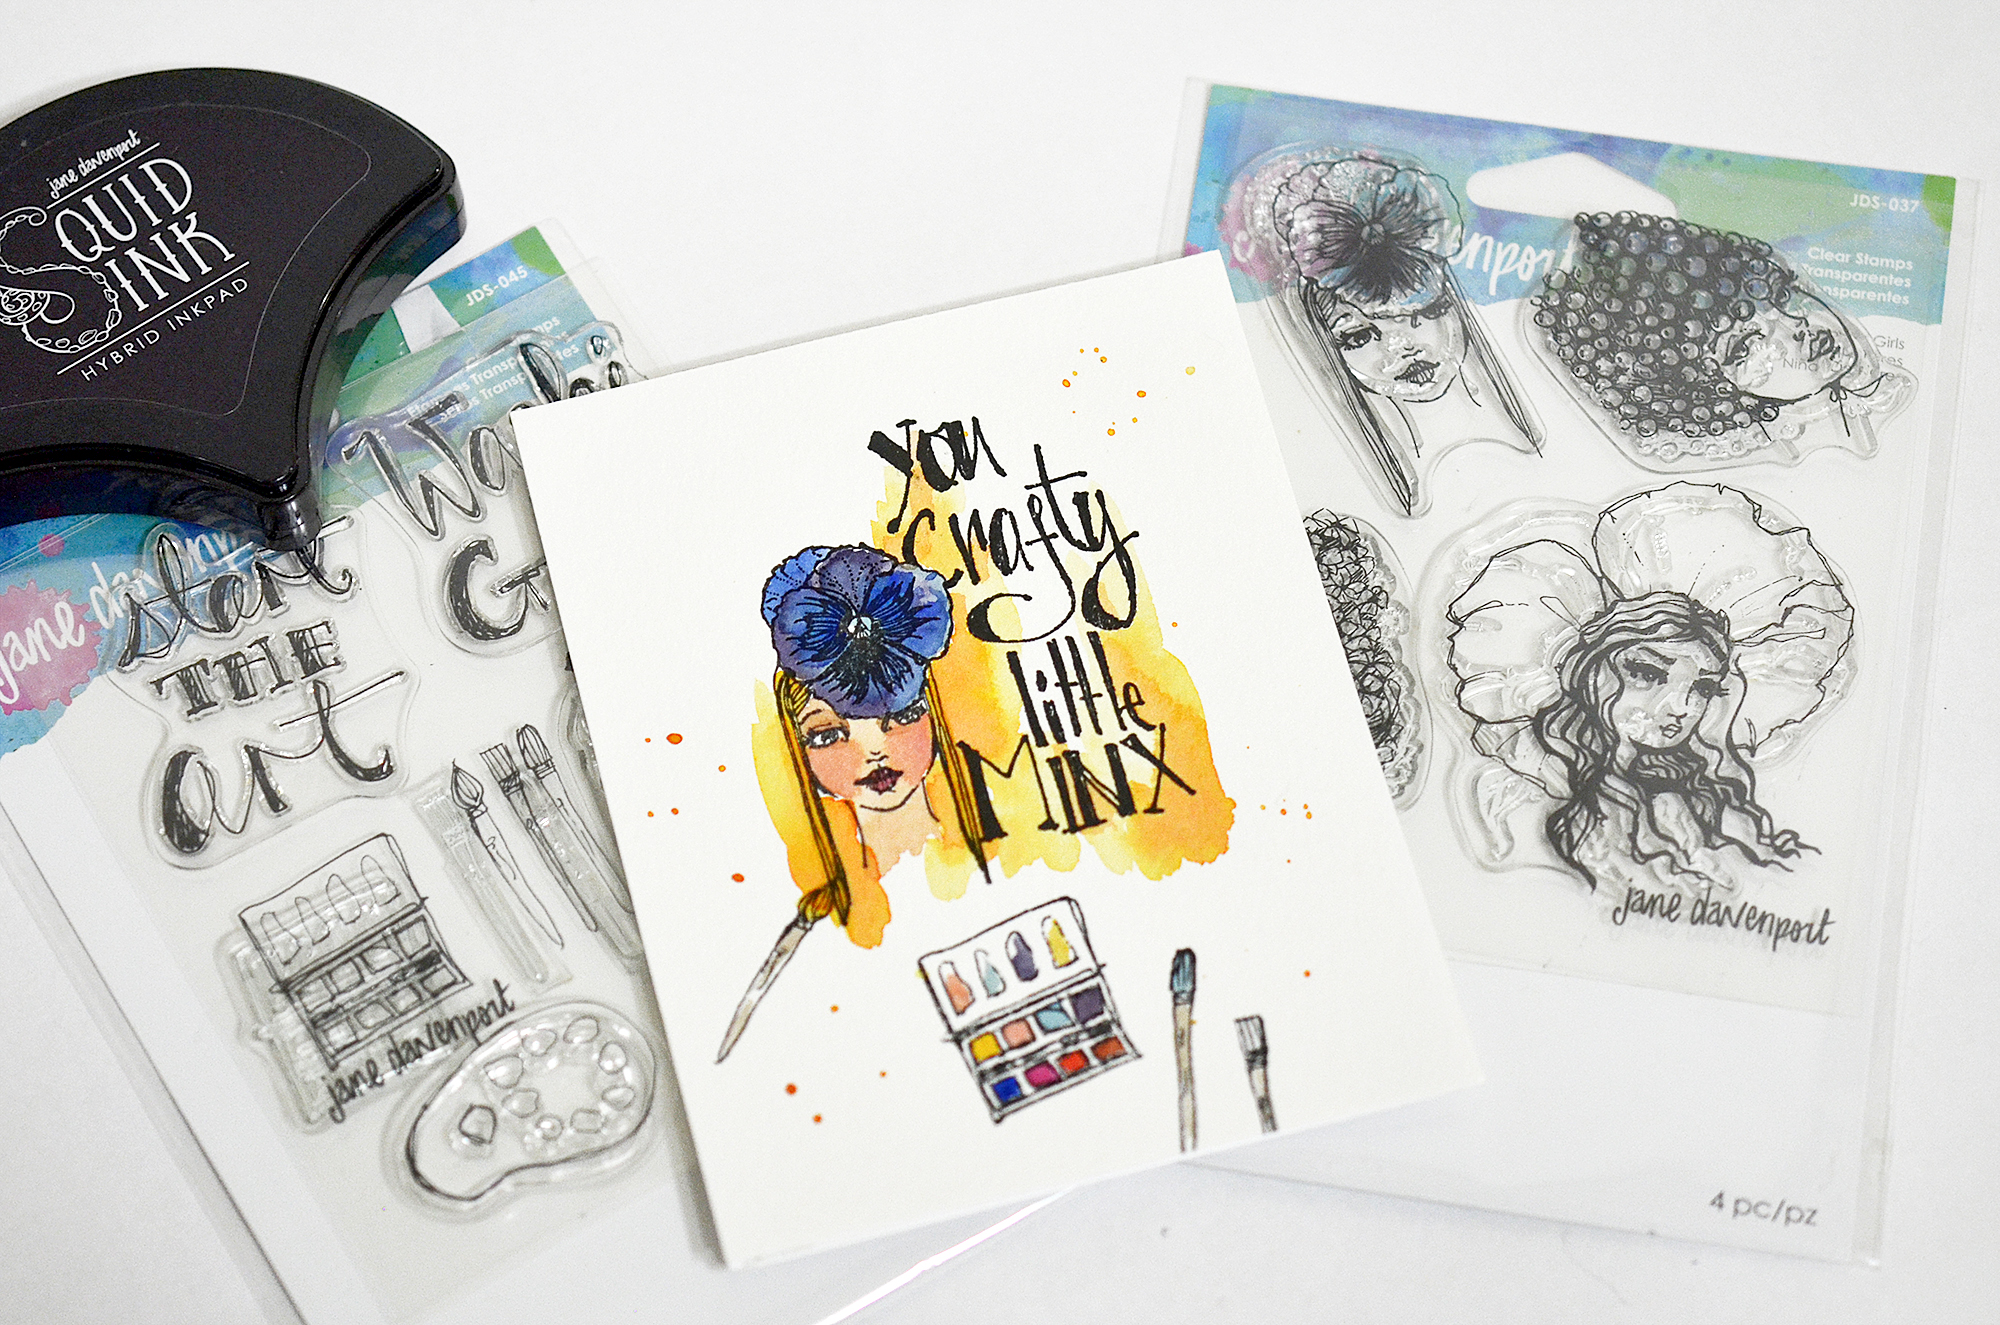
To start off, I stamped one of flowers girl images from Flower Girls Clear Stamps on 4-1/4 by 5-1/2 sized watercolour paper. Next, I stamped a sentiment from Crafty Minx Clear Stamps using a masking technique on the panel.

Spellbinders Jane Davenport Artomology | Mixed Media Card & Journal Insert with Mayline  #janedavenport #janedavenportartomology #Artomology #spellbinders #neverstopmaking #smoothmarkers #makeitwithmichaels #washisheets

I stamped a painting palette and brush images on the panel. I coloured them using watercolour paints. Lastly, I add yellow colour splashes to the panel for creating a fun texture.

Spellbinders Jane Davenport Artomology | Mixed Media Card & Journal Insert with Mayline  #janedavenport #janedavenportartomology #Artomology #spellbinders #neverstopmaking #smoothmarkers #makeitwithmichaels #washisheets

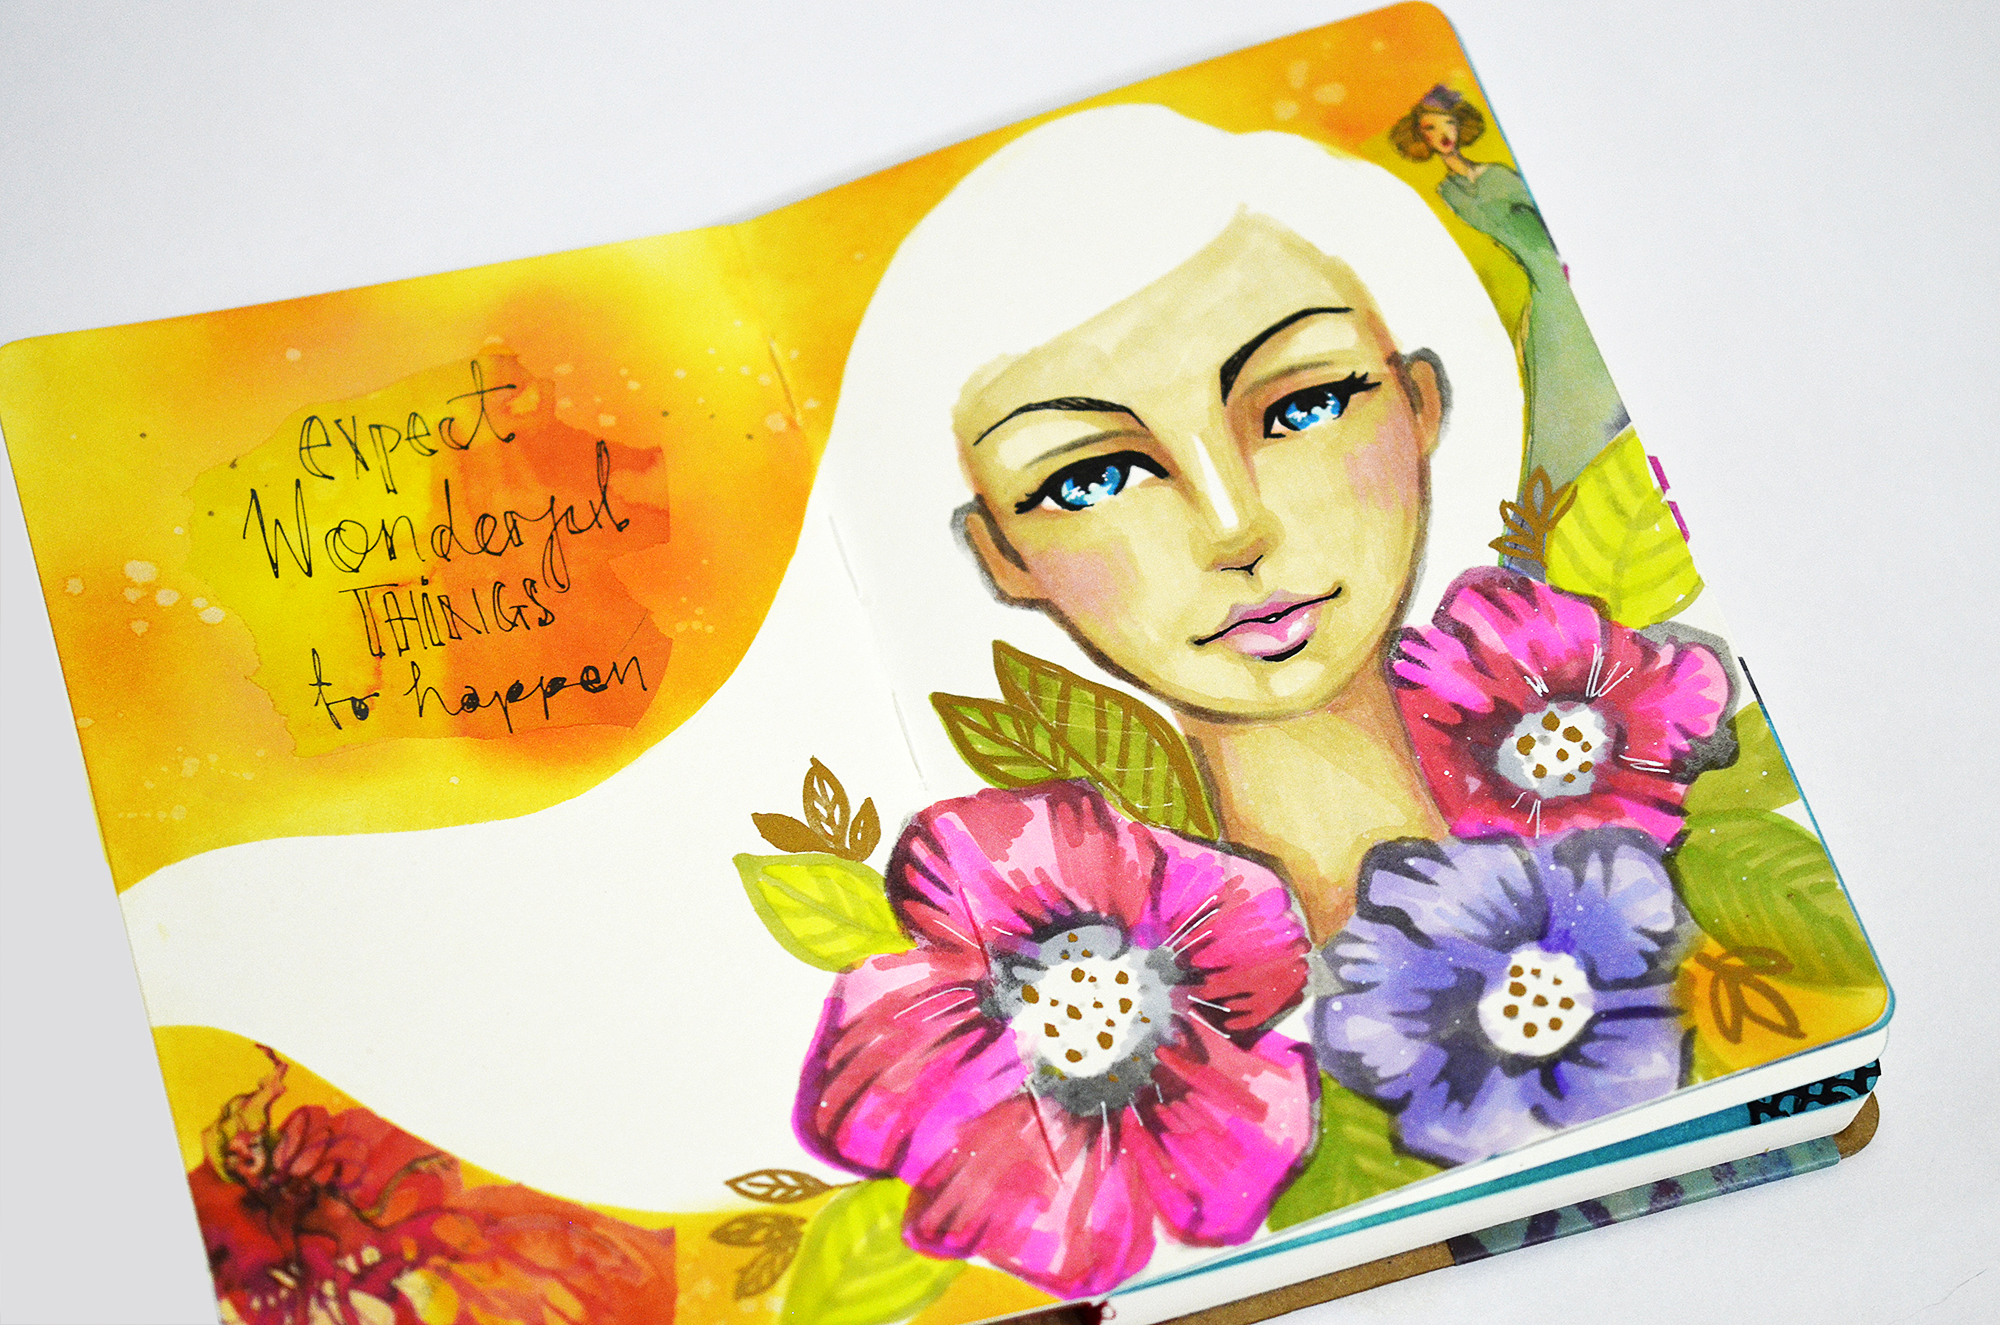
Here is my mixed media journaling!

Spellbinders Jane Davenport Artomology | Mixed Media Card & Journal Insert with Mayline  #janedavenport #janedavenportartomology #Artomology #spellbinders #neverstopmaking #smoothmarkers #makeitwithmichaels #washisheets

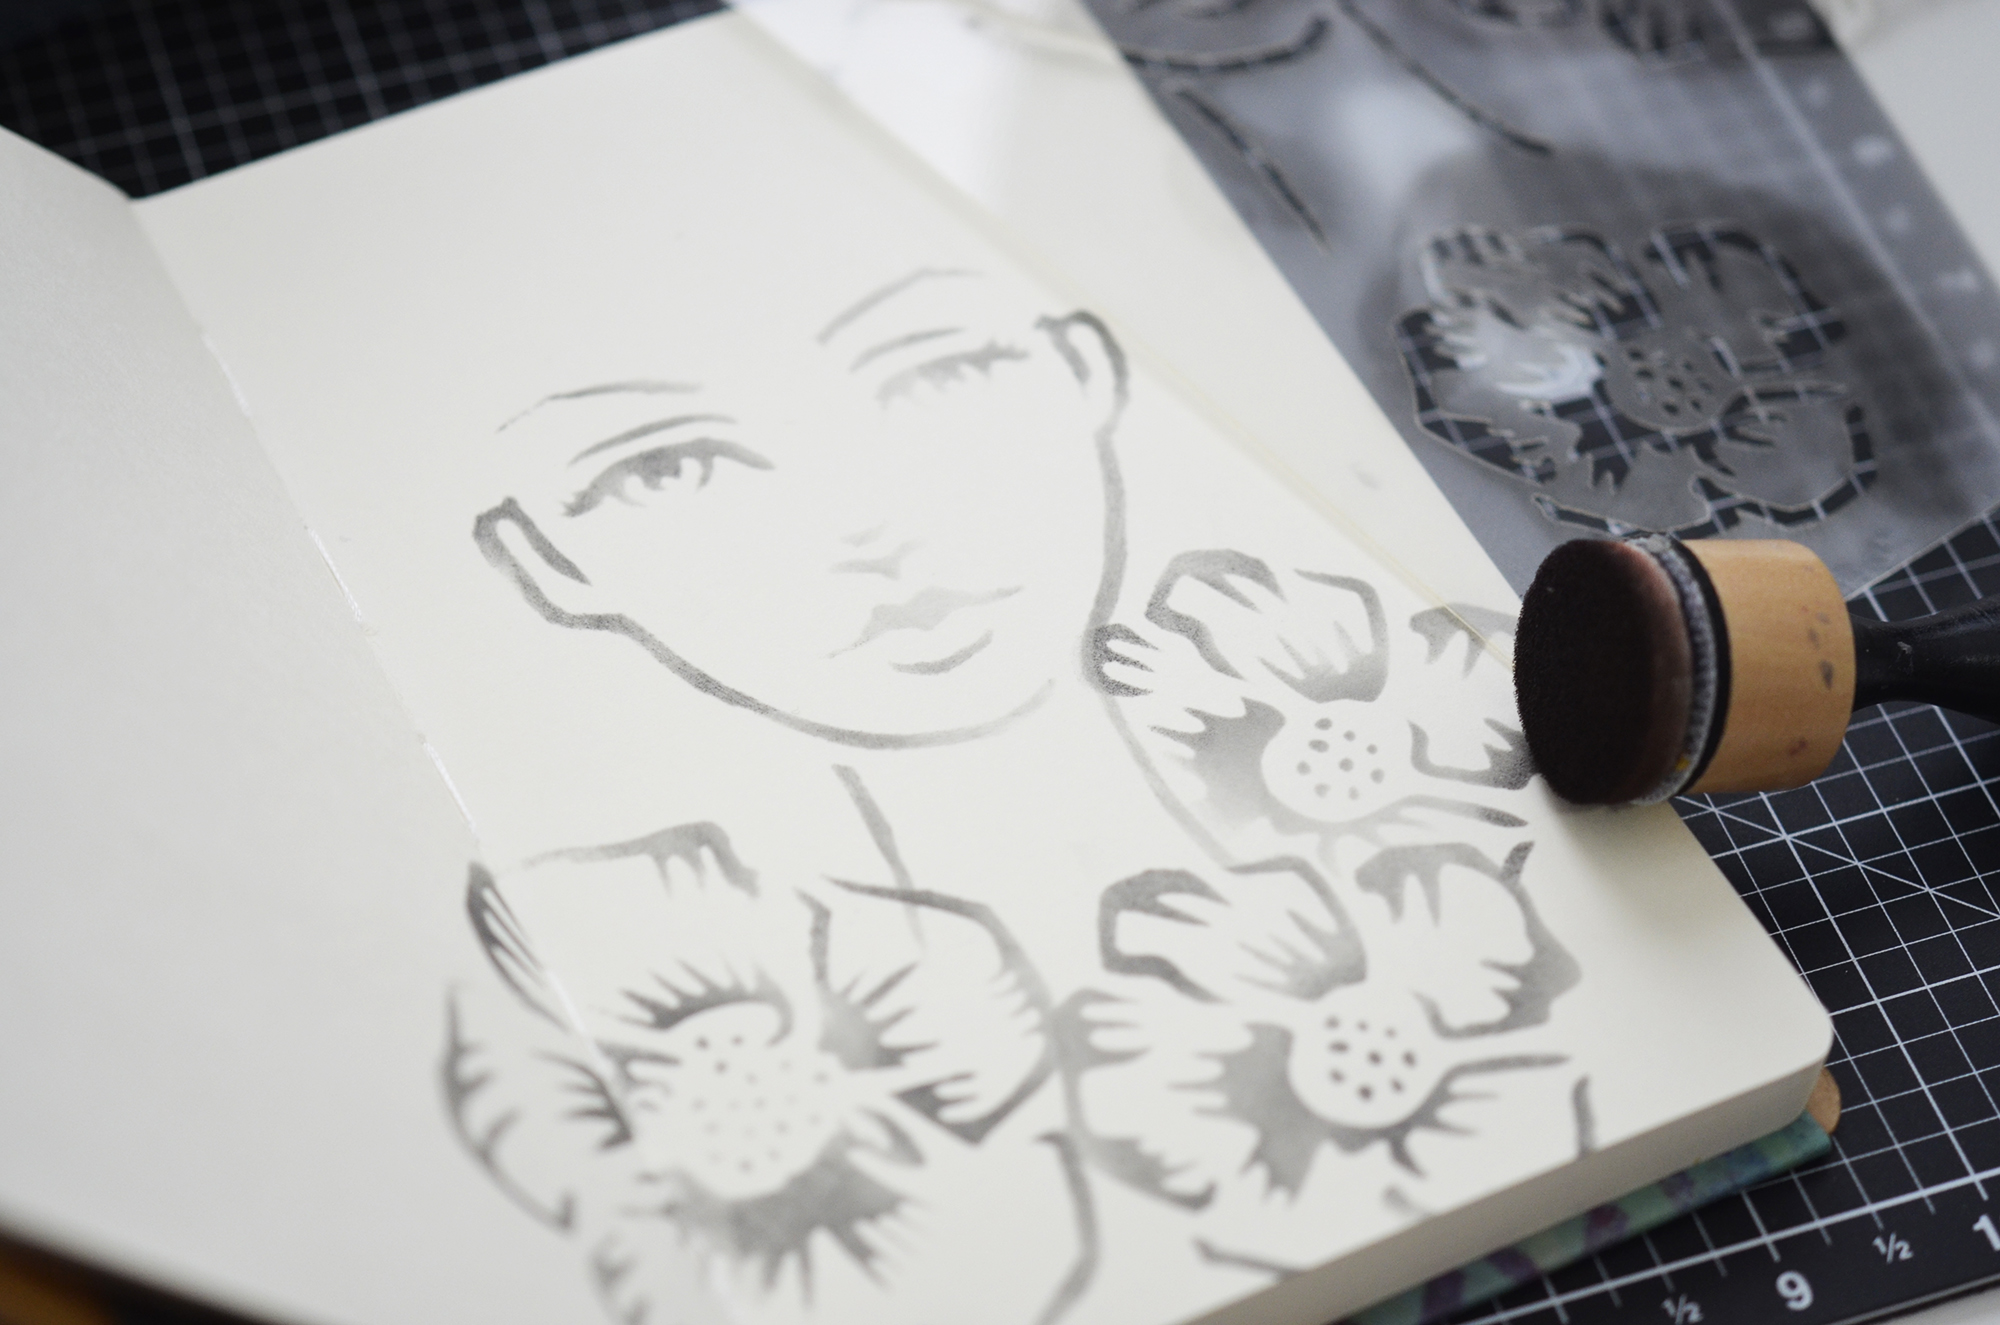
To start off, I placed one of Flower Girl stencils onto a paper and secured in place with low tack tape.

Spellbinders Jane Davenport Artomology | Mixed Media Card & Journal Insert with Mayline  #janedavenport #janedavenportartomology #Artomology #spellbinders #neverstopmaking #smoothmarkers #makeitwithmichaels #washisheets

Then, dabbed into Squid Ink Cave Black to pick up the colour. I gently pressed a blender sponge through the stencil. I continued pressing the sponge to colour the areas.

Spellbinders Jane Davenport Artomology | Mixed Media Card & Journal Insert with Mayline  #janedavenport #janedavenportartomology #Artomology #spellbinders #neverstopmaking #smoothmarkers #makeitwithmichaels #washisheets

Next, I watched Jane's colourings tutorial from YouTube. This tutorial helped me a lot to learn how to use smooth markers.

Spellbinders Jane Davenport Artomology | Mixed Media Card & Journal Insert with Mayline  #janedavenport #janedavenportartomology #Artomology #spellbinders #neverstopmaking #smoothmarkers #makeitwithmichaels #washisheets

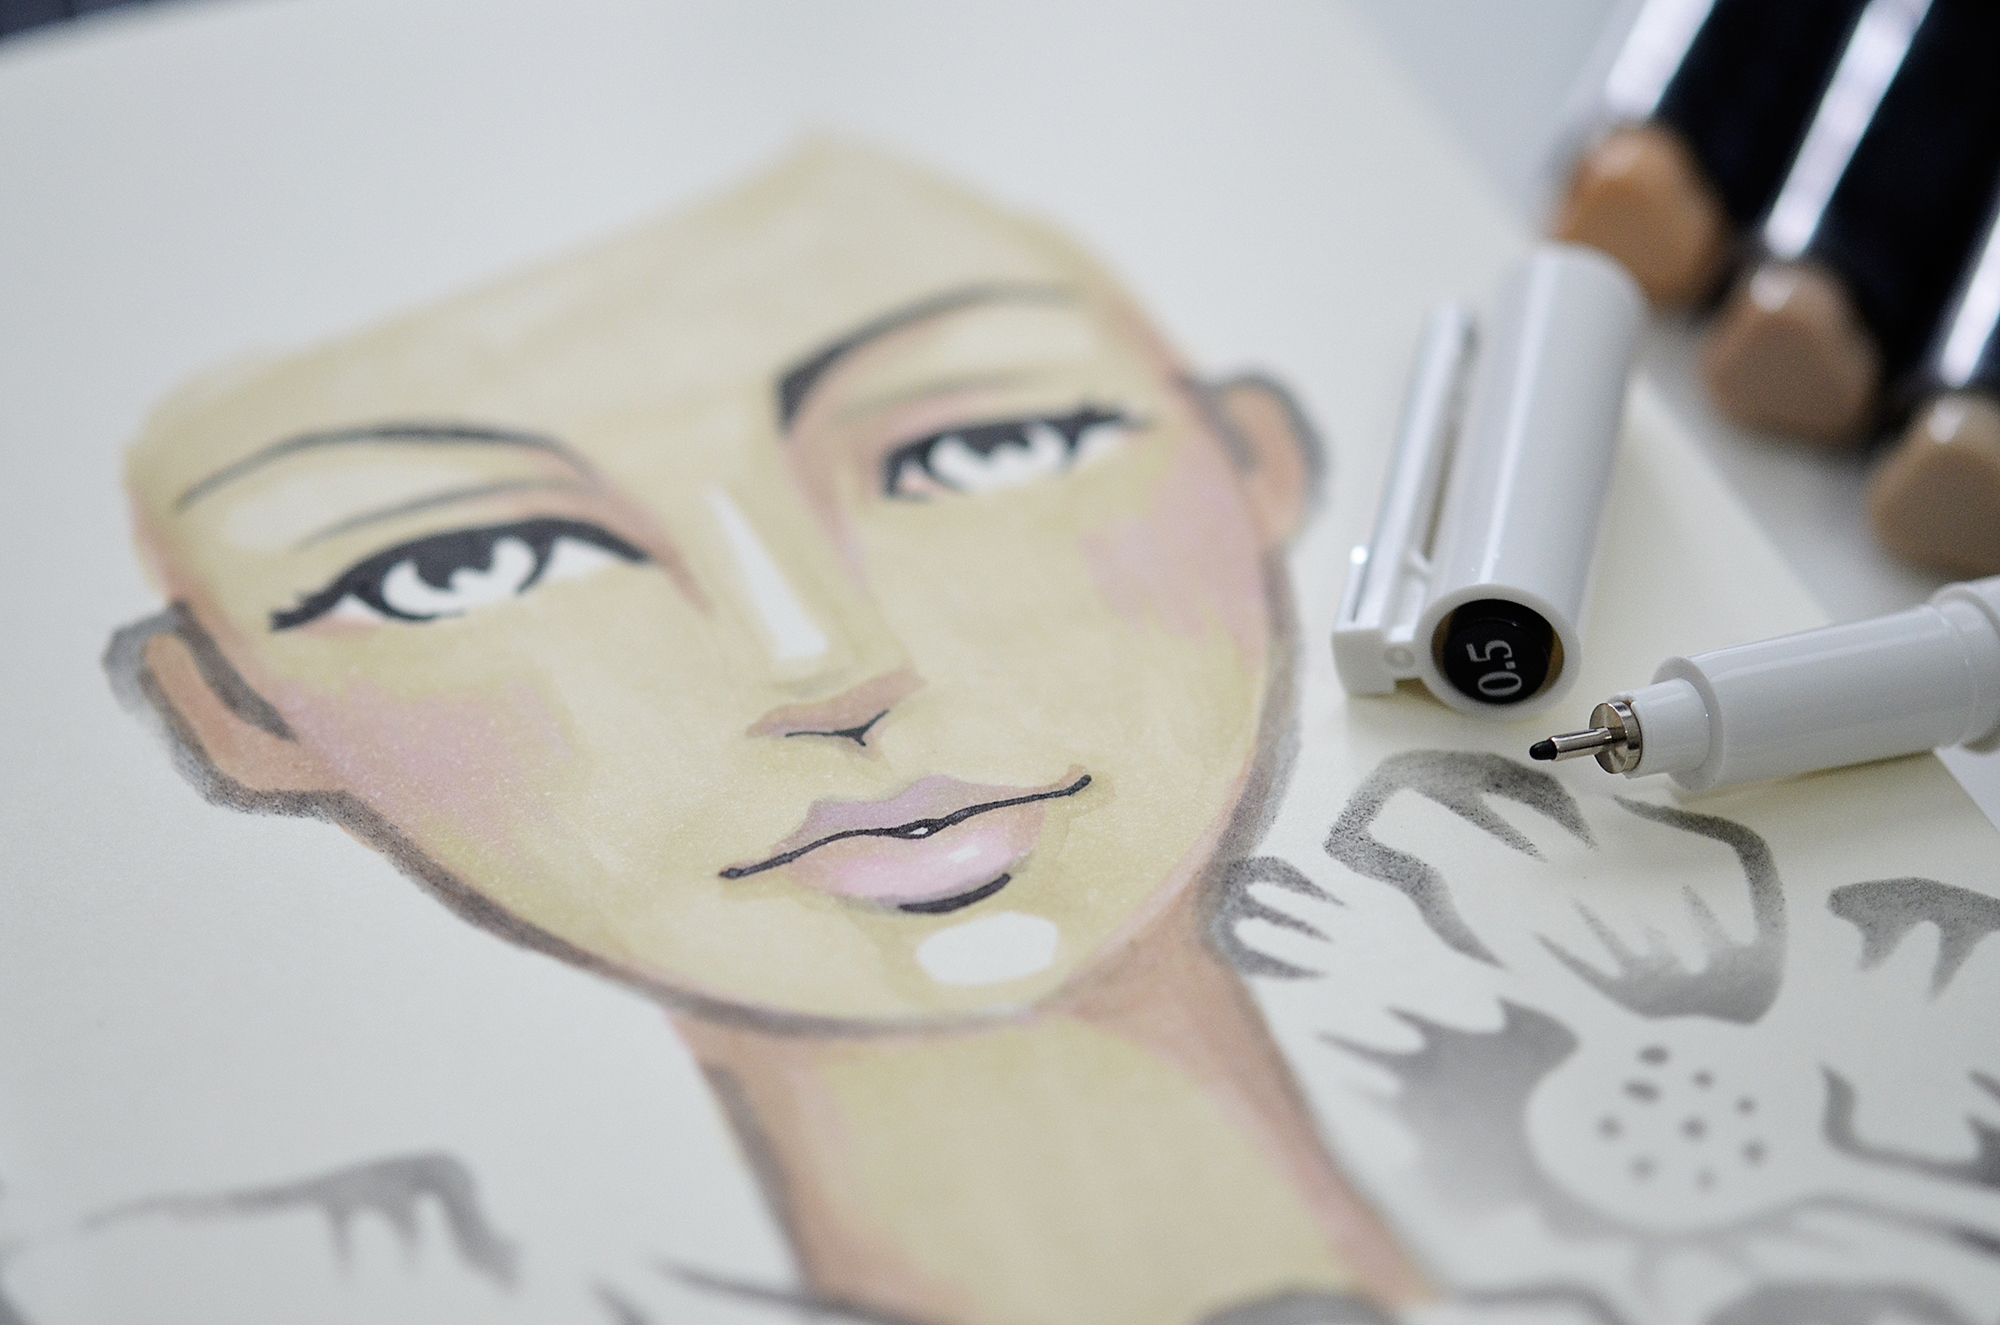
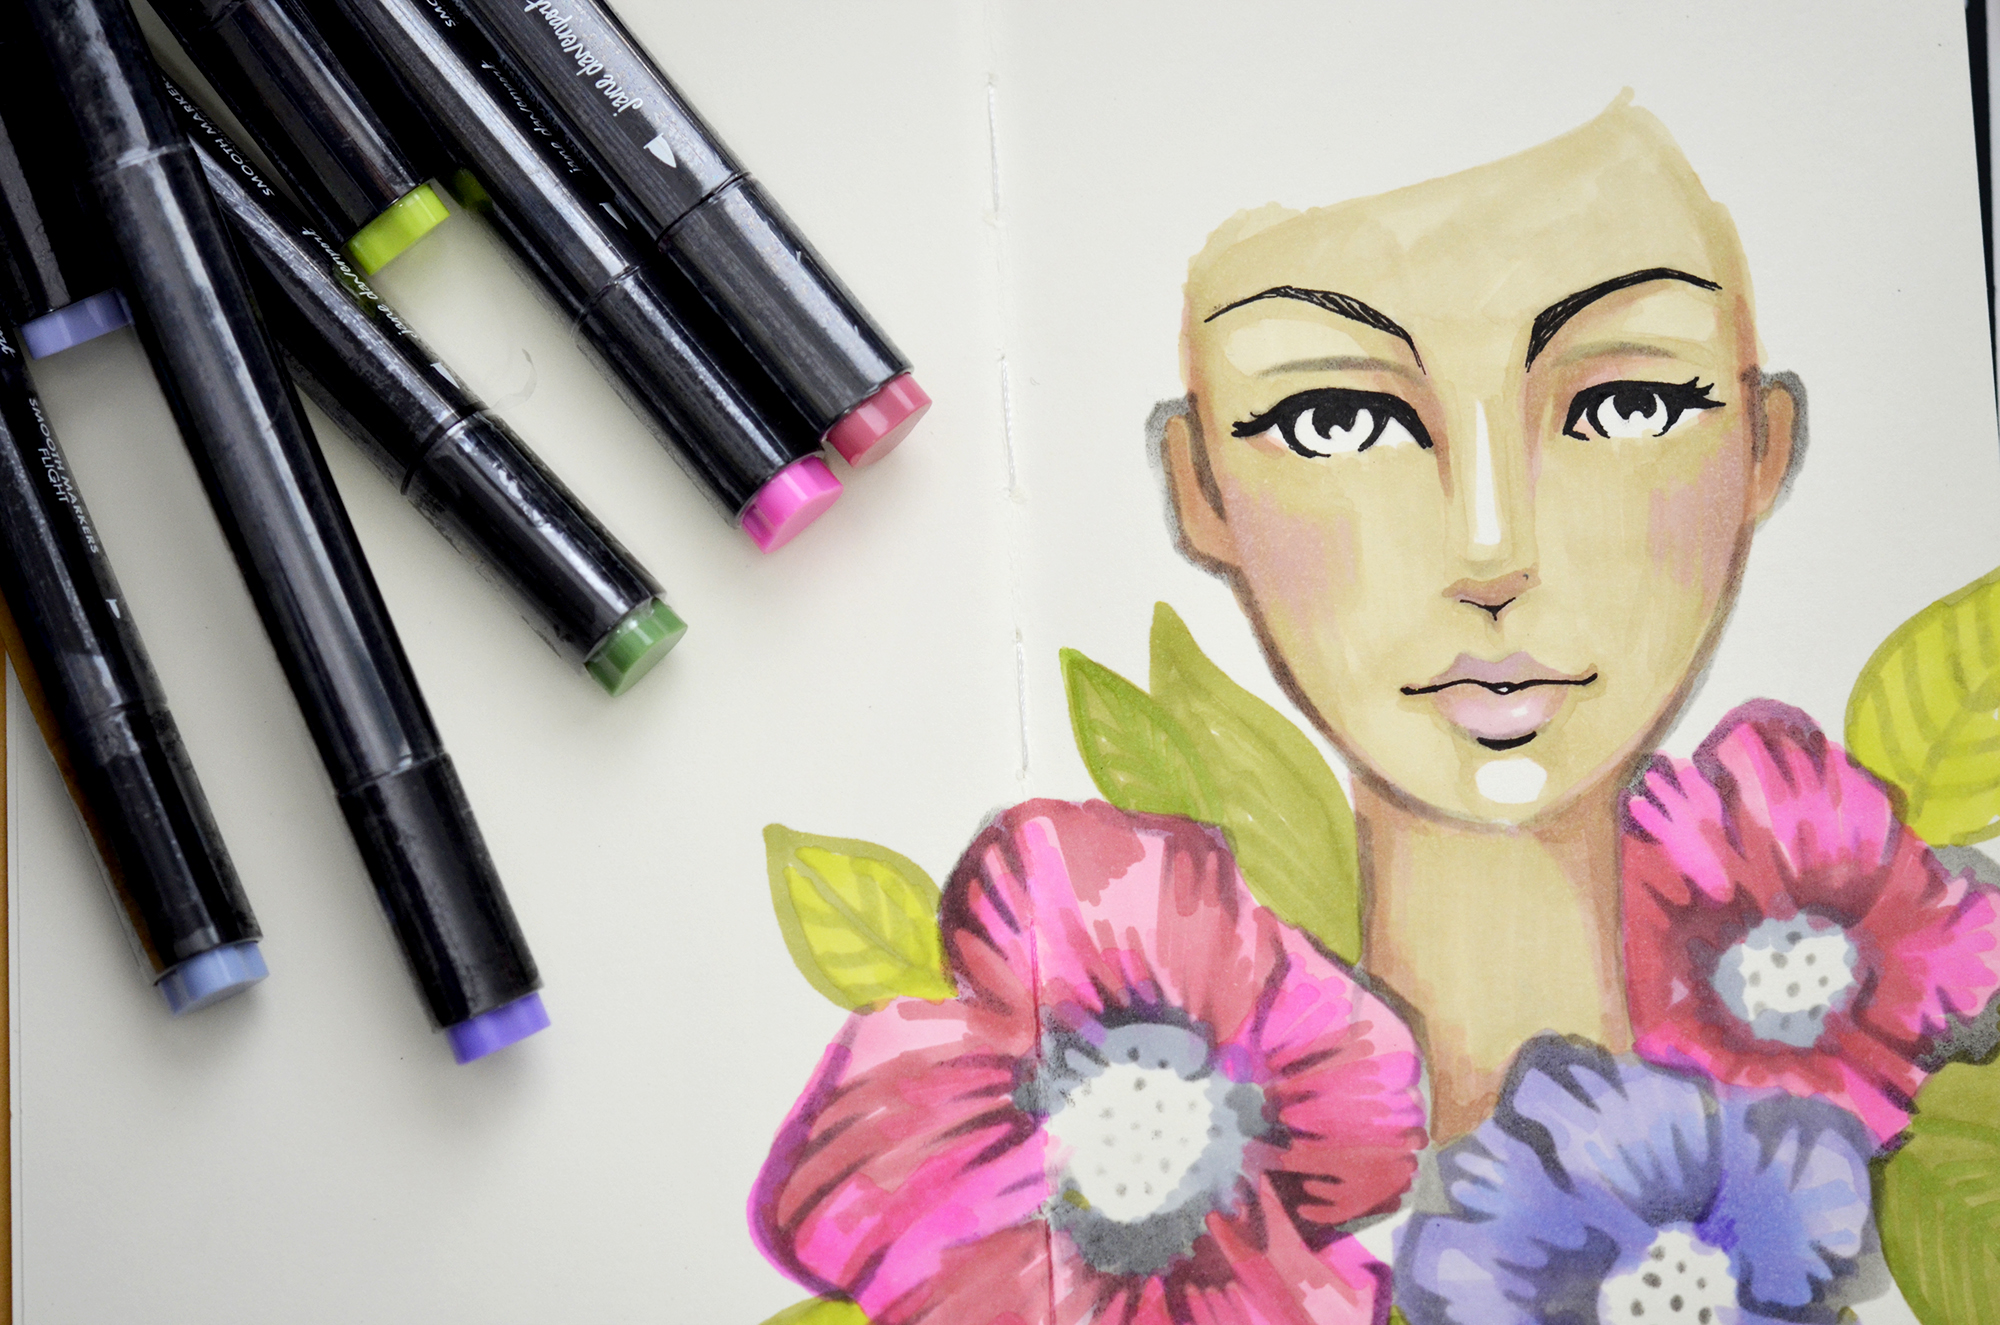
Also, this project was inspired by her tutorial.  If you are interested you can watch it below: To show the clear face shape, I used a black pen to draw eyes and lips. And I coloured flowers using Smooth Markers – Feathered Friends and Mermesmerizing.

Spellbinders Jane Davenport Artomology | Mixed Media Card & Journal Insert with Mayline  #janedavenport #janedavenportartomology #Artomology #spellbinders #neverstopmaking #smoothmarkers #makeitwithmichaels #washisheets

To make a fun background, I drew a hair shape using a pencil and then I covered some area that I did not want to blend.  After that, I blended open area and it turned out to be an awesome hairstyle.

Spellbinders Jane Davenport Artomology | Mixed Media Card & Journal Insert with Mayline  #janedavenport #janedavenportartomology #Artomology #spellbinders #neverstopmaking #smoothmarkers #makeitwithmichaels #washisheets

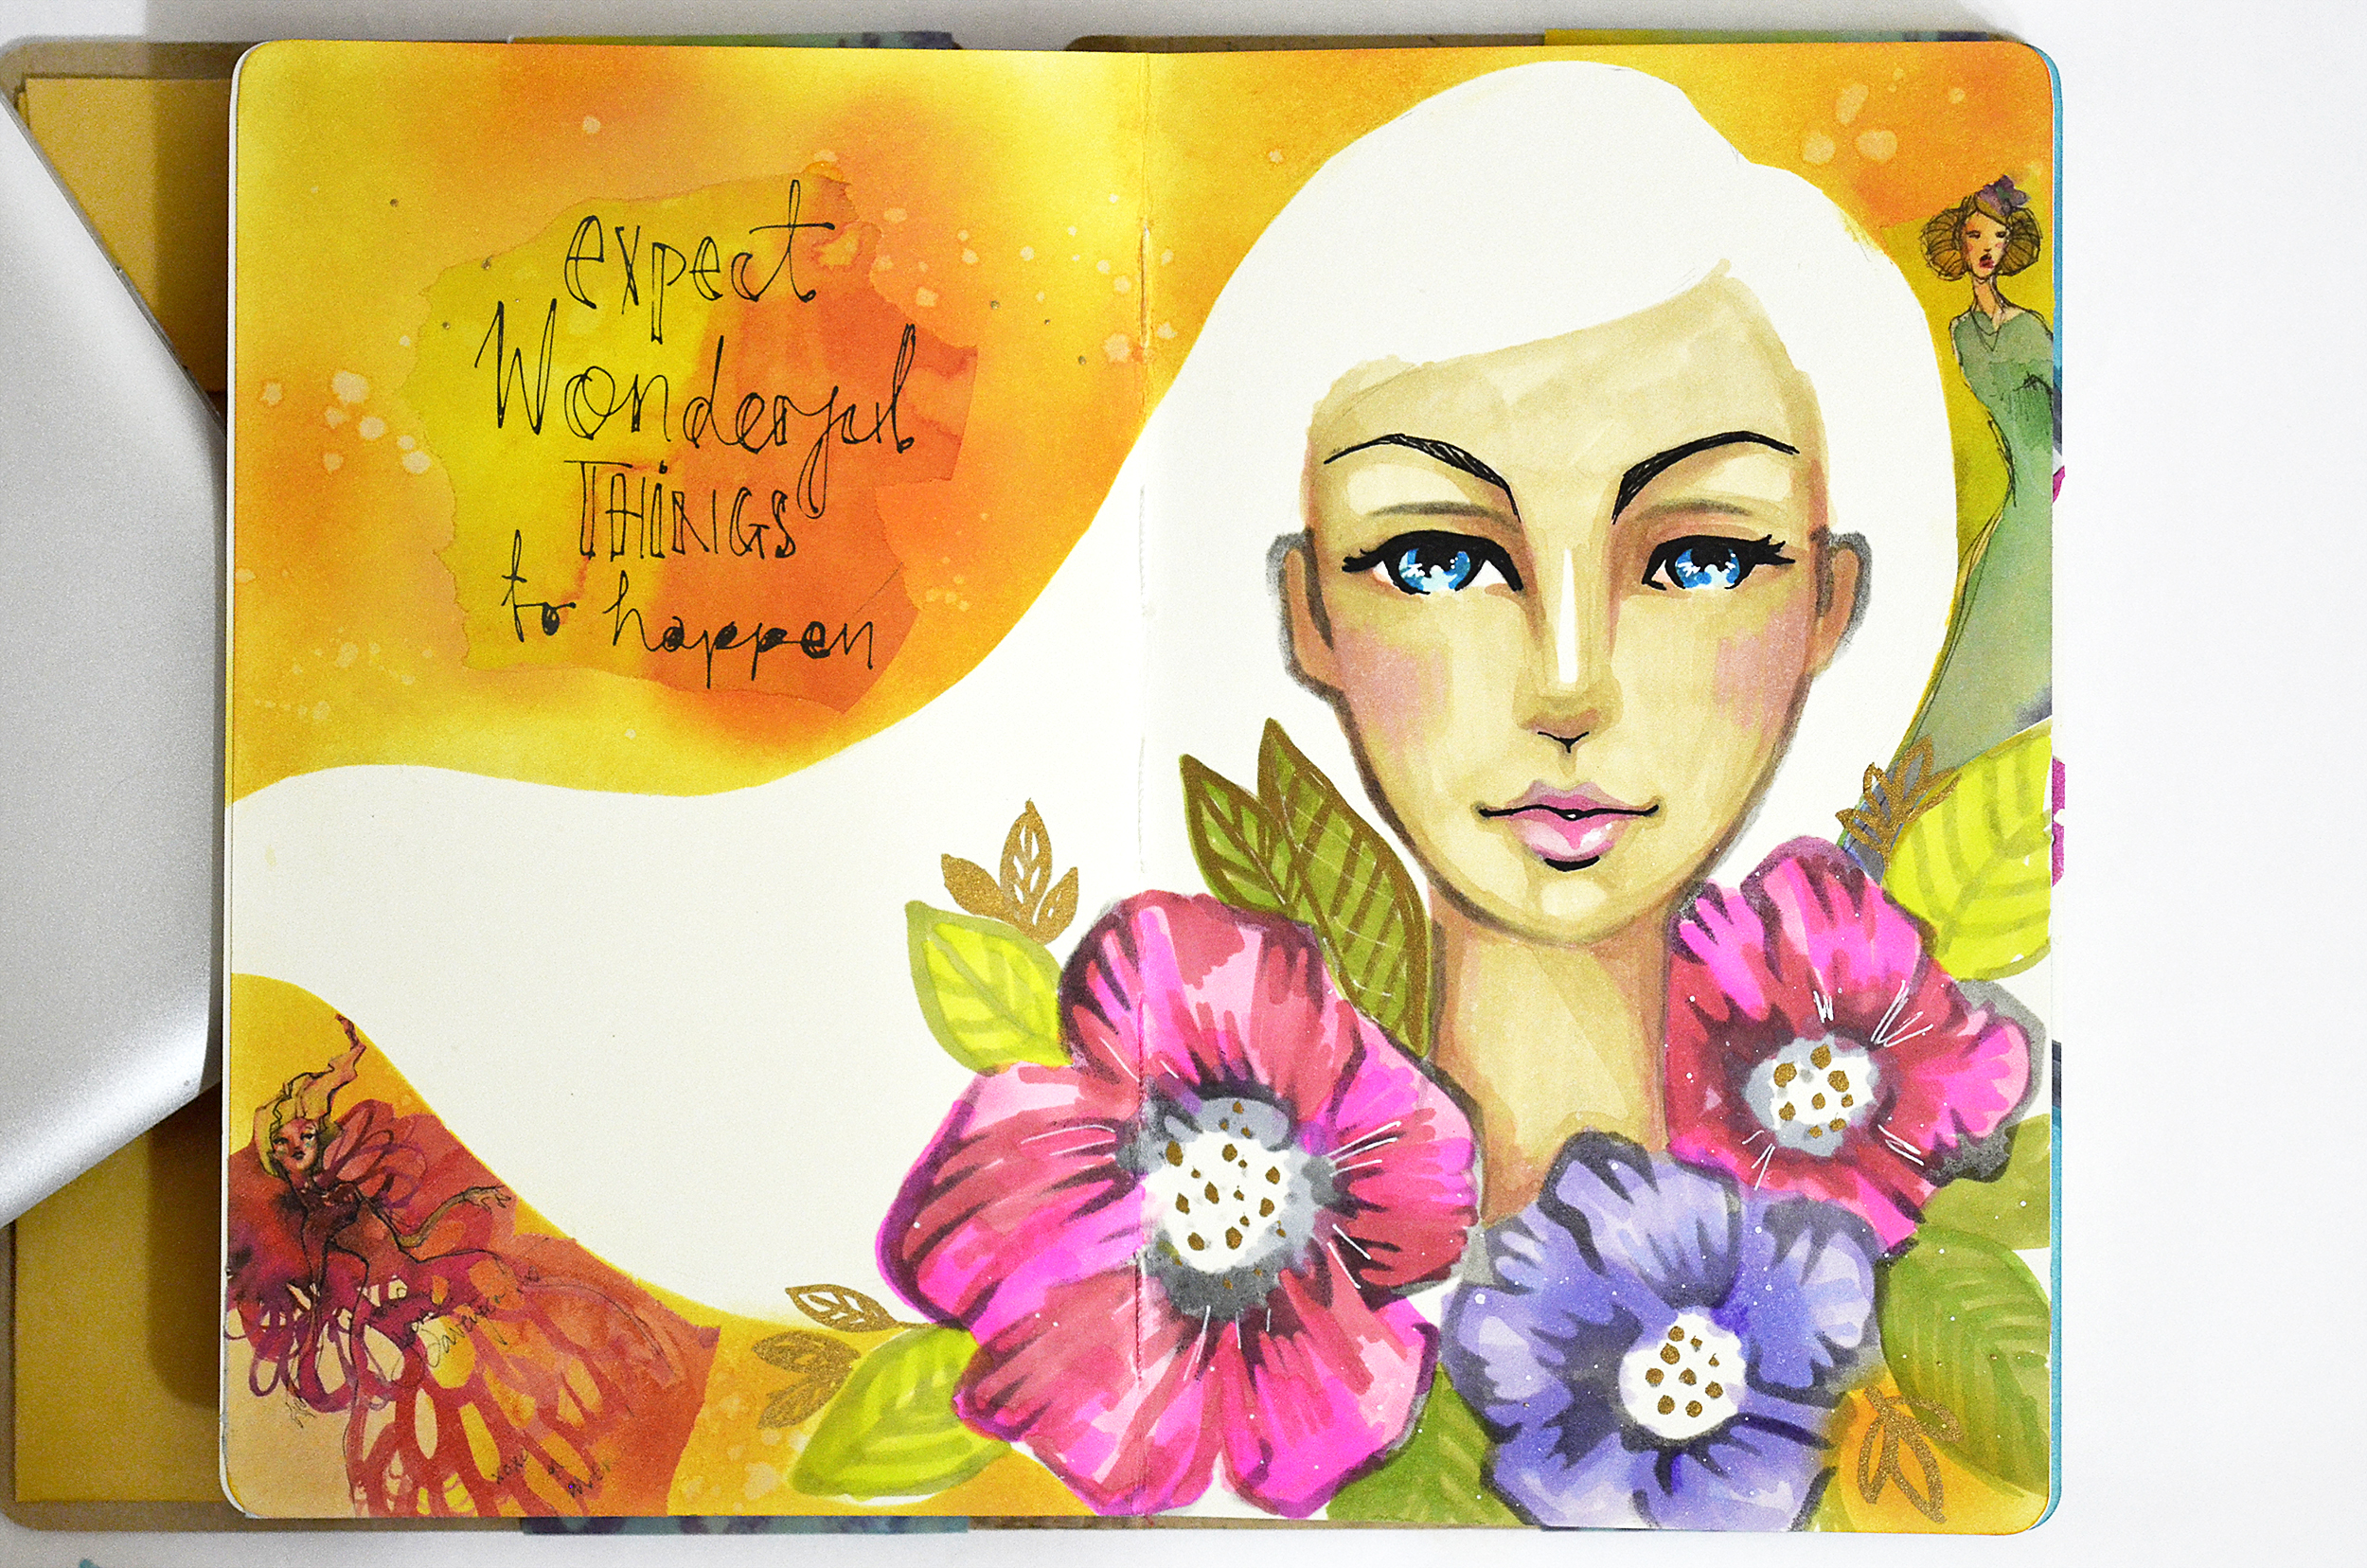
Here is the final look. After I blended it, I added water splashes to the yellow background area and then used Washi Girls Washi Sheets to create a fun background. Lastly, I put a brush in the ink bottle (Squid Ink Gold Bullion) and then drew few leaves. I hope you enjoyed today’s my project. Thank you for stopping by!

Spellbinders Supplies:

Other Supplies:

300g Watercolor Paper, Mixed Media Book, Watercolor Paints, Pencil, Black Pen, yellow & Orange ink.

Leave a comment

Your email will not be published. Please note, comments need to be approved before they are published.


  • HOW TO USE PRESS PLATES WITH MULTIPLE INKS | CREATE YOUR WAY HOLIDAY, BPR-050, BPI-049, BPI-003

    BP-001

    How to Use Multiple Ink Colors with BetterPress Registration Plates

    Create a colorful Christmas card while learning how to apply multiple ink colors to BetterPress registration plates. In this detailed tutorial, you’ll use the Festive Evergreens Registration Press + Foil Plate & Die Set to press a holiday doorway scene in three colors, combining the built-in registration system with a simple masking technique. The registration template positions the coordinating plates so each layer aligns with...

  • How to Make a Colorful Foiled Butterfly Card with Glimmer II

    BP-351

    How to Make a Colorful Foiled Butterfly Card with Glimmer II

    Combine hot foiling, alcohol-marker coloring, ink blending, and dimensional shaping to create a colorful butterfly card that sparkles from every angle. In this step-by-step tutorial, you’ll learn how to foil detailed butterflies and a floral background with the Glimmer II Hot Foil System, add bold color, and shape the butterfly wings for a realistic raised effect. The Bright Butterflies and Thanks In Bloom Press +...

  • How to Heat Emboss with BetterPress Plates: Snowman Christmas Card

    BP-001

    How to Heat Emboss with BetterPress Plates: Snowman Christmas Card

    BetterPress plates can do more than create letterpress impressions and hot-foiled designs. In this detailed Christmas card tutorial, you’ll learn how to apply clear sticky ink to a BetterPress plate and use white embossing powder to produce a crisp, heat-embossed snowflake background. The tutorial also covers pressing and die cutting a sentiment, assembling three detailed snowmen, and arranging the finished elements on an A2 card....