

Posted by Spellbinders Team
on October 04, 2018

Hi everyone! Cindy here, sharing my second project using the Jane Davenport Artomology Collection. After doing the underwater cover page I was really excited to experiment with a similarly themed weekly layout.
 I decided to do a basic vertical weekly layout, using a technique my friend Michelle Baxter (@quirkyheart on Instagram) loves to use – masking off the days and then inking. I lay down masking tape to keep the days clean (ish – working with ink is rarely neat!) and then used the same technique I used yesterday to spread the Squid Ink Hybrid Inkpads all over the page.
 When I was done, I used some of the Jane Davenport clear stamps to create bubbles, again using the Squid Ink Hybrid Inkpads. Doing this BEFORE I removed the masking tape helped create the illusion of the bubbles floating behind the daily boxes.
 I added detail with the Smooth Markers, a felt tipped pen and a brush pen. I also decided to add some fun with some of the Washi Mermaid images.
 Finally, I decided to add some of the silver Squid Ink using a tiny paintbrush as an accent to brighten the whole thing up. This also led to a little sloppiness, but I take that as a reminder that LIFE is sloppy! All that is left is to add in your plans!

 I decided to do a basic vertical weekly layout, using a technique my friend Michelle Baxter (@quirkyheart on Instagram) loves to use – masking off the days and then inking. I lay down masking tape to keep the days clean (ish – working with ink is rarely neat!) and then used the same technique I used yesterday to spread the Squid Ink Hybrid Inkpads all over the page.
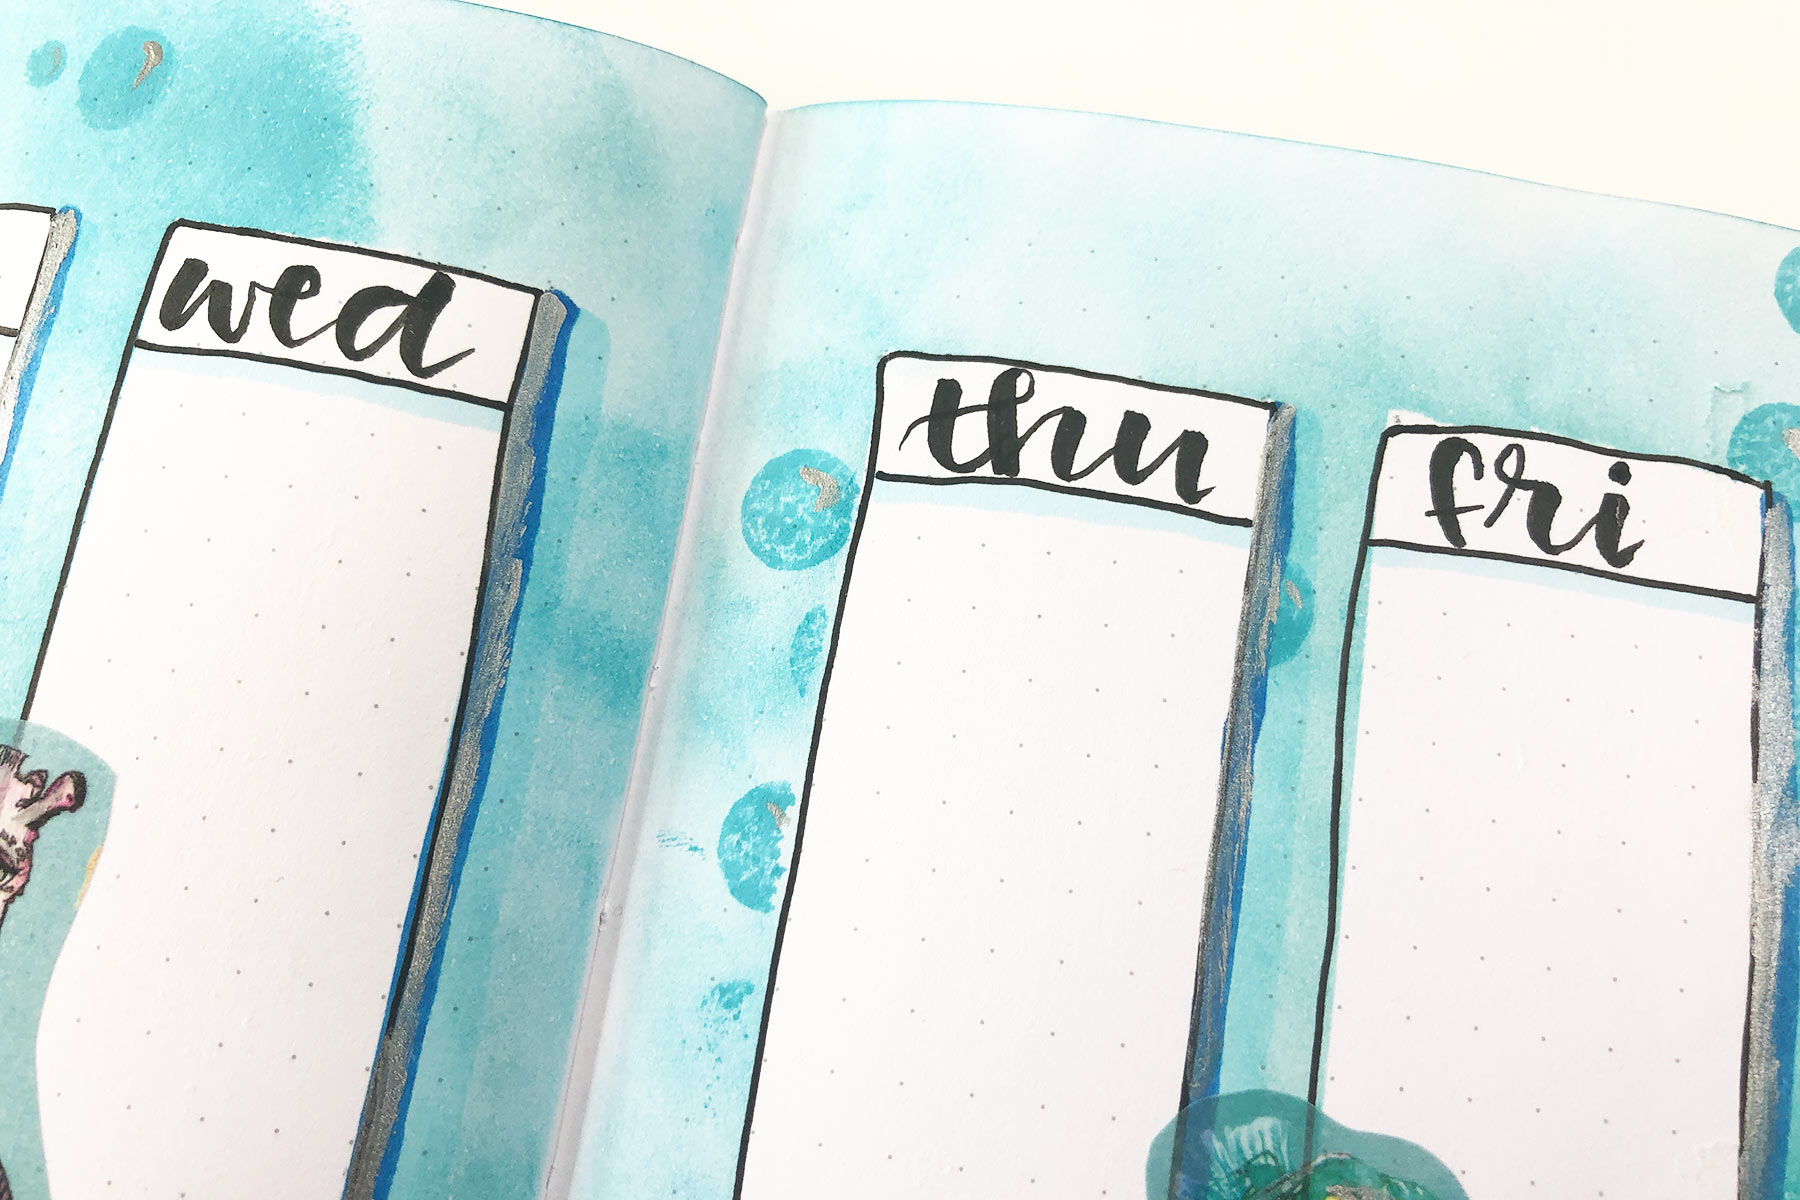 When I was done, I used some of the Jane Davenport clear stamps to create bubbles, again using the Squid Ink Hybrid Inkpads. Doing this BEFORE I removed the masking tape helped create the illusion of the bubbles floating behind the daily boxes.
 I added detail with the Smooth Markers, a felt tipped pen and a brush pen. I also decided to add some fun with some of the Washi Mermaid images.
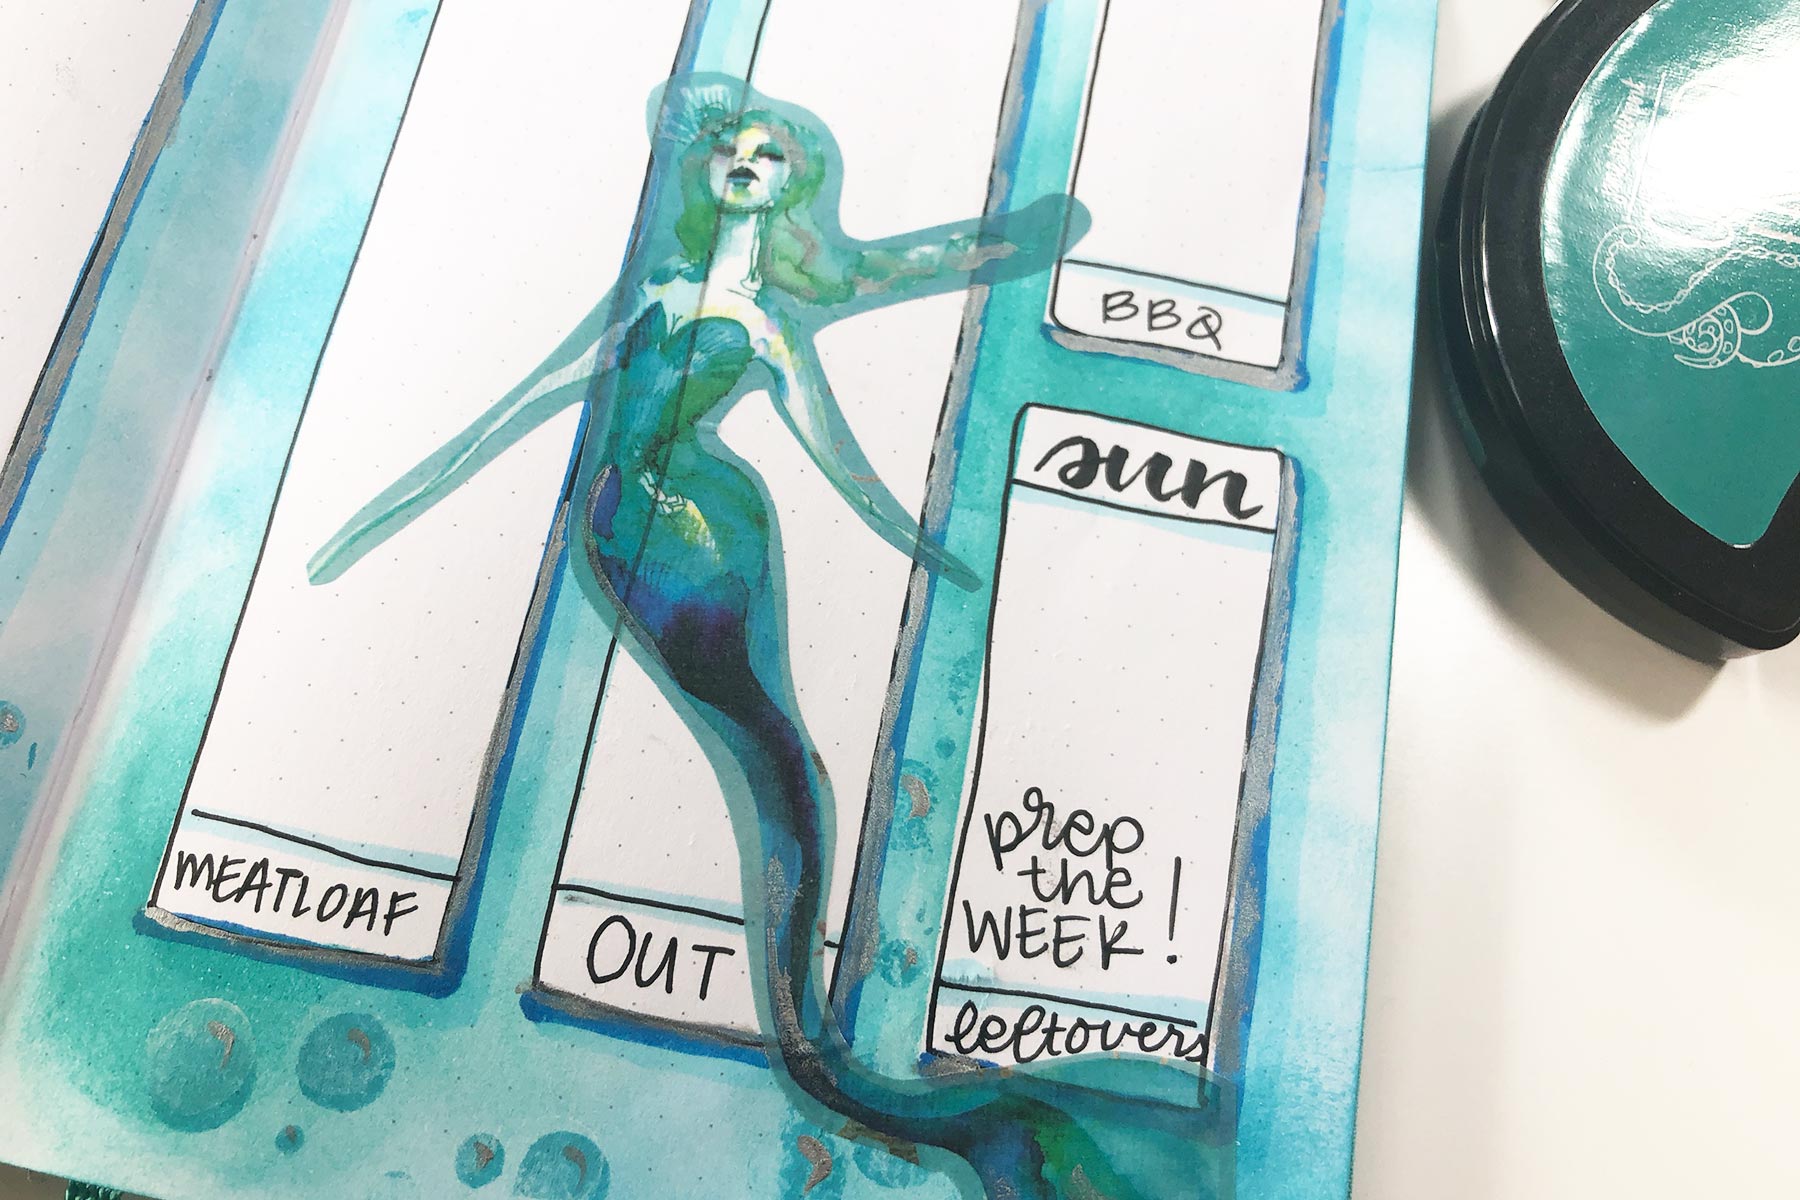 Finally, I decided to add some of the silver Squid Ink using a tiny paintbrush as an accent to brighten the whole thing up. This also led to a little sloppiness, but I take that as a reminder that LIFE is sloppy! All that is left is to add in your plans!
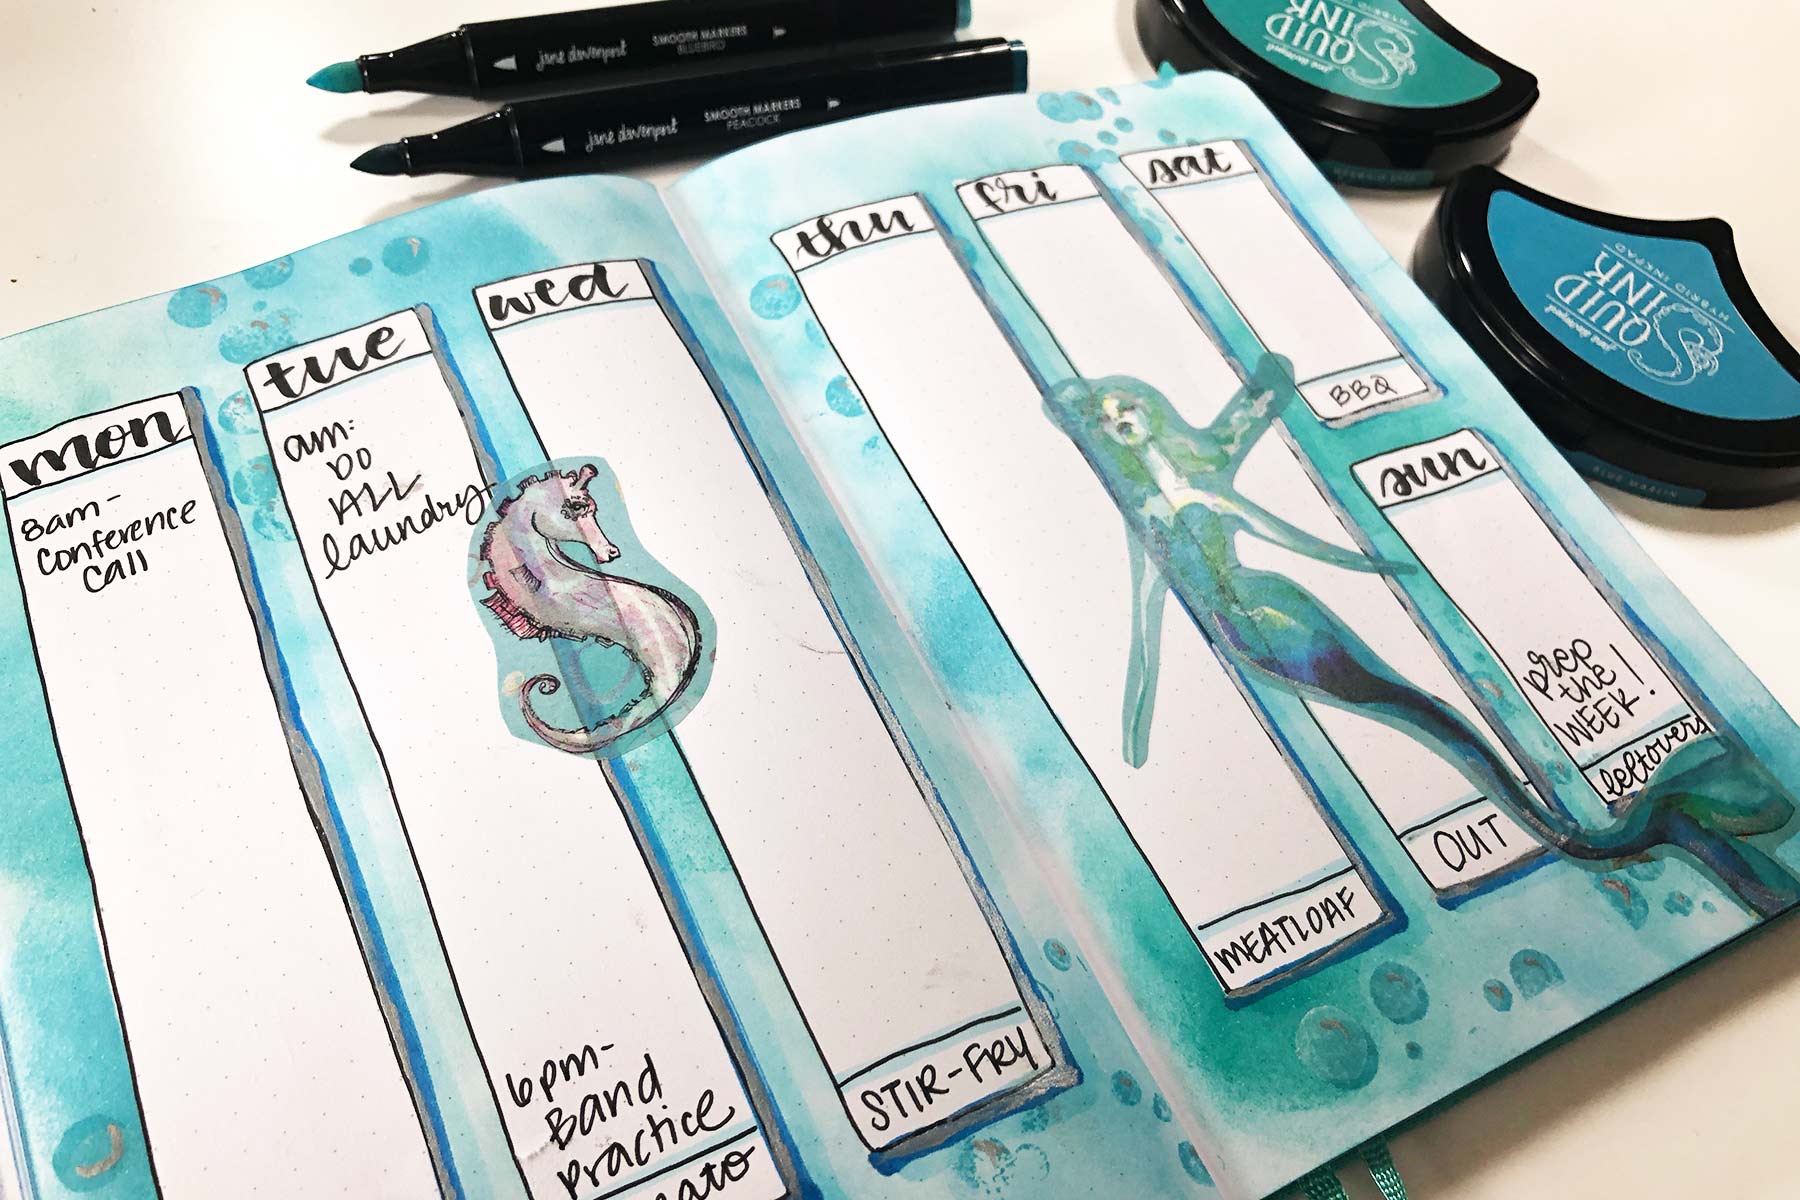
Spellbinders Supplies:
- JD-006 Squid Ink Blue Marlin
- JD-032 Squid Ink Mermaid Eyes
- JD-038 Squid Ink Beluga White
- JD-040 Squid Ink Silver Trinket
- JDS-028 Mad Confetti
- JD-014 Mermaid Washi Sheets
- JD-025 Smooth Markers Mermesmerizing
























































































1 comment
Ohhh I didn’t know she made Washi mermaids! I have a lot her other products. I need to play with my show ponies dies too.