

Posted by Spellbinders Paper Arts
on October 01, 2021

Our
October 2021 Amazing Paper Grace Die of the Month
preview & tutorials are here! Designed by
Becca Feeken
from
Amazing Paper Grace
this "Flourished Fleurit" die of the month will have you creating gorgeous layered projects in no time! Versatile, elegant, and timeless. This die set features 9 dies.
Enjoy the step-by-step tutorial below as well as the video tutorial to get you started with this month’s kit. Make sure to show us what you create by tagging
#AmazingPaperGraceClubKit
&
#SpellbindersClubKits
on social media!

Instructions:
Catch step-by-step instructions below. Click photos to enlarge:
- Score and fold 8-1/2" x 11" Cream cardstock in half. Place shadow outline die along the fold of the card, so the cutting edges of the die are just above the fold. Tape down well. Run through machine (may need to turn if using a heavier cardstock). You now have a folded card base that matches the shape of the card.
- Carefully tape together the decorative frame die and the inner rim die. Make sure the inner die is centered in that it will cut out thin side borders. Die cut another layer with just the decorative frame die (no inner rim) with Kraft cardstock. Adhere Mirror Gold layer over Kraft layer. Line up and adhere down to die cut card base.
- Cut out bloom sprig from Mirror Gold 5x, sprig blooms from Cream cardstock 10x (need 8 per sprig). Use blending tool with Light Pink ink and add a touch of color to the blooms. Adhere blooms to sprigs from the back so you can see the bloom's stems.
- Cut flowers from Cream cardstock 5x and leaves from Mirror Gold 3x. Use stylus to cup the flower layers. Edge flowers with Light Pink ink. Glue small layer onto larger layer, staggering petals. Add pearl embellishment.
- Die cut inner design rim with Mirror Gold and inner rim and insert together with Cream cardstock. Adhere together.
- Heat emboss sentiment onto Cream cardstock and cut to create a banner (by hand or with a die of choice). Center on decorative die cut with foam adhesive.
- Place adhesive only on the ends of decorative die cut and center on card. This will allow space to tuck sprigs under the top and bottom of this piece.
- Tuck sprigs as shown and add finished flowers and leaves.
October 2021 APG Die of the Month – Video Tutorial
Watch the video tutorial using this month's kit below or on Youtube .
Additional inspiration
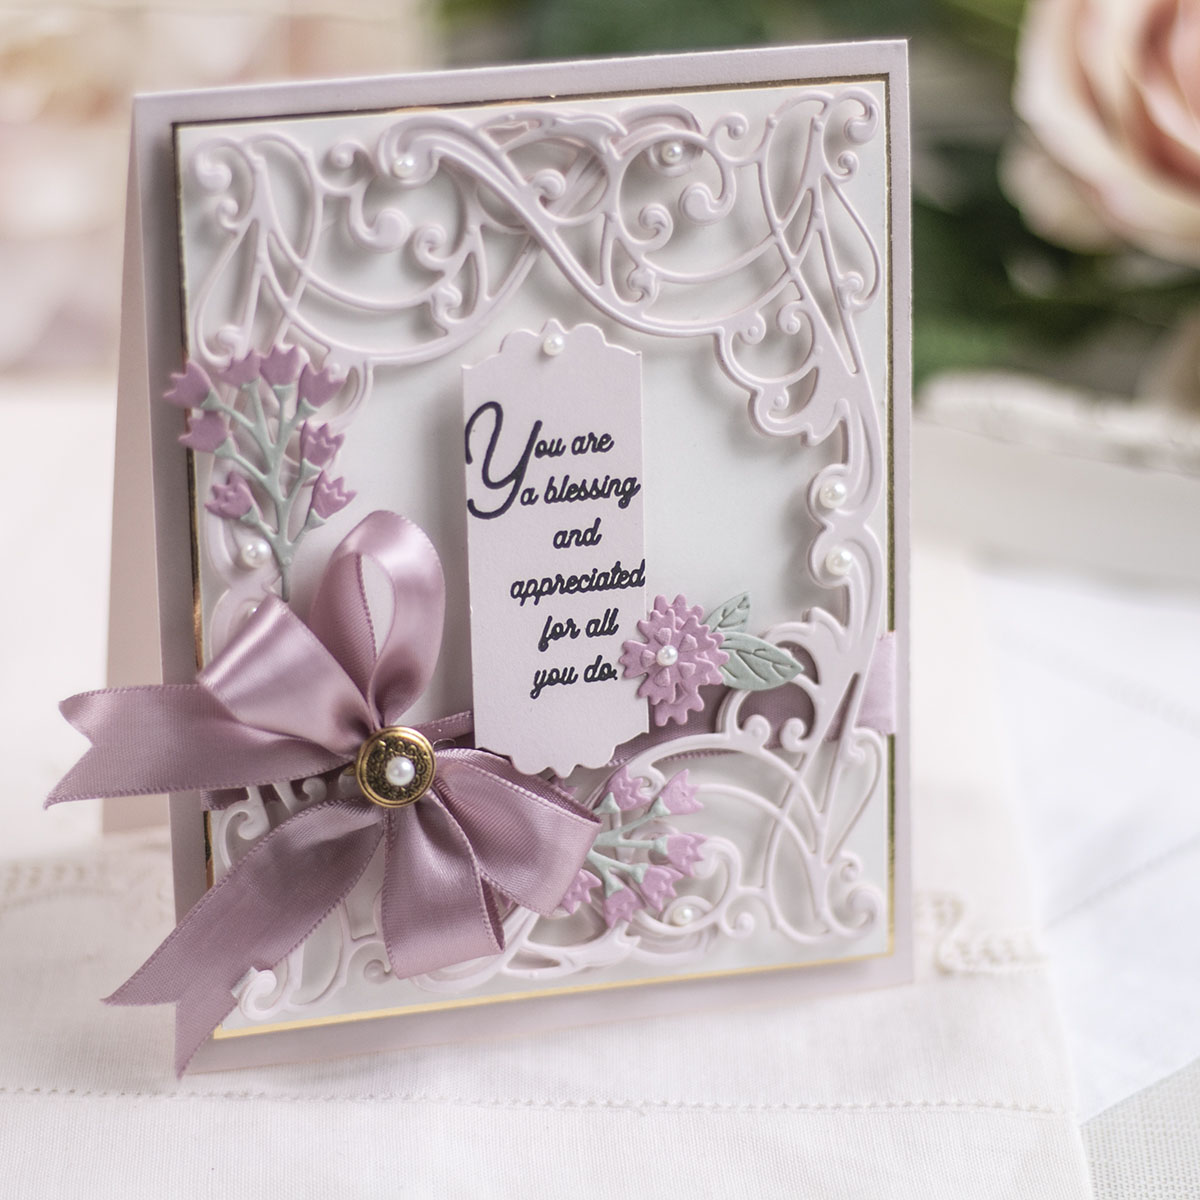
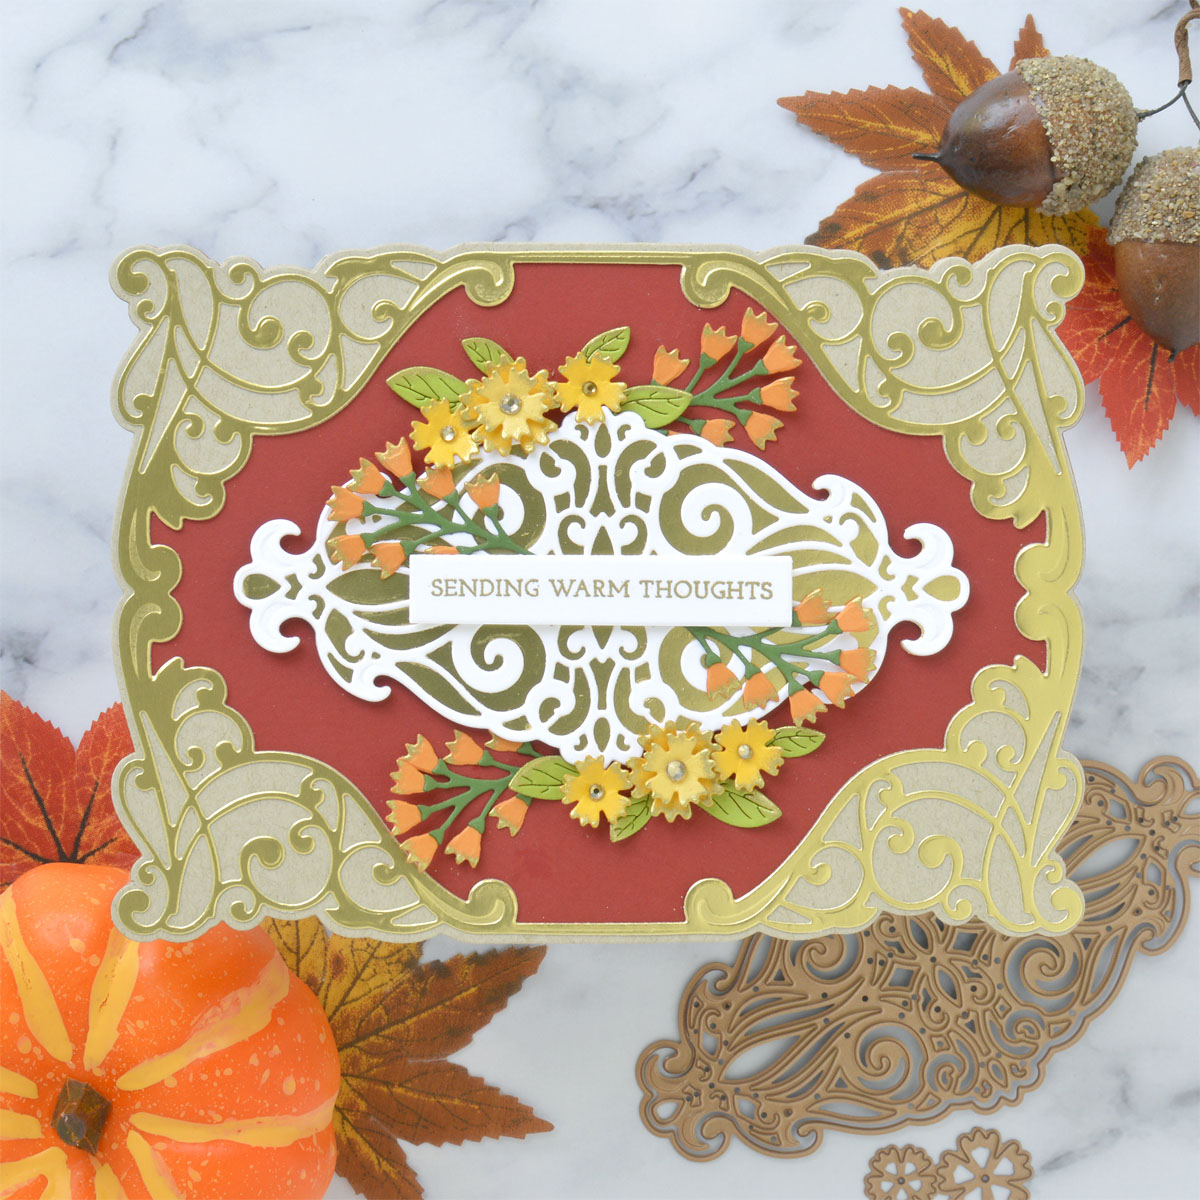
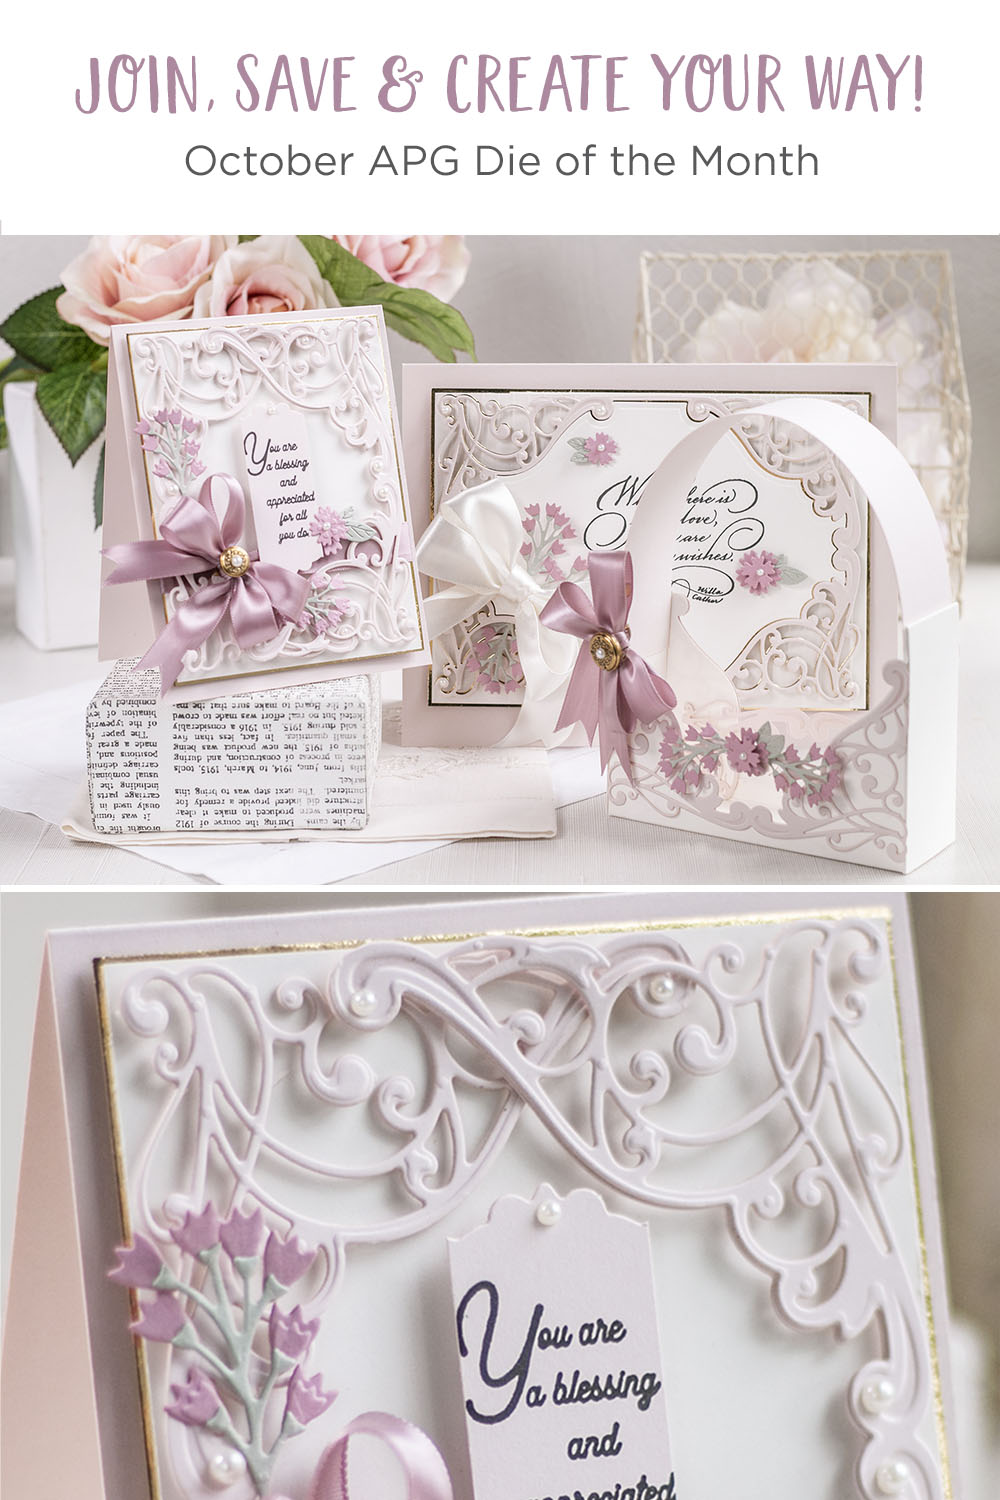
Here’s a closer look at the other projects created using October 2021 Amazing Paper Grace Die of the Month :

Value Clubs
For those who want to join multiple clubs to bundle and save, we offer Value Clubs and VIP Value Clubs. VIP Value Clubs offer members the most value and savings + members will periodically get BONUS Deals and Gifts. See all Value Club options here .
























































































7 comments
Forgot to comment on the instructions you provided. I find them very helpful and save them with the die set with links to dies and the YouTube tutorial and this page. I always find it helpful when Spellbinders puts a pdf that can be downloaded as part of the die set information page – would suggest that this be done with this step-by-step tutorial.
I second CC’s request. I am a fairly new kit subscriber and love seeing all the gorgeous boxes and baskets, but I have no clue how to create one.
This is my 3rd month of getting the Spellbinders Club kits. I feel like a kid in the Candy Store! . I have been amazed at the different ways you and your fabulous Designers use your does. Everything is so beautiful and elegant!
Thank you so much Becca! I just subscribed to your YouTube Channel so I don’t miss out on any :) (Can’t believe I wasn’t already subscribed?!)
Another 10++++! So looking forward to see what your team makes using this set. It always is so inspiring and with the addition of new team members there will be more to enjoy! I have your shadow box collection and think this would look lovely in the frame. I appreciate the compatibility and versatility of your sets! Looking forward for more of your romantic scrips for the cabinets and vignettes. Now I use stamps on a vellum to have an insert for holidays/occasions not yet covered.