


Posted by Spellbinders Team
on February 21, 2017

Hello friends! I would like to introduce to you my new collection called Celebrate the Day! This collection has 10 new die sets to mark that special day. Create in no time elements from party favor boxes to tea light boxes to floral frame cards to even a cute basket with all its embellishments. Included in this collection, there are four Pop-Up sentiment dies that are great for the inside of the card as well as the front. Today I am featuring the Pop-Up Dies from the collection.

 Instructions for Congrats Card:


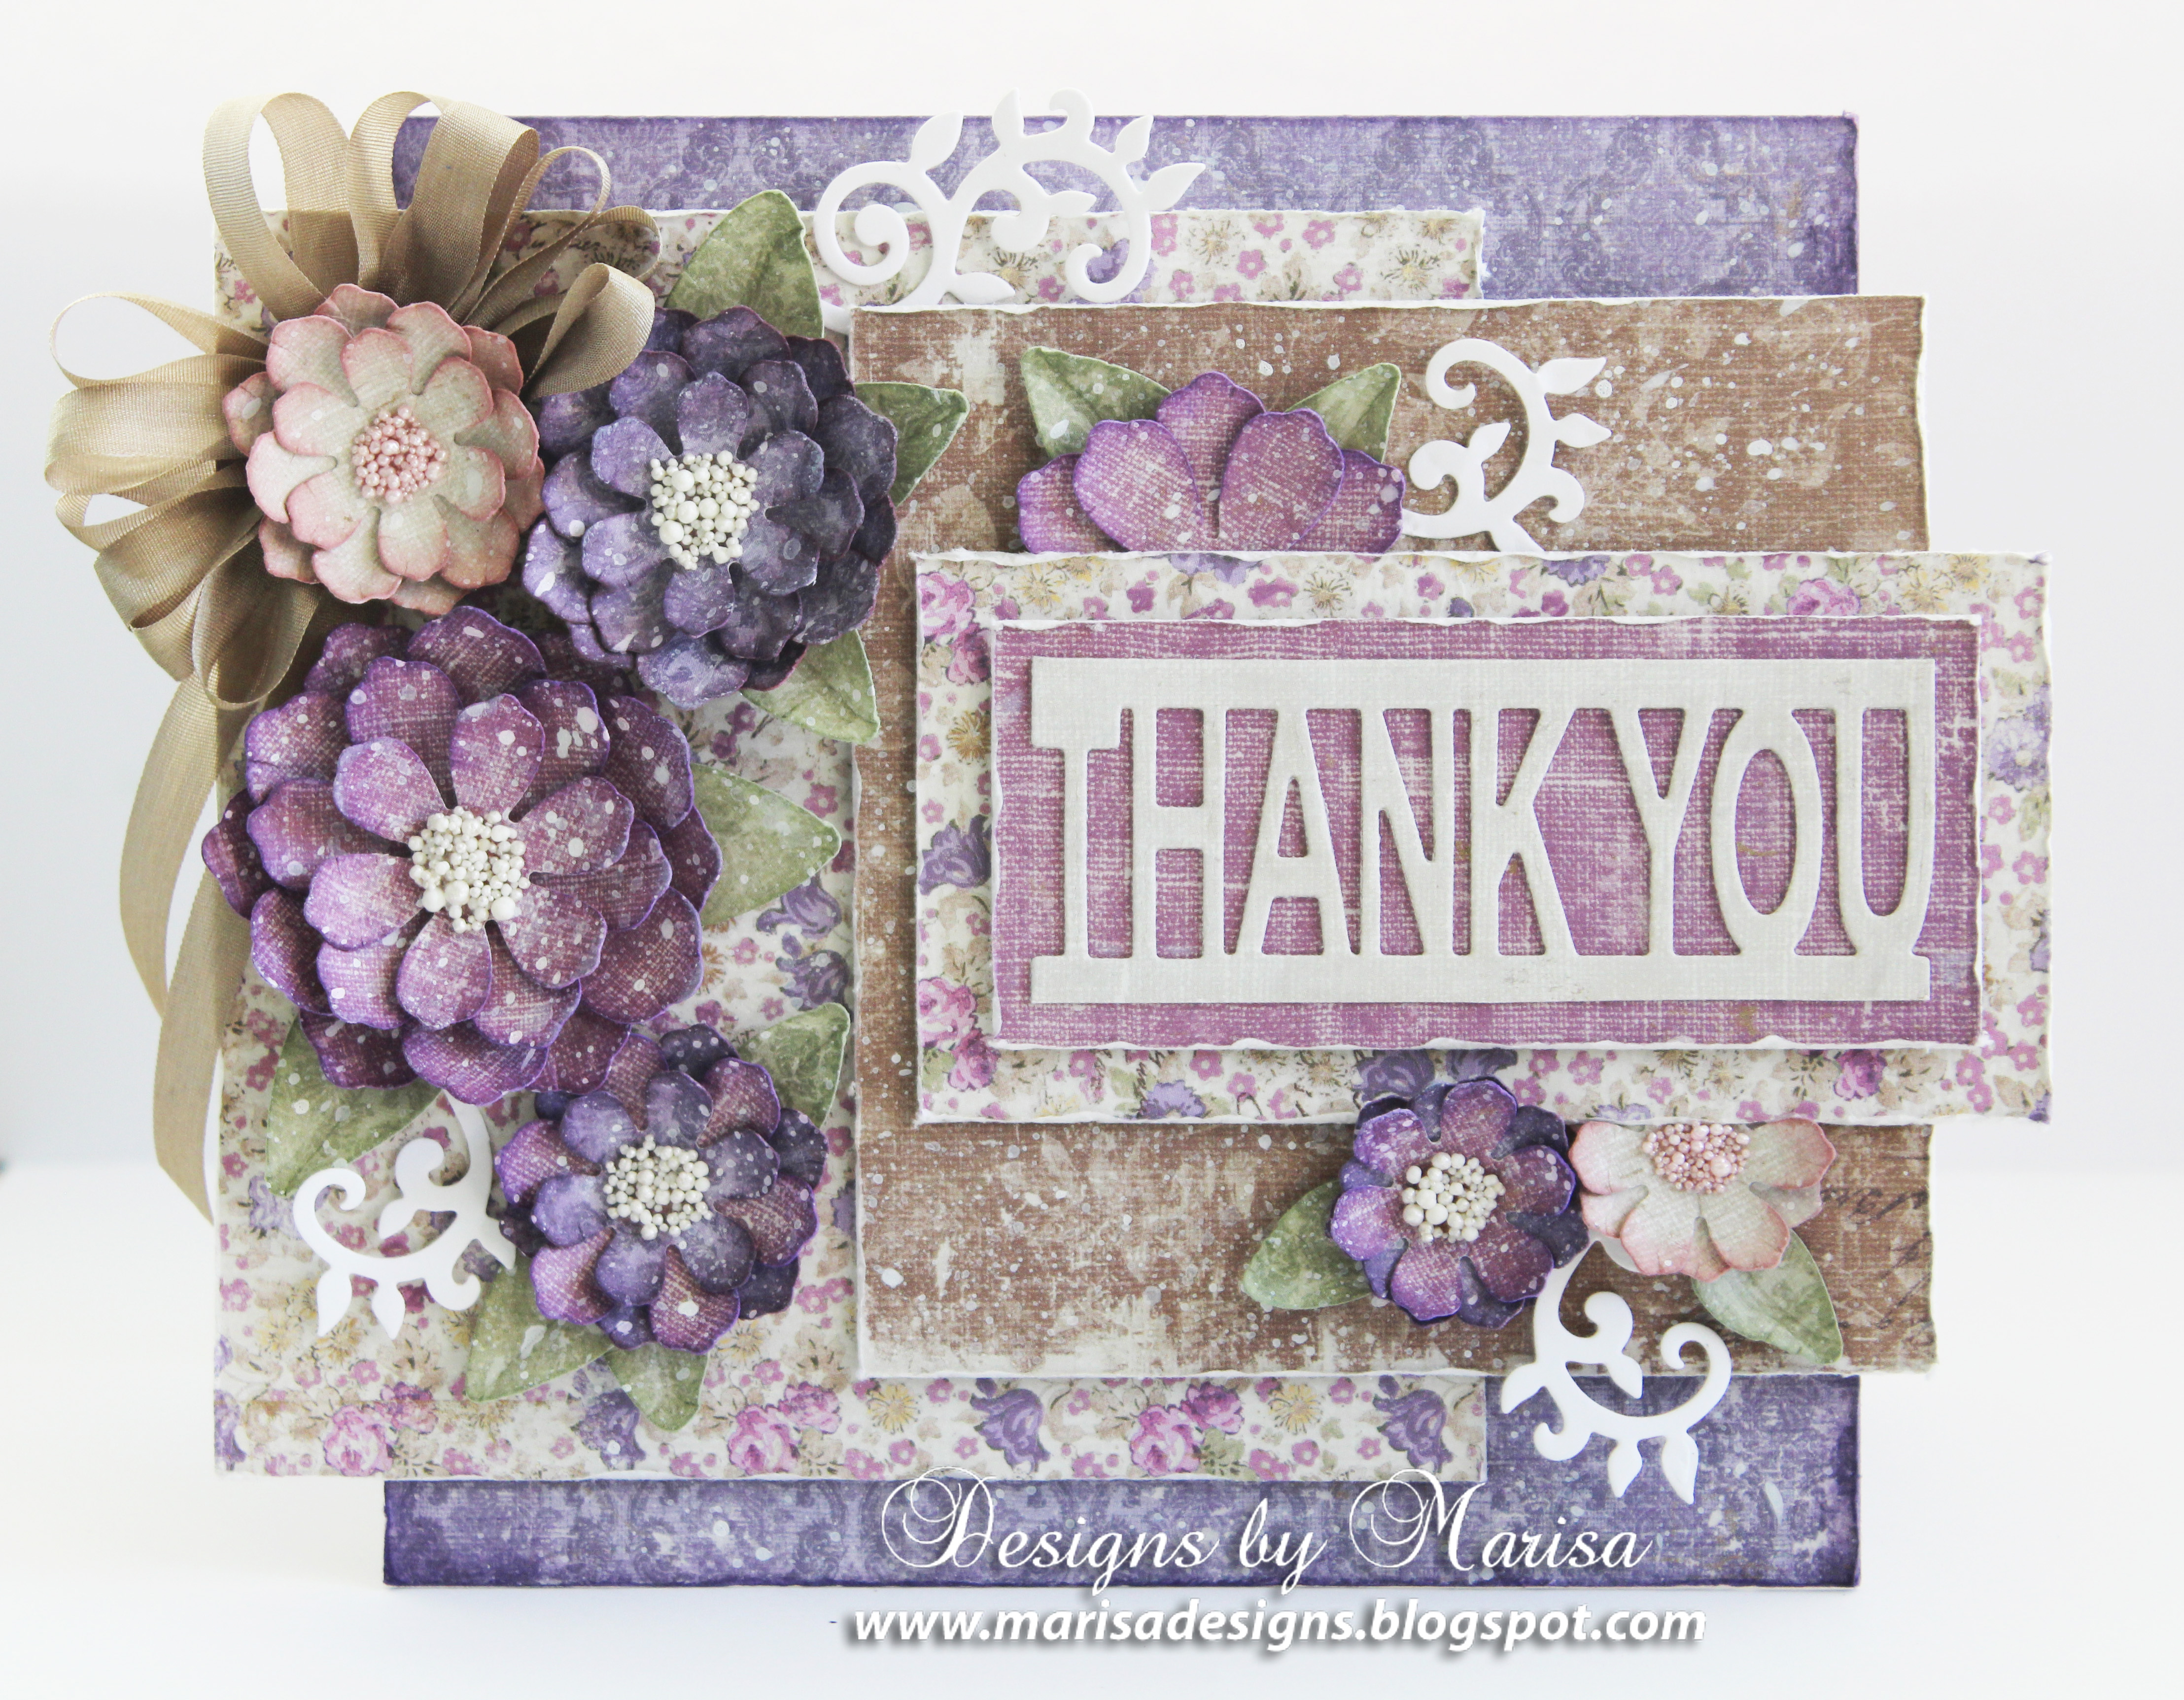
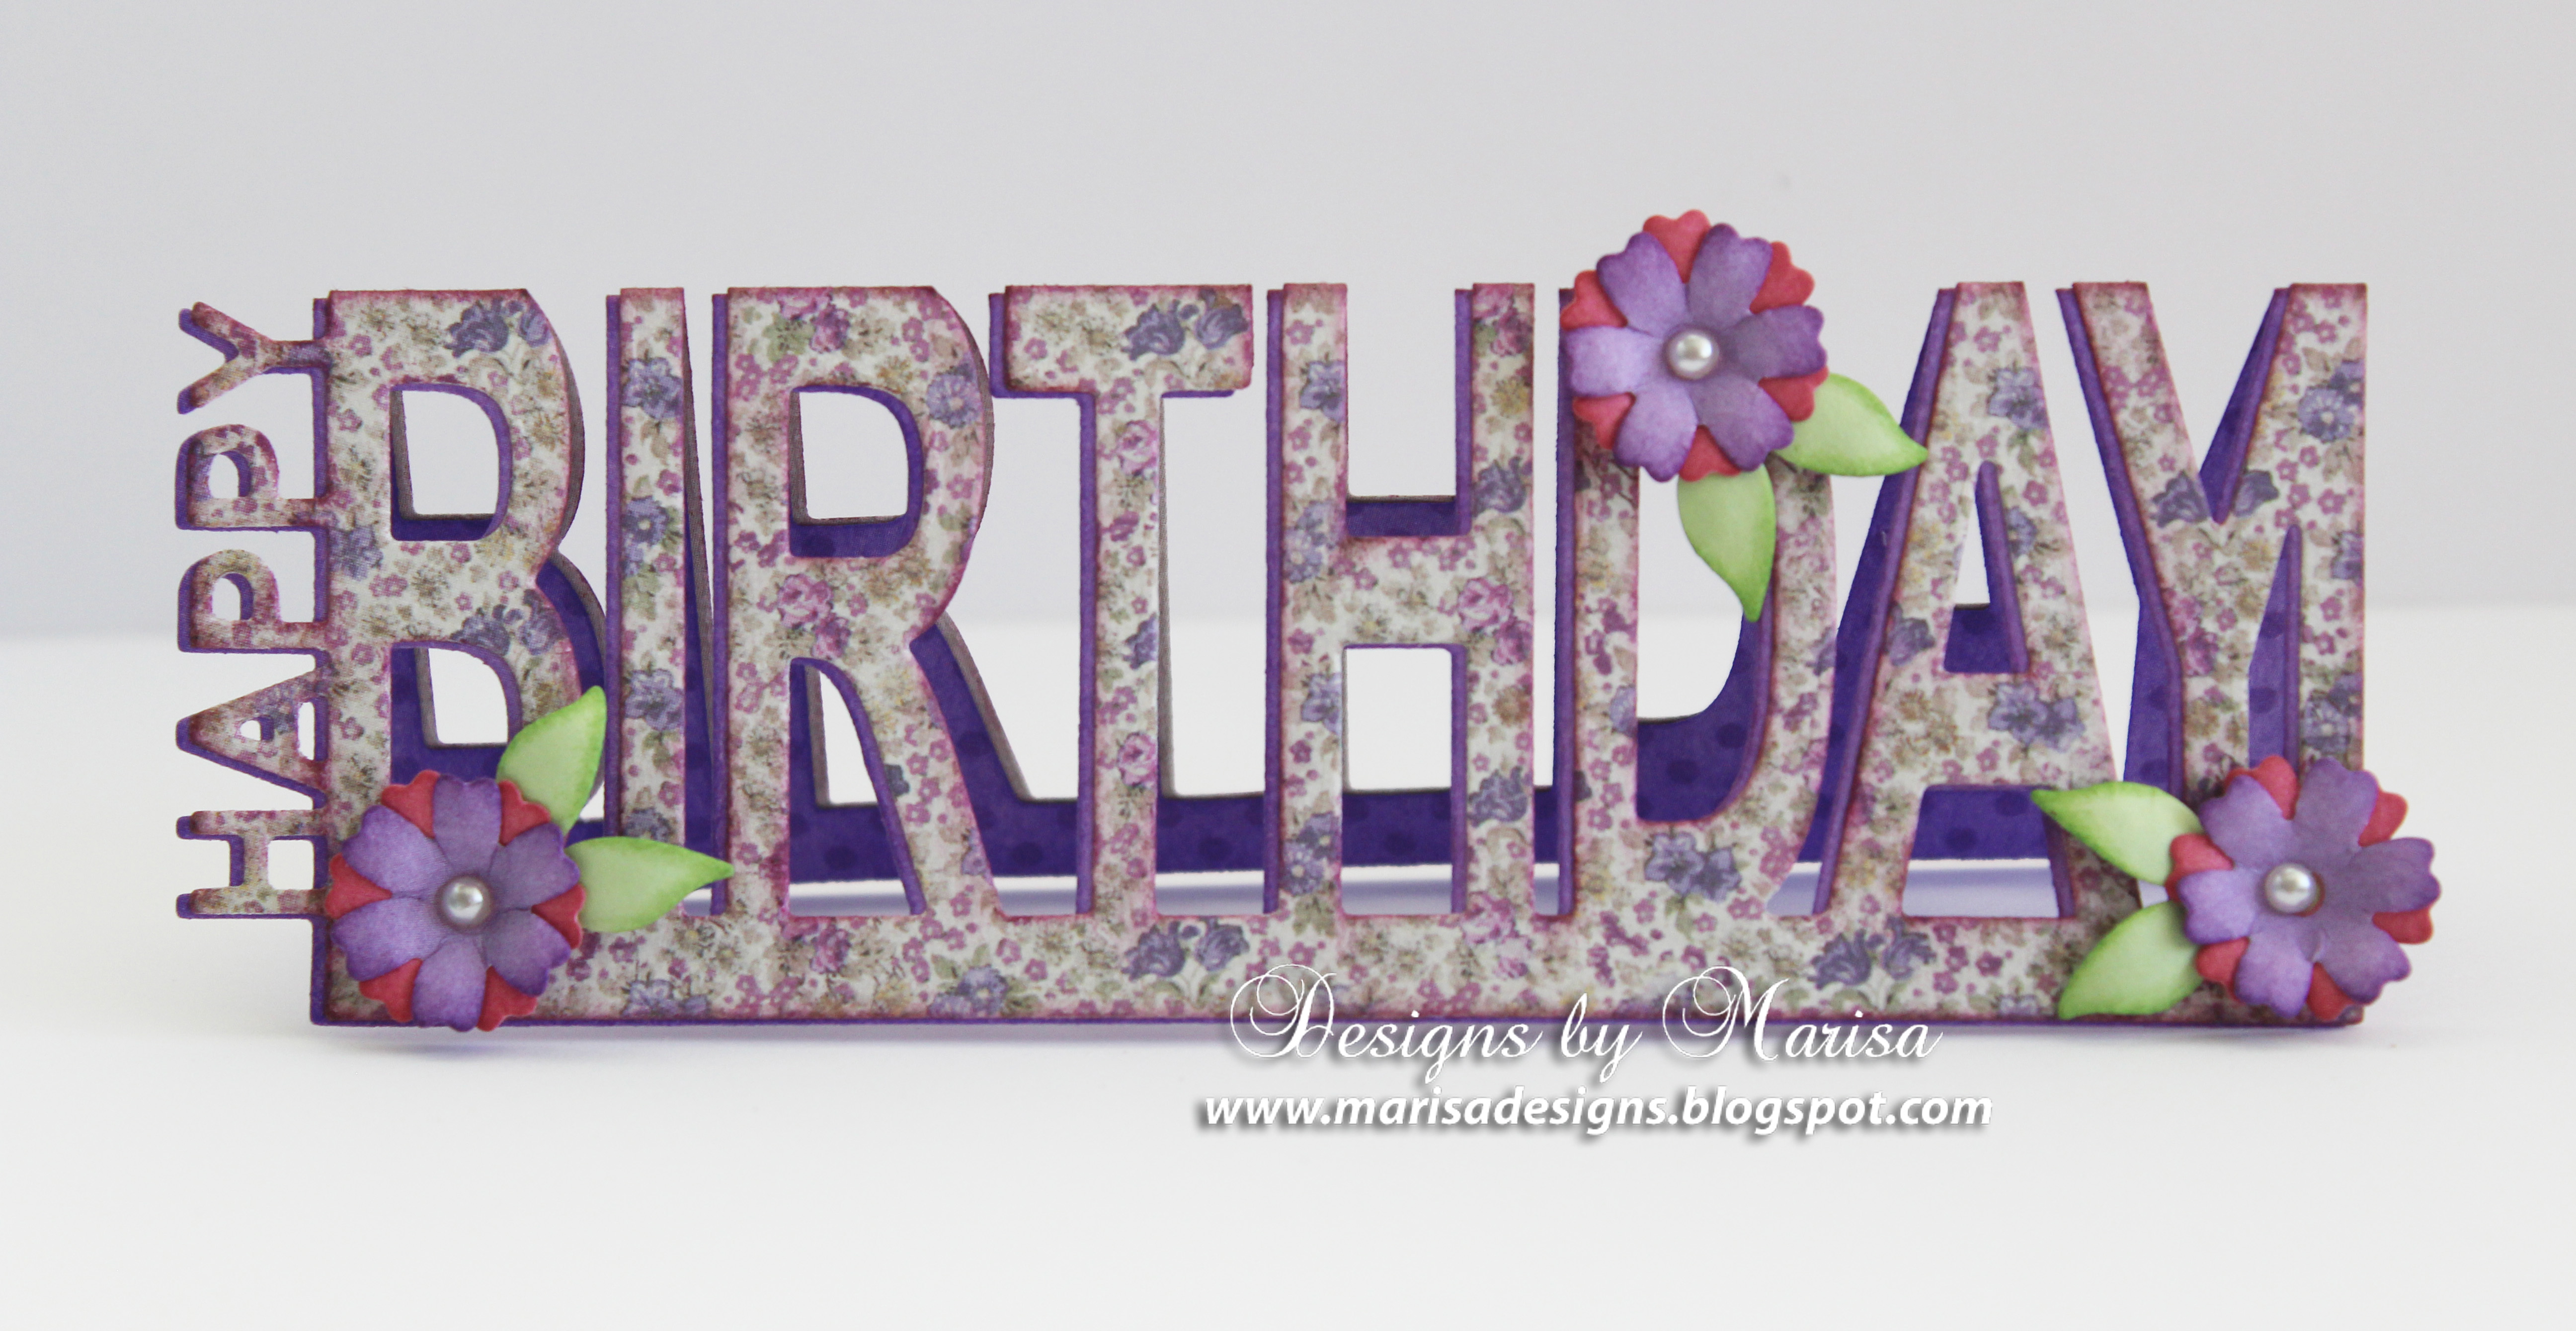
 More pictures of projects created with the Pop-Up dies from this collection:


 Spellbinders Supplies:
Congrats Pop-Up Die Set
Happy Birthday Pop-Up Die Set
Thank You Pop-Up Die Set
Happy Birthday Easel Die Set
Framed Floral Card Front Die Set
Windows of Memories Die Set
Spellbinders Platinum 6 Die Cutting and Embossing Machine
Tool ‘N One™
Foam Applicator – Circle For Too ‘N One
Stylus Tips For Tool N’ One
Other Supplies:
Blue Fern Studios – Seaside Cottage Paper Collection, White Cardstock, Ranger Distress Inks, Hot Glue Gun, Micro-beads Prills, Scrapbook Adhesive by 3L- 3D Foam Squares, Nuvo Crystal Drops - Ivory Seashell.
My new collection “Celebrate the Day” is available now!! You can see ALL of my Spellbinders Designs by clicking: Marisa Job Designs with Spellbinders® Paper Arts.
Thanks for visiting and have a wonderful week!
Marisa Job
Spellbinders Supplies:
Congrats Pop-Up Die Set
Happy Birthday Pop-Up Die Set
Thank You Pop-Up Die Set
Happy Birthday Easel Die Set
Framed Floral Card Front Die Set
Windows of Memories Die Set
Spellbinders Platinum 6 Die Cutting and Embossing Machine
Tool ‘N One™
Foam Applicator – Circle For Too ‘N One
Stylus Tips For Tool N’ One
Other Supplies:
Blue Fern Studios – Seaside Cottage Paper Collection, White Cardstock, Ranger Distress Inks, Hot Glue Gun, Micro-beads Prills, Scrapbook Adhesive by 3L- 3D Foam Squares, Nuvo Crystal Drops - Ivory Seashell.
My new collection “Celebrate the Day” is available now!! You can see ALL of my Spellbinders Designs by clicking: Marisa Job Designs with Spellbinders® Paper Arts.
Thanks for visiting and have a wonderful week!
Marisa Job
Instructions for Congrats Card:
- Create a 5 x 7” card base from designer card stock. Cut four panels from coordinating designer cardstock measuring: 5 x 7", 4.50 x 6.50”, 4.75 x 6” and 4.25 x 5.50”. Distress edges and then color with distress inks.
- Die cut frame using Framed Floral Card Front Die Set from white cardstock.
- Layer panels on 5 x 7" card base using 3D Foam Squares as pictured below.
- Die cut two Congrats sentiment pieces using Congrats Pop-Up Die Set from designer cardstock. Fold at scored lines.
- Glue one of the Congrats pieces together, cut off tabs and then adhere to card front. For the next Congrats piece, adhere tape to tabs, fold at scored lines and attach to inside of card to create Congrats Pop-Up. Pop-Up folds flat when closing the card.
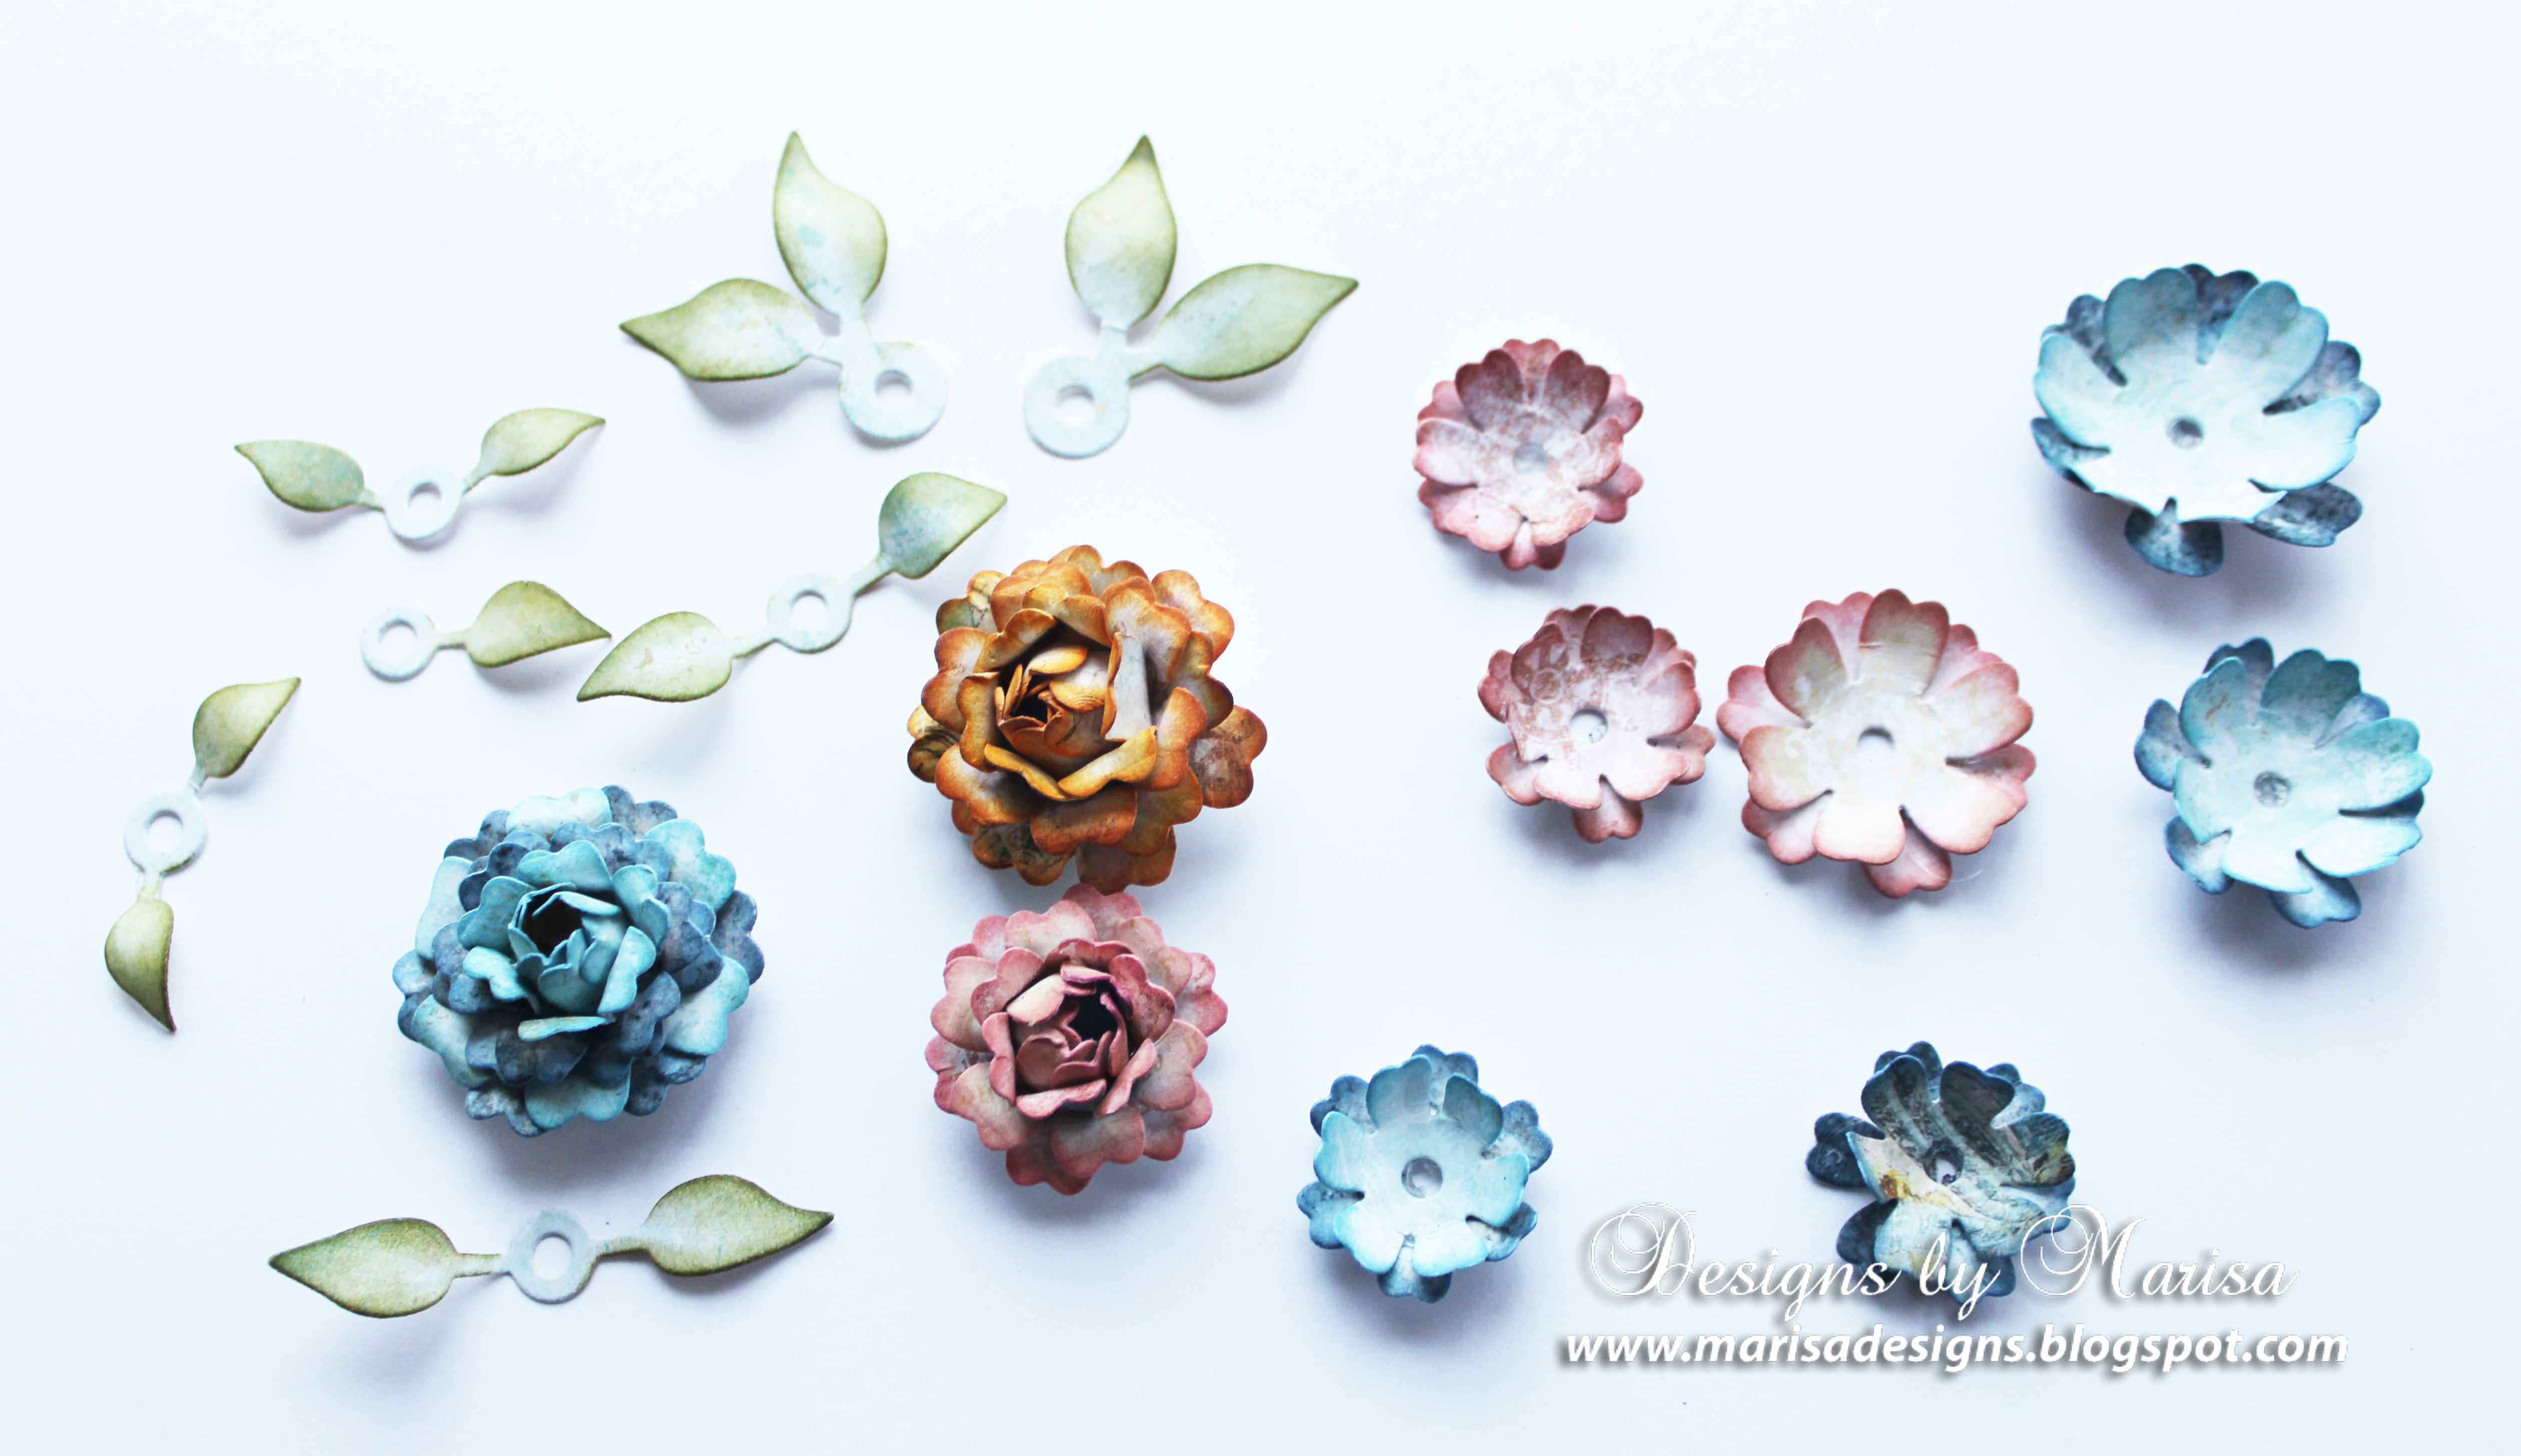
- Die cut multiple flowers and leaves using Windows of Memories Die Set from designer cardstock. Color flowers and leaves with distress inks and Tool ‘N One Foam Applicators. For the roses, die cut four or five flowers of the same size. Create bud by overlapping petals and then securing petals together with hot glue. Continue to layer next three flowers and then curl petals with tweezers to form roses.
- Shape flowers with Stylus Tips for Tool N’ One. Layer petals together with hot glue and adhere to card. Embellish center of flowers with beads and then add tiny pearls around flowers with Crystal Drops.
More pictures of projects created with the Pop-Up dies from this collection:
Spellbinders Supplies:
Congrats Pop-Up Die Set
Happy Birthday Pop-Up Die Set
Thank You Pop-Up Die Set
Happy Birthday Easel Die Set
Framed Floral Card Front Die Set
Windows of Memories Die Set
Spellbinders Platinum 6 Die Cutting and Embossing Machine
Tool ‘N One™
Foam Applicator – Circle For Too ‘N One
Stylus Tips For Tool N’ One
Other Supplies:
Blue Fern Studios – Seaside Cottage Paper Collection, White Cardstock, Ranger Distress Inks, Hot Glue Gun, Micro-beads Prills, Scrapbook Adhesive by 3L- 3D Foam Squares, Nuvo Crystal Drops - Ivory Seashell.
My new collection “Celebrate the Day” is available now!! You can see ALL of my Spellbinders Designs by clicking: Marisa Job Designs with Spellbinders® Paper Arts.
Thanks for visiting and have a wonderful week!
Marisa Job
























































































