

Posted by Spellbinders Team
on January 23, 2019

Hello and thank you for stopping by today! This is Mayline and I am honoured to have been invited as Guest Designer for Jane Davenport Making Faces Collection by Spellbinders. It is my second time to create the project for the Jane Davenport Collection. If you haven’t checked my previous project for Artomology Collection by Jane Davenport you can go to the first project, second project, and third project.
Since I have used Jane’s collection I have fallen in love with mixed media. I was mostly creating cards and my preferred card style was clean and simple. I still love creating cards with CAS style and additionally I love creating a colourful mixed media artwork. When I played with Jane Davenport Collection’s products these projects have encouraged me to open new creative world easily and made me feel relief when I was starting something new crafty field that I haven't done before. Even though I don’t have much mixed media artwork experience but I feel comfortable to make projects with Jane’s collection.
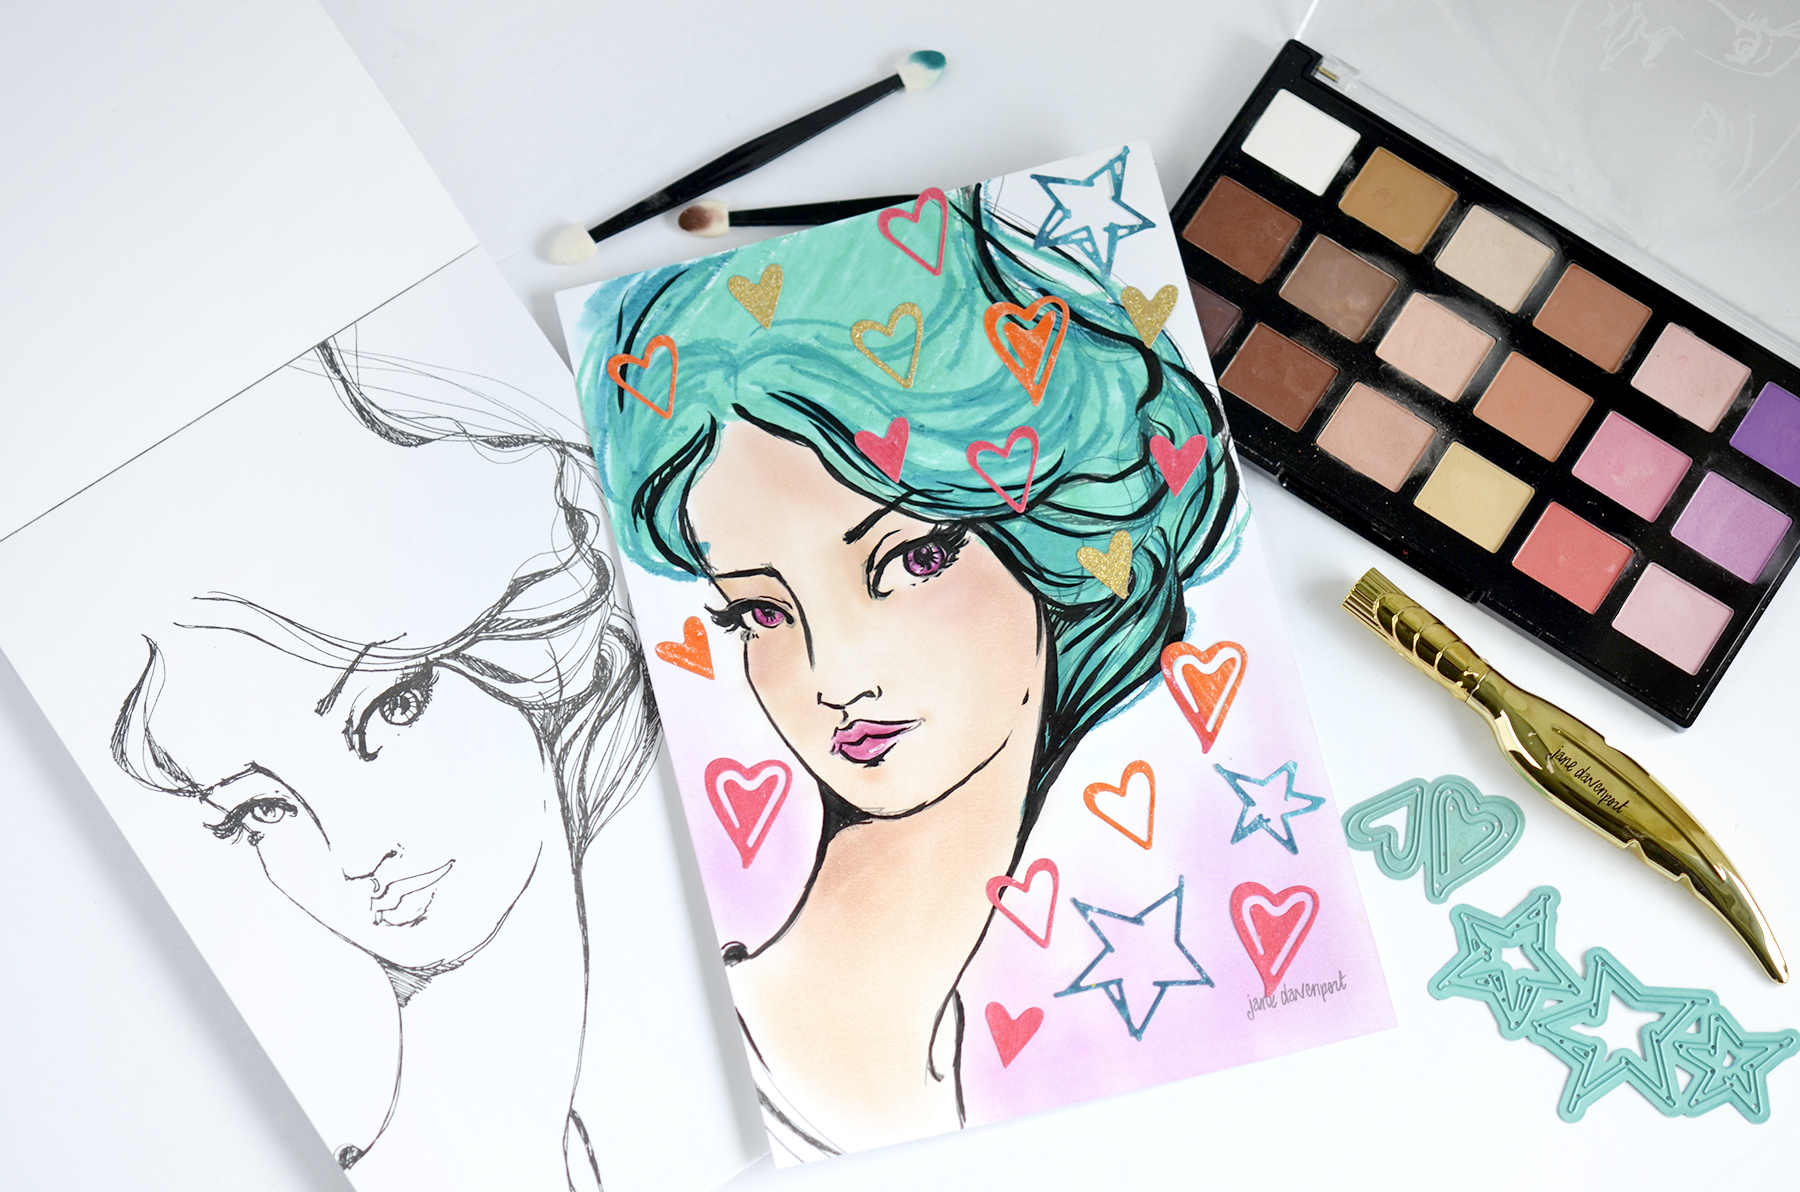
Today I am sharing two creations and two process videos. My process video helps you learn how to use and play with the Making Faces Collections. I hope my today’s projects will help you get inspired.
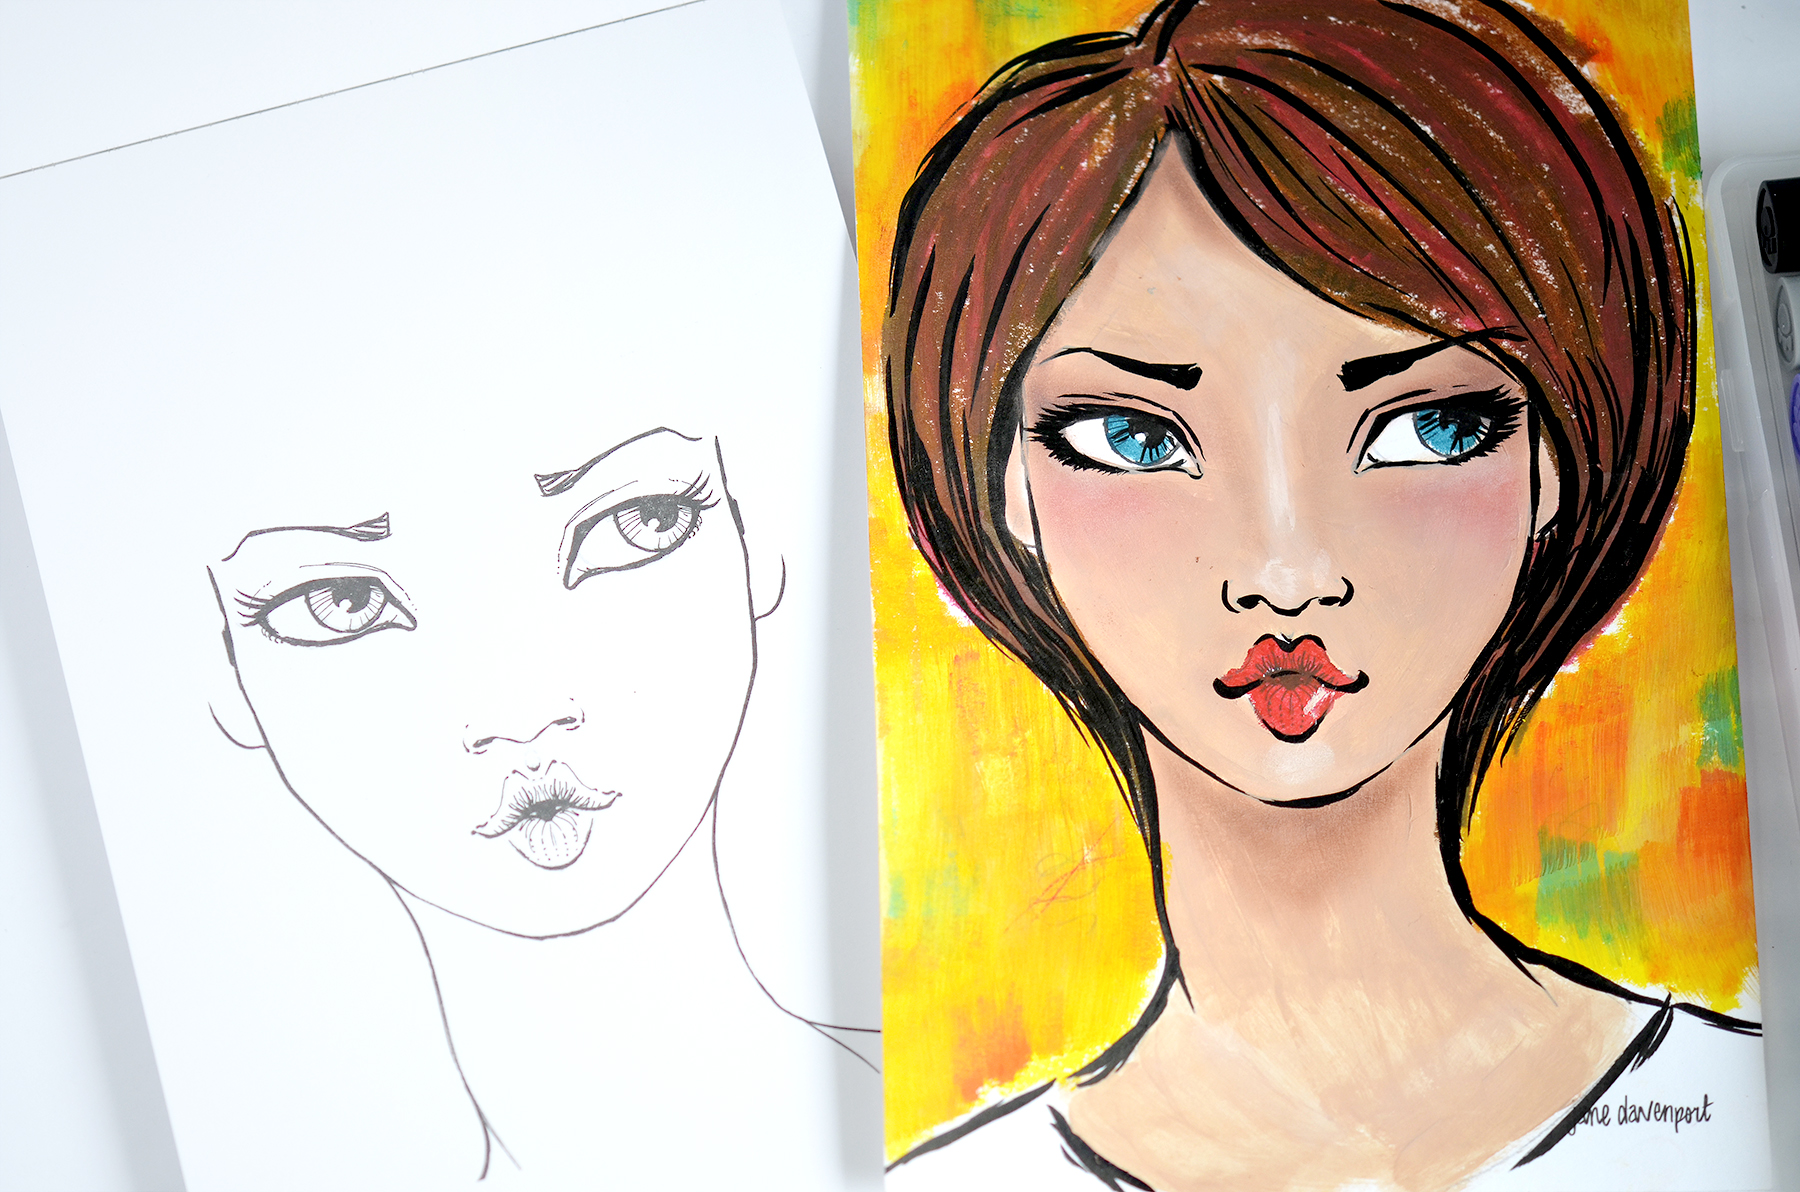
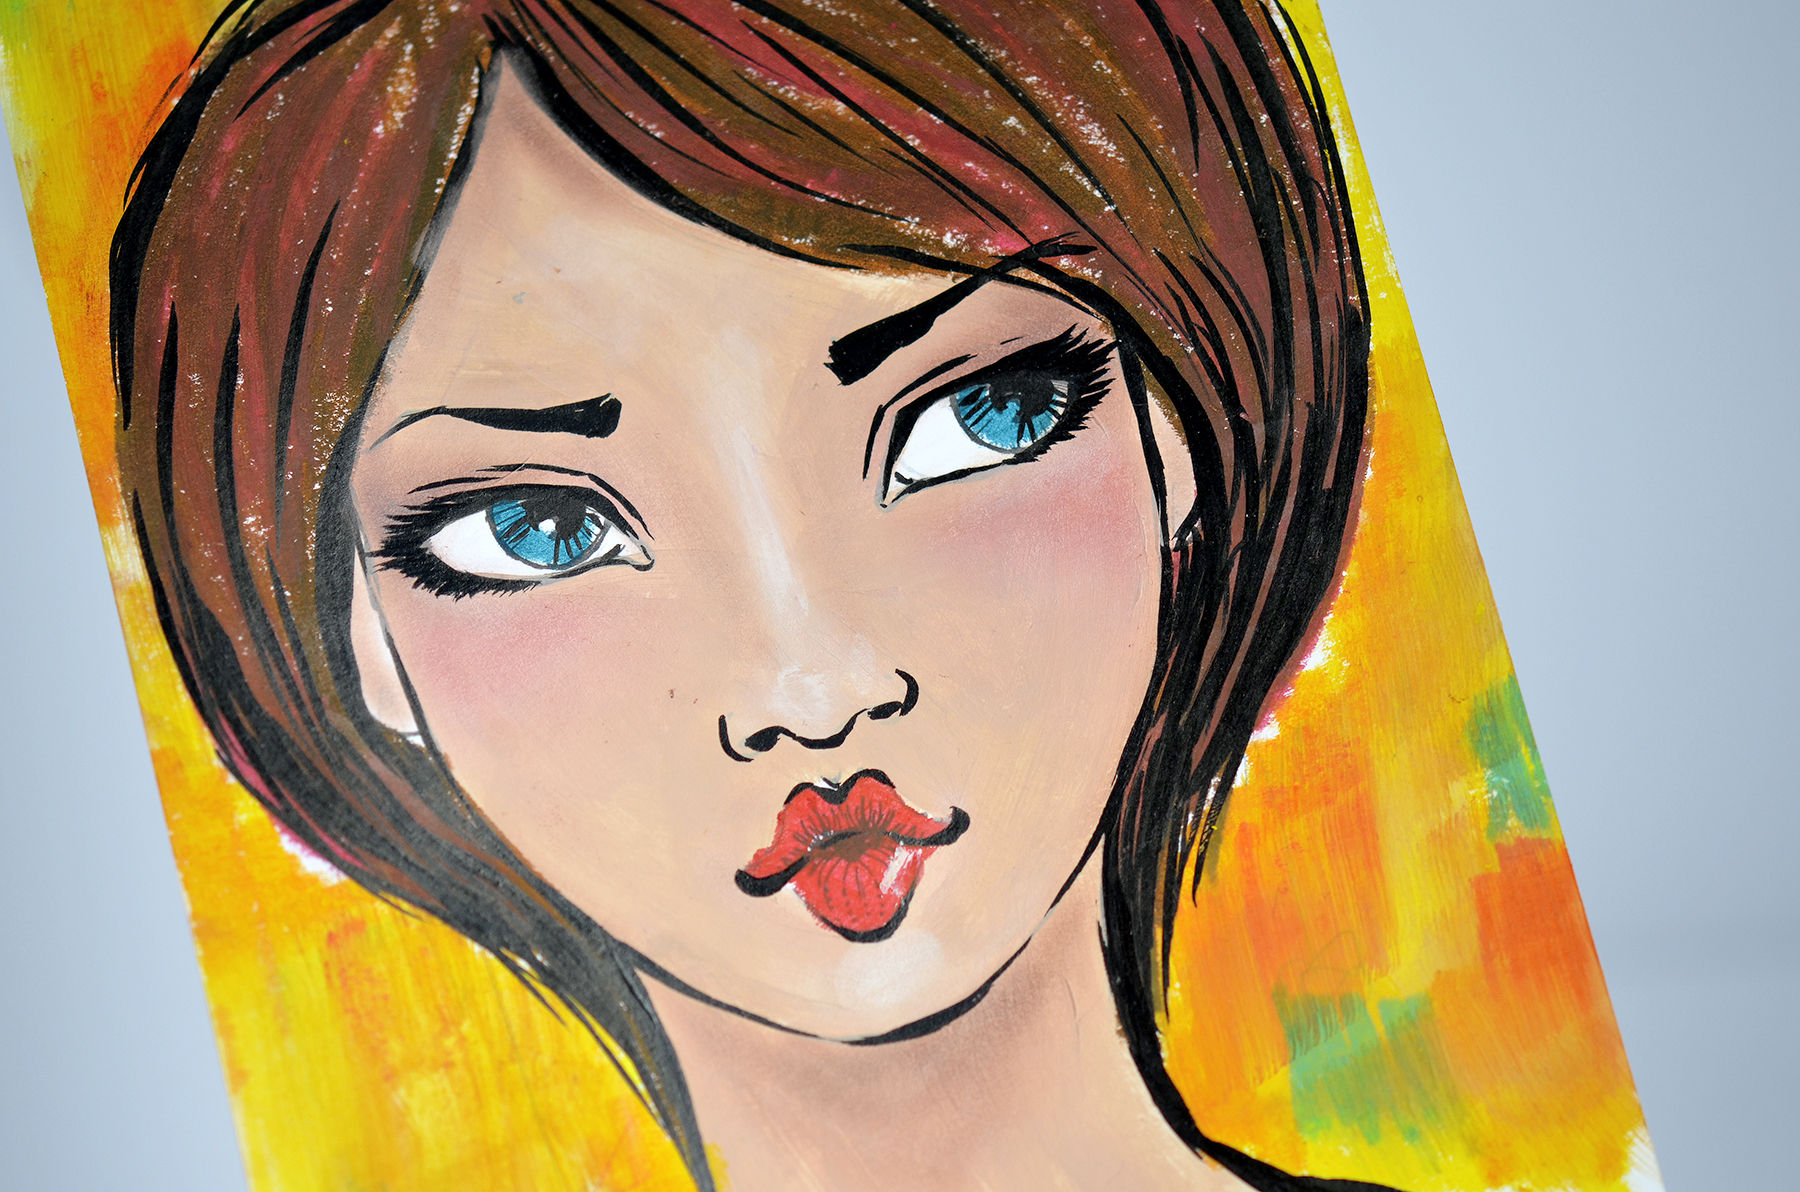
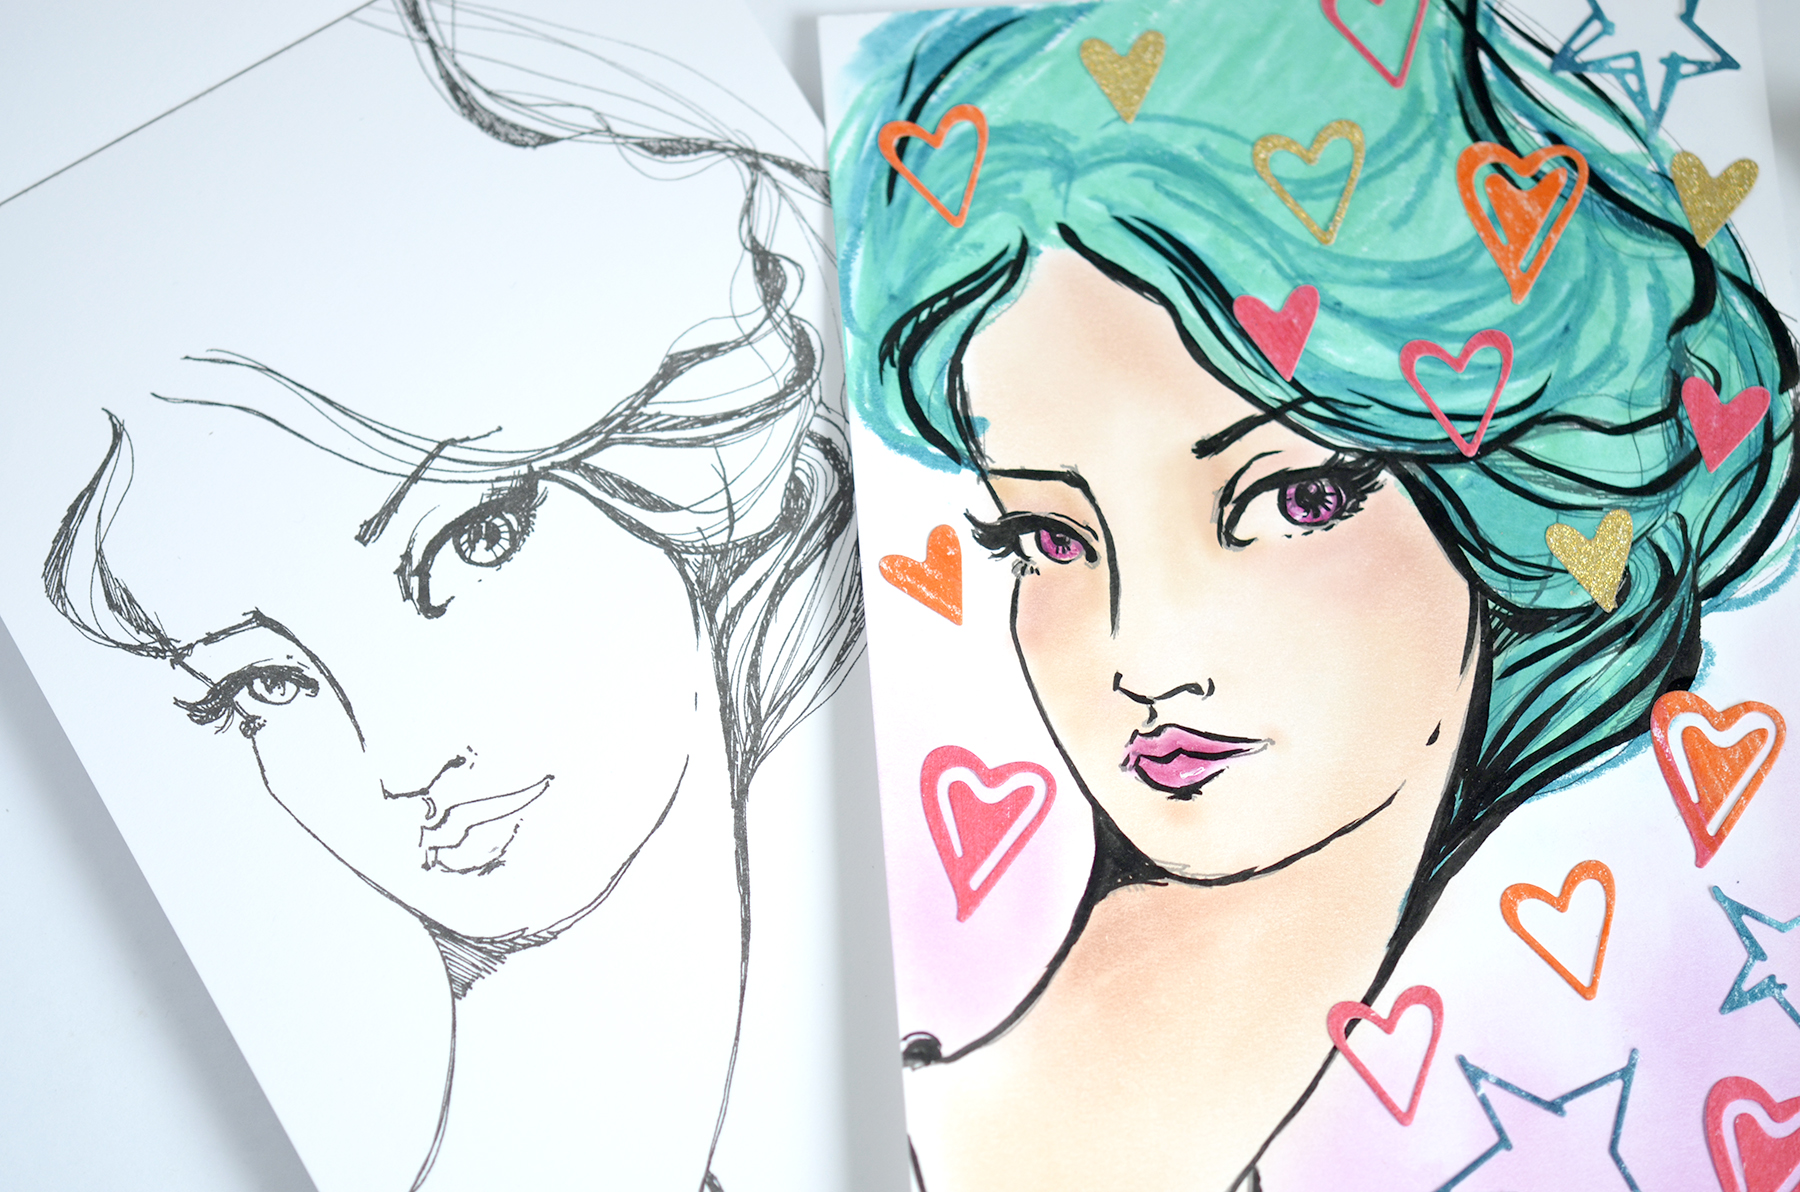
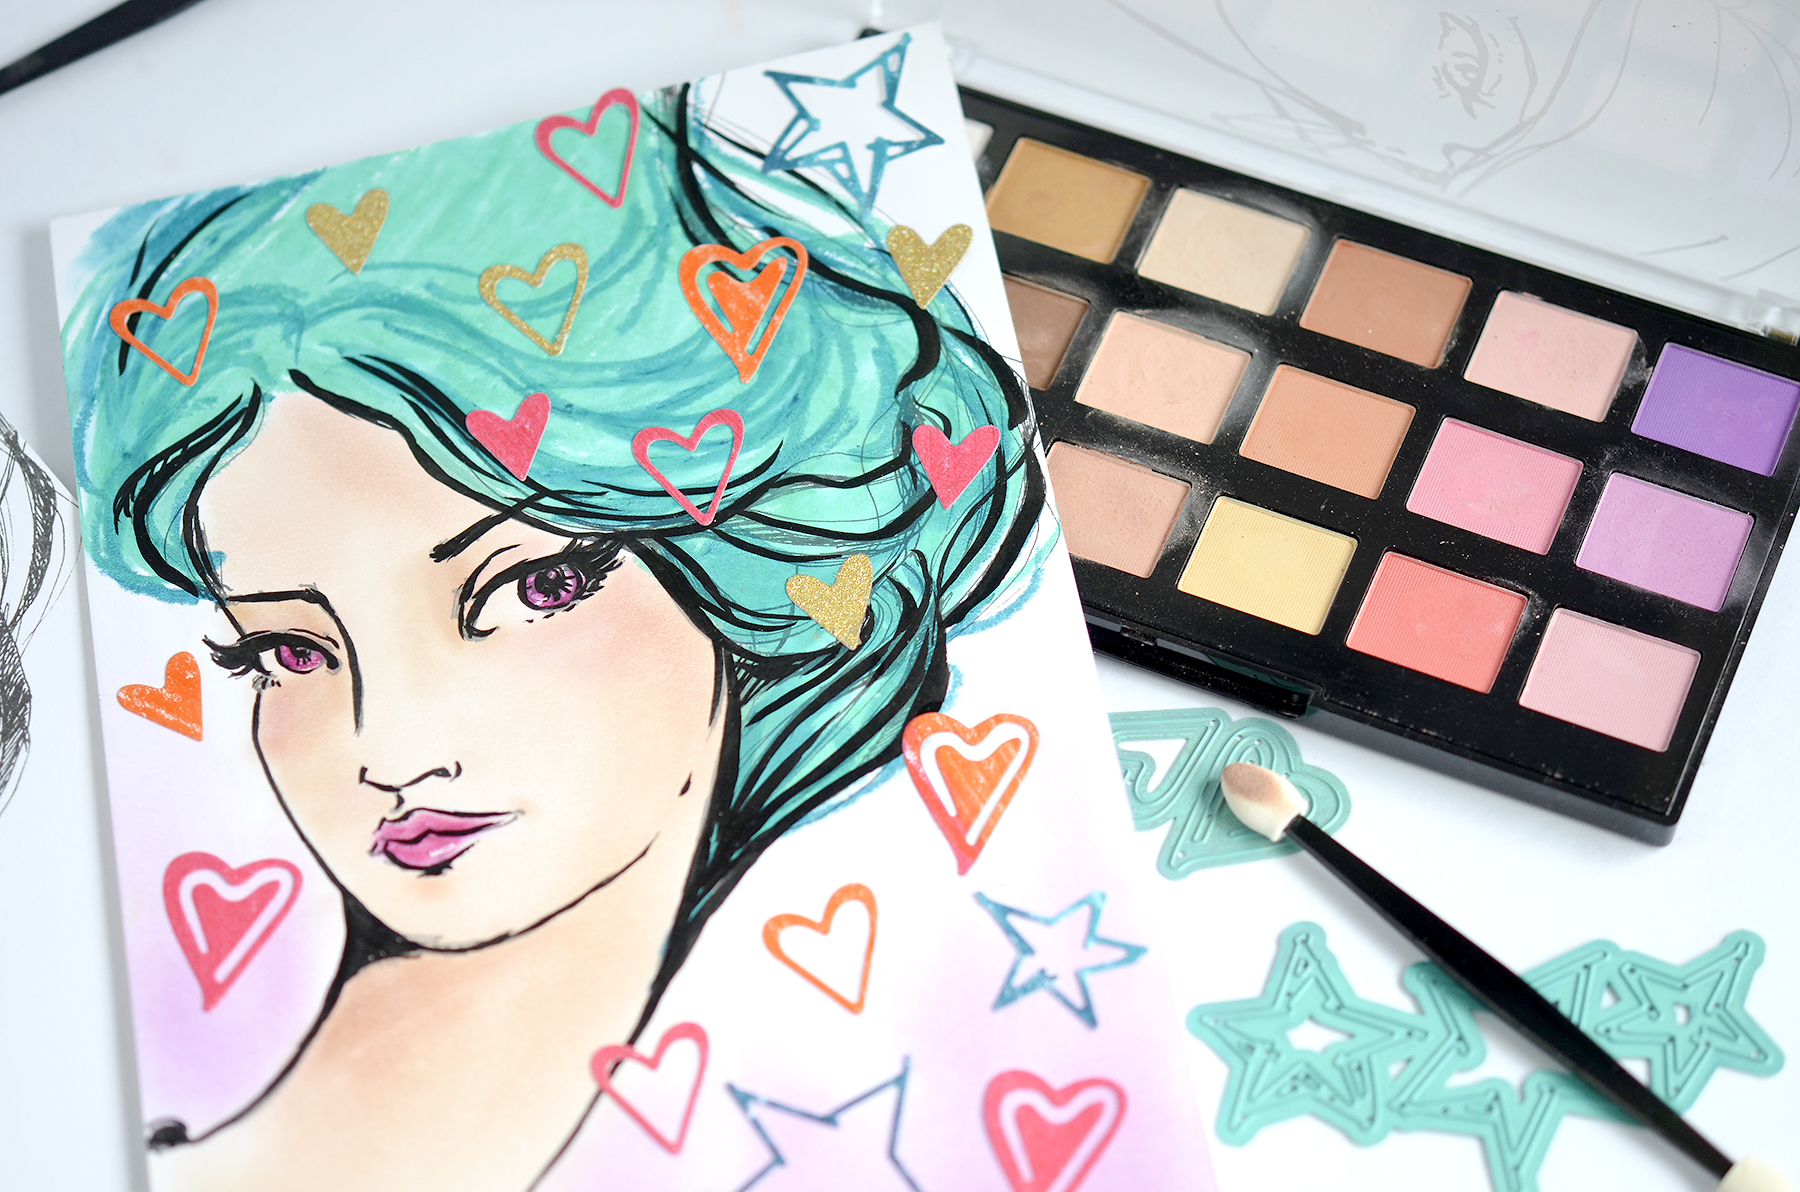
 Here is my first project. I used the I Came, I Saw, I contoured Face Charts that has 6 designs of face drawing. When I was doing this one I felt like a makeup artist. Each step like applying foundation, powder, eye shadow, lipstick… something like that. And the items look like make up. Don’t be afraid to apply the product on the surface because you already have done this before. You know what I mean ;) Just enjoy adding makeup to your girls!
That’s all for today! Thanks Spellbinders for giving me the opportunity to work with Jane Davenport Making Faces Collection.
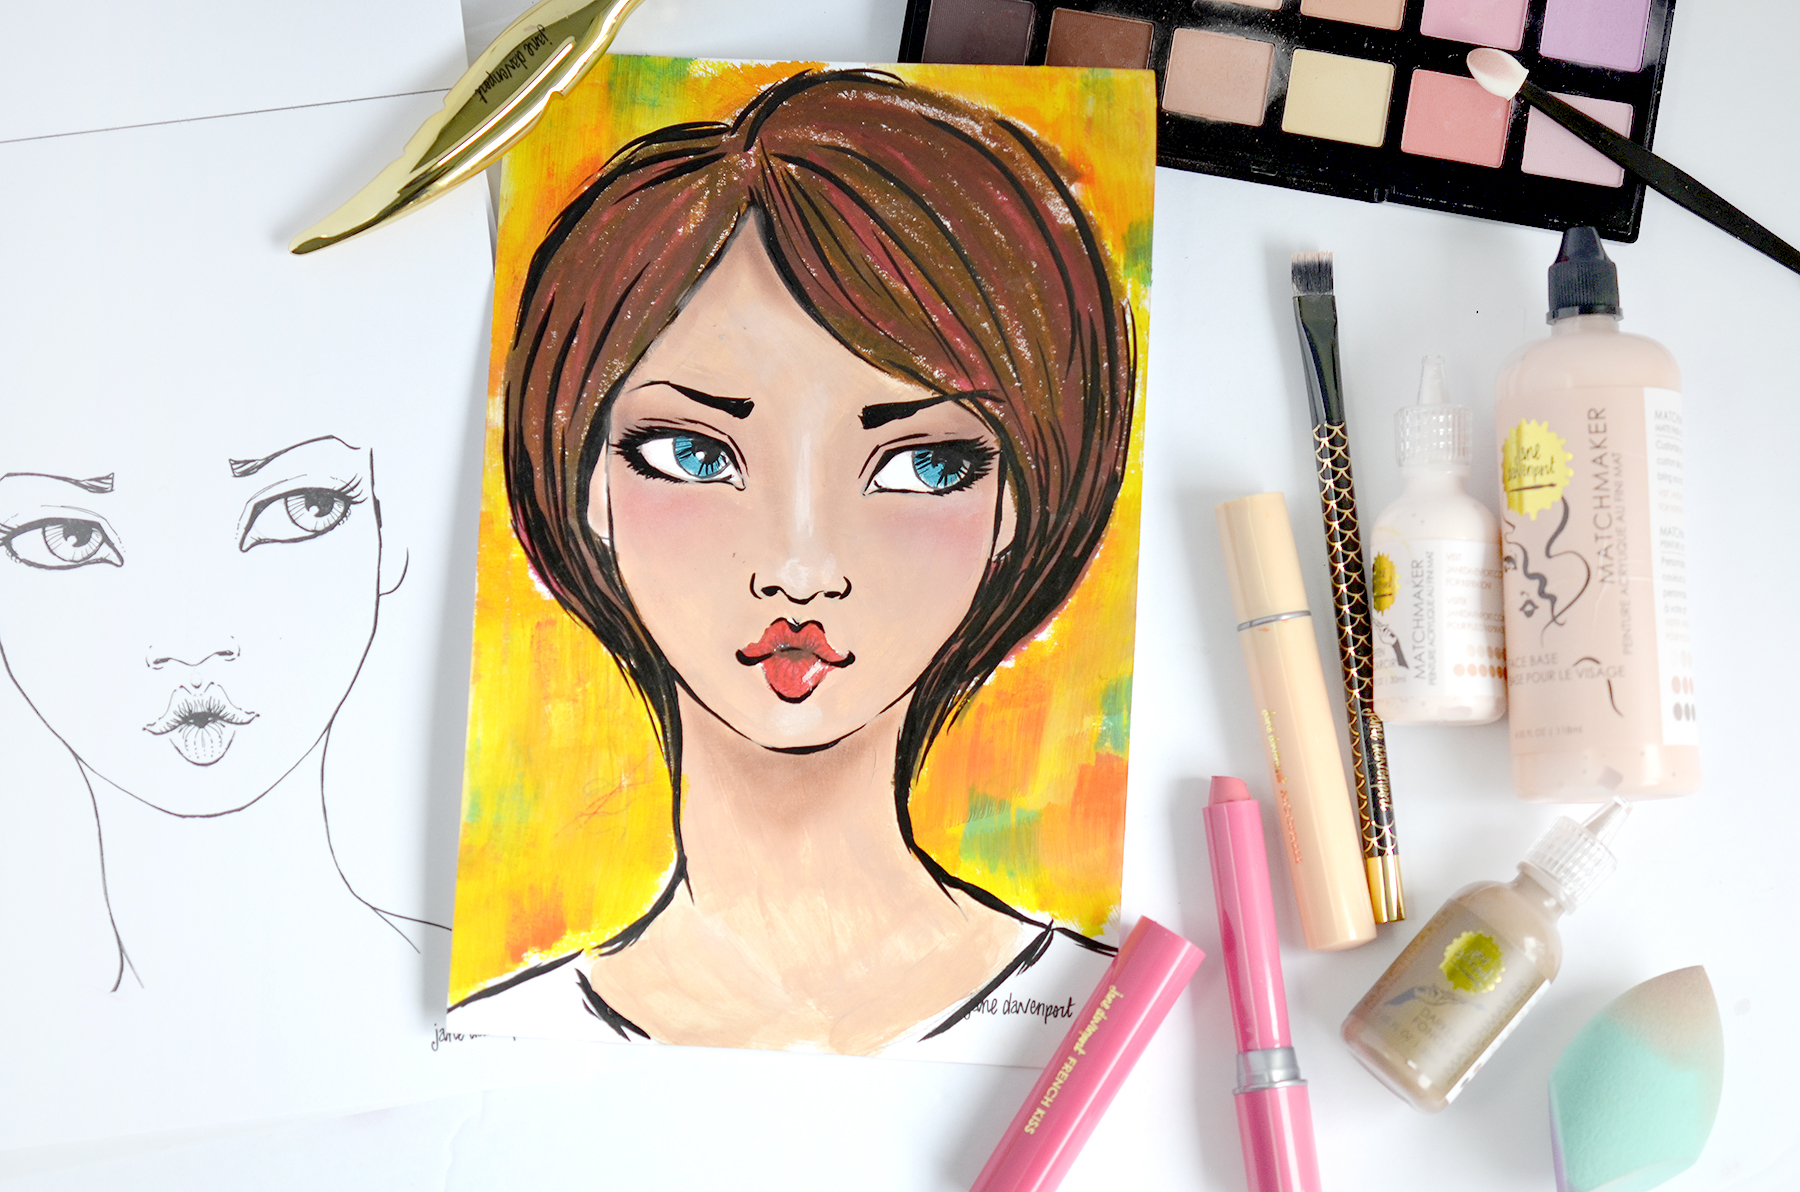 Here is my first project. I used the I Came, I Saw, I contoured Face Charts that has 6 designs of face drawing. When I was doing this one I felt like a makeup artist. Each step like applying foundation, powder, eye shadow, lipstick… something like that. And the items look like make up. Don’t be afraid to apply the product on the surface because you already have done this before. You know what I mean ;) Just enjoy adding makeup to your girls!
Spellbinders Supplies:
























































































