Video Friday | Inking White Die Cuts Ocean Scene Card with Nichol
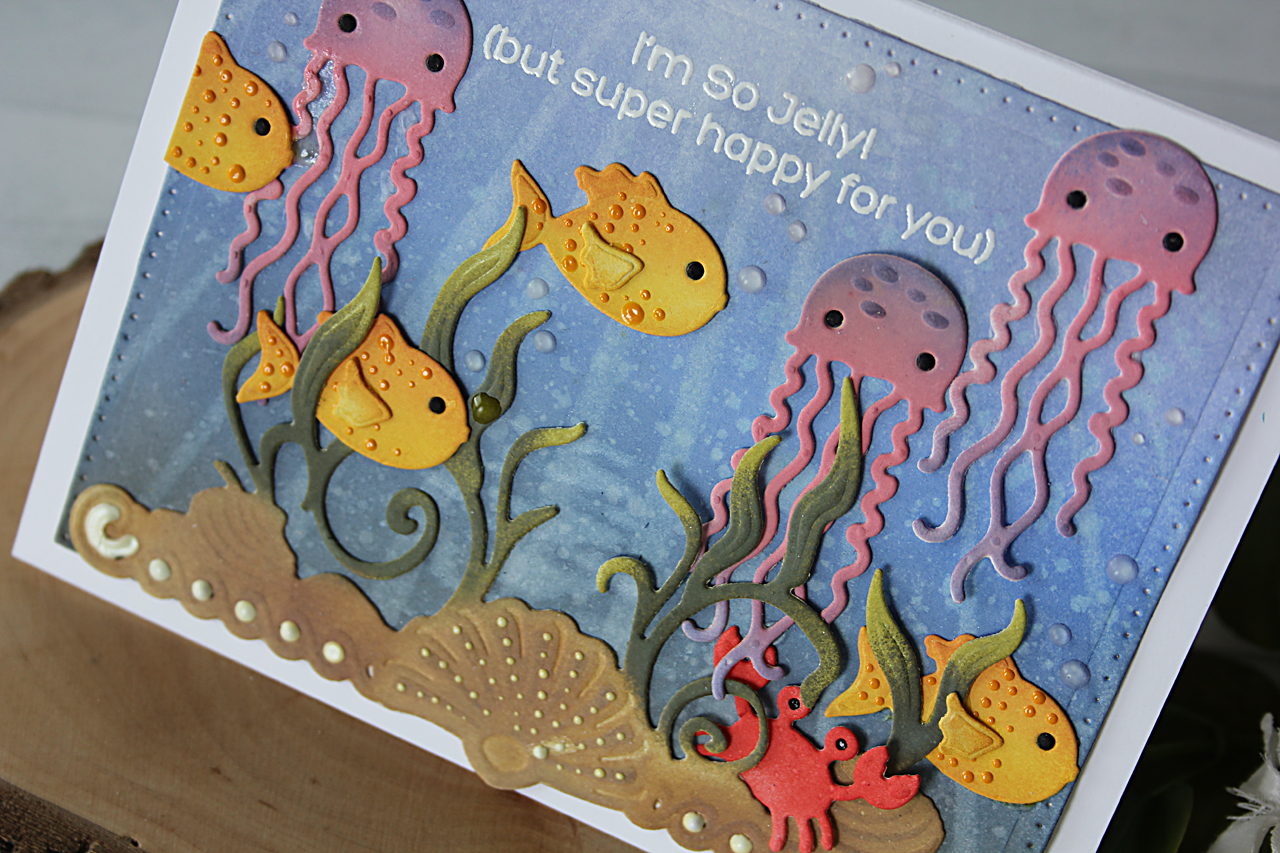
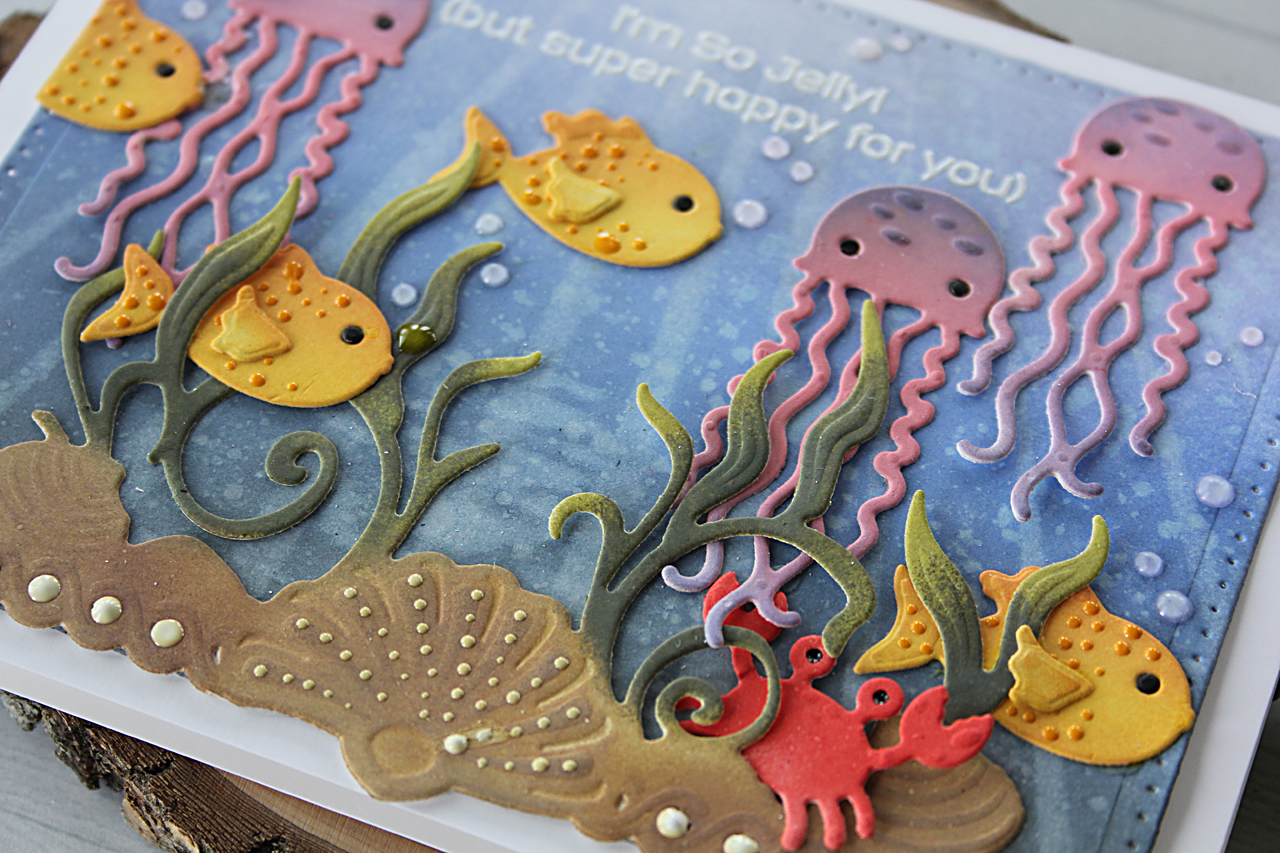
Hello everyone. This is Nichol Spohr and I’m thrilled to be here today with this under the sea scene card featuring inking all white die cuts. Adding color to all white die cuts and a background is one of the easiest ways to customize a design to fit whatever color scheme you want for a card! These Sea Animals and Sea Life Accents are the perfect focal point for the matching inked and stenciled underwater background!
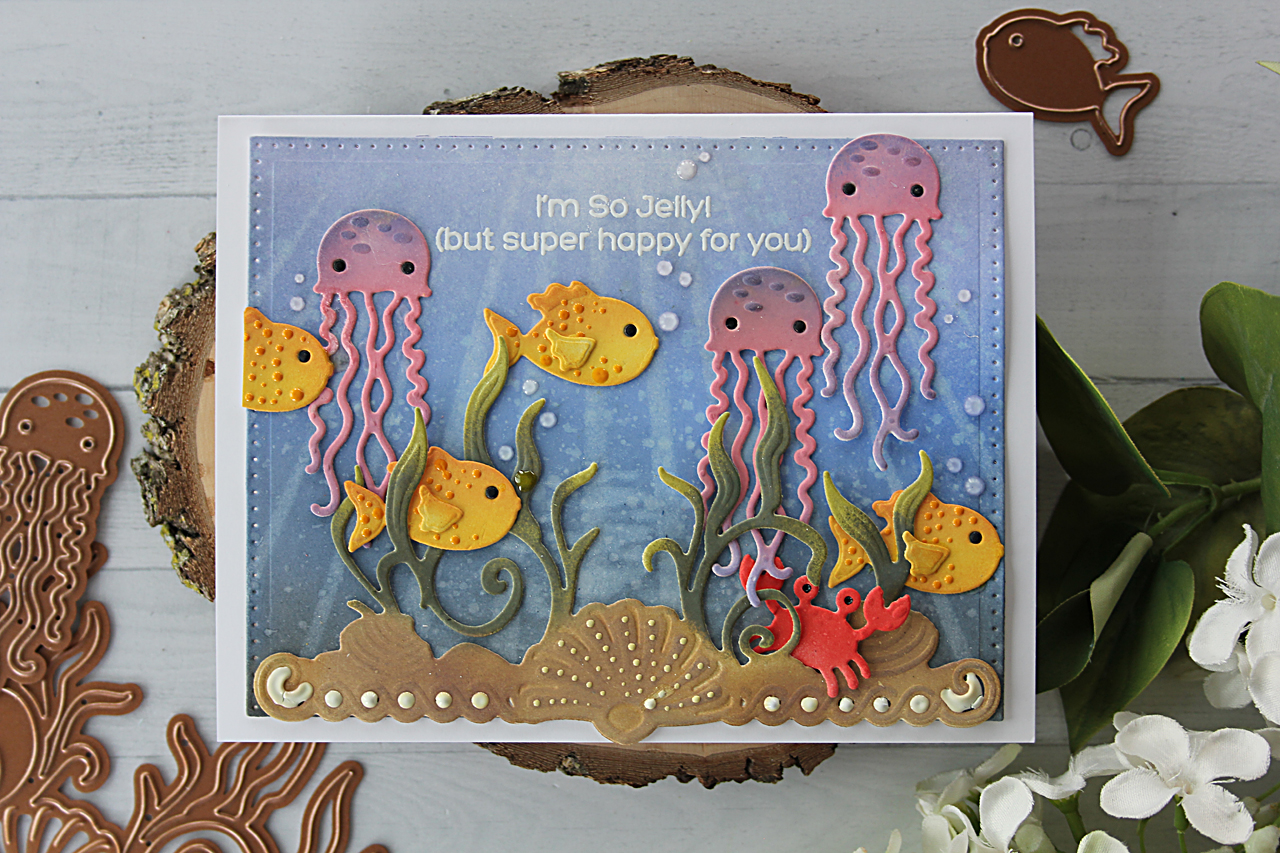
The background of the card was created by die cutting a Scored & Pierced Rectangle Die from Bristol Smooth Cardstock.
Color was added to the rectangle with Shaded Lilac, Blueprint Sketch, and Black Soot Distress Oxide Ink. The background was spritzed with water from a Distress Sprayer and blotted dry. White pigment ink was applied through ocean scene builder stencils to give the illusion of light shining down through the ocean.

Once the background was completely dry, an ocean fun sentiment was stamped and embossed with white embossing ink along the top edge.
A Sea Life Accents border die was die cut from Bristol Smooth cardstock and inked with Gathered Twigs, Peeled Paint, and Forest Moss Distress Oxide Inks. Dauber Duo sponge daubers help with adding the Distress Oxide inks more precisely than a larger applicator. The border was adhered along the bottom edge of the ocean scene background and adorned with Nuvo Crystal Drops in Gloss White.
The fish, jellyfish, and crab from the Die D-Lited Sea Animals Die Collection were die cut from Bristol Smooth Yardstick and inked with Worn Lipstick, Blueprint Sketch, Wild Honey, Spiced Marmalade, and Barn Door Distress Oxide Inks. The images were adhered to the scene as shown. Black cardstick eyes were inlaid in each fish. The fish were adorned with small Nuvo Crystal Drops in English Mustard for the illusion of scales.
The design was finished with Nuvo Crystal Glaze “bubbles”.
VIDEO TUTORIAL
Watch video tutorial below or on Youtube to learn how to make this project:
Bristol Smooth Cardstock; Lawn Fawn Black Licorice Cardstock; MFT Stamps Ocean Fun Stamp Set; Honey Bee Stamps Ocean Scene Builder Stencils; Simon Says Stamp White Pigment Ink, Clear Embossing Ink; Ranger Distress Oxide Ink in Worn Lipstick, Candied Apple, Spiced Marmalade, Wild Honey, Peeled Paint, Forest Moss, Shaded Lilac, Blueprint Sketch, Gathered Twigs, and Black Soot; Lawn Fawn White Embossing Powder; Sakura black gel pen; Tonic Nuvo Crystal Drops in Simply White and English Mustard; Nuvo Crystal Glaze; Tim Holtz Distress Sprayer; Tsukineko Sponge Daubers
I hope this has inspired you to try inking up all white die cuts. Thank you so much for joining me today and I look forward to sharing more die cutting ideas with you soon!
Share this article
2 comments
I love how you’ve done this wonderful undersea card! Thanks so much for sharing the techniques, and all of the products that you used to make this so professional. Now I will have to buy everything so that I can make some thing similar! Your tutorial is so appreciated!
This card is super adorable. So well done. Now I want this stamp and die set. Love the card and the way you did it.
Mistakes happen to every cardmaker, from beginners to experienced crafters. This comprehensive guide shares practical solutions for fixing common cardmaking mistakes, including stamping, die cutting, foiling, BetterPress, ink blending, stenciling, coloring, heat embossing, and more, so you can confidently rescue your handmade cards instead of starting over.
Hello, cardmaking friends! It’s Mona Tóth here, and I’m so happy to be back on the Spellbinders blog. Today, I’m sharing a Christmas step-by-step card tutorial featuring the Polar Friends Stamp and Die Set by Simon Hurley. This card was inspired by the Christmas advertisements I remember seeing on television when I was a child in the 1990s. They often featured polar bears surrounded by...
Hello, crafty friend! I’m Adrienne Boese, better known online as Alice Scraps Wonderland. I love a good interactive scrapbook page! It can be something as simple as a pocket or something more intricate like a waterfall mechanism or flips. Today, we are going to focus on one of those simple techniques - a pocket! It’s the perfect technique to dip your toes into the interactive...
2 comments
I love how you’ve done this wonderful undersea card! Thanks so much for sharing the techniques, and all of the products that you used to make this so professional. Now I will have to buy everything so that I can make some thing similar! Your tutorial is so appreciated!
This card is super adorable. So well done. Now I want this stamp and die set. Love the card and the way you did it.