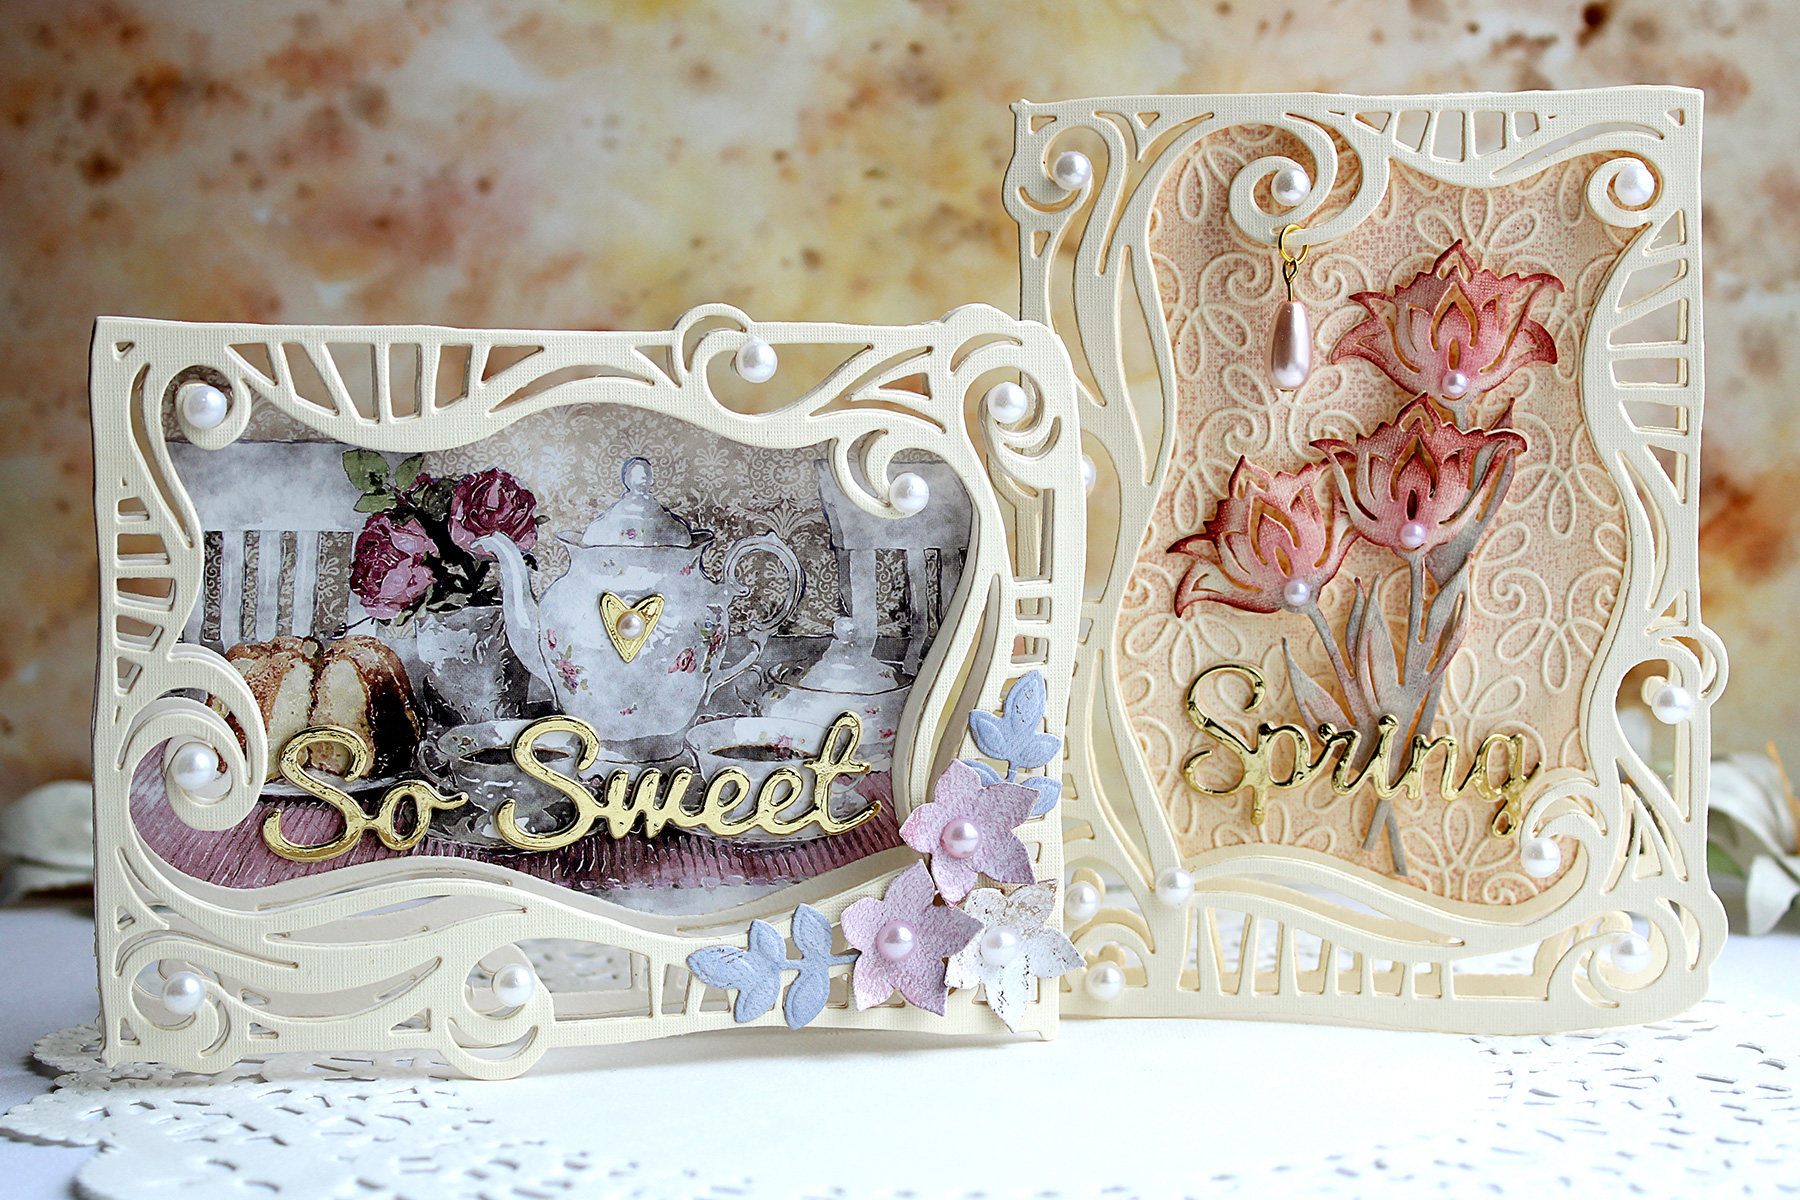
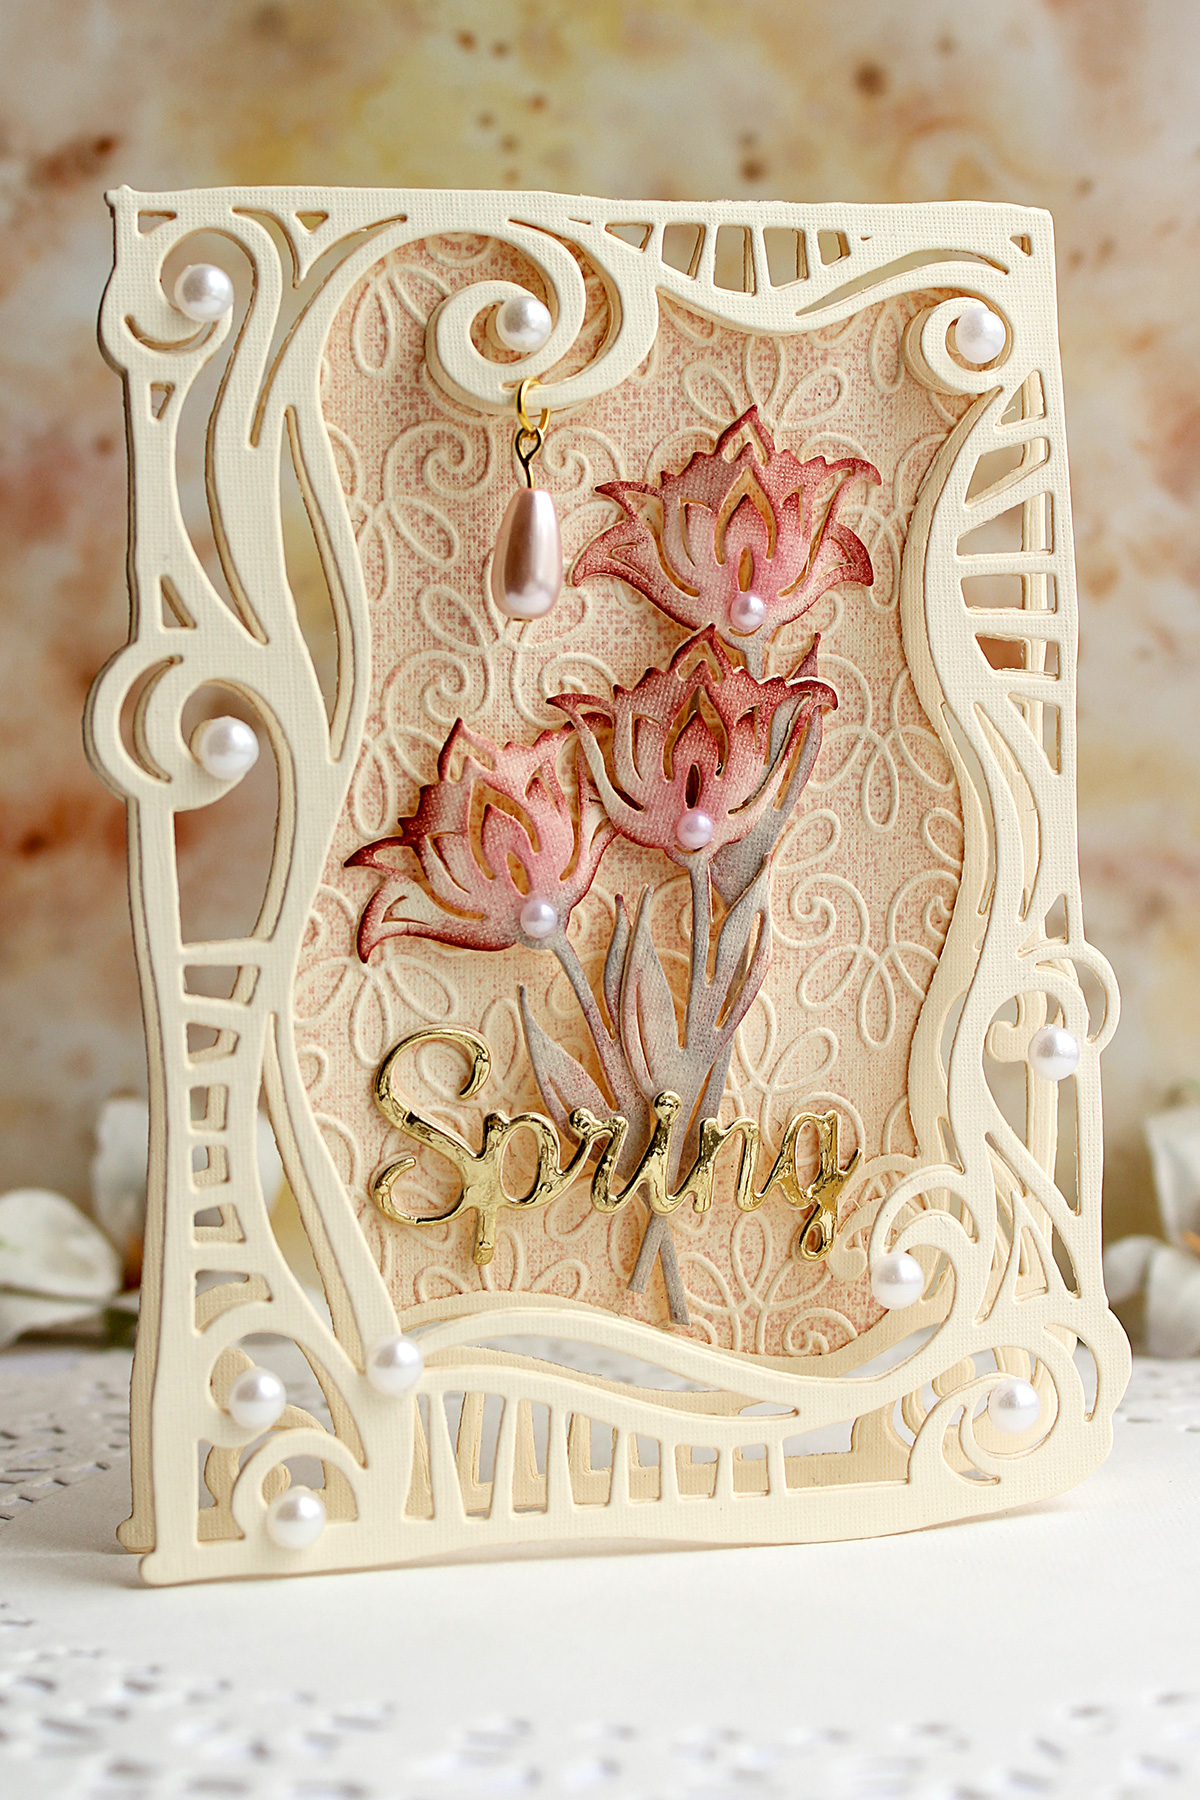
The first card I've made is portrait oriented. I created a shaped frame card base first and then added an embossed insert. For the focal image I have used a tulip die that is also a part of the

Swirl Frame set
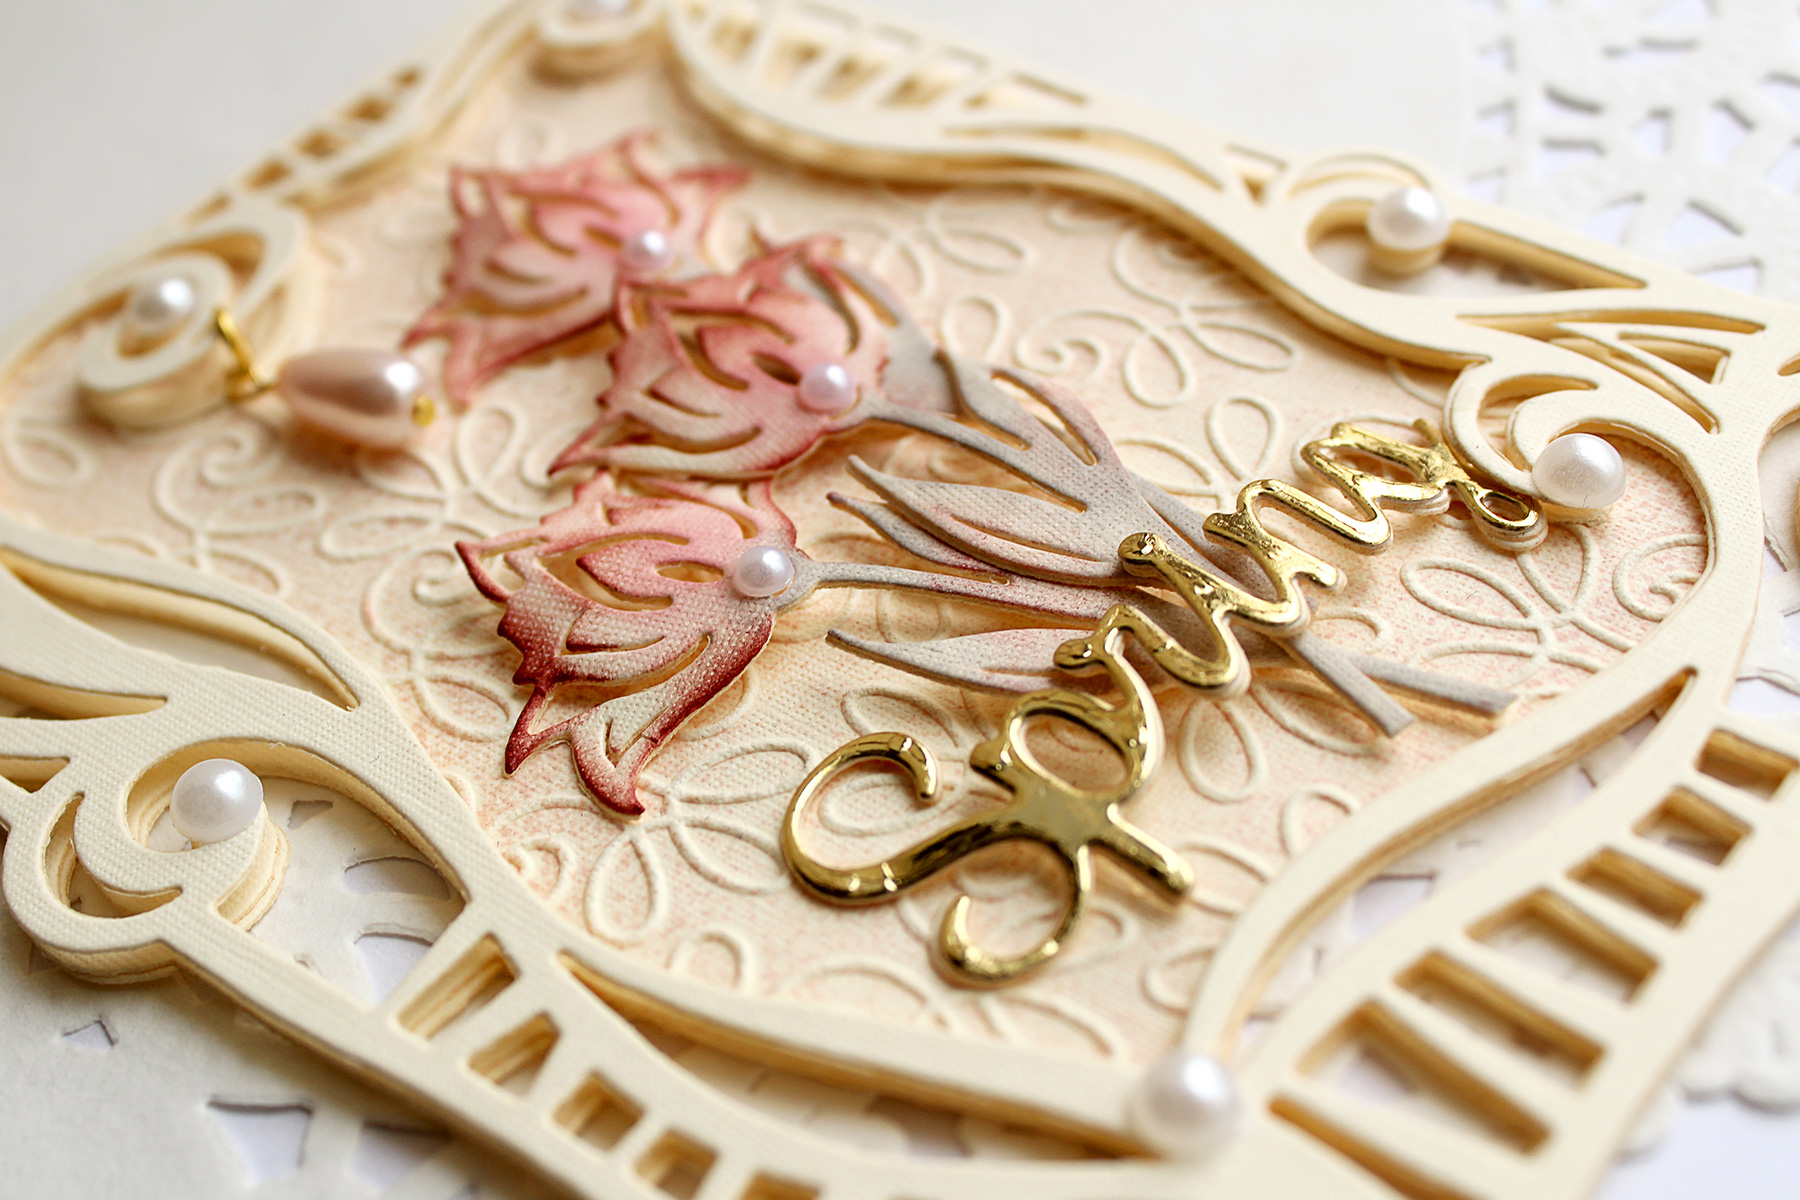
. The die cuts are colored with Distress Inks and the gold foiled sentiment is attached right on top of the flower arrangement:
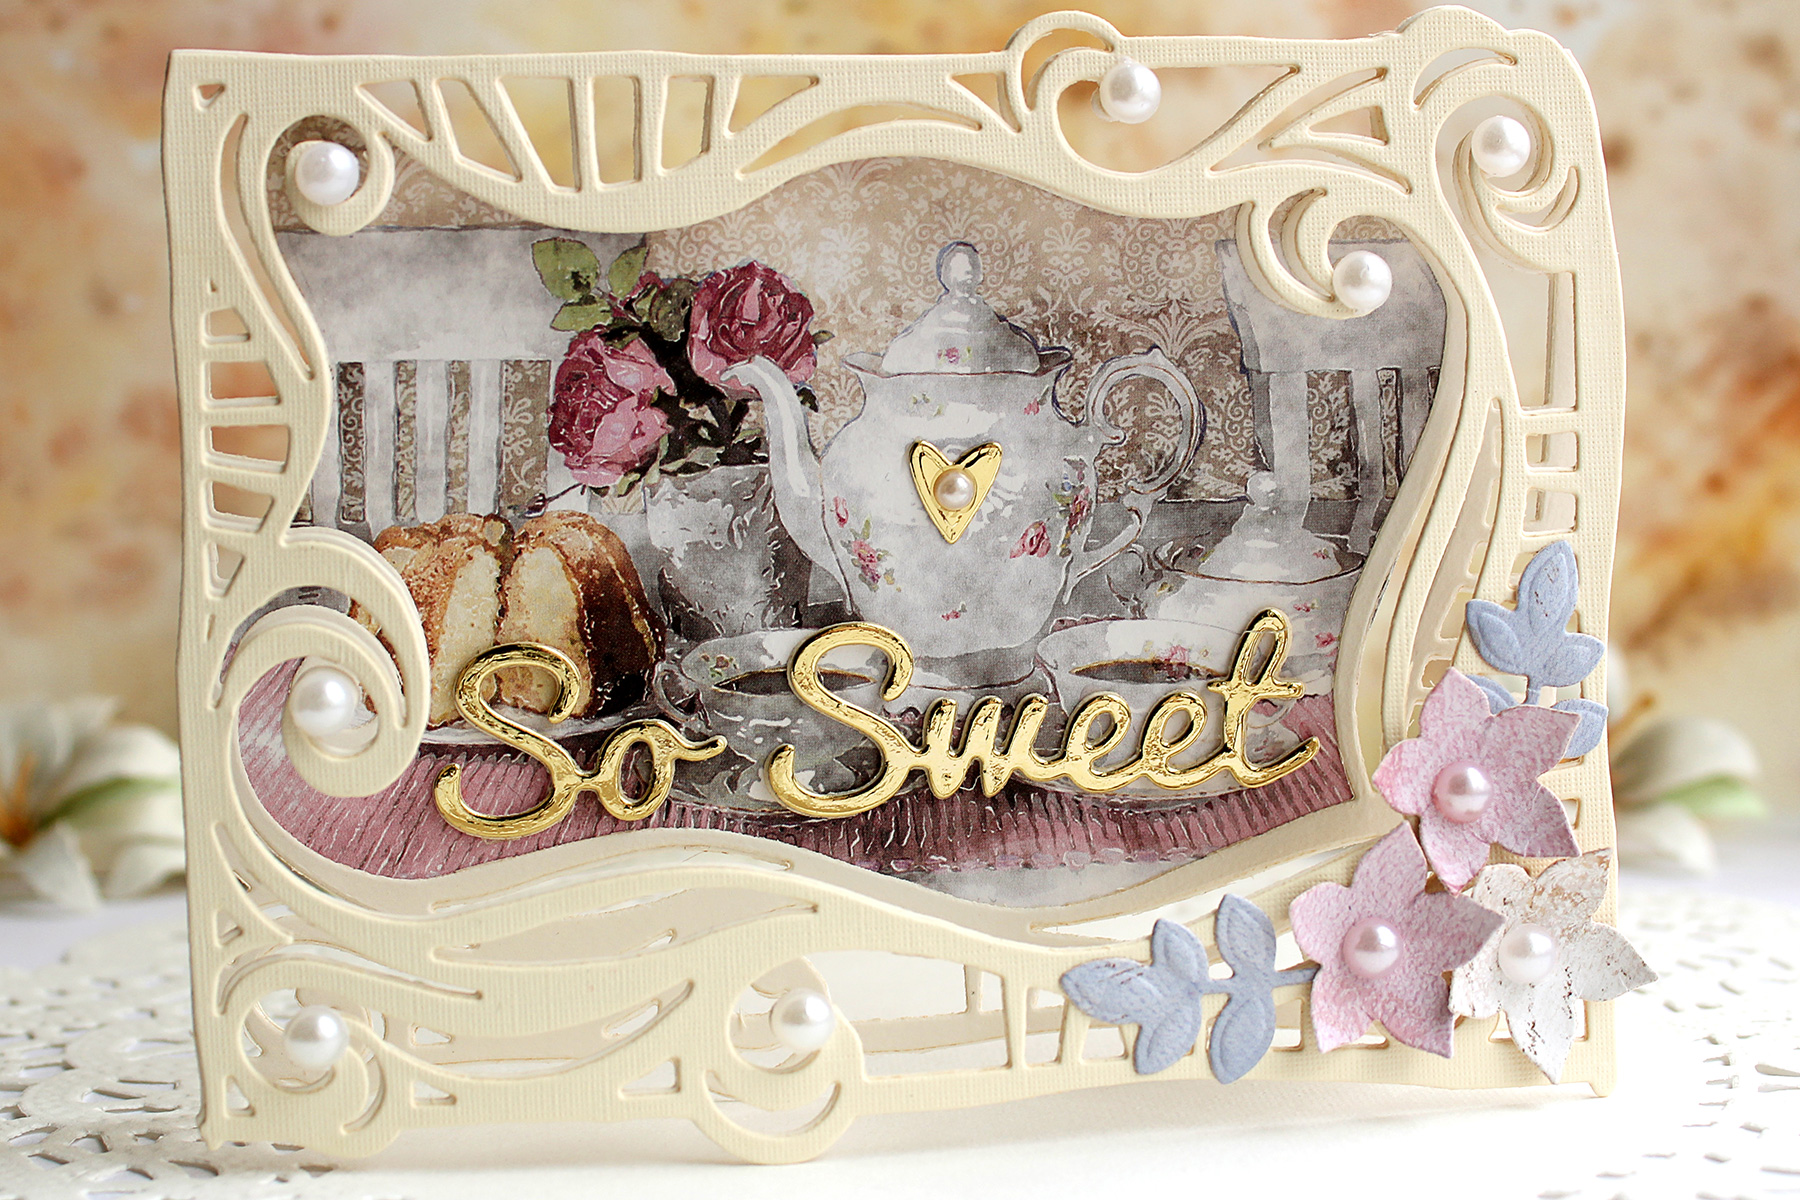
The second card is landscape oriented and this time I have used a little still life from a patterned paper sheet to create an insert. You will find the instructions on how to do it in the video below - it is also a great way to incorporate a photograph into your card!
To finish off the first card I have attached a large half pearl to the end of each swirl on a frame and some smaller pearls to each tulip. I have also added a hanging tear drop pearl to the protruding swirl at the top of the frame.
I have used a golden sentiment for the still life card as well - just stuck it down onto the patterned paper. This time I have also added some flowers and leaves at the corner of the frame - they are cut out of the same patterned paper sheet to match the rest of the card. Then again I've added some pearls as finishing touches.
You will find the full step by step instructions on how to make both cards in the video tutorial below. Please feel free to ask any questions - I am always happy to answer them!
VIDEO TUTORIAL
Watch the video tutorial for the step by step guide on how to make this project. Watch below or on
Youtube
:
Thank you so much for visiting today, I hope you enjoyed the tutorial and got inspired! Have a fabulous crafty weekend!
Patterned paper sheet by Maja Design - Coffee in the Arbour, Distress Inks (Tattered Rose, Victorian Velvet, Aged Mahogany, Hickory Smoke), pearl embellishments.
Share this article
1 comment
Both cards are beautiful! Thanks for the inspiration of cutting the shape of the card with the die, I love the details on the flowers and the tea pot. Awesome job! TFS
Create a colorful Christmas card while learning how to apply multiple ink colors to BetterPress registration plates. In this detailed tutorial, you’ll use the Festive Evergreens Registration Press + Foil Plate & Die Set to press a holiday doorway scene in three colors, combining the built-in registration system with a simple masking technique. The registration template positions the coordinating plates so each layer aligns with...
Combine hot foiling, alcohol-marker coloring, ink blending, and dimensional shaping to create a colorful butterfly card that sparkles from every angle. In this step-by-step tutorial, you’ll learn how to foil detailed butterflies and a floral background with the Glimmer II Hot Foil System, add bold color, and shape the butterfly wings for a realistic raised effect. The Bright Butterflies and Thanks In Bloom Press +...
BetterPress plates can do more than create letterpress impressions and hot-foiled designs. In this detailed Christmas card tutorial, you’ll learn how to apply clear sticky ink to a BetterPress plate and use white embossing powder to produce a crisp, heat-embossed snowflake background. The tutorial also covers pressing and die cutting a sentiment, assembling three detailed snowmen, and arranging the finished elements on an A2 card....
1 comment
Both cards are beautiful! Thanks for the inspiration of cutting the shape of the card with the die, I love the details on the flowers and the tea pot. Awesome job! TFS