Video Friday | Wine O'Clock with Olga
on April 27, 2018

Video Friday | Wine O'Clock with Olga

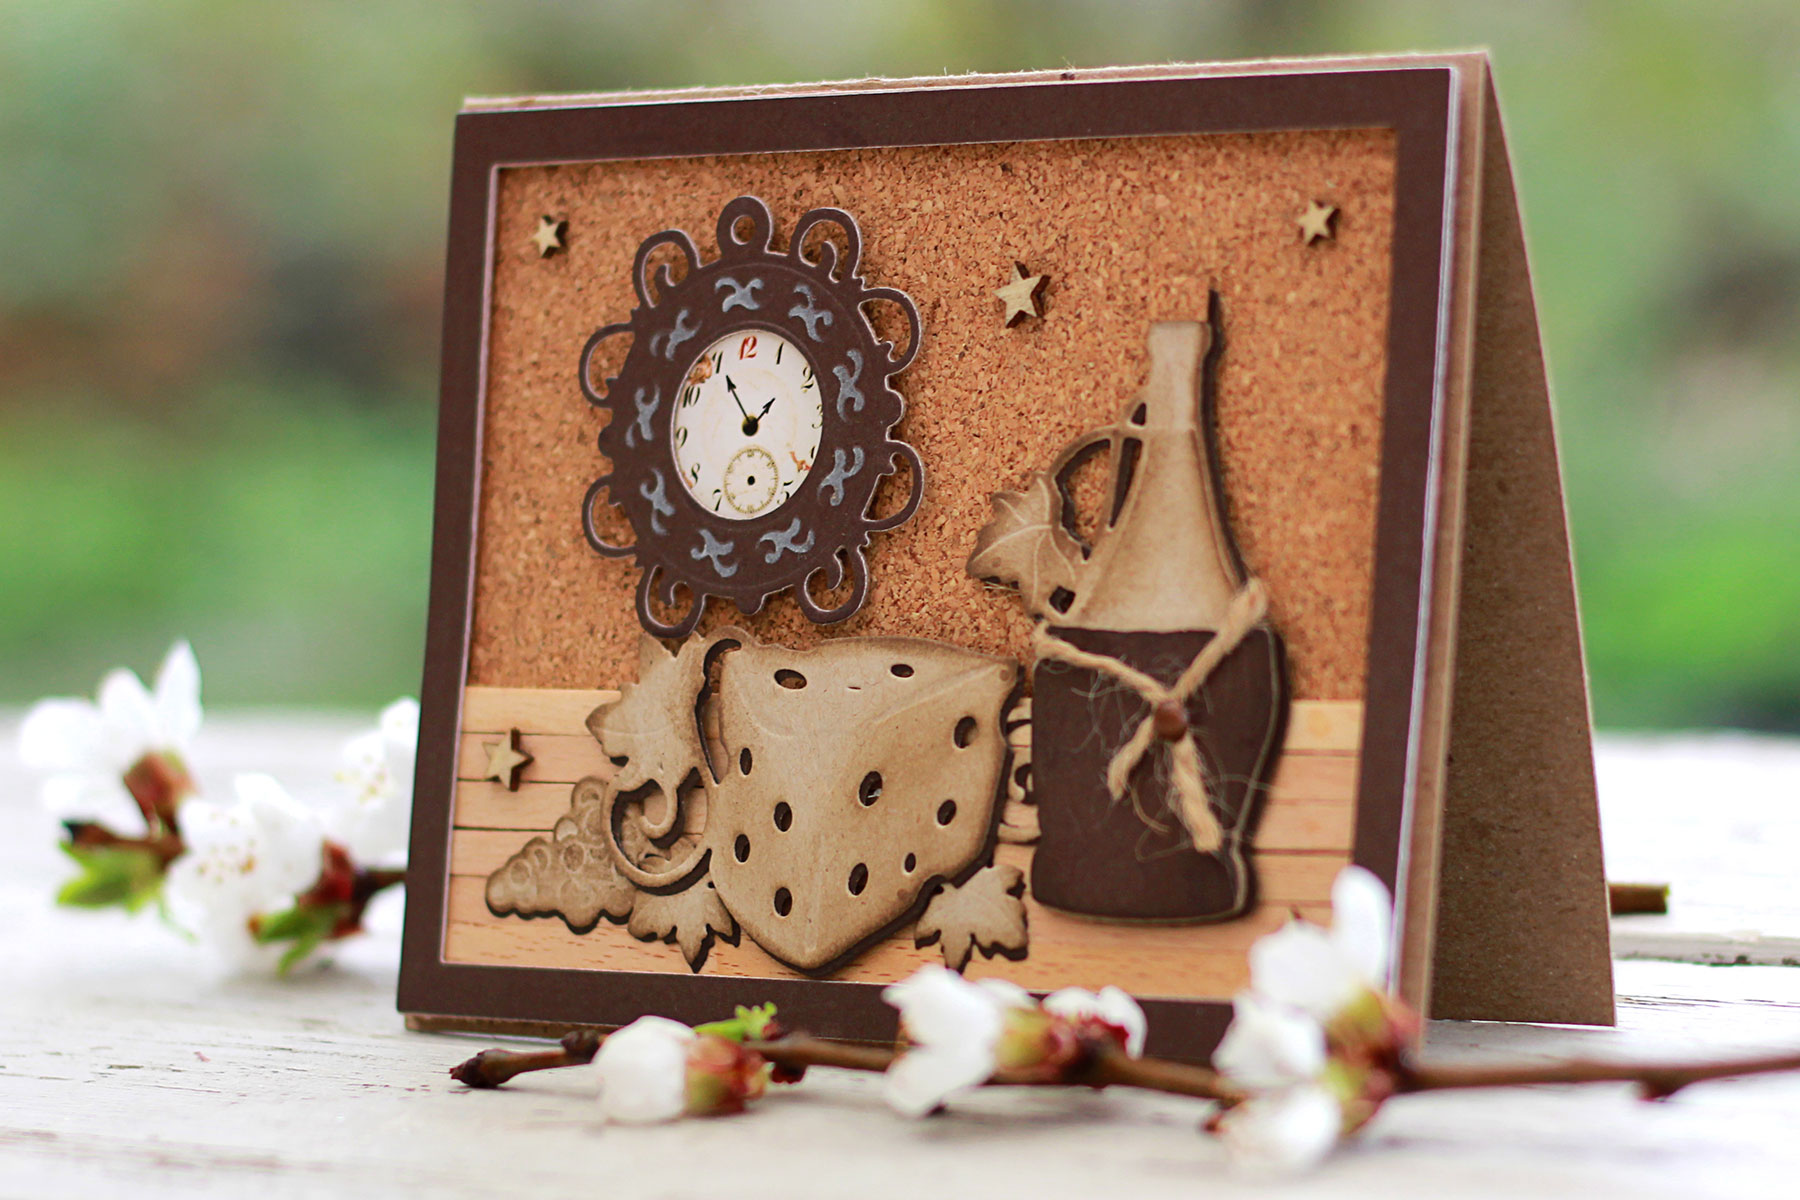
Hello crafters, I hope you are having a wonderful day! The card I am presenting today features a little still life in earthy tones. To create it I have used some dies from Wine Country collection designed by Stacey Caron .
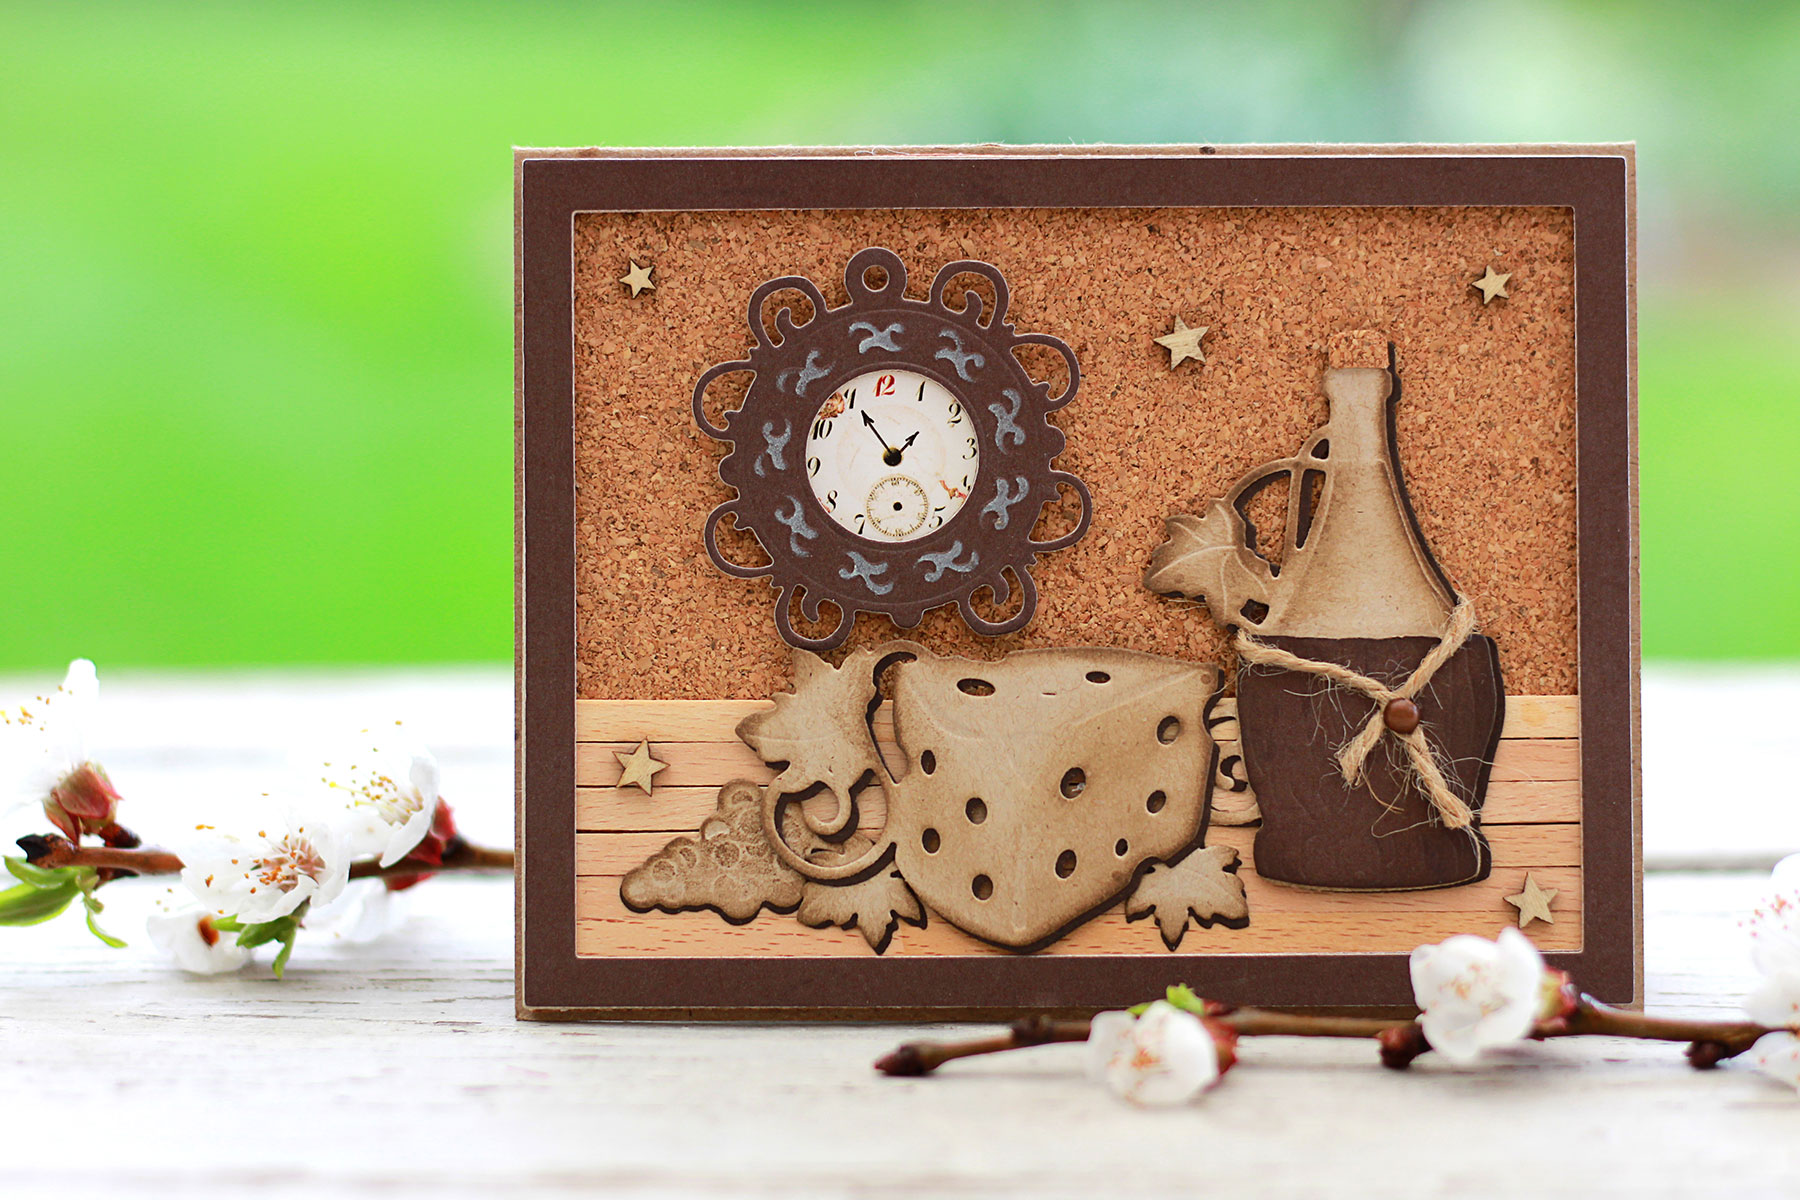
Video Friday | Wine O'Clock with Olga for Spellbinders using: S5-347 Wine Charms, S4-878 Frame Charms, SDS-135 Barrel of Sentiments #spellbinders #diecutting #handmadecard #winecountry #neverstopmaking

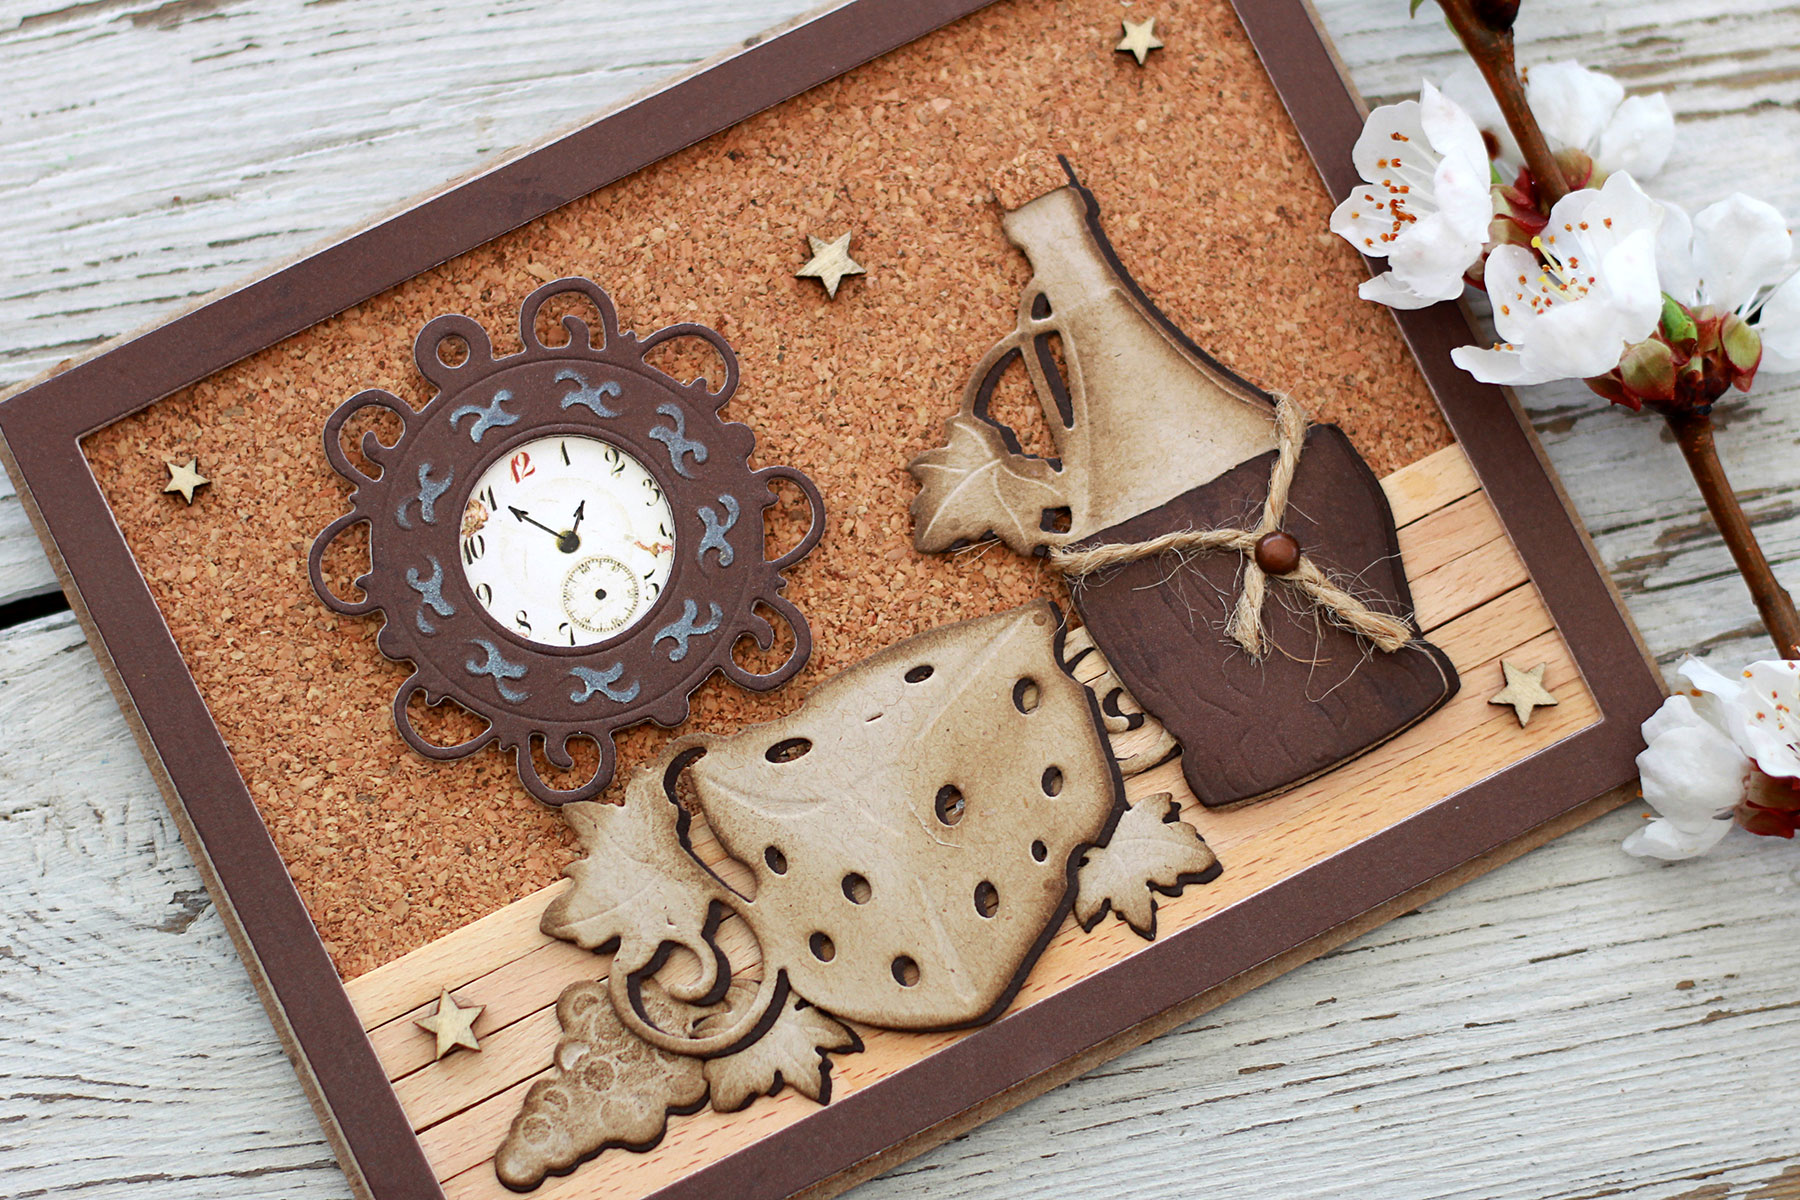
There is not much going on in this card in terms of colors. That is why I had to add a lot of dimension and introduce some fun materials to create texture, contrast and depth. There is also some meaning hidden in materials - isn't cork making you think of wine? :)

Video Friday | Wine O'Clock with Olga for Spellbinders using: S5-347 Wine Charms, S4-878 Frame Charms, SDS-135 Barrel of Sentiments #spellbinders #diecutting #handmadecard #winecountry #neverstopmaking

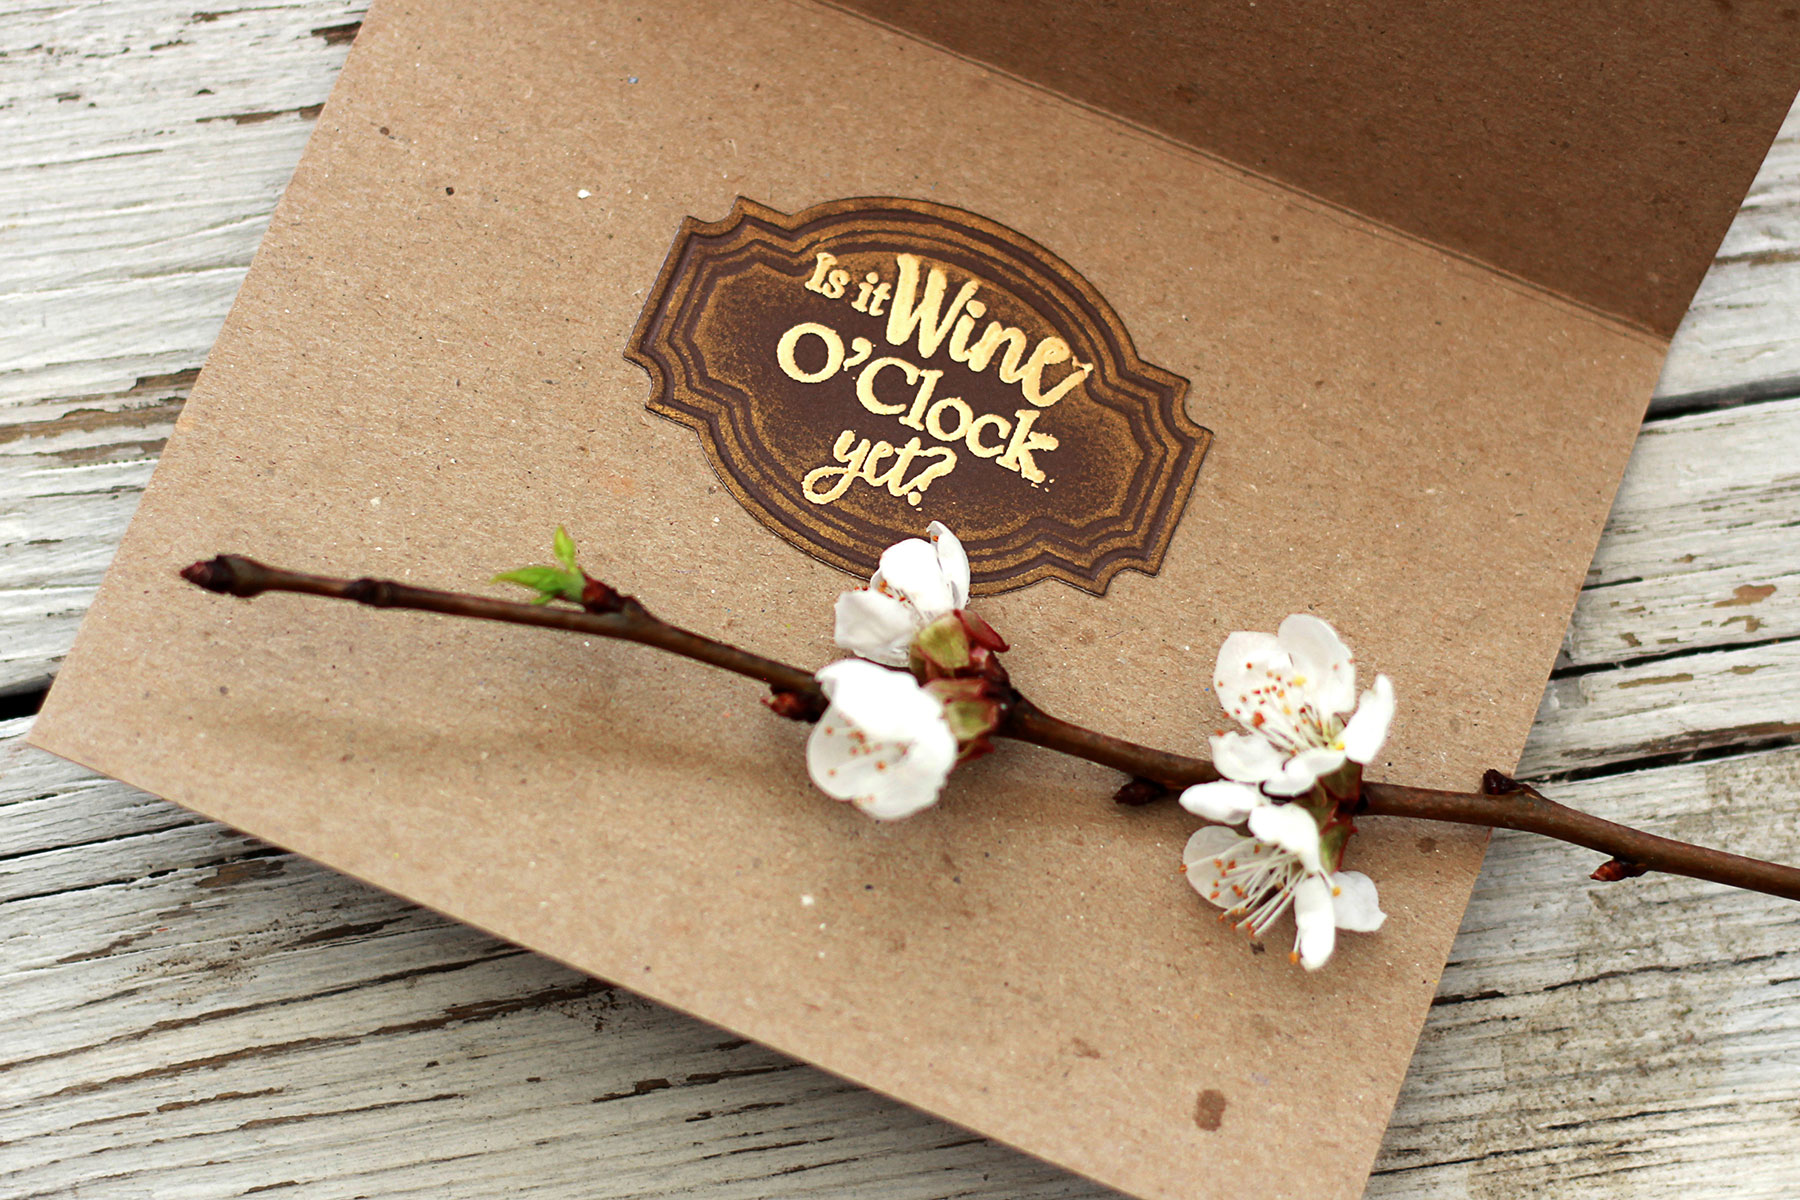
I have gold embossed a sentiment on a matching label die cut and placed it inside the card. Both a stamp and a die come from the fabulous set called Barrel of Sentiments . You'll notice that there is still plenty of space left below the label to write a message.

Video Friday | Wine O'Clock with Olga for Spellbinders using: S5-347 Wine Charms, S4-878 Frame Charms, SDS-135 Barrel of Sentiments #spellbinders #diecutting #handmadecard #winecountry #neverstopmaking

I believe that this card design is also great for invitations. In that case you can write a date, time and place inside the card below the label and you can even set up the clock on the front of the card to the time of your party!​

Video Friday | Wine O'Clock with Olga for Spellbinders using: S5-347 Wine Charms, S4-878 Frame Charms, SDS-135 Barrel of Sentiments #spellbinders #diecutting #handmadecard #winecountry #neverstopmaking

VIDEO TUTORIAL

Want to know more details on how to create this type of card? Here is a video tutorial containing full step by step guide. Watch below or on YouTube : Thank you so much for stopping by! I hope I have given you some inspiration to create a scene card - or maybe to have a glass of wine? Anyway, have a fabulous weekend and if you have any questions please don't hesitate to ask!

Spellbinders Supplies:

OTHER SUPPLIES:

Self-adhesive cork sheets by DCWV, Neenah Desert Storm cardstock, chipboard notecards by Birth Press Design, wooden coffee stir sticks.

Leave a comment

Your email will not be published. Please note, comments need to be approved before they are published.

2 comments

Olga Direktorenko,

Thank you Tammy! Since this is a card it can be signed on the inside or at the back side. But if someone would like to hang it on a wall I would place it inside a larger frame leaving some space around a card and then sign it in the corner of that surrounding space.

Tammy Tarver,

I live in a valley known world wide for its wines & wineries. Stacey Caron’s Wine Country dies capture the area perfectly.

Olga – Wine related artwork is very popular here. Your sepia like monochromatic mixed media piece would look beautiful on the walls in the wine tasting rooms here. (People here even have wine cellars in their houses.) Your use of cork is perfect! (Cork art is also popular here.) You forgot to sign & date it though. ? Tammy


  • HOW TO USE PRESS PLATES WITH MULTIPLE INKS | CREATE YOUR WAY HOLIDAY, BPR-050, BPI-049, BPI-003

    BP-001

    How to Use Multiple Ink Colors with BetterPress Registration Plates

    Create a colorful Christmas card while learning how to apply multiple ink colors to BetterPress registration plates. In this detailed tutorial, you’ll use the Festive Evergreens Registration Press + Foil Plate & Die Set to press a holiday doorway scene in three colors, combining the built-in registration system with a simple masking technique. The registration template positions the coordinating plates so each layer aligns with...

  • How to Make a Colorful Foiled Butterfly Card with Glimmer II

    BP-351

    How to Make a Colorful Foiled Butterfly Card with Glimmer II

    Combine hot foiling, alcohol-marker coloring, ink blending, and dimensional shaping to create a colorful butterfly card that sparkles from every angle. In this step-by-step tutorial, you’ll learn how to foil detailed butterflies and a floral background with the Glimmer II Hot Foil System, add bold color, and shape the butterfly wings for a realistic raised effect. The Bright Butterflies and Thanks In Bloom Press +...

  • How to Heat Emboss with BetterPress Plates: Snowman Christmas Card

    BP-001

    How to Heat Emboss with BetterPress Plates: Snowman Christmas Card

    BetterPress plates can do more than create letterpress impressions and hot-foiled designs. In this detailed Christmas card tutorial, you’ll learn how to apply clear sticky ink to a BetterPress plate and use white embossing powder to produce a crisp, heat-embossed snowflake background. The tutorial also covers pressing and die cutting a sentiment, assembling three detailed snowmen, and arranging the finished elements on an A2 card....