

Posted by Michelle Short
on February 27, 2018

Hello there, Michelle here and today I am using the new Layered Topiary Stamp Set and coordinating Frame Cuts. It is a beautiful set that can be used for so many occasions. I thought I would go with a hello card for today.
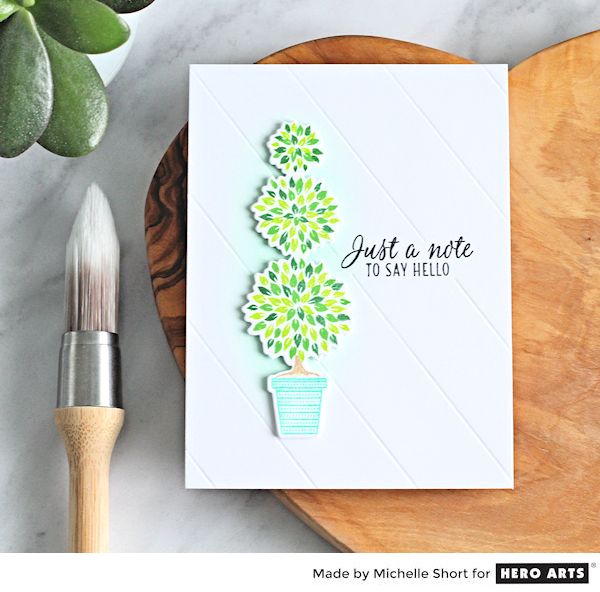
I started off by die cutting the topiary frame cut from white cardstock. I thought die cutting then stamping may be easier to help with lining up the images. Then using a stamp-a-ma-jig, I stamped each layer one by one. I used Green Apple Bold Ink, Fresh Lawn Mid-Tone Shadow Ink and Pine Bold Ink for the leaves. Creative Team member Janette, recommended picking up the stamps exactly how they are orientated from the backing sheet, and I have to say, this helped a lot when trying to line them up. Once I had stamped the bottom tier, the top two tiers went a lot quicker and easier. Although this is not a stamp layering set, it does work in a similar way.
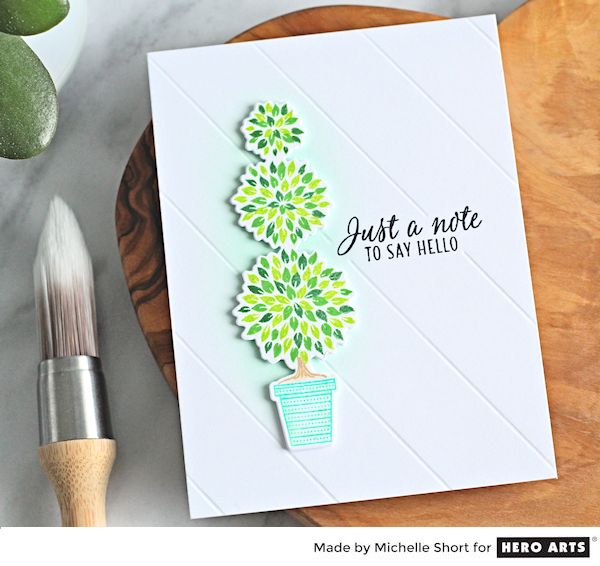
I stamped the bottom stem/trunk with Soft Brown Shadow Ink. There is a piece to go in between the other tiers, but I decided not to use it on my card today. I then stamped the pot using Aegean Bold Ink. Using a blender pen, I added a little Mint Julep Mid-Tone Shadow Ink to the pot also, for some added interest.
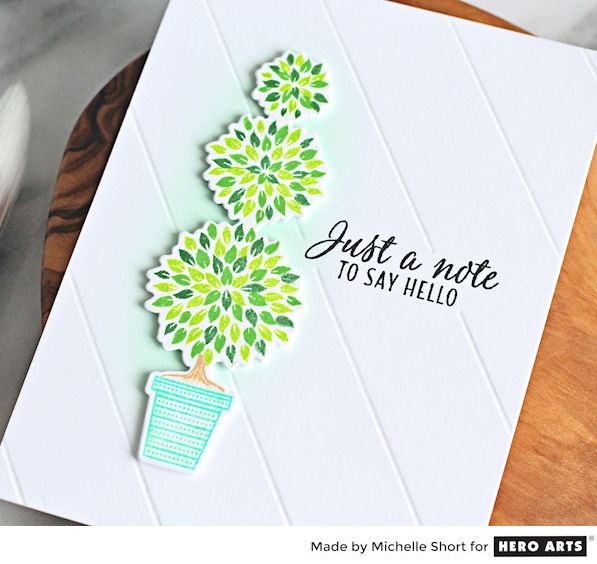
I took a white 4.25" x 5.5" card panel and stamped the sentiment on to this using Intense Black Ink. Using a stencil blending brush, I blended over Mint Julep Ink on to the left hand side of the panel. I then scored diagonal lines in to the cardstock using a bone folder and a score board. The panel was added to a white A2 card base with tape runner and then topiary image added on top with foam tape. Although the card has quite a lot of layers to it, it is still a fairly flat card, which is great for mailing.
Thank you so much for stopping by today, happy stamping!























































































14 comments
Love the look of this card!
Hi Sandra, the stencil brush in the photo is by Clarity. Unfortunately, Hero Arts do not carry it, sorry, but you should be able to pick it up from various craft stores. There are other brands of stencil brushes available too, I just happen to have these ones , I like them.
I love how you scored the card around the sentiment. What a great idea! I am so used to creating a background separately and usually beforehand, but I will definitely have to think of this for next time. Thanks for sharing.
Great looking card I love the 3 levels. So cool. For sure.
Can you send information on Stencil blending brush. I have not used one. Is it a hero arts product. Thanks for your time