Posted by Michelle Short
on April 12, 2018

Hello there, Michelle here with a simple scene card using the Wishing Well stamp set. This is such a beautiful set that can be used for lots of occasions. For my card today, I decided to go with a get well card.
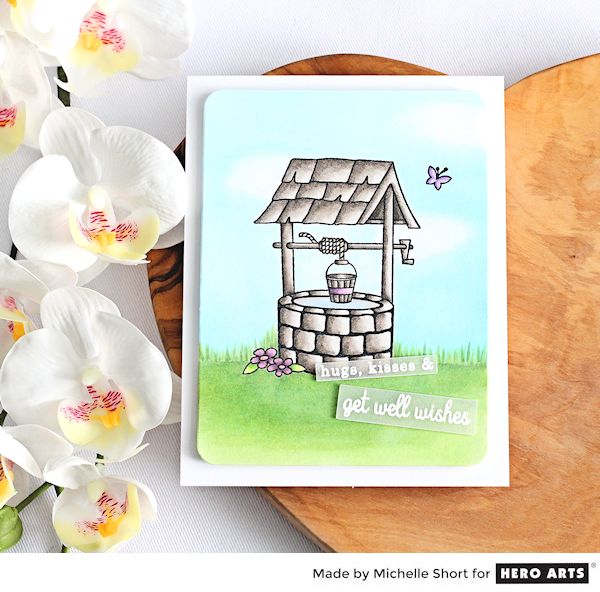
I started off by taking a panel of Copic-friendly white cardstock and die-cut this with the fourth largest of the Rounded Rectangle Infinity Dies. I first laid out the images from the Wishing Well set that I wanted to stamp to get the placement of them. I stamped the flowers and pail for the wishing well first. These were masked off and then the wishing well was stamped. I used a Mini MISTI for perfect placement of the stamps. I removed the masks and then stamped the little butterfly image. All of these were stamped using Intense Black Ink which is Copic Marker friendly.
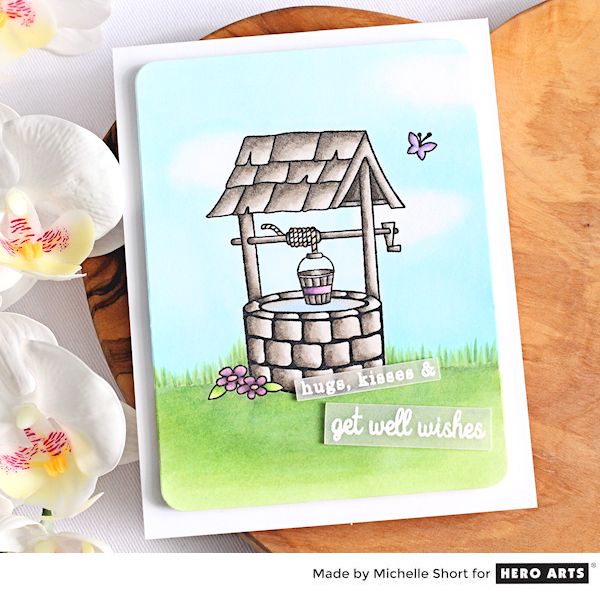
The image panel was then coloured using Copic Markers. I used warm grey markers for the wishing well, adding a little blue mixed with grey for water. I wanted a pop of another colour, so I used purples for the flowers, the band on the pail and for the butterfly. The sky was coloured using pale blue markers, leaving some gaps not coloured, for the clouds. I then went over these lightly with a pale grey. I blocked in the grass with greens and then added some flicks to the top for individual grass blades.
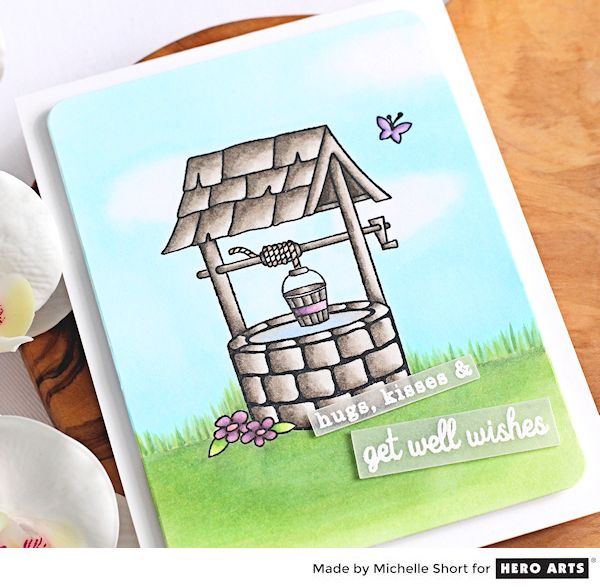
I took the sentiment from the set and stamped this on to vellum using Versamark Ink. I applied White Detail Embossing Powder and then heat set. I then cut the sentiment apart using a craft knife and ruler. I adhered the image panel on to a white card base with foam sheet and double sided tape. I then added the sentiment on top. I have found the best way to adhere vellum is to cover the entire back with adhesive, therefore it doesn't show. In this case, I used clear double sided foam tape. To finish off the card, I added shimmer pen to the purple areas for some added sparkle.
Thank you for stopping by today, happy stamping!























































































6 comments
Such a sweet card :)