Posted by Channin Pelletier
on October 03, 2023


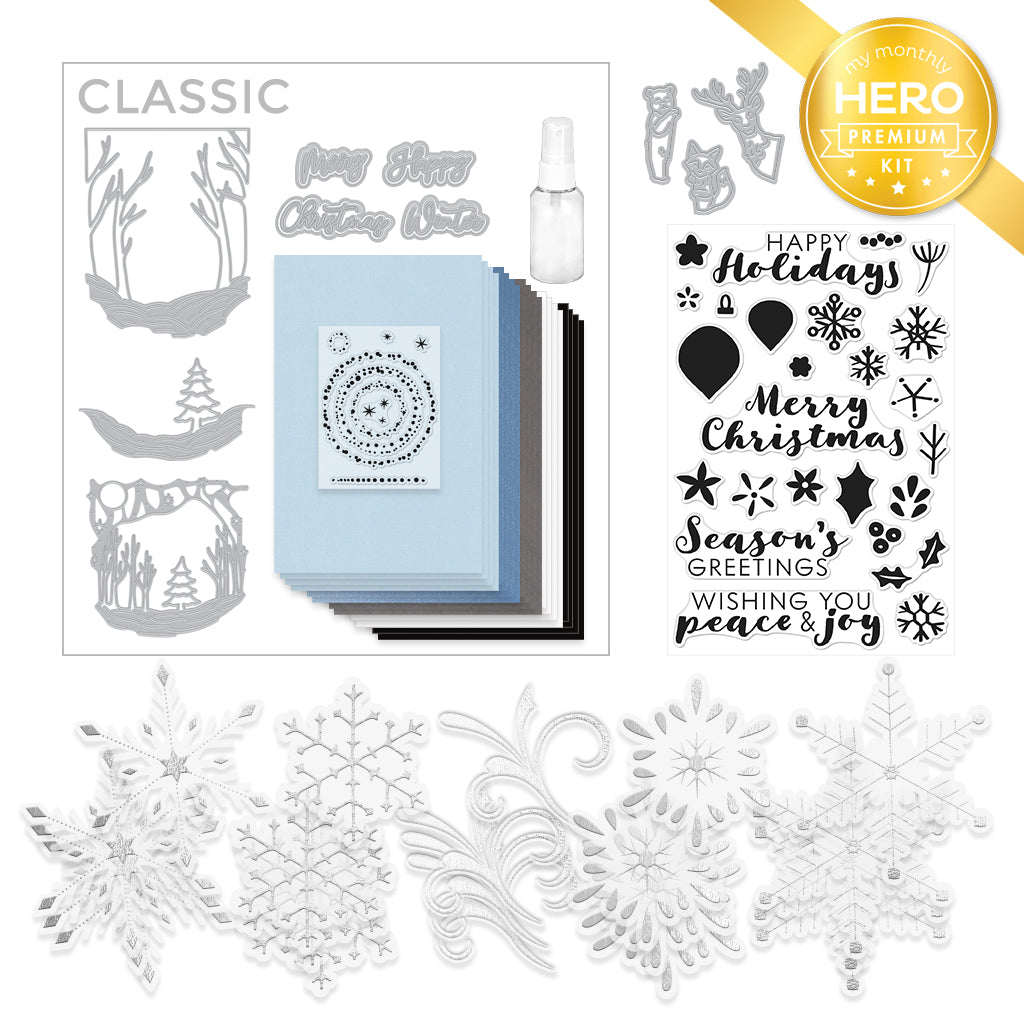
Hello friends!! It’s Channin here and in today’s video I’m creating a Christmas card featuring elements from the new Classic and Premium October My Monthly Hero Kits.
Watch below or on the Hero Arts YouTube channel.
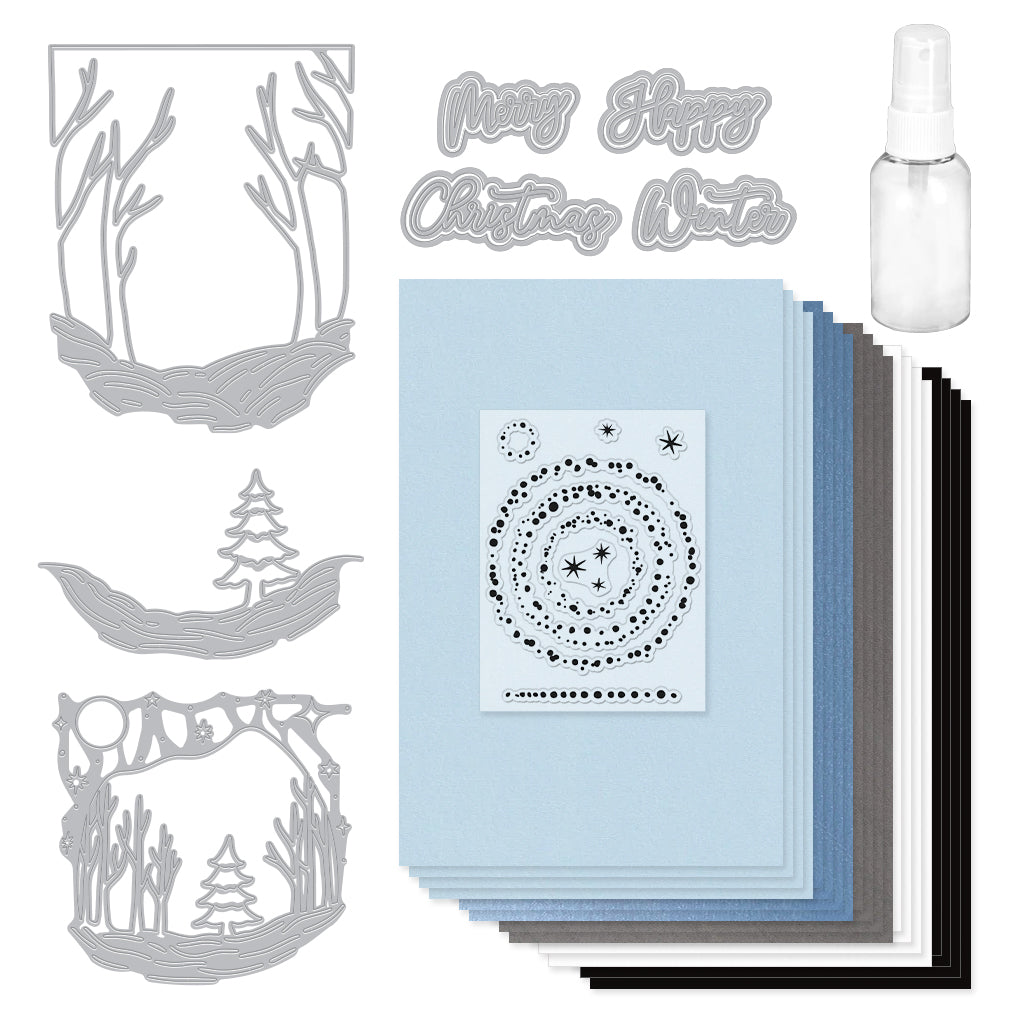
To create this card I first die cut an A2 panel of Dove White cardstock with a circle die from the Nesting Circle Infinity Dies . I then die cut a second A2 panel of Dove White cardstock with the largest scene Fancy Die ( Classic & Premium ). Next, I added tape to the backside of the panel to keep the negatives in the snow in place. I then die cut some Sand cardstock with the same scene die, then fussy cut the trees free and adhered them over the white trees.

Next, I die cut a third A2 panel of Dove White with the pine tree scene Fancy Die. I then added tape to the backside of the panel to hold the negative pieces in the snow in place. Next, I die cut the the pine tree from the same scene die out of scraps of Sand and Pine cardstocks. I then cut the trees free, adhered them over the white tree and colored the tree with Copic markers to add definition.
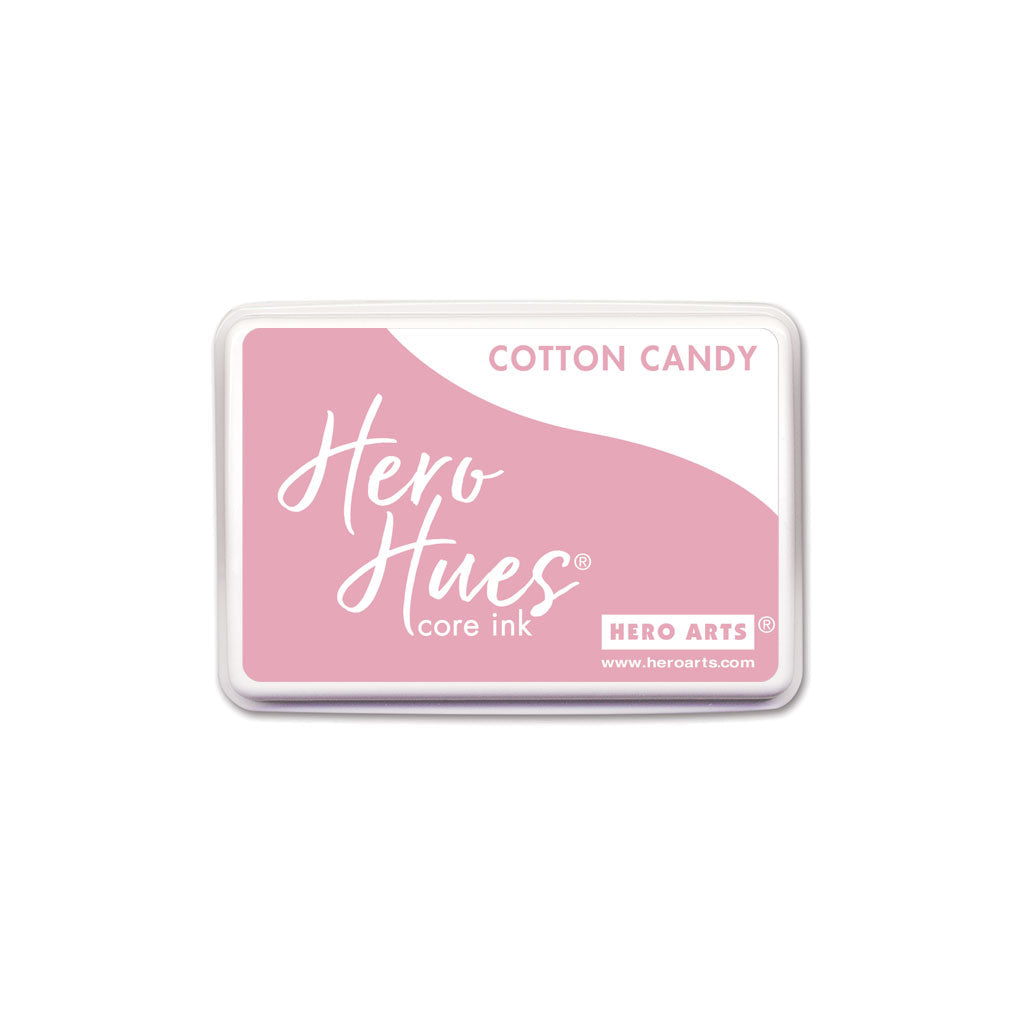
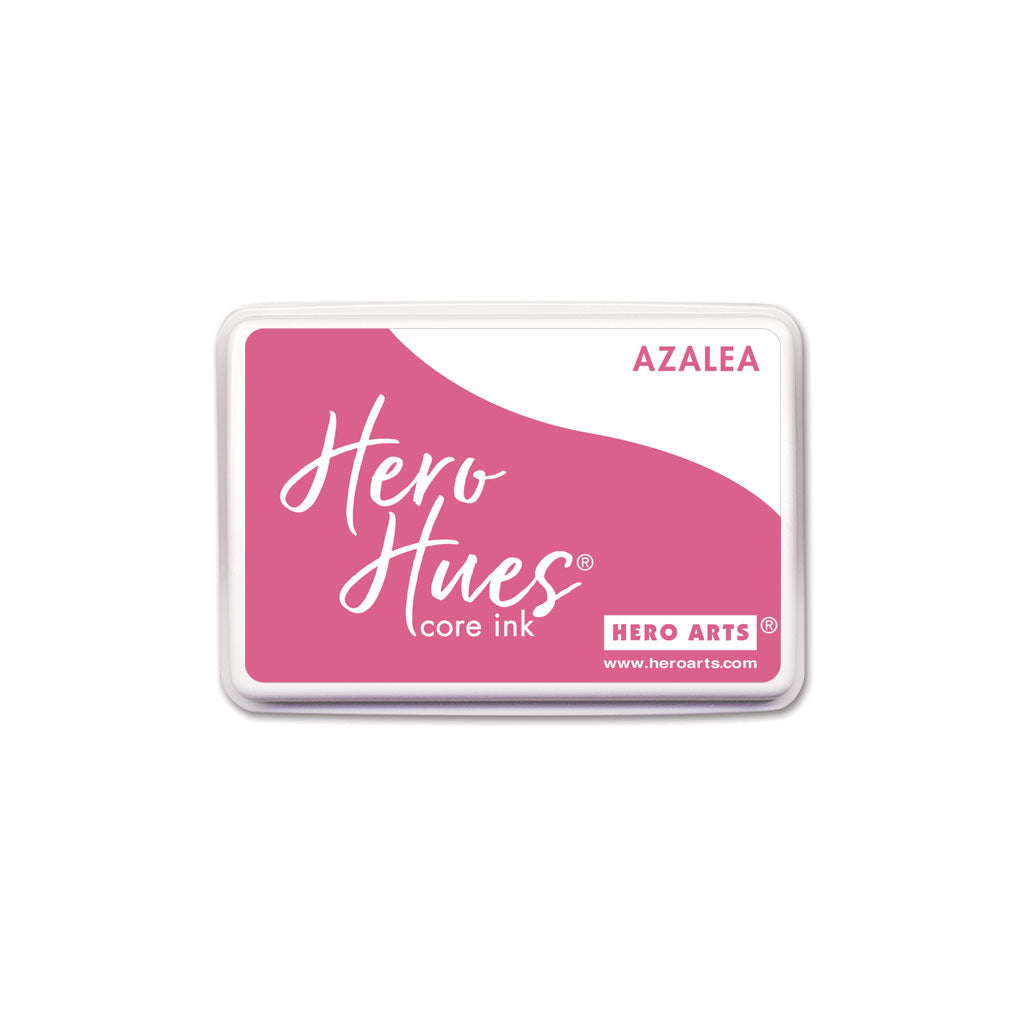
Next, I stamped the rings from the Swirl Snow stamp set ( Classic & Premium ) in Embossing & Watermark Ink onto the front of an A2 Top-folding White Card . I then poured gold embossing powder over the images and heat set. Next, I ink-blended over the card front with Cotton Candy , Azalea , Raspberry Jam and Grape Juice Core Inks.
 I then die cut "Merry Christmas" out of
vellum
and mirrored gold cardstock using words from both kits. I die cut the words out of the gold cardstock and the shadow layers out of
vellum
. I then adhered the die cuts together and set the piece aside.
I then die cut "Merry Christmas" out of
vellum
and mirrored gold cardstock using words from both kits. I die cut the words out of the gold cardstock and the shadow layers out of
vellum
. I then adhered the die cuts together and set the piece aside.
Next, I adhered the circle panel and the tree panels together. I then adhered the pine tree panel to the card front and adhered the circle/tree panel on top with foam adhesive. Next, I adhered the sentiment with Precision Glue and finished the card by adding Gold Hero Pearls to the tree.
I hope you enjoyed my card. Thank you so much for stopping by!

Click on products to shop:
|