
Cardmaking Inspiration | Congratulations Card Featuring Sketched Blooms with Yana
on June 23, 2018

Cardmaking Inspiration | Congratulations Card Featuring Sketched Blooms with Yana

Hello Spellbinders’ fans! Welcome back to our Cardmaking Inspiration series! We hope you’ve been enjoying these mini posts sharing simple cardmaking ideas and step by step instructions on how to make them! This week we are sharing lots of fabulous inspiration featuring our Die D-Lite collection dies. Today we have a very simple yet beautiful Congratulations card created using Sketched Blooms dies.
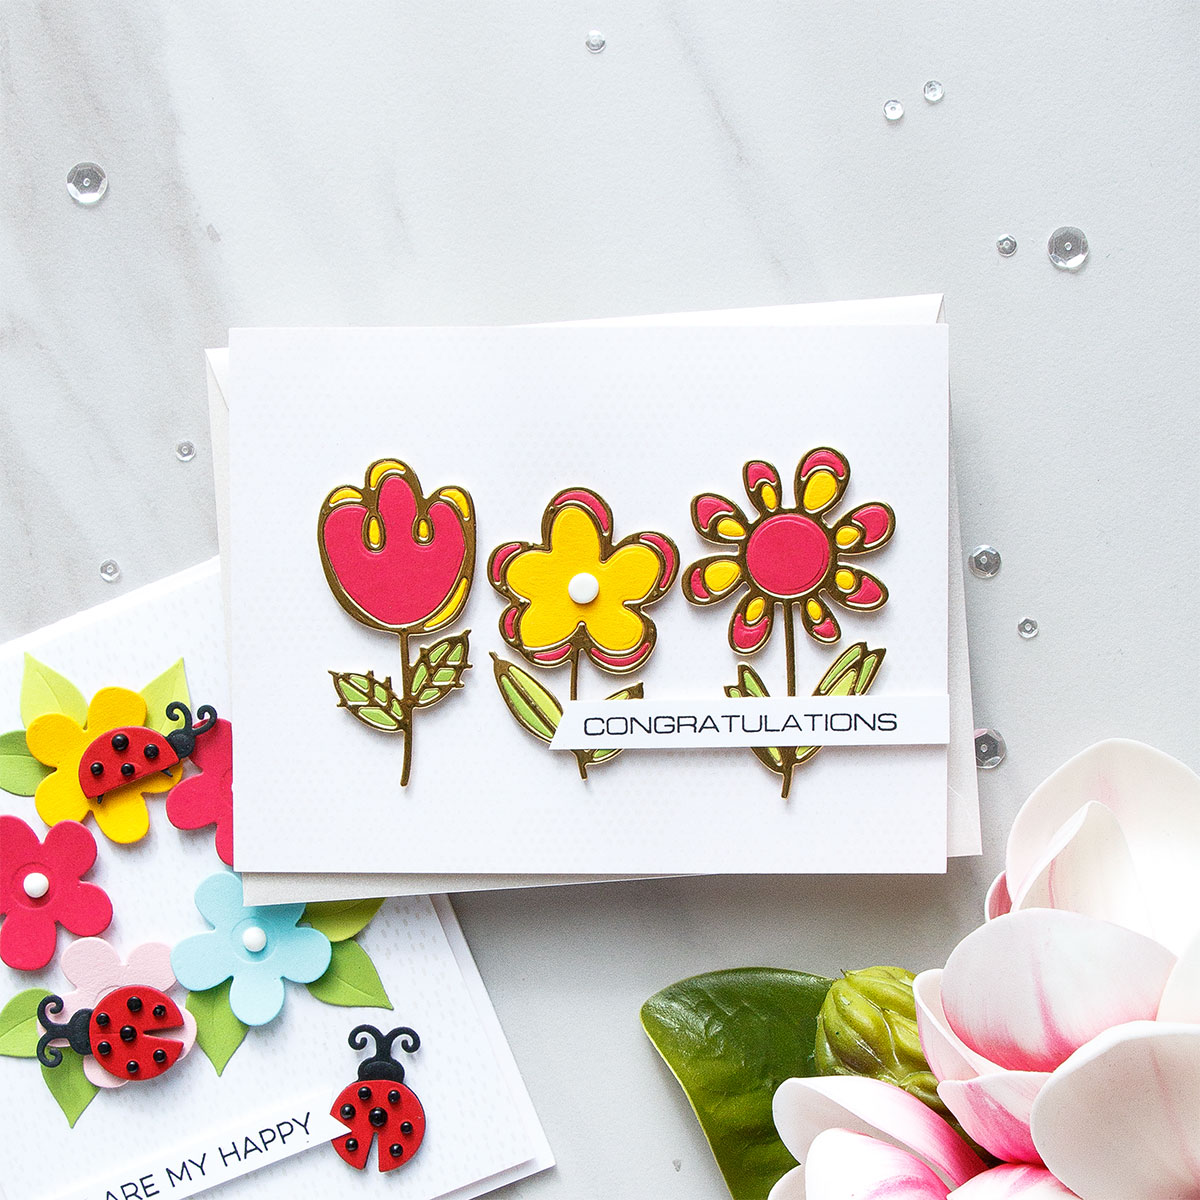
Cardmaking Inspiration | Congratulations Card Featuring Sketched Blooms by Yana Smakula for Spellbinders. S3-322 Sketched Blooms. #spellbinders #diecutting #cardmaking #handmadecard #neverstopmaking

Project created by in-house creative designer Yana Smakula

Cardmaking Inspiration | Congratulations Card Featuring Sketched Blooms by Yana Smakula for Spellbinders. S3-322 Sketched Blooms. #spellbinders #diecutting #cardmaking #handmadecard #neverstopmaking

Step By Step Instructions:

We have a full set of step by step instructions describing how to create this card.
  • Create A2 top folding card base out of white cardstock.
  • Cover card front with patterned paper.
  • Die-cut flowers out of gold and colored cardstock.
  • Inlay colored cardstock pieces into gold outlines. Foam mount onto the card.
  • Stamp sentiment, foam mount onto the card.
  • Create flower center using white Nuvo Drops.
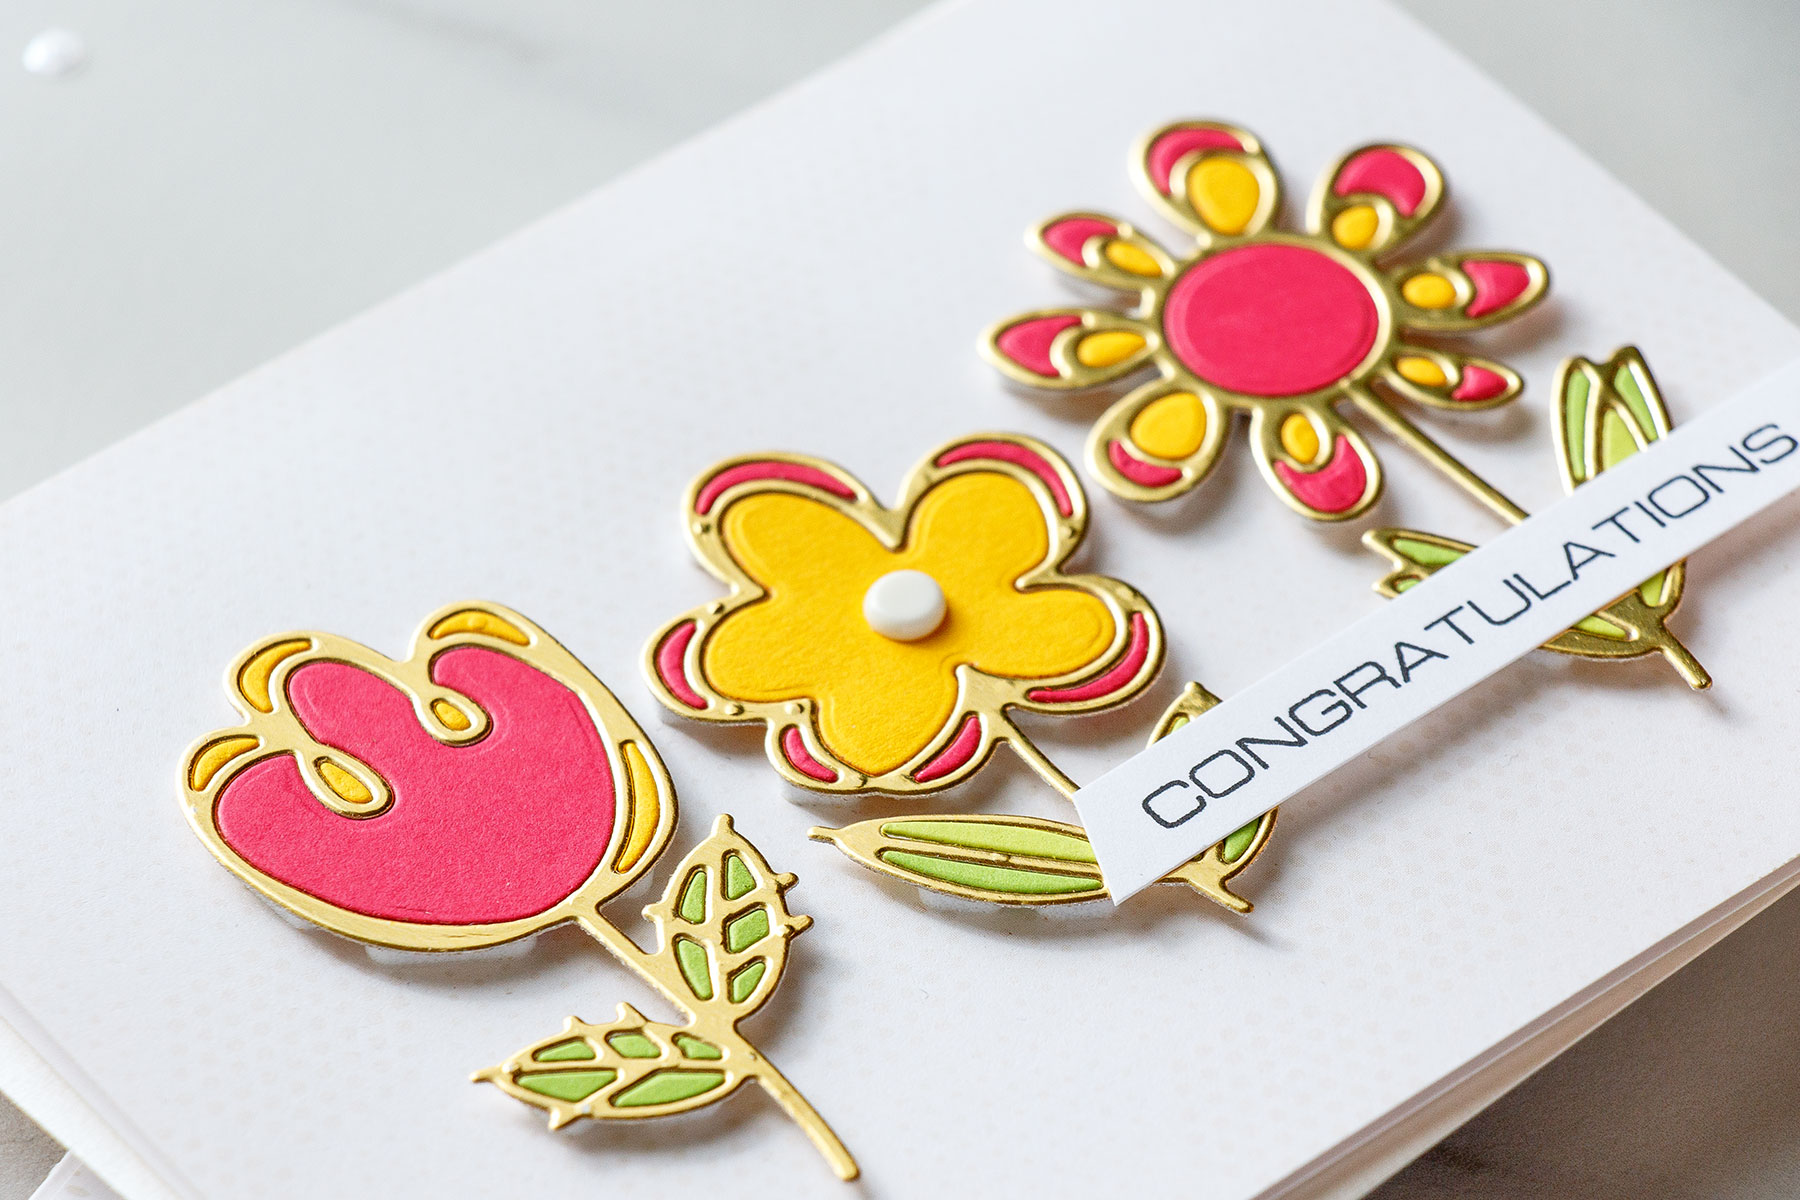
Cardmaking Inspiration | Congratulations Card Featuring Sketched Blooms by Yana Smakula for Spellbinders. S3-322 Sketched Blooms. #spellbinders #diecutting #cardmaking #handmadecard #neverstopmaking

Spellbinders Supplies:

OTHER SUPPLIES:

White cardstock - Neenah Solar White 110lb; Pink, Yellow, Light & Dark Green Cardstock; Gold Foil Cardstock; Clear Stamp Altenew - Beautiful Lady; Fun Foam; Tape; Nuvo Drops in White; Black Ink Pad; Fun Foam. Thank you for joining us today, friends! We hope you like this project and will give this idea a try! If you do, please share your project photos on social media and tag us so we can see! Have fun die-cutting!

Leave a comment

Your email will not be published. Please note, comments need to be approved before they are published.


  • HOW TO USE PRESS PLATES WITH MULTIPLE INKS | CREATE YOUR WAY HOLIDAY, BPR-050, BPI-049, BPI-003

    BP-001

    How to Use Multiple Ink Colors with BetterPress Registration Plates

    Create a colorful Christmas card while learning how to apply multiple ink colors to BetterPress registration plates. In this detailed tutorial, you’ll use the Festive Evergreens Registration Press + Foil Plate & Die Set to press a holiday doorway scene in three colors, combining the built-in registration system with a simple masking technique. The registration template positions the coordinating plates so each layer aligns with...

  • How to Make a Colorful Foiled Butterfly Card with Glimmer II

    BP-351

    How to Make a Colorful Foiled Butterfly Card with Glimmer II

    Combine hot foiling, alcohol-marker coloring, ink blending, and dimensional shaping to create a colorful butterfly card that sparkles from every angle. In this step-by-step tutorial, you’ll learn how to foil detailed butterflies and a floral background with the Glimmer II Hot Foil System, add bold color, and shape the butterfly wings for a realistic raised effect. The Bright Butterflies and Thanks In Bloom Press +...

  • How to Heat Emboss with BetterPress Plates: Snowman Christmas Card

    BP-001

    How to Heat Emboss with BetterPress Plates: Snowman Christmas Card

    BetterPress plates can do more than create letterpress impressions and hot-foiled designs. In this detailed Christmas card tutorial, you’ll learn how to apply clear sticky ink to a BetterPress plate and use white embossing powder to produce a crisp, heat-embossed snowflake background. The tutorial also covers pressing and die cutting a sentiment, assembling three detailed snowmen, and arranging the finished elements on an A2 card....






























