

Posted by Spellbinders Team
on January 29, 2018

Hello Spellbinders’ fans! Welcome back to our Cardmaking Inspiration series! We hope you’ve been enjoying these mini posts sharing simple cardmaking ideas and step by step instructions on how to make them!
Today we have a beautiful pink tree card created using dies from the Four Seasons collection by Lene Lok.
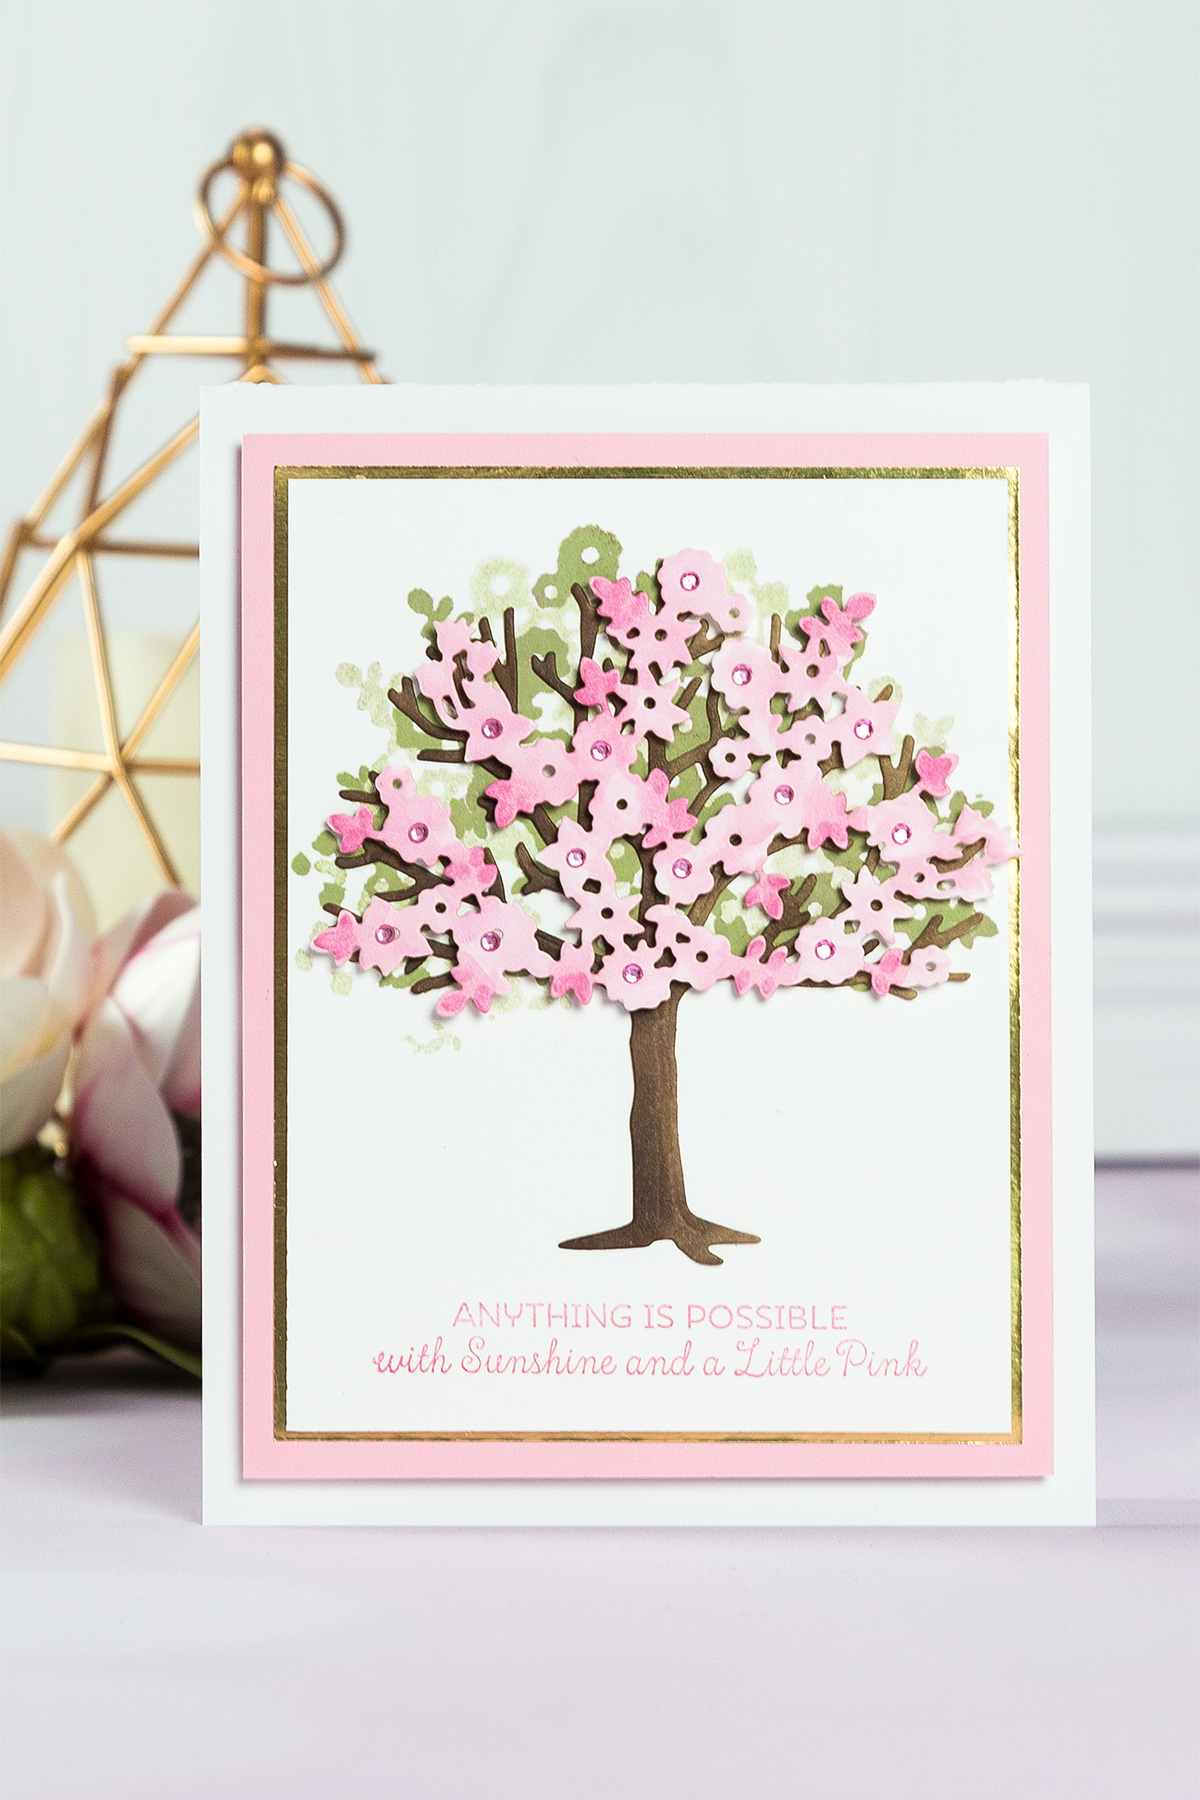
Project created by Art Director Beth Reames
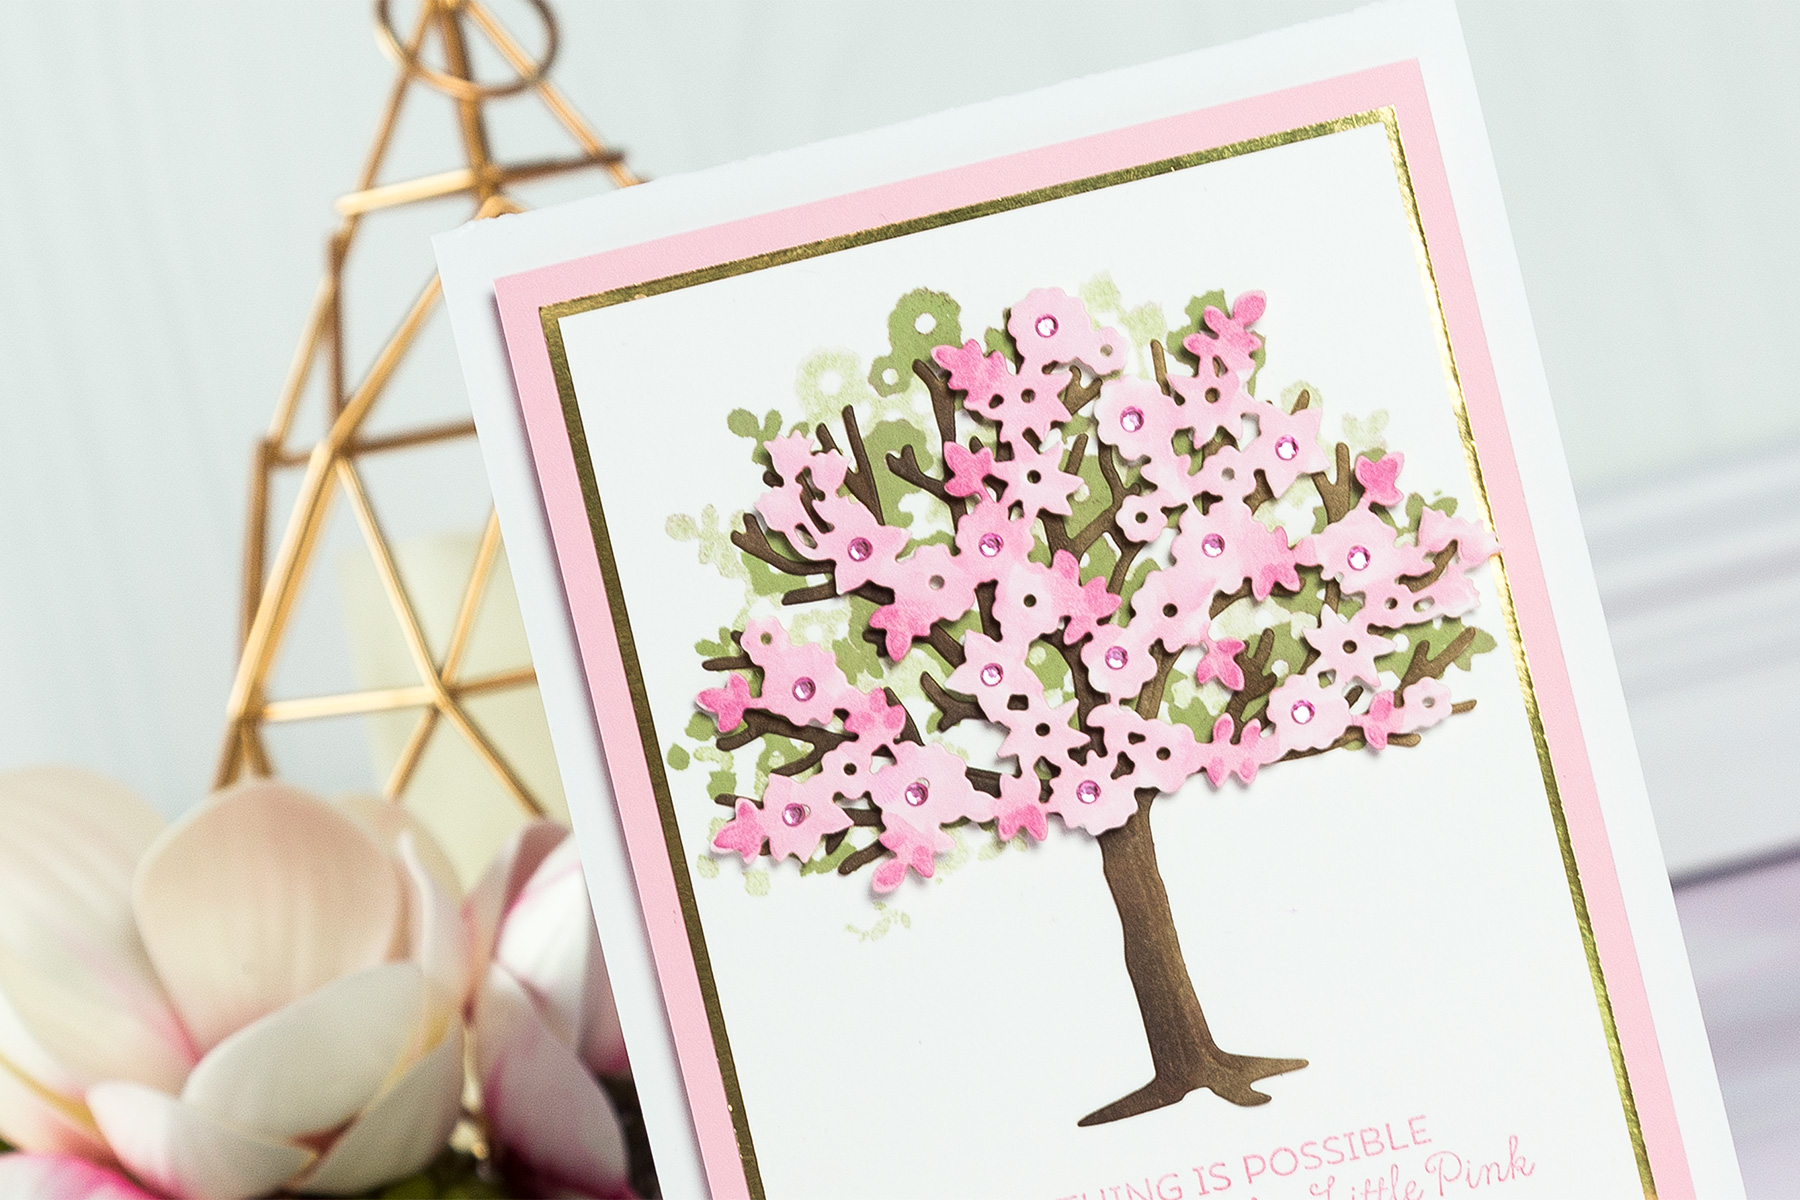
Step By Step Instructions:
We have a full set of step by step instructions describing how to create this card.- Apply double sided stick sheet to white foam and die-cut Spring Canopy twice.
- Adhere the two canopies together and adhere to a clear stamp block to create a custom stamp.
- Cut white cardstock to 4.25” x 5.5”.
- Using forest Glade ink, stamp the Spring Canopy onto the white cardstock. Rotate the stamp slightly and stamp a second time without re-inking to create a half-tone image.
- Die-cut tree out of white cardstock, color using brown Copic markers and adhere to the card front, lining up the branches with the stamped canopy.
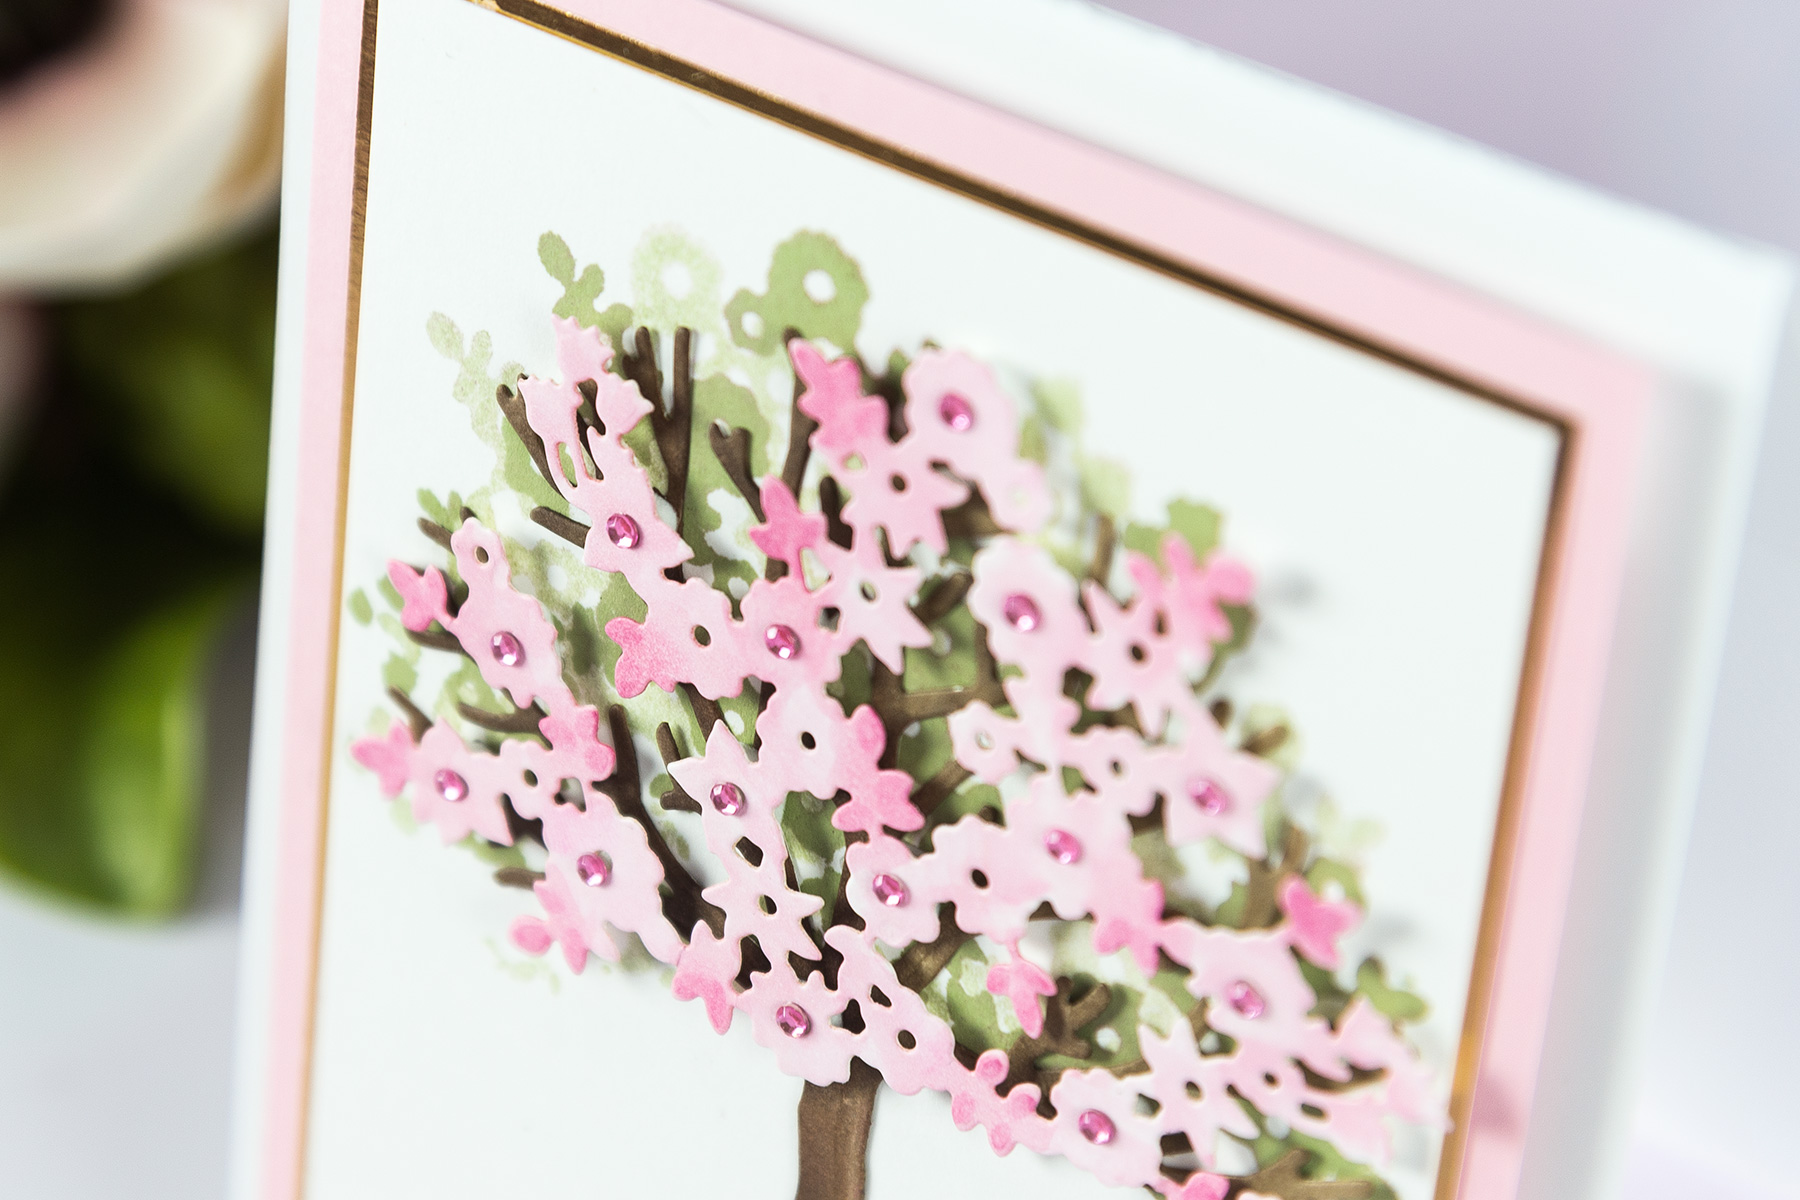
- Die-cut the spring Canopy out of white cardstock and color with pink Copic markers.
- Adhere to the tree using foam dots.
- Adhere pale pink gems to some of the flower centers.
- Stamp sentiment to the lower portion of the card front.
- Mat card front using gold and pink cardstock and use foam dots to adhere to the front of a 5” x 7” card base.
Spellbinders Supplies:
- S4-840 Four Seasons Tree
- S4-841 Spring Canopy & Elements
- PL-001 Platinum Die Cutting And Embossing Machine - 8.5" Platform
- T-001 Tool 'N One
OTHER SUPPLIES:
White cardstock, pink cardstock, gold cardstock, 2mm white foam sheet, double sided sticky sheet, foam dots, clear stamp Tickled Pink Simon Says Stamp, Raspberry Ink Avery Elle, Copic Markers RV11, RV 32, E44, E47, Altenew Crisp Inks Forest Glade, pink gemstones Dovecraft.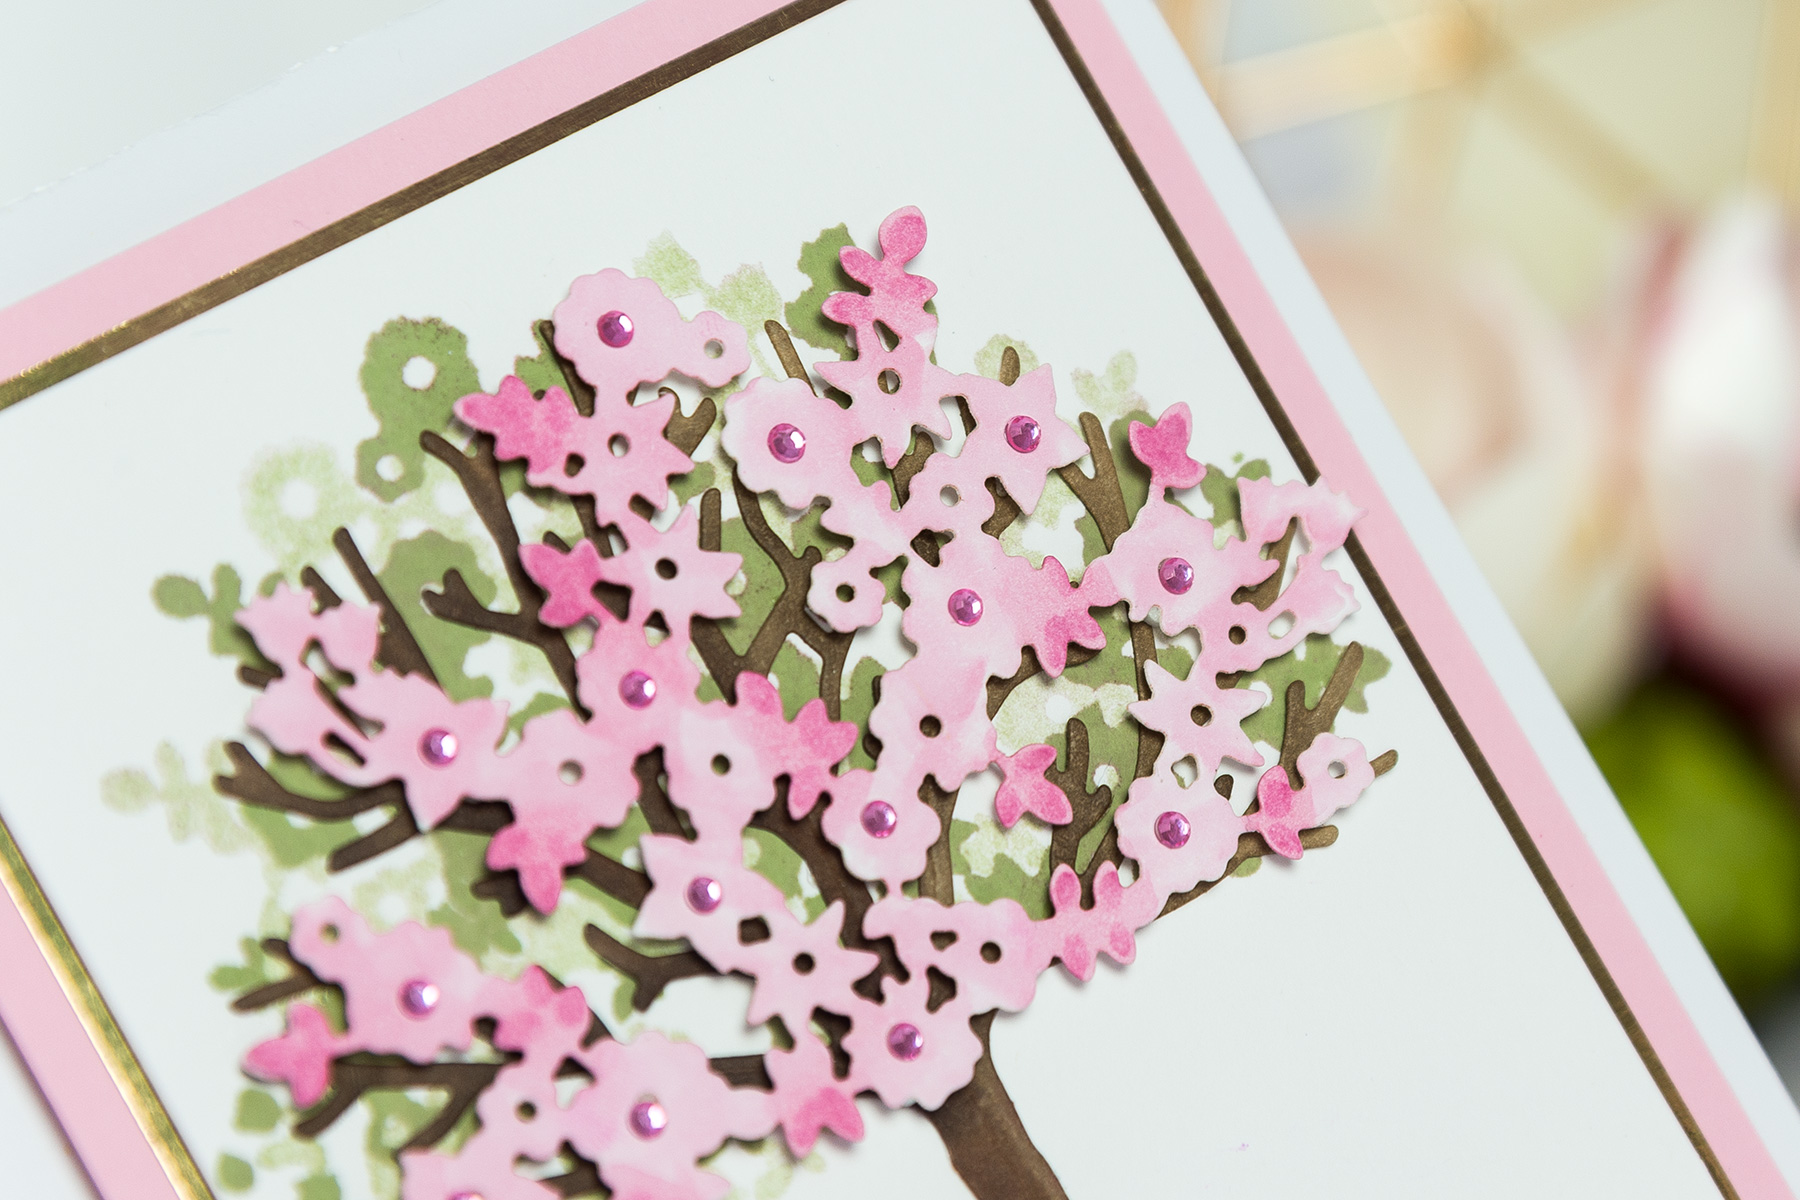























































































4 comments
I tried the Simon Says website and put in Tickled Pink and couldn’t find it.
Carol, we list all other supplies used in the “OTHER SUPPLIES” section in the blog post – clear stamp Tickled Pink Simon Says Stamp.
As for the “Wishes” stamp – I’m sorry, I don’t remember where exactly that one is from.
Where do I find the anything possible stamp? Also I have the 4 season die set. Yana made a card using them. Where do I get the word stamp wishes. I already have summer, spring. Winter and fall plus the trees.
Beautiful card! Love the new four seasons die set.