Cuppa Coffee, Cuppa Tea Inspiration | Glittery Sweetheart Card with Jean
on August 29, 2018

Cuppa Coffee, Cuppa Tea Inspiration | Glittery Sweetheart Card with Jean

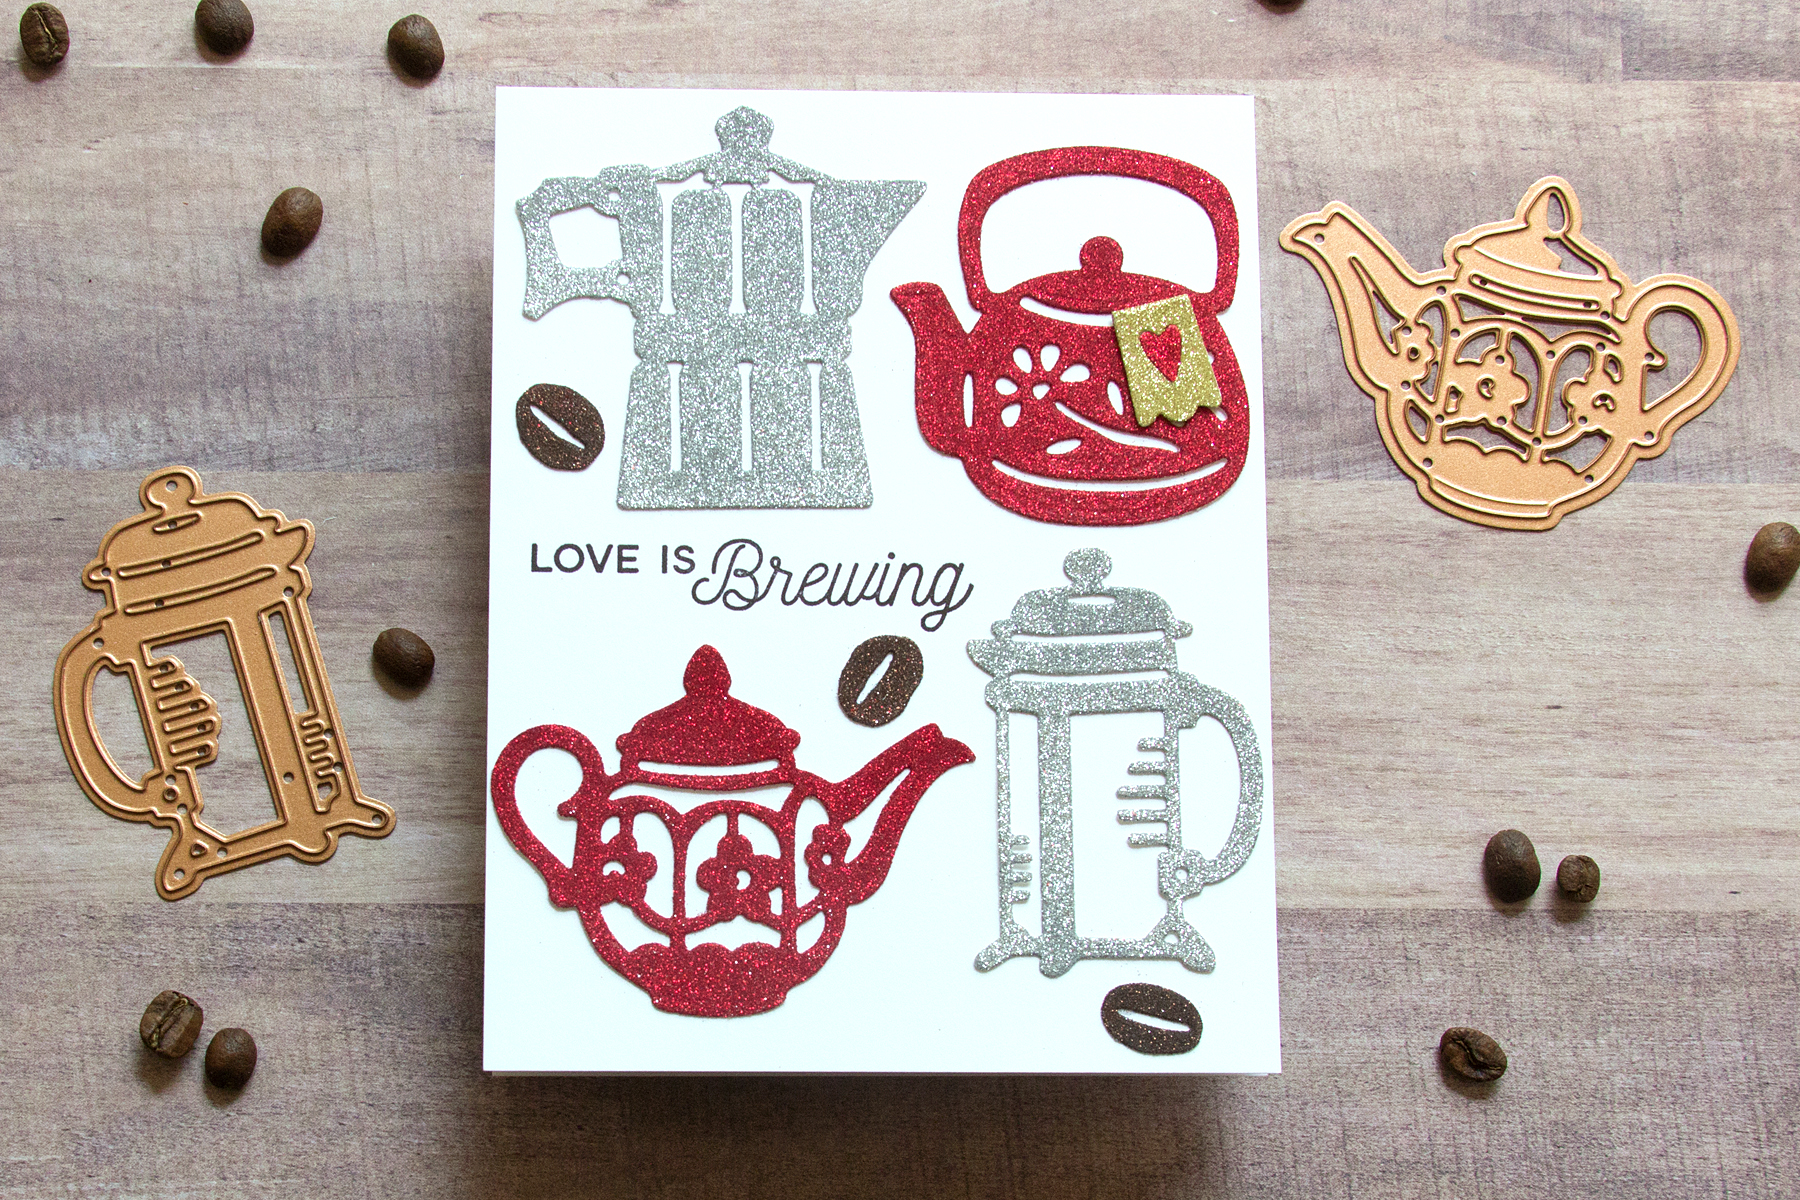
Hello everyone. This is Jean Manis, and I am delighted to be on the blog with another project showcasing the Cuppa Coffee, Cuppa Tea Collection by Sharyn Sowell. In case you missed my first post, you can find it here. Today, I have a sweetheart card combining several of the sets in the collection.

Spellbinders Cuppa Coffee, Cuppa Tea Collection by Sharyn Sowell - Inspiration | Glittery Sweetheart Card with Jean featuring S4-953 Tea Pots, S4-954 Coffee Brewing, S3-346 Cup and Beans, S4-950 Robin and Rosy Mug #spellbinders #neverstopmaking #sharynsowell #diecutting #handmadecard

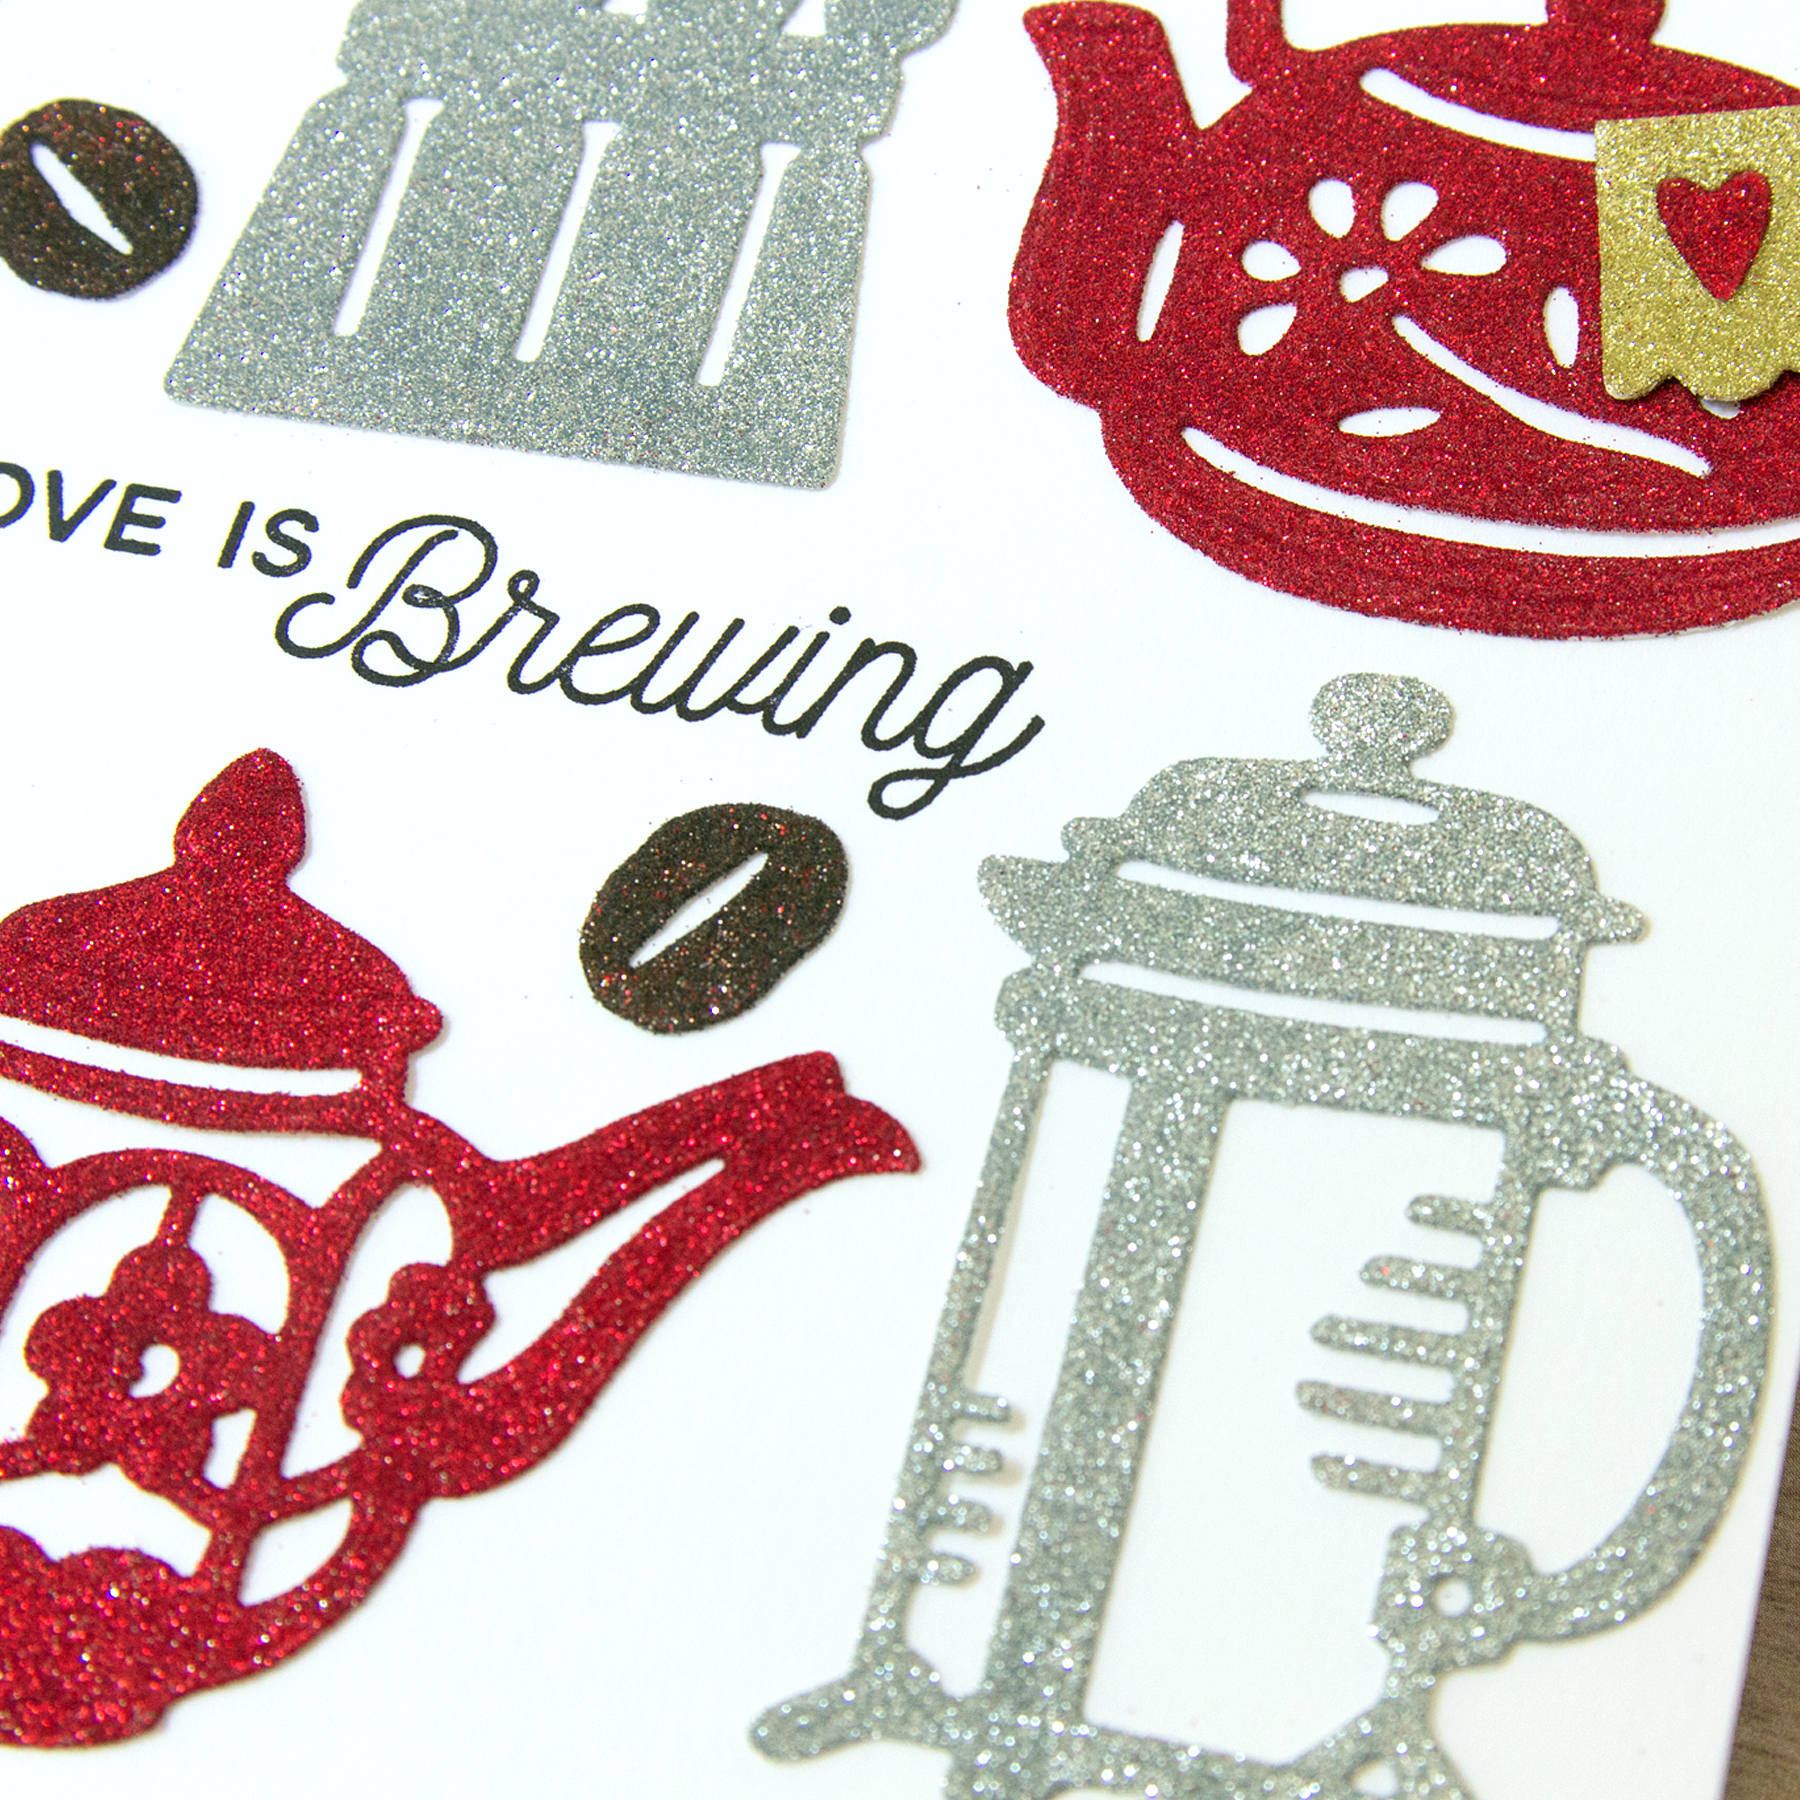
To begin, I die cut pieces from the Tea Pots set (tea pots), the Coffee Brewing set (coffee pots), the Cup and Beans set (beans), and the Robin and Rosy Mug set (tea bag and heart) from white cardstock, to which I had applied double-sided adhesive. After die-cutting, I removed the adhesive and applied microfine glitter to the pieces. I applied red glitter to the tea pots and heart, silver glitter to the coffee pots, brown glitter to the coffee beans, and gold glitter to the tea bag. I burnished the glitter with a bone folder.

Spellbinders Cuppa Coffee, Cuppa Tea Collection by Sharyn Sowell - Inspiration | Glittery Sweetheart Card with Jean featuring S4-953 Tea Pots, S4-954 Coffee Brewing, S3-346 Cup and Beans, S4-950 Robin and Rosy Mug #spellbinders #neverstopmaking #sharynsowell #diecutting #handmadecard

I stamped the sentiment on a white cardstock card base and adhered the die-cut pieces with liquid adhesive to the card base. The dies in the  Cuppa Coffee, Cuppa Tea Collection by Sharyn Sowell easily coordinate! It’s easy to mix and match the sets. I hope I have inspired you to use glitter on die-cut pieces – it’s fun and adds “wow” to a card.

Spellbinders Cuppa Coffee, Cuppa Tea Collection by Sharyn Sowell - Inspiration | Glittery Sweetheart Card with Jean featuring S4-953 Tea Pots, S4-954 Coffee Brewing, S3-346 Cup and Beans, S4-950 Robin and Rosy Mug #spellbinders #neverstopmaking #sharynsowell #diecutting #handmadecard

Spellbinders Supplies:

Other Supplies:

Cardstock: Neenah Solar White 110LB; Stamps: My Favorite Things Cup of Tea; Inks: Hero Arts black dye ink; Glitter: Elizabeth Crafts Silk Microfine Silver, Elizabeth Crafts Silk Microfine True Red, Elizabeth Crafts Silk Microfine Chocolate, Nuvo Sprinkle Dust Gold Shine; Adhesive: Elizabeth Crafts double-sided adhesive, Nuvo Deluxe Adhesive; Stampin’ Up bone folder Thanks for stopping by!

Leave a comment

Your email will not be published. Please note, comments need to be approved before they are published.

1 comment

Sharon Gullikson,

SO CUTE!!!!!! MUST HAVE!!!!!!! Love the glitter.


  • How to Make a Colorful Foiled Butterfly Card with Glimmer II

    BP-351

    How to Make a Colorful Foiled Butterfly Card with Glimmer II

    Combine hot foiling, alcohol-marker coloring, ink blending, and dimensional shaping to create a colorful butterfly card that sparkles from every angle. In this step-by-step tutorial, you’ll learn how to foil detailed butterflies and a floral background with the Glimmer II Hot Foil System, add bold color, and shape the butterfly wings for a realistic raised effect. The Bright Butterflies and Thanks In Bloom Press +...

  • How to Heat Emboss with BetterPress Plates: Snowman Christmas Card

    BP-001

    How to Heat Emboss with BetterPress Plates: Snowman Christmas Card

    BetterPress plates can do more than create letterpress impressions and hot-foiled designs. In this detailed Christmas card tutorial, you’ll learn how to apply clear sticky ink to a BetterPress plate and use white embossing powder to produce a crisp, heat-embossed snowflake background. The tutorial also covers pressing and die cutting a sentiment, assembling three detailed snowmen, and arranging the finished elements on an A2 card....

  • How to Use the Reverse Foiling Technique on a Colorful Window Card

    BP-001

    How to Use the Reverse Foiling Technique on a Colorful Window Card

    Create a bright, modern card while learning how to use the negative foil left behind after hot foiling. In this step-by-step tutorial, you’ll foil the detailed Windows with a View design, use a solid plate to reverse foil the remaining image, and turn selected windows into dimensional embellishments. An ink-blended striped background, BetterPress sentiment, and sparkling gems complete the design. This project is ideal for...